Window glazing area and daylight factor: a quick check
A fast, manual way to check glazing area and rough daylight factor straight off your window blocks before running a full daylight analysis.
Saumyajit MaityUpdated 14 June 20266 min read
You don't need a full simulation to catch an obvious problem
Daylight factor as a formal metric comes out of proper simulation software, and I'm not going to pretend a manual check replaces that, but at the end of the day most glazing problems on a plan are obvious once you actually measure the glass area against the room, and you don't need specialist software to catch a bedroom that's clearly underglazed or a facade where the fixed versus operable mix quietly ate into the actual daylight area. What I run before any of that formal analysis is a five minute manual pass, straight off the window blocks already placed on the drawing, that flags the rooms worth a closer look.
So this is a triage check, not a substitute for a proper daylight study, but it catches the majority of real problems before you spend time running deeper analysis on a design that has an obvious glazing shortfall somewhere on the plan.
The rough ratio that's worth knowing
A commonly used rule of thumb, not a strict code requirement everywhere but a useful benchmark, is that a habitable room wants glazed area somewhere around 10 to 20 percent of its floor area to get reasonable daylight, with the lower end suiting rooms with other daylight sources or shallower depth from the window wall, and the higher end suiting deeper rooms that need more glass to push light further in. Measure the room's floor area off your plan, then total the actual glazed area, not the full window opening, from whichever blocks are placed on that room's walls, and divide one by the other.
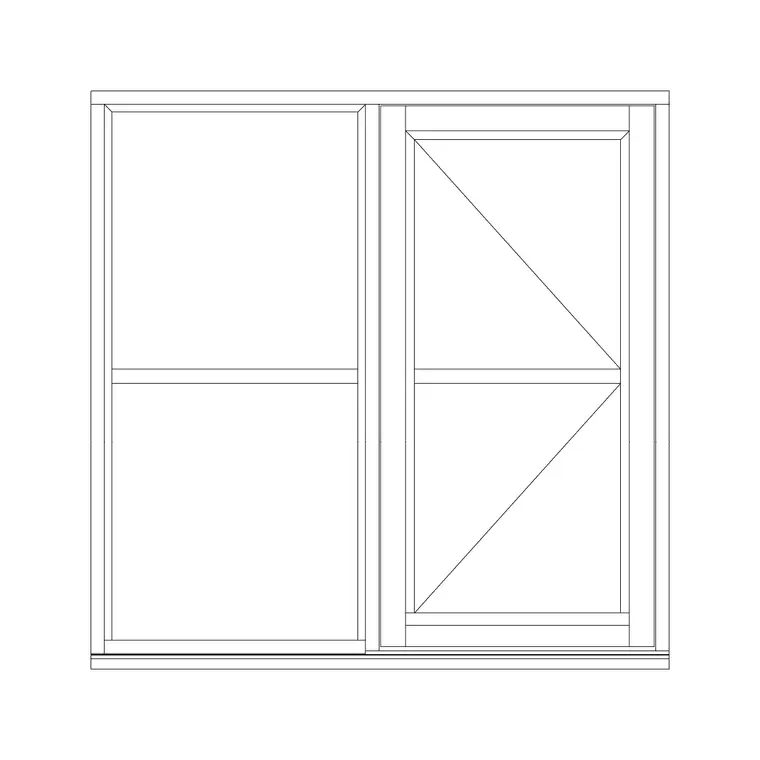
Remember from the glazing area discussion elsewhere that fixed glass and operable shuttered windows don't have the same glass to opening ratio, fixed glass runs closer to 85 to 95 percent of the opening as actual glass, while a shuttered operable window is often more like 65 to 80 percent once frame and mullions are subtracted, so use the real glazed figure, not the opening size, when you run this check.
Where room depth changes the read
The same window to floor area ratio behaves differently depending on how deep the room is from the window wall, because light falls off quickly the further it travels from the glazing, so a shallow room, roughly one and a half times the window wall's height in depth or less, will feel adequately lit at a lower ratio than a deep room where the far wall sits well beyond that depth. If a room on your plan is unusually deep relative to its window wall, a rough ratio check alone will likely overstate how well lit the back of that room actually feels, and that's exactly the kind of case worth escalating to a proper daylight factor simulation rather than trusting the quick manual number.
I flag any room where depth from the window wall exceeds roughly twice the head height of the window as one to double check more carefully, because that's usually where a simple ratio check starts diverging from how the space will actually feel once it's built.
How window mechanism choice shifts the number
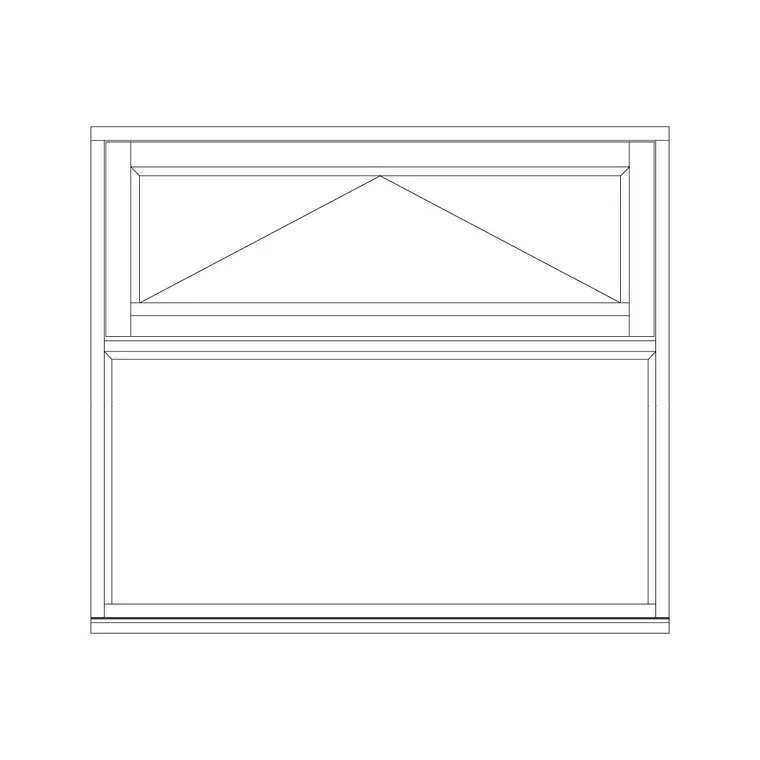
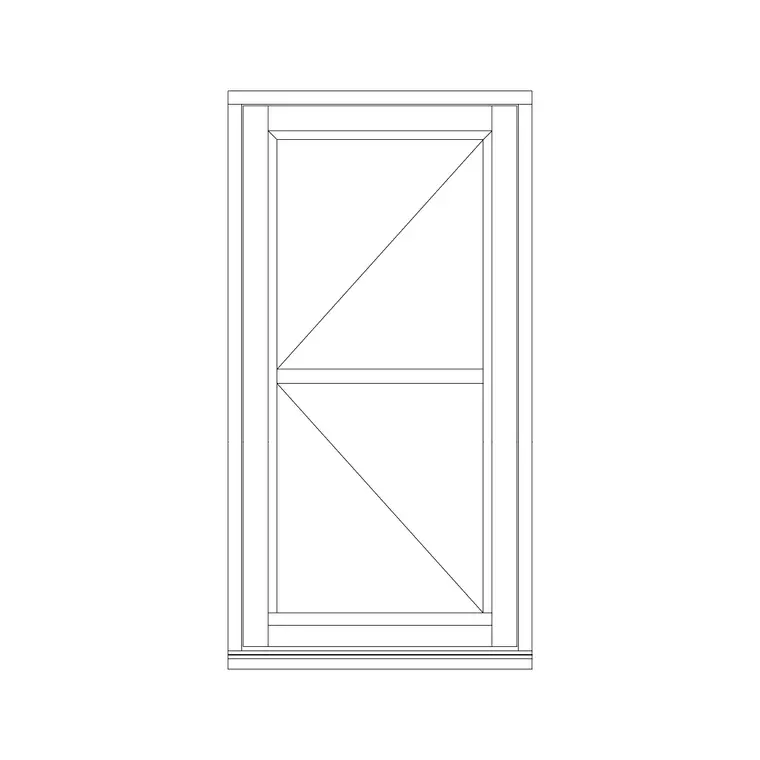
This is where block selection and the quick daylight check actually connect back to the earlier decision about mechanism, because swapping a fixed glass window for an equivalently sized 3 shutter operable window on the same wall opening measurably reduces glazed area, sometimes by 15 to 20 percentage points once you account for the extra frame and mullion lines a multi shutter arrangement introduces. If a room is already sitting right at the low end of that 10 to 20 percent benchmark, that kind of swap late in a project, often driven by a ventilation requirement rather than a daylight one, can tip a marginally lit room into a genuinely dim one.
That's not an argument against operable windows, ventilation obviously matters too, it's an argument for running this quick check again any time a window block gets swapped for a different mechanism late in the design, rather than assuming the daylight performance held steady just because the opening size on the wall didn't change.
Doing the measurement directly off the drawing
In AutoCAD, this is genuinely quick once your blocks are inserted correctly, use AREA or a quick polyline trace to get the room's floor area, then either trust the block's known glazed proportion if you've documented it, roughly the percentages mentioned earlier, or trace the actual glass hatch on the elevation block if it's drawn distinctly from the frame, and divide. Confirm units before you trust any of these numbers, since a units mismatch on a room area calculation will throw the ratio off by orders of magnitude and make an adequately glazed room look catastrophically underlit, or the reverse.
Keep a simple running note, room name, floor area, glazed area, ratio, rather than redoing this from scratch every time a reviewer asks about a specific room, because the underlying block placements rarely change room to room and the check itself takes seconds once you have the two numbers in front of you.
When to escalate to a full daylight factor study
If a room's quick ratio comes out below roughly 10 percent, if it's unusually deep relative to its window wall, or if it's a space with a specific compliance requirement around daylight, that's the point to stop relying on this manual check and hand it to a proper daylight factor simulation, which accounts for sky conditions, obstruction from neighbouring buildings, internal reflectance and a lot else this quick method simply can't. Treat this check as the filter that tells you which handful of rooms on a forty room plan actually need that deeper analysis, rather than running full simulation on every single room by default.
For the rooms that pass comfortably, well above that 20 percent mark with a shallow enough depth, you can generally move on with reasonable confidence and save the simulation budget for the rooms the quick check actually flagged as borderline.
External obstruction as a quick modifier
The ratio check covered so far assumes a window has a reasonably clear view of the sky, which isn't always true, and it's worth building a rough mental adjustment for obstruction into the same five minute pass rather than treating it as something only the full simulation catches. A window facing a narrow light well, a close neighbouring wall, or a deep covered veranda is going to underperform its raw glazed area significantly compared to the same window on an open elevation, and while I won't pretend to have a precise multiplier for this at the manual-check stage, treating any window with a substantially obstructed outlook as needing to clear a noticeably higher ratio than the standard 10 to 20 percent benchmark is a reasonable rule of thumb to flag it for closer attention.
I look at this the same way I look at room depth, it's not a number I'd put in front of a client as a finished calculation, but it's exactly the kind of factor that should push a room from 'looks fine at a glance' into the pile of rooms worth escalating to a proper daylight factor study, rather than something a rough ratio check alone is equipped to resolve with any real confidence.
Further reading
Questions
Frequently asked
What's a rough window to floor area ratio target for daylight?+
A commonly used benchmark is somewhere around 10 to 20 percent of the room's floor area as actual glazed area, with deeper rooms needing the higher end of that range and shallow, well lit rooms able to sit toward the lower end.
Does swapping a fixed glass window for an operable one change daylight much?+
Yes, meaningfully, because an operable shuttered window typically has 65 to 80 percent glazed area within its opening versus 85 to 95 percent for fixed glass, so a like for like swap can drop actual glazed area by 15 to 20 percentage points.
Is this manual ratio check a substitute for a real daylight factor study?+
No, it's a fast triage tool to flag rooms worth a closer look, deep rooms, low ratios, or compliance driven spaces still need a proper simulation that accounts for sky conditions, obstructions and internal reflectance, which a manual check can't capture.
Free downloads from this article

Free CAD block library
Download the blocks from this article — free, no signup

