Choosing window blocks for a daylight and shading study
Which window blocks to use when laying out a daylight or shading study, and how orientation and glazing type change what you should draw.
Saumyajit MaityUpdated 28 June 20265 min read
A shading study starts with what's actually glazed
Before you run a single sun angle diagram or shadow study, the block choices on your elevation already decide half the answer, because a daylight and shading study is really just asking how much of a facade is glass, where that glass sits, and how it's oriented, and none of that means anything if the window blocks on your drawing don't accurately reflect the real glazing area. I have seen more than one early stage study go sideways because someone used a generic rectangular window block as a placeholder and never went back to swap in the actual fixed glass versus openable mix, which quietly changes the total glazed area the study is supposed to be measuring.
So the first pass, before any sun path or shadow analysis, is simply auditing every window block on the elevation and confirming it matches what's actually specified, fixed glass, single shutter, awning, whatever the real design calls for, because the study is only as accurate as that input.
Why glazing type changes the calculation, not just the look
A fixed glass window and an operable shuttered window of the same overall opening size do not have the same effective glazed area, because a hinged or awning sash needs frame depth for the hardware, mullions where panels divide, and a sash frame around the glass itself, all of which reduce the actual glass area compared to the total wall opening. Roughly speaking, fixed glass can get you somewhere in the range of 85 to 95 percent glazed area relative to the opening, while a shuttered operable window, especially a multi shutter arrangement, might land closer to 65 to 80 percent once you subtract frame, mullions and sash overlap.
That difference matters directly for a daylight study, because daylight factor calculations care about actual glass area, not opening size, so swapping a fixed glass block for a 3 shutter operable block on the same wall opening, without adjusting the study, will overstate the daylight the room actually receives.
Orientation and which mechanism actually helps
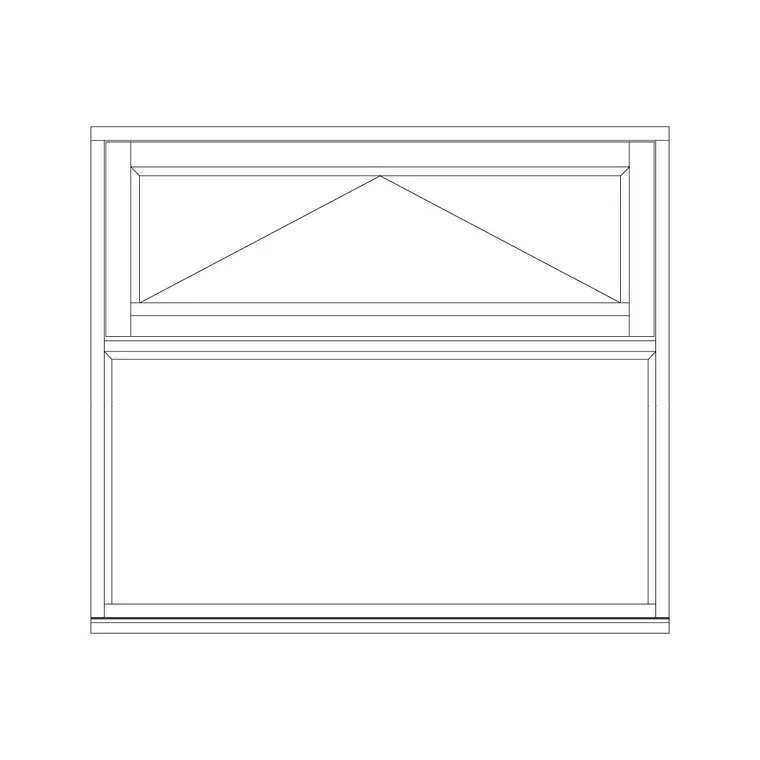
For a shading study specifically, mechanism matters almost as much as orientation, because an awning window's own sash geometry, tilting outward from a top hinge, provides a small amount of self shading on the lower portion of the glass when the room faces a low sun angle, which a fixed glass or sliding window simply doesn't offer. On a west or east facing elevation, where low angle sun is the main problem the study is usually trying to solve, I flag awning windows as a genuine, if modest, contributor to passive shading alongside whatever external shading device the study is evaluating.
On a south facing elevation in the northern hemisphere, or north facing in the southern hemisphere, where the sun angle is generally higher and easier to control with an overhang, the mechanism matters less for shading and glazing area becomes the dominant factor in the study instead.
Setting up the elevation blocks for the study
For the study elevation itself, I keep window blocks simple and accurate rather than decorative, plan view and elevation blocks that clearly separate fixed glass area from frame and mullion area, because whatever tool or method you're using to calculate daylight factor or run a shadow analysis needs to be able to read glazed area off the drawing without you manually recalculating it from a generic rectangle. If you're working purely in AutoCAD without a dedicated daylight analysis tool, this often means hatching the actual glass area distinctly from the frame on the elevation block, so the glazed percentage is visually and numerically clear at a glance.
Keep every window block on a dedicated layer separate from doors and other openings too, since isolating just the glazing for a shading study is far easier when you can freeze everything else and look at glass area alone.
A quick way to sanity check a facade before deeper analysis
At the end of the day, before committing to a full solar analysis tool, I run a rough manual check directly off the elevation drawing, total wall area for the facade in question, total glazed area from the window blocks actually placed, and divide one by the other to get a rough window to wall ratio, which is a decent first pass indicator on its own. A residential facade commonly sits somewhere in the 15 to 30 percent window to wall ratio range depending on climate and orientation, and if your elevation is coming out well outside that range, it's worth a second look before running a full study on numbers that might already be off.
This manual check also catches block substitution errors fast, if a facade that's supposed to read as heavily glazed is coming out at 12 percent window to wall ratio, chances are a fixed glass block somewhere got swapped for a smaller operable one during a revision and nobody updated the study input.
Bringing accurate blocks into your drawing
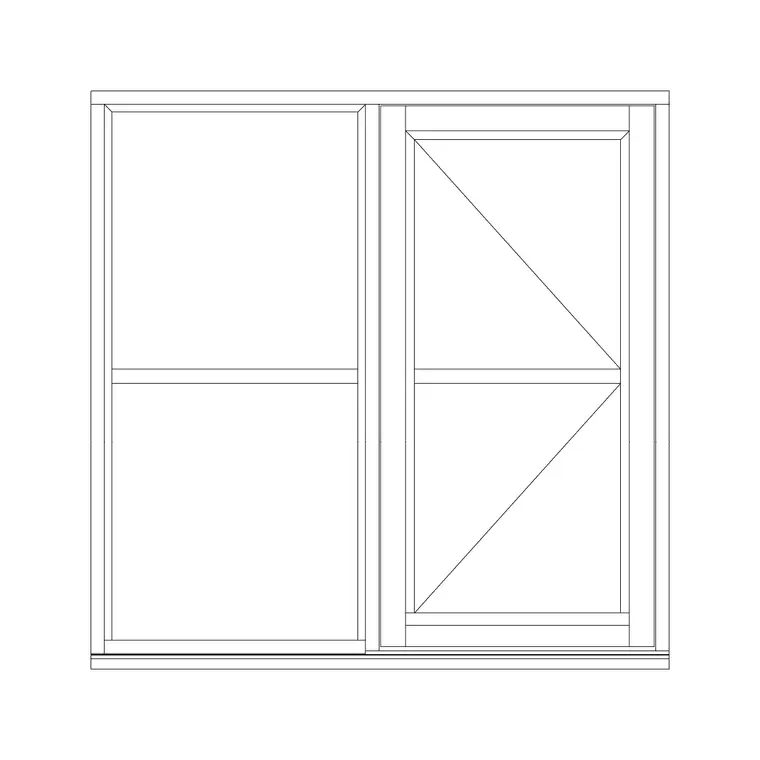
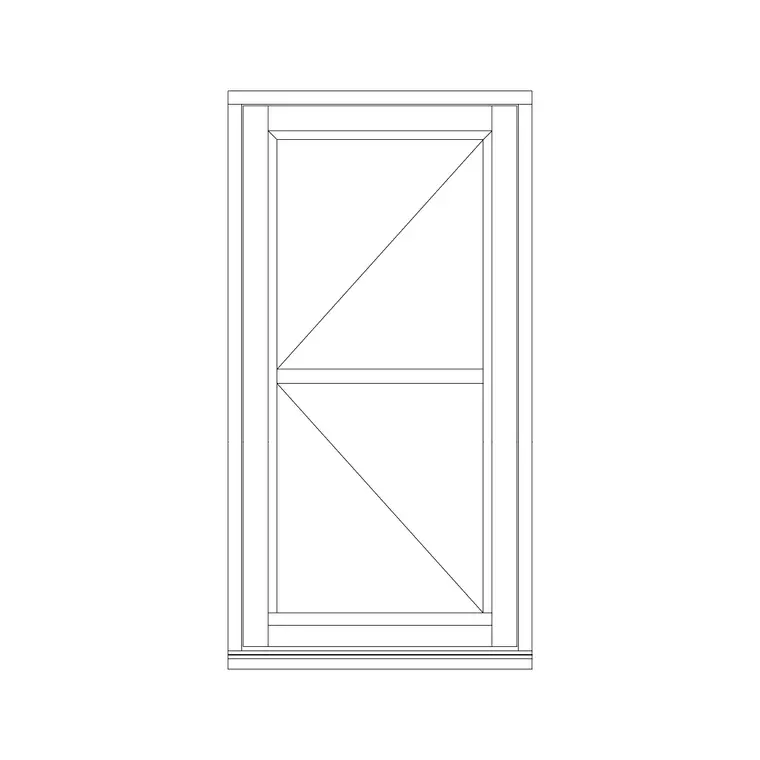
Insert the actual specified window blocks, not placeholders, using INSERT so each one stays a clean named definition, and confirm scale and units immediately, because a units error on a glazing heavy facade throws off a window to wall ratio calculation just as badly as it throws off any dimension check. Where the design mixes fixed glass and operable blocks, like the single shutter openable window with fix glass or awning window with fix glass options, make sure the elevation actually shows that internal split rather than treating the whole opening as one uniform glazed rectangle, since that split is exactly the data a proper daylight or shading study needs.
Once the elevation accurately reflects the real glazing mix, whatever downstream analysis tool or manual method you're using has something honest to work from, which is really the whole point of getting the block selection right before the study even starts. It's also worth revisiting this audit any time a value engineering pass swaps window types late in a project, because a fixed glass block quietly replaced with a cheaper shuttered option for cost reasons will change the actual daylight performance of a room even though nobody touched the opening size on the plan, and that's exactly the kind of change a study run earlier in the project won't catch unless someone remembers to rerun it.
Further reading
Questions
Frequently asked
Does an operable window really have less glass area than a fixed one?+
Yes, because the sash frame, hinge hardware and mullions where panels divide all take up space that would otherwise be glass, so an operable window typically has somewhere around 65 to 80 percent glazed area versus 85 to 95 percent for fixed glass at the same opening size.
Can an awning window actually help with shading?+
It offers a modest amount of self shading on the lower part of the glass because the sash tilts outward from a top hinge, which helps somewhat against low angle sun on east or west facing walls, though it's a minor contributor compared to a proper overhang or louvre.
What's a normal window to wall ratio for a residential facade?+
It varies by climate and orientation, but somewhere in the 15 to 30 percent range is a common ballpark for residential elevations, and a facade coming out well outside that range is worth double checking before running deeper analysis.
Free downloads from this article

Free CAD block library
Download the blocks from this article — free, no signup

