How to Install a .PAT Hatch Pattern File in AutoCAD
A step by step walkthrough for adding custom .PAT hatch pattern files to AutoCAD, and where a real drawn paver block still beats a fill pattern.
Saumyajit MaityUpdated 17 July 202610 min read

What a .PAT file is, and what it is not
A .PAT file is a plain text file that AutoCAD reads to define the geometry of a hatch pattern, basically a set of line angles, spacings, and offsets written out as numbers so the software can tile them infinitely across whatever boundary you draw. Every hatch you have ever applied, brick, gravel, insulation batting, cross hatch steel, is really just one of these text definitions being repeated across a closed area, and once you understand that a pattern is just numbers describing a repeating line family, half the mystery around why hatches sometimes look wrong disappears.
I want to be upfront about something before we go further, because it matters for how you should read the rest of this guide: cadblockdwg.com is a library of real drawn geometry, DWG and DXF blocks like doors, furniture, paving units, and trees, and it does not host or distribute .PAT pattern definition files. If you came here looking for a download link to a hatch pattern library, that download does not exist on this site and I am not going to pretend otherwise. What we do have, and what I will reference through this guide, are real paver and floor pattern blocks, drawn as actual line geometry rather than a repeating fill, which turns out to be a genuinely useful alternative for certain drawings, and I will get into exactly when that swap makes sense later on.
For now, the goal is simple: understand where AutoCAD keeps its pattern definitions, how to add a custom one safely, and how to confirm it actually loaded before you build a whole sheet set around it.
Why this distinction matters in a CAD workflow
Computer aided design software, AutoCAD included, gives you fundamentally two ways to repeat geometry across a drawing: blocks, which are discrete, insertable definitions like a door or a chair that you place and can select individually, and patterns, which are fill definitions that tile automatically across whatever boundary you draw and behave more like a texture than an object. Neither approach is universally better, they solve different problems, a block is right when you need to count, move, or edit units individually, a pattern is right when you need to fill a large area quickly with a material indication like gravel or insulation without drawing every line by hand.
Getting this distinction straight early saves a lot of back and forth later, because I still see drawings where someone has tried to fill a floor with individual paver blocks copy pasted one by one, which technically works but bloats the file and is painful to edit, and the mirror image mistake, using a fill pattern where the reviewer actually needed to see and edit individual units. Knowing which tool fits which job, a distinction covered more broadly in the general literature on computer aided design and technical drawing, is really the whole skill here, the .PAT file mechanics are just the technical means of getting a pattern working once you have decided it is the right tool.
Where AutoCAD actually stores hatch patterns
AutoCAD ships with two default pattern files that live inside the program's support folder, acad.pat for imperial units drawings and acadiso.pat for metric ones, and every stock pattern you see in the HATCH command's list, ANSI31, earth, brick, grass, is read out of whichever of those two files matches your current measurement system. On a typical Windows install these sit somewhere like C:\Program Files\Autodesk\AutoCAD [version]\UserDataCache\en-us\Support, though the exact path shifts a little release to release, so the reliable way to find it is through the program itself rather than guessing at a folder.
A custom .PAT file, one you have written yourself or received from a manufacturer, a paver supplier's CAD department for instance, needs to sit somewhere AutoCAD is actually told to look. You have two realistic options here. The quick one is dropping the file directly into that same support folder alongside acad.pat, which works but gets overwritten or lost on a reinstall or version upgrade because it is not really your folder. The more durable option, and the one I use on every machine I set up, is keeping custom patterns in their own folder, say C:\CAD\Patterns, and telling AutoCAD about that location through the support file search path, which is the next step and the one people skip.
Step by step: adding the support file search path
Open the OPTIONS command, either by typing it or right clicking in empty drawing space and choosing Options near the bottom of the menu, then go to the Files tab, which is the first tab on the left in every version I have used going back years. Expand the entry called Support File Search Path by clicking the plus sign next to it, then click Add, then Browse, and point it at the folder holding your custom .PAT file, not the file itself, the folder. Click OK, then OK again to close the Options dialog, and that folder is now part of AutoCAD's search path for the current profile.
The part people get wrong here is the file needs the literal .pat extension, not .txt renamed by hand with the extension hidden by Windows Explorer, because a hidden .pat.txt file will sit there looking correct and simply never load. Turn on file extensions in Explorer's view settings before you do any of this, it saves real frustration later. Also worth knowing, this search path setting lives in the current AutoCAD profile, so if you work across multiple profiles, or hand a drawing off to a colleague on a different machine, the path has to be added again on their end. It is a local setting, not something that travels inside the DWG itself, which surprises people who assume patterns work like blocks that get embedded in the file.
Loading and applying the new pattern
Once the search path is set, run HATCH, and in the Hatch Creation ribbon tab open the Pattern panel's dropdown, or if you are on the classic dialog interface press the button next to Pattern Type and switch it from Predefined to Custom. Your newly added pattern should now show up by the name defined inside the .PAT file itself, which is the text right after the semicolon on its definition line, not the filename you saved it as, and that distinction trips up a lot of people who rename the file and then can't find their pattern under the name they expected.
If it does not show up, close and reopen AutoCAD entirely rather than just starting a new drawing, because the support file search path is read at startup in most versions, not refreshed live while the program is running. If it still is not there after a restart, double check the file actually has valid syntax, a single malformed line in a hand edited .PAT file, a missing comma or a stray space, will silently drop the entire pattern from the list without an error dialog, which is honestly one of the more frustrating quirks in the whole workflow. Testing the file on a throwaway drawing before you trust it on a live project sheet is time well spent.
Metric versus imperial pattern definitions
Here is a detail that causes more support tickets than almost anything else in hatching: a .PAT file written for imperial units, angles and spacings measured in inches, will look completely wrong, either invisible or absurdly dense, when applied inside a drawing set up in millimetres, and the reverse is just as true. AutoCAD does not automatically convert a pattern's internal spacing values between unit systems, so a pattern authored assuming one inch spacing will read as one millimetre spacing in a metric drawing, which is roughly twenty five times smaller, and at that density the hatch usually renders as a solid black smear because the lines are packed far tighter than your screen or printer can resolve.
The fix is not a setting you flip, it is knowing which file the pattern came from and matching it, or scaling the applied hatch aggressively through the HATCHEDIT scale field to compensate, something like a 25.4 multiplier if you are moving an inch based pattern into a millimetre drawing. I go deeper into scale troubleshooting in the next guide in this series, because it is genuinely the single most common hatch complaint I see, but the root cause almost always traces back to this unit mismatch rather than a broken file.
When a real drawn block beats a fill pattern
Patterns are efficient because one definition tiles infinitely, but they are also a visual approximation, AutoCAD is drawing a repeating line family across a boundary, not individual, editable paver units you can nudge, rotate, or swap out one at a time. For a small courtyard, a garden path, or any detail where the client or a reviewer is going to zoom in and actually look at joint lines, a real drawn block often reads better and edits more honestly than a pattern fill.
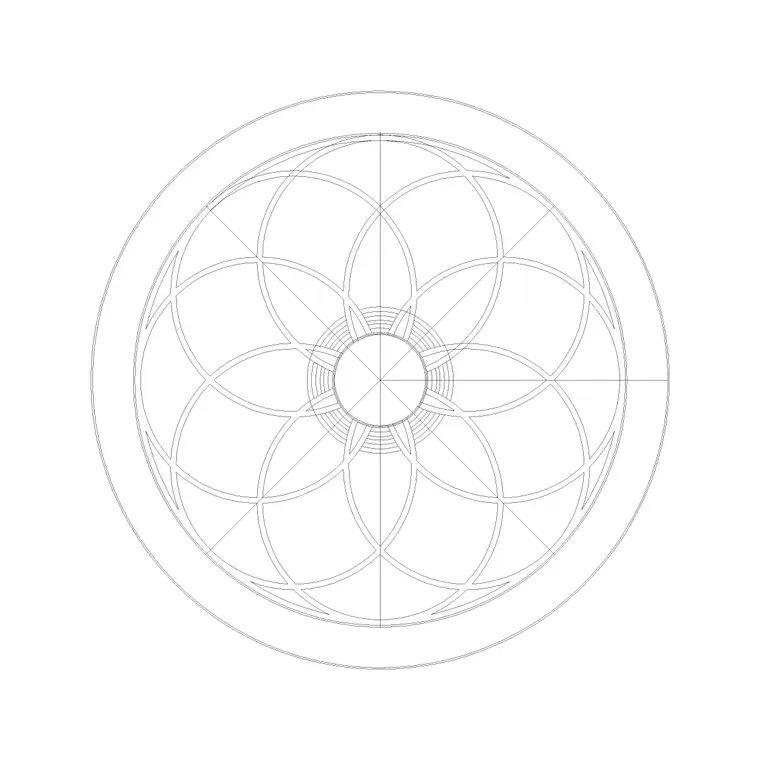
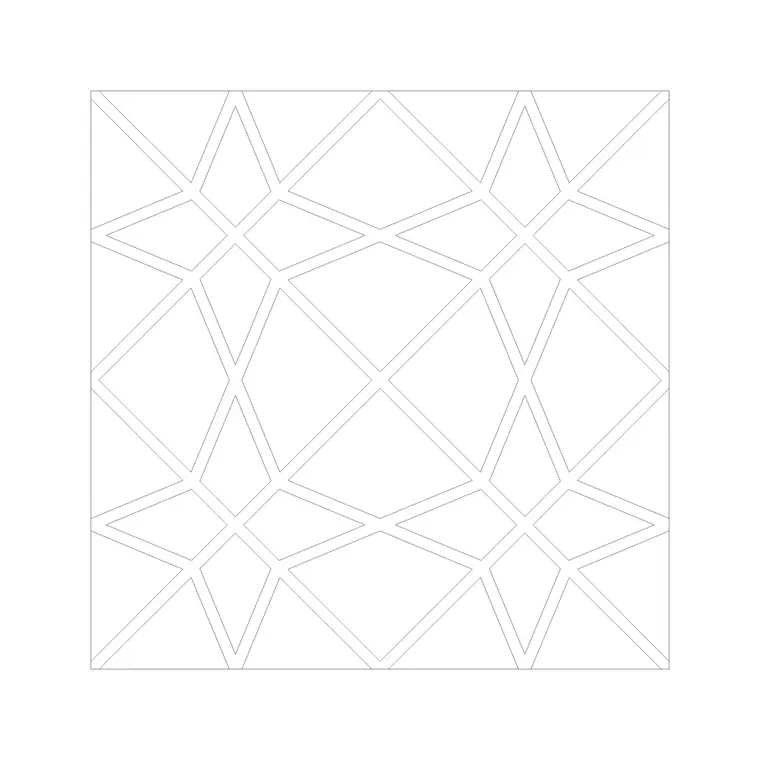
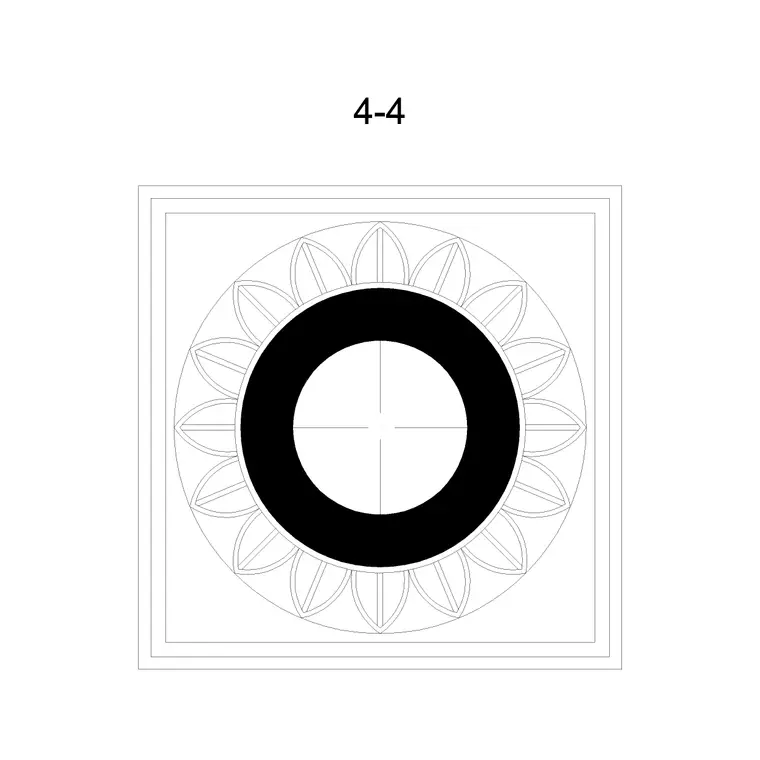
This is where our own catalogue is genuinely useful rather than incidental: paving-block-1 and the other numbered paver blocks in the paving category are drawn as real, discrete units rather than a repeating fill, so you can lay them individually along a path, mix two paver styles at a border, or rotate a single unit without touching the whole field, none of which a hatch pattern lets you do cleanly. I have swapped a hatch fill for a laid out row of these blocks on presentation sheets more than once specifically because a reviewer wanted to see the actual joint pattern at a real scale rather than a schematic fill, and it read immediately clearer once it was real geometry instead of a repeating texture.
Common install mistakes worth checking first
- Saving the file with a hidden second extension, so it is really pattern.pat.txt with Explorer showing only pattern.pat - Pointing the search path at the file itself instead of its containing folder - A hand edited .PAT file with a missing comma, extra space, or wrong line ending, any of which drops the whole pattern silently - Assuming the search path travels with the DWG file when it is actually a per machine, per profile setting - Not restarting AutoCAD after adding the path, since most versions read support paths at launch - Mixing an imperial authored pattern into a metric drawing without adjusting scale, covered above
Working through this list in order catches the overwhelming majority of "my pattern won't show up" situations, and it is worth doing before assuming the file itself is broken, because in my experience the file is usually fine and the search path or restart step is what got skipped.
Keeping custom patterns organized long term
If you work across more than one machine, a laptop and a desktop, say, or you eventually hand your setup to a colleague, do not rely on the default support folder inside the AutoCAD installation directory for anything custom, because that folder gets wiped clean on every reinstall and every major version upgrade, right when you can least afford to lose it. Keep a dedicated patterns folder somewhere outside the Autodesk install tree entirely, on a synced drive or a shared network location if your office has one, and just re-add that path to the support file search path on each new machine or profile, it takes thirty seconds and it means you never lose a custom pattern to an update again.
It is also worth keeping a small text log, even just a plain .txt file in that same folder, noting which pattern is metric versus imperial and which project or client it came from, because six months later a file named custom3.pat tells you nothing and you will end up reopening it in a text editor to figure out what it even is. This is the same discipline that makes a block library actually usable at scale, whether it is our paving blocks organized by slug and category or your own pattern folder organized by unit system and source, a library only saves time if you can find the right item in it quickly, and that habit is worth building early rather than after the second time you have lost track of a file.
Further reading
Questions
Frequently asked
Does cadblockdwg.com offer downloadable .PAT hatch pattern files?+
No. We're a library of drawn DWG and DXF blocks, paving units, furniture, doors, trees and similar, not hatch pattern definition files. This guide covers the native AutoCAD feature, and where relevant we point to real paver blocks in our paving category as a geometry based alternative to a fill pattern.
Why doesn't my custom pattern show up in the HATCH dialog after I added it?+
Almost always one of three things: the file was saved with a hidden second extension so it isn't really a .pat file, the support file search path points at the file rather than its folder, or AutoCAD hasn't been restarted since you added the path, since most versions read that setting only at launch.
Can I embed a custom .PAT file inside a DWG so it travels with the drawing?+
Not the way a block travels with a DWG. A hatch created using a custom pattern does store its applied geometry in the drawing, but the underlying .PAT definition itself lives on the machine's support file search path, so anyone opening your file on a different machine without that same pattern installed will see the hatch import as a basic solid or missing fill.
What's the real difference between a hatch pattern and a paving block?+
A hatch pattern is a repeating line fill computed across a boundary you draw, quick to apply but not individually editable. A paving block, like the ones in our paving category, is real discrete geometry you lay out unit by unit, so you can rotate, swap, or edit a single paver without touching the whole field.
Free downloads from this article
Free CAD block library
Download the blocks from this article — free, no signup