Wardrobe and hanging clothes CAD blocks for a closet plan
Hanging clothes and wardrobe accessory CAD blocks for a walk-in closet plan, with rail heights, garment lengths, and clearances.
Saumyajit MaityUpdated 17 July 20265 min read
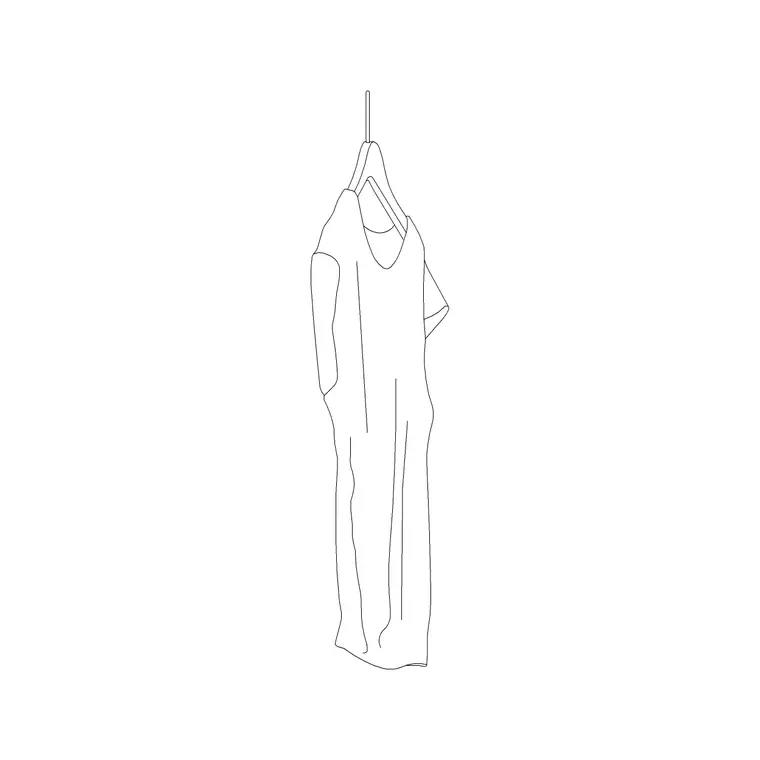
Why a walk-in closet plan needs more than empty rails
A walk-in closet plan drawn with nothing but empty rail lines and shelf outlines is technically complete but it doesn't actually tell a client or a reviewer whether the space works, because closet design lives and dies on whether the hanging clothes, the folded storage, and the circulation space actually fit together without anyone bumping an elbow reaching for a jacket. Adding a hanging garment block, something like the 1-ladies-dress block from the accessories set, to your rail runs turns an abstract layout into something a client can actually read at a glance.
This matters even more on a genuinely tight closet, the kind of project where every 50 millimeters of clearance is being fought over between the designer and the client's wish list, because a plan that looks fine as an abstract line drawing can hide a clearance problem that only becomes obvious once you actually populate it with realistic garment blocks and see how much of the aisle they're actually consuming once hung.
What a hanging garment block actually shows
A hanging clothes block on an elevation shows exactly what the closet designer needs to communicate, garment length from the rail down, which directly determines whether a double hang zone, two rail heights stacked, will actually clear without the upper garments dragging on the lower ones. It also helps sell the design intent, a closet elevation with garments hanging on it reads as a finished, considered space in client presentations rather than a bare technical diagram, which matters more than people admit when trying to get sign off on a closet layout.
It's also a detail that comes up constantly in client walkthroughs of a presentation deck, a closet elevation with garments on it gives a client something concrete to react to, they'll tell you if the hang looks too sparse for their actual wardrobe volume or if a section they expected to be shoe storage is instead shown as hanging space, feedback that's much harder to draw out of someone looking at an empty rail diagram.
Realistic hanging clothes dimensions and rail heights
Realistic hanging garment lengths vary a lot by category, which is exactly why this matters for rail height planning. Shirts and folded jackets on hangers typically run 900 to 1000 millimeters from the rail down, dresses and long coats, the kind the 1-ladies-dress block represents well, can run 1300 to 1400 millimeters or more. A standard single hang rail sits around 1600 to 1700 millimeters above finished floor, while a double hang setup usually splits into an upper rail around 1900 to 2000 millimeters and a lower rail around 900 to 1000 millimeters, with the gap between them needing to clear the longer of the two garment categories hanging on the lower rail without touching the upper hang.
Coat length specifically is worth double checking against your local context, a long winter coat in a colder climate project can run well past 1400 millimeters, closer to 1500, which changes whether a full length coat actually fits comfortably on a lower rail in a double hang configuration without needing its own single hang zone set aside specifically for longer outerwear.
Elevation versus plan, and where each earns its keep
Plan view for a closet is mostly about rail length, shelf depth, and circulation width, the standard clearance in front of a hanging rail for someone to comfortably access it is typically in the range of 600 to 900 millimeters depending on whether it's a walk-through aisle or a dead end reach, and that's a number worth double checking against your drawn aisle width before calling a layout finished. The hanging garment block itself does its real communication work on the elevation, where length, spacing between garments, and the overall density of the hang read clearly in a way a plan view simply can't convey.
It's also worth confirming your aisle clearance number against the specific closet shape you're drawing, a single sided reach in closet with only one wall of hanging can get away with a slightly tighter aisle than a true walk-through closet with rails on both sides, since a walk-through configuration needs enough width for a person to stand comfortably between two facing hang zones without brushing both at once.
Building out shelving and accessory zones around the garments
A closet elevation reads more complete when the hanging zone is paired with adjacent shelving or drawer zones, folded storage for items that don't hang, shoe shelving below, maybe a small bench or ottoman if the closet has the floor area for one. Keeping the garment block density realistic matters here too, an evenly packed wall of garments at identical spacing looks less convincing than a slightly varied density, some sections more full, some with visible gaps, the same way a real closet actually looks once someone's been using it.
Drawer and folded storage zones also benefit from a similar styling pass once the hanging garments are placed, a folded stack block or simple rectangular representation of folded items in an open shelf cubby helps the folded storage read as intentional rather than just an unlabeled empty box on the elevation, following the same logic that makes a styled bookshelf more convincing than a bare one.
Drafting and layering notes for a closet package
Insert the garment block with INSERT along your rail line, keep it on its own accessories or FF&E layer separate from the closet millwork layer so you can turn styling off for a construction document set that just needs to show the rail and shelf framing. Watch scale carefully, a garment block that's been stretched non uniformly to fill a rail length looks distorted the moment anyone zooms in, better to array multiple correctly scaled instances along the rail than to stretch one instance to fit.
If the closet package is being produced for a builder or joinery shop rather than purely for a client presentation, it's worth keeping a second version of the elevation with all styling hidden, since a fabricator generally wants to see the rail, shelf, and drawer framing dimensions cleanly without the visual noise of garment blocks competing with the dimension strings and callouts they actually need to read. That second version doesn't need to be a completely separate file either, a duplicate layout tab with the accessory layers frozen accomplishes the same thing without maintaining two parallel sets of geometry that could drift out of sync with each other over the course of revisions.
Further reading
Questions
Frequently asked
What clearance should I leave in front of a hanging rail in a walk-in closet?+
Roughly 600 to 900 millimeters depending on whether the aisle is a through route or a dead end, tighter clearances feel cramped in actual use even if they technically fit on paper.
What's the gap between double hang rails?+
Enough for the longer garment on the lower rail to clear the upper rail without touching, in practice that usually means an upper rail around 1900 to 2000 millimeters and a lower rail around 900 to 1000 millimeters above finished floor.
Should every rail section show hanging garment blocks?+
No, a mix of hung sections, visible gaps, and adjacent shelving reads more realistic and helps the client actually picture how they'd use the space rather than looking at a uniform wall of identical blocks.
Free downloads from this article
Free CAD block library
Download the blocks from this article — free, no signup


