Accessible route width and matching corridor block layouts
Typical accessible route and corridor width ranges, passing spaces, and how to check a corridor layout against them in CAD.
Saumyajit MaityUpdated 16 July 20266 min read

A corridor is only as accessible as its narrowest point
An accessible route is one of those requirements that sounds simple until you actually trace it through a full floor plan, because it isn't a single corridor width you specify once, it's a continuous path from the site entrance to every accessible space in the building, and the whole route is only as good as its single narrowest point. I've seen otherwise generous corridors get quietly pinched by a fire extinguisher cabinet, a radiator, or a column that was added late in design, and that one localized narrowing can undermine an entire route that reads as compliant everywhere else on the plan.
Typical width ranges for a route and a corridor
Minimum clear width for an accessible route is commonly cited somewhere around 900mm to 1000mm (roughly 36 inches) for a single direction of travel, though many codes and most practical design guidance push toward a wider figure, often 1200mm or more, wherever two-way travel or wheelchair passing is expected, since a single-width corridor with no passing space forces one party to back up whenever two wheelchair users meet coming from opposite directions. Where a corridor can't be widened along its full length, codes frequently allow periodic passing spaces instead, wider pull-out points spaced at set intervals, rather than requiring the full width the whole way through.
As with the other clearances in this series, exact figures shift by code and by occupancy type, so treat 1000mm as a reasonable working minimum and 1200mm as a comfortable target, then confirm the specific requirement for your project type before finalizing corridor widths on a set of construction documents.
It's also worth distinguishing an accessible route's minimum width from the width needed at a doorway specifically, since the two are checked differently, corridor width is measured along an open run of travel, while door clear opening is measured at the single narrowest point of the frame itself, and a corridor that's generously wide right up to a door opening that's only just at minimum width will still read, correctly, as a route that narrows sharply at that one point.
Checking the route, not just the corridor
What I actually do on a floor plan with several accessible destinations is trace the full route from the entrance to each of them as a single continuous polyline on its own layer, then run a distance check at every doorway, every turn, and every point where furniture, fixed equipment, or structure sits close to the path. It's a more thorough check than measuring corridor width alone, because it catches the door swing that momentarily narrows a wide corridor, or the reception desk corner that eats into an otherwise compliant path, both of which are easy to miss if you're only checking the corridor's nominal wall-to-wall dimension.
A specific example makes this easier to spot before it becomes a problem on site, a corridor drawn at a comfortable 1200mm clear width for most of its run can still fail if a door along that route swings inward into the path rather than outward or into a recess, since the swing arc temporarily eats into the corridor's clear width at exactly the moment someone would need to pass through it. I check every door swing along a traced accessible route specifically for this, not just the corridor's static wall to wall dimension, because a door swing is the kind of obstruction that's easy to miss on a plan view where the door is drawn open, but becomes obvious the moment you imagine someone in a wheelchair trying to pass while another person is opening that same door toward them.
Obstructions that narrow a route without looking like they do
Wall-mounted fixtures are the usual culprit, a fire extinguisher cabinet, a drinking fountain, or a piece of signage projecting off the wall face can each eat 100 to 150mm out of a corridor's clear width, and if several of these end up on the same stretch of wall, the cumulative narrowing adds up fast even though each individual fixture looks minor on its own. Furniture placed against a corridor wall in an open-plan office is another common offender, since a filing cabinet or a plant that seemed harmless when the layout was finalized can sit directly across the accessible route's minimum width once it's actually placed on site.
The fix, more often than not, is simply drawing the route as a checked object on the plan rather than trusting that a corridor labelled at a compliant width will stay that way once every other trade and every piece of furniture has been added to the same drawing.
Temporary or semi-permanent additions are worth a specific mention here too, a seasonal display, a sandwich board sign, or a stack of delivery boxes left in a corridor doesn't show up on the original drawing at all, but it's exactly the kind of obstruction that shows up during an actual accessibility audit of a completed building, so it's worth designing a slightly more generous corridor width than the bare code minimum wherever the layout allows it, purely as a buffer against the real-world clutter a corridor accumulates once a building is occupied.
Connecting corridor checks to the rest of the accessible path
A corridor rarely exists in isolation, it typically connects a workstation clearance zone on one end to a doorway with its own clear opening width requirement on the other, and possibly a turning circle at a junction or dead end somewhere along its length. Checking these together, rather than as separate isolated dimension checks scattered across different drawing sheets, is what actually confirms a route works end to end, since a corridor that passes its own width check but leads into a door that fails its clear opening check hasn't really delivered an accessible route at all.
Marking the route clearly for facilities teams
Once a building is occupied, whoever manages the space day to day usually isn't the person who drew the accessible route originally, so it's worth leaving a clear record on the as-built drawing, and ideally a simple diagram for facilities staff, showing exactly which corridors and door swings need to stay clear at the code-minimum width and why. I've seen well-designed accessible routes get quietly compromised over the years by furniture, storage, or seasonal decorations added by people who had no way of knowing that a particular stretch of corridor was operating at its minimum legal width with essentially no margin for error.
A short legend or note block on the as-built drawing explaining what the minimum widths actually mean in practical terms, this corridor cannot host permanent furniture, this door must remain able to open to its full swing, tends to land better with a facilities team than a bare dimension string ever will, since it explains the why behind the restriction rather than just the number, and people are generally more careful with a rule they understand than one they're just told to follow.
Blocks that help visualize the route
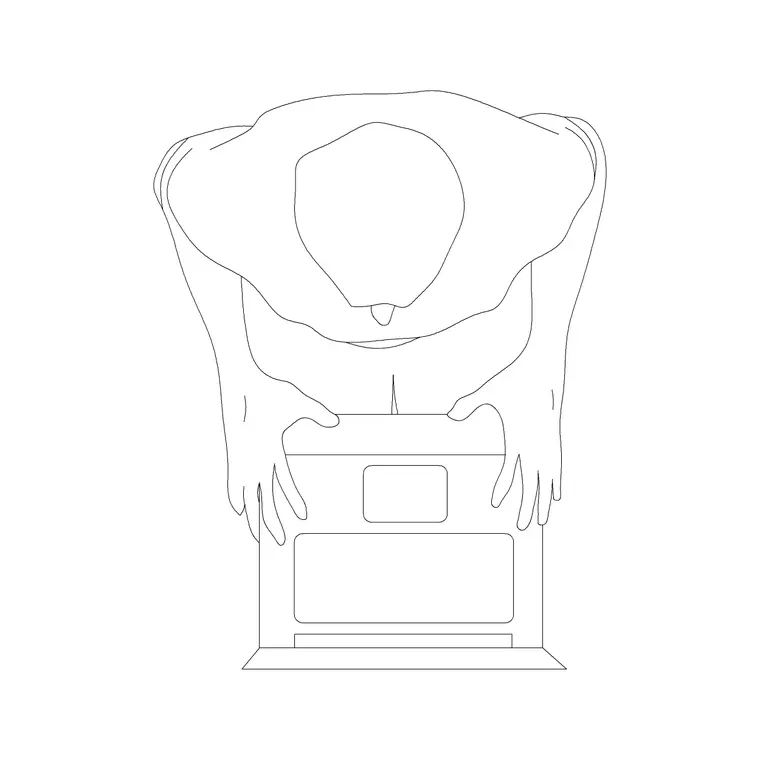
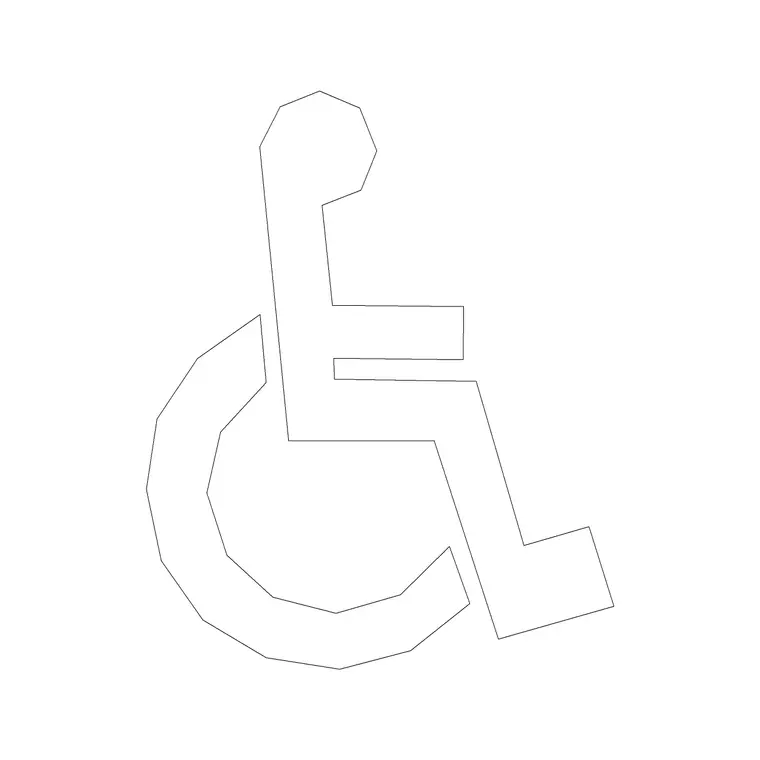
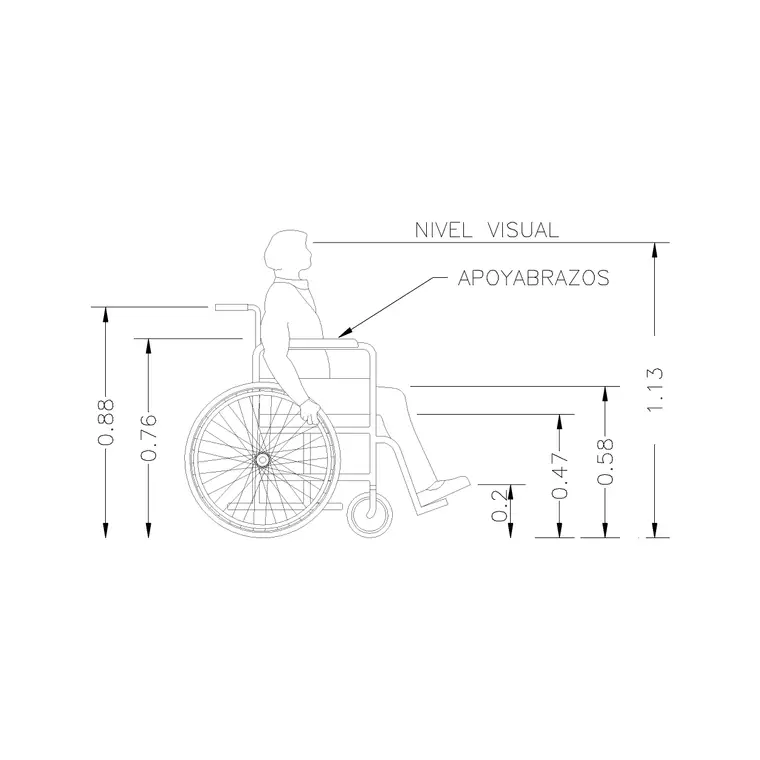
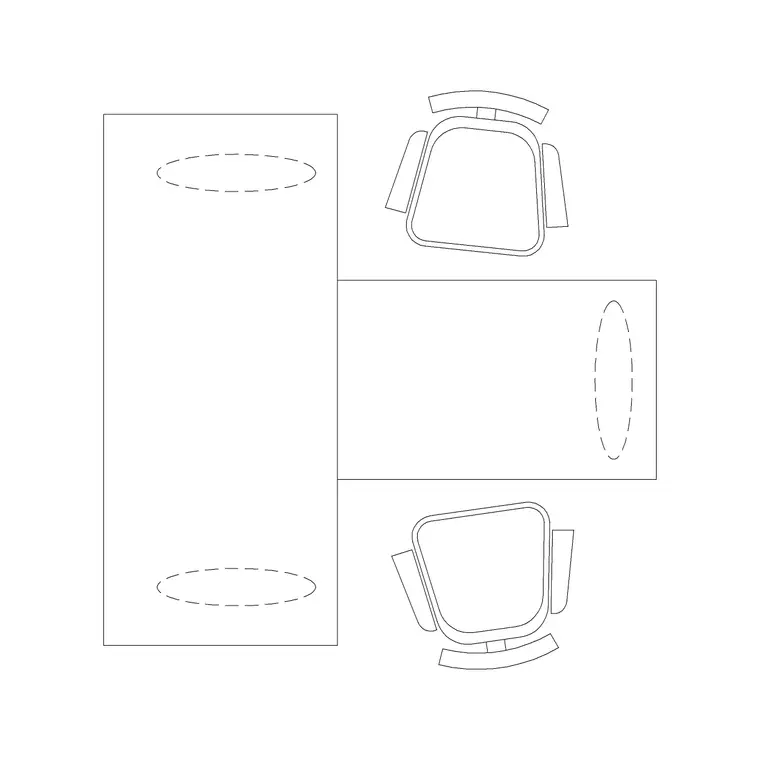
Placing a wheel-chair-accessible block at intervals along a traced accessible route, particularly at doorways, turns, and any pinch points you've identified, gives reviewers a far more intuitive read of the path than a dimension string alone. Both wheelchair variations are free DWG downloads under the building-symbols category, and pairing them with a human-figure-disable block near office workstations or reception areas along the route helps show the full journey a wheelchair user takes through the building, not just an isolated corridor width measurement.
Further reading
Questions
Frequently asked
What is a typical minimum accessible route width?+
Around 900 to 1000mm is a common minimum for single-direction travel, though 1200mm or more is often preferred or required where two-way wheelchair travel is expected. Confirm the exact figure against the code governing your project.
What is a passing space on an accessible route?+
A wider pull-out point spaced periodically along a corridor that can't be widened for its full length, allowing two wheelchair users to pass each other without one having to back up along the narrower stretch.
How do I check a full accessible route rather than just corridor width?+
Trace the route as a continuous line from entrance to destination on its own layer, then check width at every doorway, turn, and obstruction, since a single narrow point can undermine an otherwise compliant corridor.
Free downloads from this article
Free CAD block library
Download the blocks from this article — free, no signup