Toaster and small-appliance CAD blocks for a countertop layout
How to use toaster and small-appliance CAD blocks to plan real usable counter space, not just dress up an empty elevation.
Saumyajit MaityUpdated 3 April 20266 min read
An empty countertop always looks like a showroom
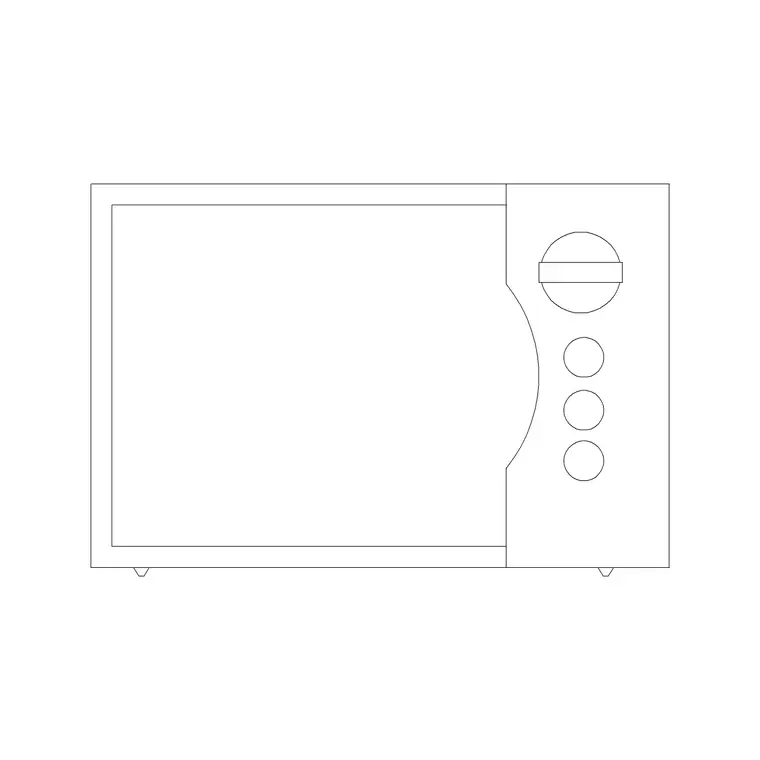
A kitchen elevation with a completely empty countertop always looks like a showroom nobody's actually cooking in, and the fastest way I've found to fix that without modeling a coffee maker from scratch is dropping in a small-appliance block or two. But there's a more useful reason to reach for a toaster block than just visual polish, and that's counter planning. A small appliance sitting on a countertop takes up real linear footage, and if you don't account for it during layout, you end up with a beautiful elevation and a kitchen where nobody has room to actually roll out dough.
This is one of those details that separates a drawing that just looks nice from one that actually holds up when someone tries to use the space it's describing. A countertop scene with three small appliances lined up in a row might photograph well, but if that same row eats fourteen inches of a twenty-four inch deep counter, there's barely enough clearance left for a cutting board, and that's the kind of gap between appearance and function that a good drafter should be catching at the layout stage, not after a client's already fallen in love with the render.
What's in the toasters block on the site
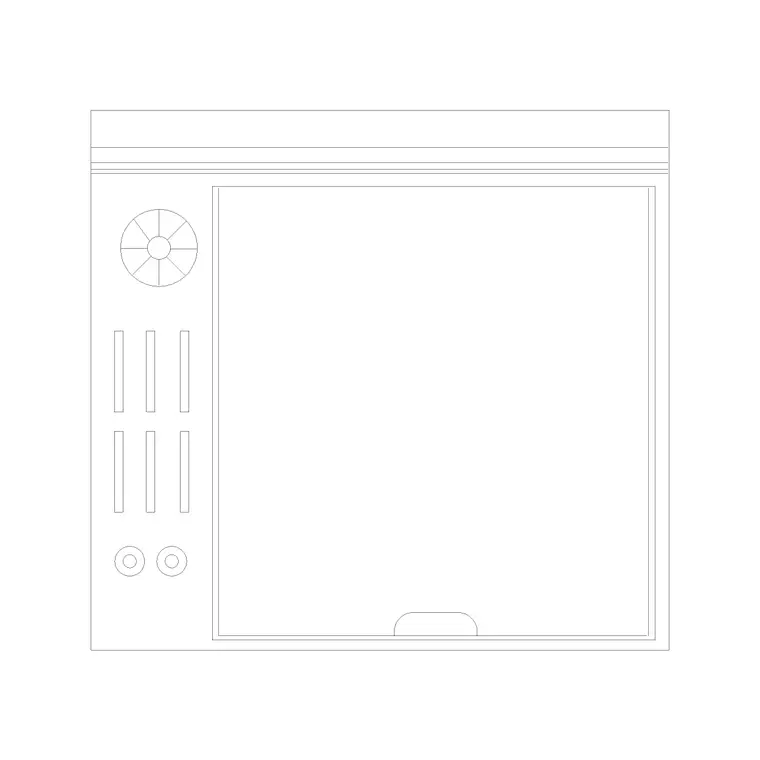
The toasters block on cadblockdwg.com is a small-appliance DWG sized for a standard countertop layout, and it's worth having on hand as your baseline reference for footprint. A typical two-slice toaster runs somewhere around 11 to 12 inches wide by 7 to 8 inches deep, and closer to 7 to 8 inches tall, while four-slice units step up to roughly 12 to 13 inches wide. Those are ballpark manufacturer ranges rather than a fixed standard, small appliances vary more than fixed appliances do, but they're close enough to plan against confidently at the layout stage before a specific model gets chosen.
Placing small appliances without cluttering the drawing
What I actually do when I'm laying out a countertop scene is pick two or three small appliances at most and cluster them near a backsplash run rather than scattering them evenly across every open surface. A countertop that's fully populated with appliances reads as cramped even if it's technically accurate, and a countertop that's completely bare reads as unfinished, so the sweet spot is somewhere in between, dressed enough to feel lived-in, open enough that a client can still see how much usable prep space the layout actually gives them.
A good habit is picking one anchor point, a window, a range, an end of the counter run, and building the small-appliance grouping outward from there rather than scattering pieces evenly across the whole length. Even spacing, oddly enough, reads as staged and artificial, while a slightly asymmetric cluster near one natural focal point reads as something a real household actually arranged over time. It's a small compositional trick, but it's one of the fastest ways to make a countertop scene stop looking like a furniture catalog photo.
Working outlet placement into the same layout
Small appliances need power, and most residential electrical codes require countertop receptacles spaced closely enough that no point along the counter run is more than roughly 24 inches from an outlet, so it's worth checking your project's applicable code before finalizing appliance placement on a construction-facing sheet. Even on a presentation elevation where outlets aren't the point, it helps to place small appliances near where a backsplash outlet would realistically sit, since a toaster floating in the dead center of a long uninterrupted run looks a little off to anyone who's actually used a kitchen.
It's also worth thinking about which small appliances actually need to live near an outlet permanently versus which ones get pulled out, used, and put away. A toaster and a coffee maker are almost always left plugged in and visible, so they belong near a realistic outlet location, while something like a stand mixer or a food processor is more often stored in a cabinet and only appears on the counter during active use. Reflecting that distinction in your countertop layout, rather than treating every small appliance as permanently on display, adds a level of realism that a purely decorative approach tends to miss.
Keeping file size sane with a handful of blocks
Small-appliance DWGs like this one are genuinely light, typically well under 150 KB each, so inserting several of them alongside a toaster, a juicer, and a stack of dishes won't meaningfully slow down a kitchen elevation file the way importing a bunch of heavy rendered 3D models would. That said, keep them on a dedicated furnishing or dressing layer separate from your cabinet and dimension linework, so the layout can be toggled clean for a construction set and toggled dressed for a client presentation without redrawing anything.
Building a small kit you reuse across projects
Once you've got a toaster, a juicer or mixer, and a small dish grouping sized correctly against a known cabinet reference, it's worth saving them as a single reusable countertop kit rather than resourcing them fresh for every new kitchen project. I keep a small personal library of these groupings with a consistent insertion base point aligned to the counter surface, so dragging a fully dressed countertop scene into a new elevation takes seconds instead of rebuilding the composition from scratch every single time.
I'd also suggest keeping two or three variations of that kit at different densities, a sparse version for a construction-adjacent presentation sheet and a fuller version for a pure marketing render, so you're not manually stripping items out of a busy composition every time the same project needs a leaner drawing. Building that variation once saves real time across a project that inevitably needs both versions at different stages.
A mistake worth double-checking before you finalize the sheet
The mistake I see most often with small appliance blocks, and one I've made myself early on, is inserting the block at whatever orientation it downloads in without checking which way the cord and plug actually face relative to the nearest outlet. A toaster block that's mirrored the wrong way relative to a backsplash outlet reads as a small thing until you're actually trying to route the cord in an elevation that's meant to double as an installation reference, and then it's obviously wrong to anyone who's ever plugged in a toaster. It takes about ten seconds to flip the block if you catch it during layout, and considerably longer to explain away in a review meeting if you don't.
The other thing worth checking, especially if you're pulling a block from an older library file, is whether it was drawn to a metric or imperial base unit before you insert it. Most of the small appliance geometry on this site scales cleanly at U.S. residential drafting conventions, but if you're working a project in millimeters and a block comes in reading twice its actual size or a third of it, that's almost always a unit mismatch rather than a bad block, and it's worth catching before you build an entire countertop composition around a scale that's quietly wrong by a factor of twenty five point four.
Further reading
Questions
Frequently asked
How big should a toaster CAD block be relative to the counter depth?+
A standard base cabinet counter runs about 24 to 25 inches deep including overhang, and a typical two-slice toaster at roughly 11 to 12 inches wide by 7 to 8 inches deep should sit comfortably within that depth with room to spare in front for actual use.
Should small appliance blocks appear on a construction drawing set?+
Generally not. Keep permit and construction sheets focused on cabinetry, appliance locations, and dimension strings, and save small-appliance dressing for a client-facing presentation elevation where it helps sell the space instead of adding visual noise.
Can I combine the toaster block with other small appliances on the site?+
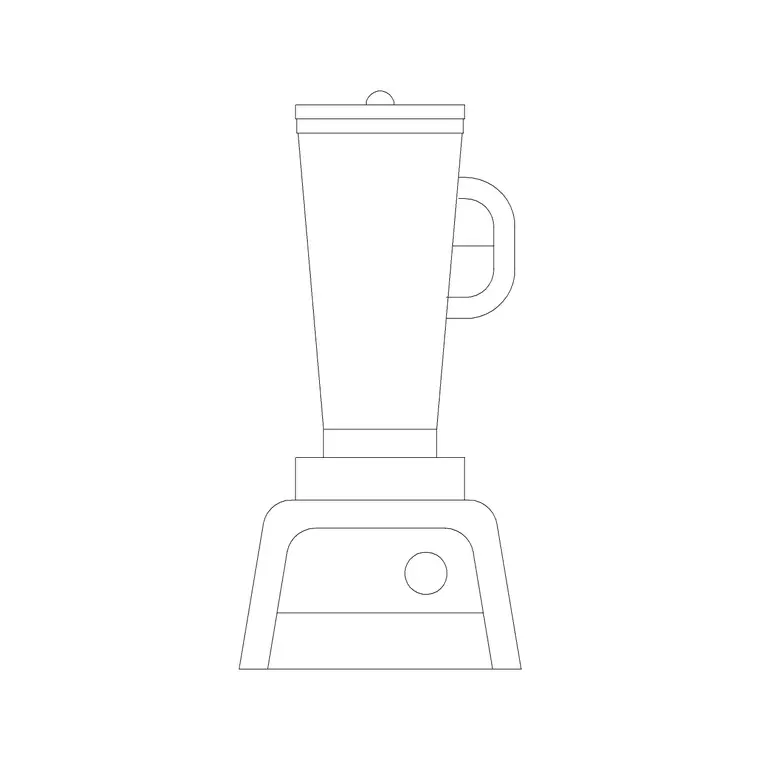
Yes, and it's a common approach. Pairing the toaster with the juicer block and a small accessories grouping fills out a countertop scene quickly without needing to model anything from scratch.
Free downloads from this article
Free CAD block library
Download the blocks from this article — free, no signup