Juicer and mixer CAD blocks for filling out a kitchen render
Using juicer and mixer CAD blocks to give a kitchen render visual life, with scale checks and layering tips so it still reads clean.
Sumana KumarUpdated 26 May 20266 min read

A render that proves a layout isn't the same as one that sells it
A render that proves a kitchen layout works and a render that makes a client stop scrolling and actually look are not the same drawing, even though they might start from the exact same cabinet plan. The first one just needs to be dimensionally honest. The second one needs a bit of life in it, and small countertop appliances, a juicer, a stand mixer, a coffee maker, are one of the cheapest ways I know to add that life without touching your rendering software or modeling anything from scratch.
It's worth being honest about why this works so well too. A client looking at a bare kitchen elevation has to do a lot of imaginative work to picture themselves actually living there, but a client looking at the same elevation with a couple of familiar countertop items already sees a version of their own kitchen reflected back, coffee maker included. That small psychological shift, from evaluating a technical drawing to recognizing a lived-in space, is most of what separates a render that gets approved quickly from one that generates another round of revision requests.
What's in the juicer block on the site
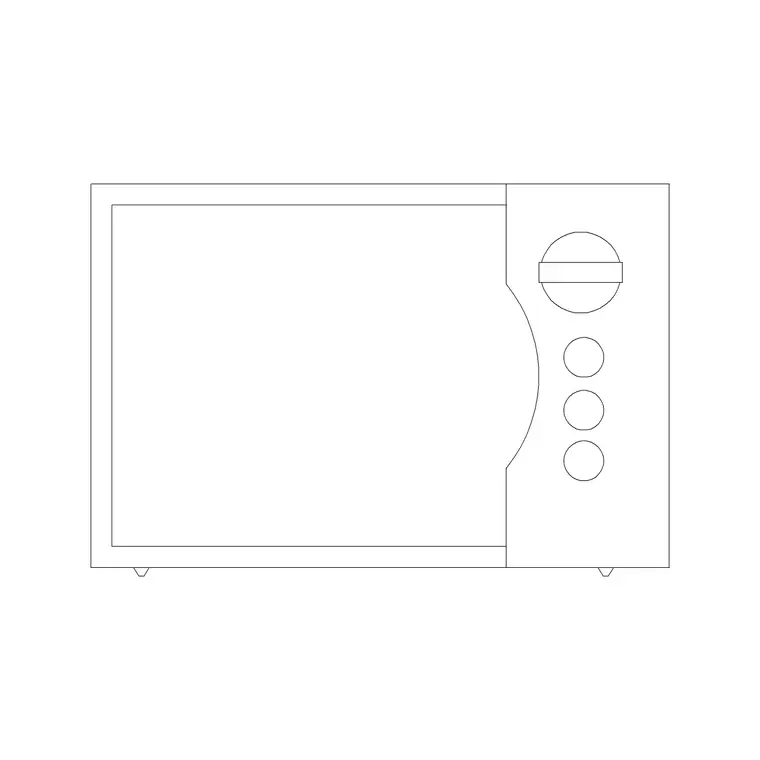
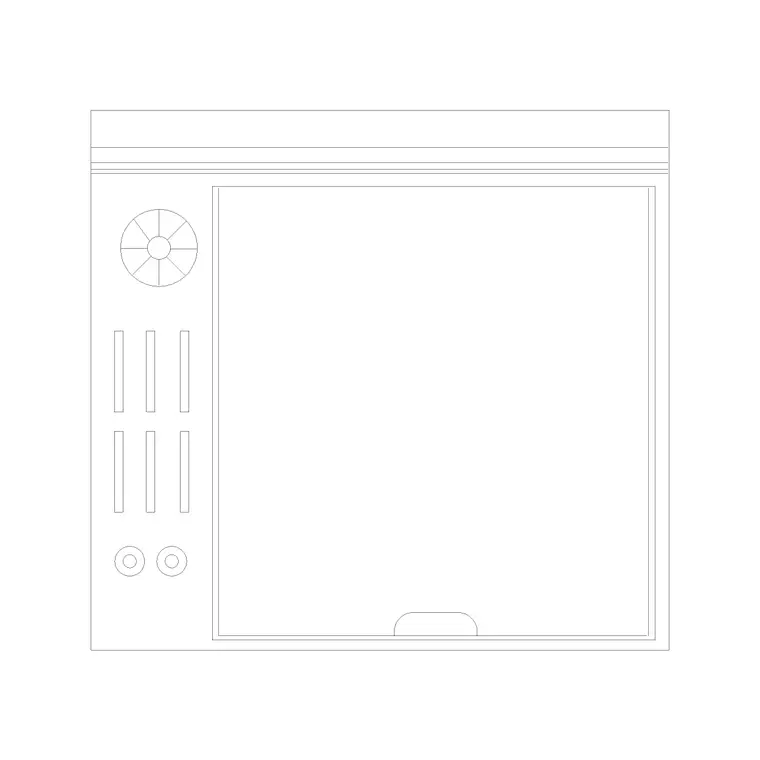
The juicer block on cadblockdwg.com is a countertop-scale DWG, proportioned like a typical juicer or blender base, roughly 7 to 9 inches in diameter at the base and 14 to 16 inches tall including a pitcher or jug on top, which puts it in a realistic range for the small kitchen appliances people actually keep out on their counters rather than stored away. It's a light file, well under 150 KB, so it inserts and moves around a kitchen elevation instantly, no rendering lag, no heavy geometry to manage while you're still iterating on the overall composition.
Because it's a simple 2D DWG rather than a rendered 3D model, it also plays nicely with whatever downstream workflow you're using, whether that's a straight AutoCAD elevation, an export into a rendering package, or a hybrid workflow where the CAD linework gets traced over in a separate illustration tool. You're not locked into one presentation format just because the base geometry started as a flat CAD block.
Where I place small appliances for the best visual balance
What I actually do when composing a kitchen render is avoid dead-center placement almost entirely, since a single appliance stuck in the middle of a long counter run reads as staged rather than lived-in. Instead I'll cluster two items together near one end of the run, maybe near a window or an island corner, and leave the rest of the visible counter open so the eye has somewhere to rest. Asymmetry, oddly enough, is what makes a kitchen render feel like a real space someone cooks in rather than a furniture catalog photo.
Height variation matters just as much as horizontal placement. A juicer with a tall pitcher next to a low, flat toaster creates a small silhouette rhythm along the counter line that a row of same-height objects just doesn't produce. When I'm composing a countertop scene I'll usually pick one taller item and one or two lower, flatter items to sit near it, rather than defaulting to whatever the library happens to offer in a uniform row, since that rhythm is doing a surprising amount of the visual work in making the render feel considered rather than assembled.
Getting the scale right so nothing looks like a toy
The most common mistake with small appliance blocks is inserting one at whatever default scale it downloads at and moving on, without checking it against a known reference like counter height or cabinet width. A juicer that reads as knee-high next to the cabinets, or one that looks small enough to fit in your palm, breaks the illusion instantly for anyone reviewing the drawing carefully. Before you finalize a render, zoom in and eyeball the appliance against a 36 inch counter height reference, it should sit comfortably below eye level for a standing figure, not dwarf the cabinetry around it.
Layering render dressing separately from construction linework
Keep small appliance and styling blocks on a dedicated, non-plotting layer, something like A-KITCH-FURN or FURNISH-NOPLOT, separate from your permit or construction linework. That way the same base drawing can serve two audiences, a clean, dimension-focused sheet for the contractor pricing the job, and a dressed, styled version of the identical elevation for the client presentation, without maintaining two separate files or redrawing anything twice.
This layering habit pays off again later in the project too, when a client asks for a slightly different appliance selection or wants the counter styled differently for a second presentation option. Because the dressing sits on its own layer, swapping one small appliance block for another, or thinning out the composition for a more minimal look, takes minutes rather than forcing you back into the base elevation to untangle styling from structure.
Building a reusable countertop kit
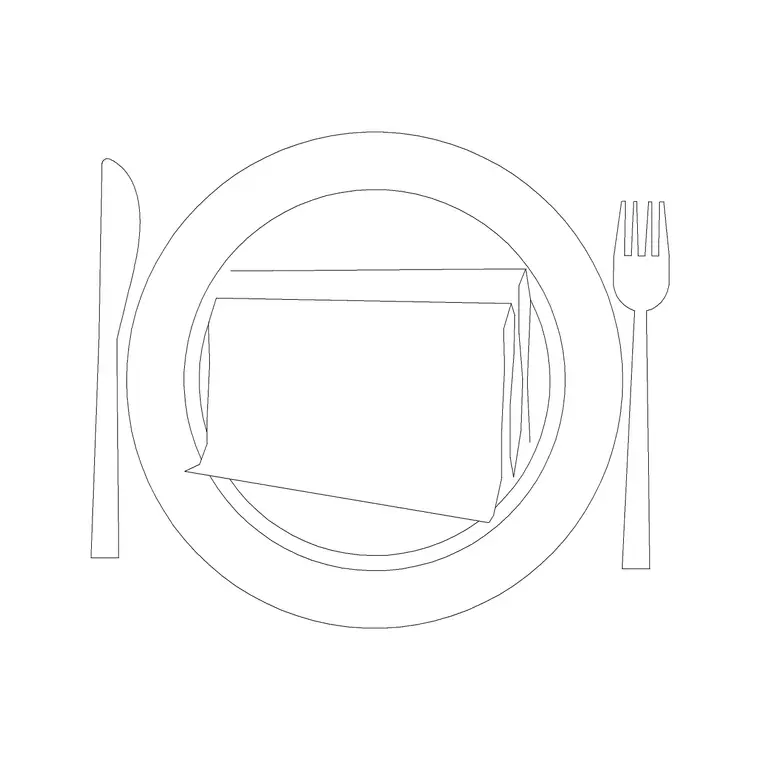
Once a grouping of small appliances is scaled and positioned correctly against a known cabinet reference, save it as a single reusable block rather than re-sourcing and re-scaling everything fresh on the next project. I keep a personal kit that pairs the juicer with the toaster and a small dish arrangement, all pre-scaled and grouped with a consistent base point, so dropping a fully styled countertop scene into a new kitchen elevation takes one insertion instead of ten.
Over a handful of projects, this kit approach compounds. What starts as one grouping built for a single client presentation becomes two or three variations, a minimalist version, a fuller entertaining-focused version, maybe a version styled for a specific design aesthetic, and having that small library on hand turns what used to be an hour of countertop styling into a five-minute insertion and adjustment pass, freeing up the actual drafting time for the parts of the project that need it most.
A worked example that shows why the check matters
Say you're laying out a kitchen elevation where the base cabinets run 34.5 inches tall before the counter goes on, which puts the finished counter surface right at 36 inches, the standard most residential kitchens are built to. If you insert a juicer block and it comes in reading roughly half the height of that counter, something around 18 inches, you've got a genuinely oversized appliance sitting on the counter, one that would look more at home as a small refrigerator than a countertop blender. Run the same check the other direction too, a juicer that reads as barely taller than the counter's own thickness has been shrunk down to something closer to a coffee mug than an actual appliance.
I keep a rough mental yardstick for this, most countertop appliances that people leave out permanently, a toaster, a coffee maker, a juicer, top out somewhere under half the height of an adult standing at the counter, which in a drawing works out to roughly a third of the 36 inch counter height or less. It's not a precise formula, just a fast gut check that catches an obviously wrong scale before it makes it into a client-facing render.
Further reading
Questions
Frequently asked
Will adding several small appliance blocks like the juicer slow down my drawing file?+
Not meaningfully. These are lightweight DWG blocks, typically under 150 KB each, so a handful of them added to a kitchen elevation won't cause the kind of slowdown you'd get from importing heavy 3D rendered models.
Should a client-facing render include appliances the client hasn't actually chosen yet?+
Generic small appliance blocks are fine as scale and life placeholders, just be clear with the client that they're representative rather than the literal product being specified, so nobody assumes the drawing is a final selection.
Can I combine the juicer block with the dishes and toaster blocks for a fuller countertop scene?+
Yes, that's exactly how these small blocks are meant to be used together. Grouping two or three of them, spaced with some asymmetry rather than a perfectly even row, gives the strongest visual result.
Free downloads from this article
Free CAD block library
Download the blocks from this article — free, no signup