Stair rise-and-going ratio: checking a staircase block
How to check rise and going on a downloaded staircase CAD block, typical dimension ranges, and where compliance usually breaks.
Sumana KumarUpdated 22 June 20265 min read

Rise and going is a ratio, and that's exactly why it's easy to get wrong
Rise and going is basically the stair equivalent of a slope ratio, the rise is how tall each step is, the going is how deep each tread is measured from nosing to nosing, and comfortable, safe stairs live within a fairly narrow relationship between the two, not just within individual limits on each number separately. A stair with a comfortable rise but a going that's too shallow feels cramped and trips people up, and one with a generous going but too tall a rise feels like climbing a ladder, so the ratio between them is really the thing that determines whether a downloaded staircase block is usable as-is or needs adjusting before it goes into a drawing.
This is the check I run first on any staircase block before I trust its dimensions, because a block that looks proportionally right in a 3D view can still have a rise and going combination that would never pass a code review once you actually measure it.
The dimension ranges that come up in practice
Typical residential and commercial stair risers usually fall somewhere in the range of 150 to 180mm, with commercial and public stairs often held toward the lower end of that range or below, since public stairs are generally expected to be gentler than a domestic staircase might get away with. Going, the tread depth, is commonly in the range of 250 to 300mm for a comfortable stair, and many codes apply a formula relating the two, often expressed loosely as twice the rise plus the going landing somewhere in a target range, commonly cited around 550 to 700mm, as a check for a comfortable, safe proportion.
Accessible-specific stair guidance tends to push toward the gentler end of these ranges, often capping riser height lower, sometimes around 150 to 170mm, and requiring a more generous going, since stairs used by a wider range of people, including those with limited mobility who use stairs rather than a ramp or lift, benefit from a shallower, more forgiving proportion than a purely space-efficient stair would use.
Winder stairs, where the treads pivot around a corner rather than running in a straight flight, need the going measured at the walking line for exactly the same reason a circular stair does, and it's worth noting that some codes restrict or entirely disallow winders on a stair that's meant to serve as part of an accessible route, favoring a straight flight with a landing at any change of direction instead.
Checking a downloaded block against these ranges
Once a staircase block is in your drawing, I always run a quick DIST check on the riser and going in a section or elevation view rather than trusting the block's labelled dimensions, because blocks get scaled, mirrored, and repurposed across projects, and a scale factor applied at some point in a block's history can quietly throw off the actual measured rise even though the block still looks correct in plan. It's a two-minute check and it's saved me from carrying an incorrectly scaled staircase all the way to a set of construction documents more than once.
The circular-stairs-type-1 block on this site is a good example of a block worth running this check on, since a circular or spiral stair has a going that varies across the width of the tread, narrower toward the inside of the curve, so the rise and going relationship needs to be checked at the walking line, not at the tightest inside edge, which is a detail that's easy to miss if you only measure at the block's centerline by habit.
Reading rise and going from a section view
The clearest way to verify a stair, in my experience, is always in section, not plan, because plan view shows tread widths but hides riser height entirely, and the two need to be read together to judge the proportion. I typically pull a quick section through the stair, even a rough one, whenever a staircase block is going into a drawing for anything beyond a schematic layout, since that's the view where a rise-and-going problem actually becomes visible rather than staying buried in a dimension you'd have to calculate by hand.
Where compliance usually breaks on real projects
The most common failure I've seen isn't a badly designed stair, it's a stair that was correct in isolation and then got compressed to fit a floor-to-floor height that didn't quite match the original design intent, which quietly pushes the rise outside its comfortable range while the going stays the same because nobody rechecked the ratio after the floor height changed. The second common issue is nosing projection, the small overhang of the tread past the riser below it, which affects the going measurement depending on whether it's measured to the nosing or to the riser face, and different codes define this differently, so it's worth confirming which measurement convention your governing code actually uses before you sign off on a set of numbers.
Handrail height alongside the rise and going check
Once rise and going check out, handrail height is the next thing worth confirming on the same stair, typically specified in a range around 900 to 1000mm above the nosing line, measured vertically, with continuous graspable rail on both sides usually required wherever the stair is part of an accessible route rather than a purely secondary staircase. I run this check at the same time as the rise and going check, in the same section view, since handrail height is measured relative to the stair nosings, and having both the tread geometry and the rail height in the same section drawing makes it much easier to confirm the whole stair reads correctly as one coordinated detail rather than two separate dimension checks done at different times.
Where to find staircase blocks on the site
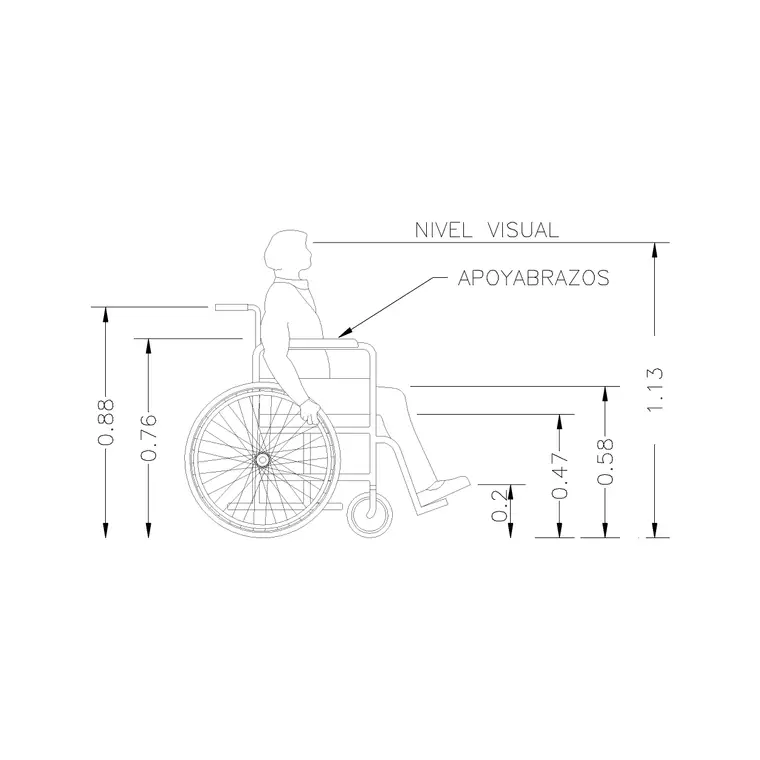
The circular-stairs-type-1 block is available as a free DWG download under the stairs category, and it's a solid starting point for checking rise and going in a real drawing rather than working purely from a code table. Pairing it with a human-figure-disable block on a landing or at the base of the stair is also worth doing wherever accessibility is a live concern for that stair specifically, since it's a quick way to flag, visually, whether the stair is genuinely intended as part of an accessible route or purely a secondary means of vertical circulation.
Further reading
Questions
Frequently asked
What is a typical stair rise and going range?+
Riser height commonly falls around 150 to 180mm and going around 250 to 300mm, with many codes checking the two together against a target sum, often cited loosely around 550 to 700mm. Accessible-specific guidance tends to push toward the gentler end of these ranges.
How do I check rise and going on a downloaded staircase block?+
Pull a section or elevation view through the block and run a distance check on the actual riser and tread dimensions rather than trusting the labelled size, since scaling or mirroring a block can quietly shift its real-world measurements.
Where should going be measured on a circular staircase?+
At the walking line, roughly the center of the typical path a person takes across the tread width, not at the narrowest inside edge of the curve, since measuring at the inside edge will read as far shallower than the stair actually is to use.
Free downloads from this article

Free CAD block library
Download the blocks from this article — free, no signup

