Shrub CAD blocks for a hedge line vs an accent planting
How to draft shrub DWG blocks two ways, arrayed for a continuous hedge and standalone for an accent planting, with sizing tips.
Sumana KumarUpdated 3 May 20265 min read
One block, two completely different placements
At the end of the day a shrub CAD block is a pretty simple bit of geometry, usually a rounded or slightly irregular canopy outline with some internal texture lines, but the way you place that block changes entirely depending on whether it's doing hedge duty or accent duty. A hedge line is a repeated, tightly spaced run of the same shrub used to define a boundary or screen a view, and the drafting goal there is rhythm and continuity. An accent shrub is the opposite, a single specimen or a small odd numbered cluster placed to draw the eye at an entrance, a corner, or beside a piece of site furniture, and the drafting goal there is variety and a bit of asymmetry. Getting those two jobs mixed up, hedging with too much spacing or accenting with a rigid grid, is one of the fastest ways to make a planting plan look mechanical.
What the shrub block gives you to work with
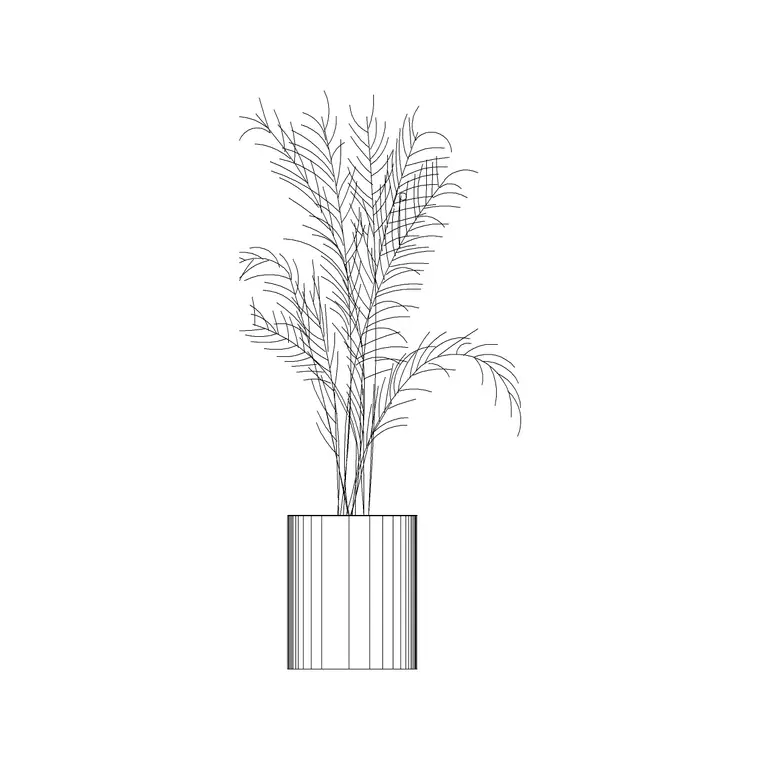
A block like Shrub E16 on cadblockdwg.com is an elevation view shrub, drawn as a rounded mass with enough internal line work to suggest branching and leaf texture without being a photorealistic render, which is exactly the right level of detail for a section or a front elevation where the shrub is one element among many. Because it's vector DWG geometry rather than a raster image pasted in, you can scale it, recolor its lines, or apply a hatch pattern to the canopy if your office standard calls for filled foliage rather than line only planting symbols.
For plan view work you'd pair this elevation block with a top down shrub symbol from the trees and plants category, the same way you would with a tree, since a shrub's canopy footprint from above and its silhouette from the side are genuinely different pieces of geometry that serve different sheets.
Drafting a continuous hedge line
For a hedge, I usually insert one shrub block, get its scale locked to the mature spread I actually want, typically somewhere in the 0.6 to 1.2 meter range for a common clipped hedge species like boxwood or privet, and then array it along the boundary line at a spacing close to that mature spread so the canopies just touch or slightly overlap once grown in. AutoCAD's ARRAY command along a path is the fastest way to do this on a curved boundary, since it'll space instances evenly along whatever polyline defines your hedge run rather than you placing each one manually.
The catch here is that a freshly planted hedge and a mature hedge look very different in spacing, nursery stock for hedging is often planted closer together than the mature spread specifically so the hedge fills in and reads as continuous sooner, sometimes as tight as 0.3 to 0.5 meters between plants for a fast forming screen, so check your landscape architect's planting schedule for planted spacing versus mature spacing before you commit to an array distance.
Placing an accent shrub with intention
For an accent planting, forget the array command and place shrubs individually, usually in odd numbered groups of three or five, staggered rather than lined up, and often with a mix of two shrub sizes or species if the design calls for layering. A common move is a larger anchor shrub near a corner or a doorway with a couple of smaller companion plants offset slightly in front, which reads as a considered composition rather than an afterthought. Rotate each copy of the block a little differently too, since a shrub silhouette repeated at the exact same rotation angle three times in a row starts to look like stamped clip art even at a small scale.
For instance, on a front entrance planting I'll often place one shrub block scaled slightly larger as the anchor, tuck two smaller instances of the same block near it with different rotations, and add a low groundcover or flowering accent nearby to break up the mass, which takes maybe five extra minutes but reads completely differently on the final sheet.
Formal clipped shapes versus a natural informal form
There's a second decision hiding inside the hedge versus accent question, and that's whether the shrub is meant to read as a formal clipped form or a loose natural one, and the block you pick should really match that intent rather than fighting it. A formal hedge, the kind clipped into a crisp rectangular or slightly rounded profile along a boundary, is usually best represented with a fairly regular, even canopy outline in your block, since the whole point of a formal hedge is that consistency, and a block with a very irregular, lumpy silhouette will fight against that read even if the spacing and layer work is otherwise correct. An informal or naturalistic hedge, more common in cottage garden or ecological planting schemes, benefits from more irregular canopy blocks, or from mixing two or three slightly different shrub block variants along the same run so no two sections of the hedge look identical, which is closer to how an unclipped mixed species hedgerow actually grows.
For accent shrubs the same logic applies in miniature, a clipped topiary style accent wants a clean geometric block, a sphere or a cone silhouette, while a loose flowering accent shrub wants the kind of irregular rounded mass that Shrub E16 style blocks already give you. Matching the block's inherent silhouette character to the design intent, rather than treating every shrub block as interchangeable, is a small step that meaningfully changes how professional the finished planting plan looks once it's printed and reviewed.
Layers, purge, and keeping the sheet manageable
However you're using the shrub block, hedge or accent, keep it on its own planting layer, something like L-PLANT-SHRUB, separate from your tree layer and your groundcover layer, so you can isolate and edit each planting type independently later. If you've arrayed dozens of copies along a long hedge run, it's worth running PURGE afterward to clean up any duplicate layers or unused block definitions the array might have dragged in, especially if you started from a block sourced from a different drawing with its own layer standard. Keeping the block's insertion point at the base center rather than an offset corner also makes snapping the array to your boundary polyline far more predictable.
Further reading
Questions
Frequently asked
What spacing should I use when arraying shrubs for a continuous hedge?+
Space at or slightly under the mature canopy spread, commonly around 0.6 to 1.2 meters for typical clipped hedge species, though nursery planted spacing is often tighter than that if the design wants faster infill.
How many shrubs should I group for an accent planting?+
Odd numbers read more naturally than even ones, groups of three or five are the common default, staggered in position and slightly varied in rotation so the cluster doesn't look like a repeated stamp.
Can the same shrub block work for both plan and elevation sheets?+
Not the same instance, an elevation block only shows the side on silhouette, so for a plan or planting layout you need a separate top down canopy symbol paired alongside it.
Free downloads from this article
Free CAD block library
Download the blocks from this article — free, no signup


