Flowering shrub CAD blocks for a residential front yard plan
Drafting flowering shrub DWG blocks for a residential front yard planting plan, with layering, seasonal color and spacing tips.
Sumana KumarUpdated 15 April 20266 min read
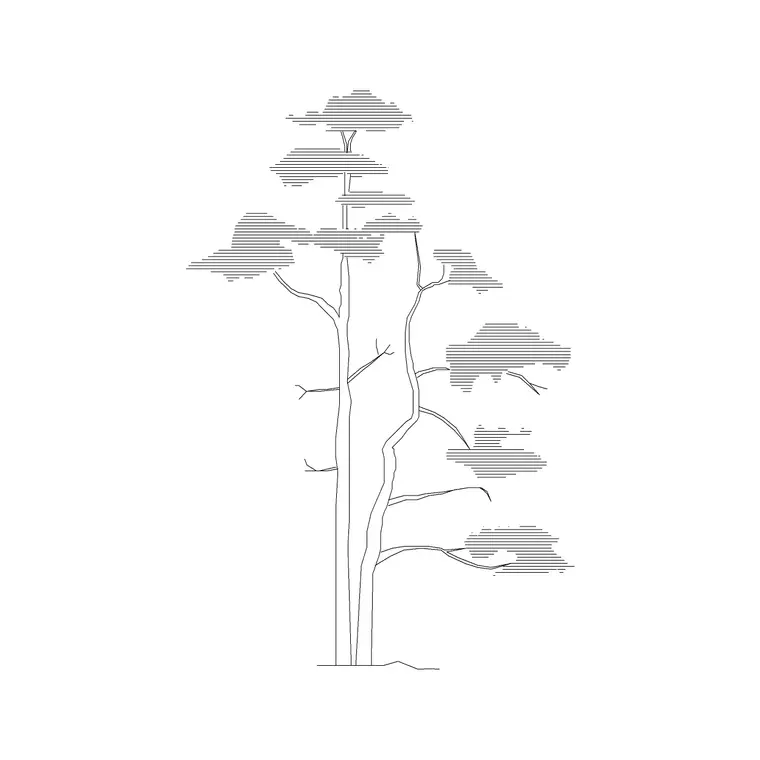
Front yards live and die on the flowering shrub layer
For a residential front yard, more than almost any other type of landscape drawing, the flowering shrub layer is doing the emotional heavy lifting, since a front yard planting plan is basically a curb appeal document as much as it's a technical drawing, and the client reading it is picturing color and bloom rather than canopy circles and setback lines. I always spend a bit more time on the flowering shrub placement on a residential front yard job than I would on, say, a commercial screening hedge, because this is the layer a homeowner client is going to zoom in on and ask questions about, and a generic evenly spaced row of identical shrub symbols undersells a planting design that's actually meant to look considered and layered.
Working with a shrub block that fits the elevation view
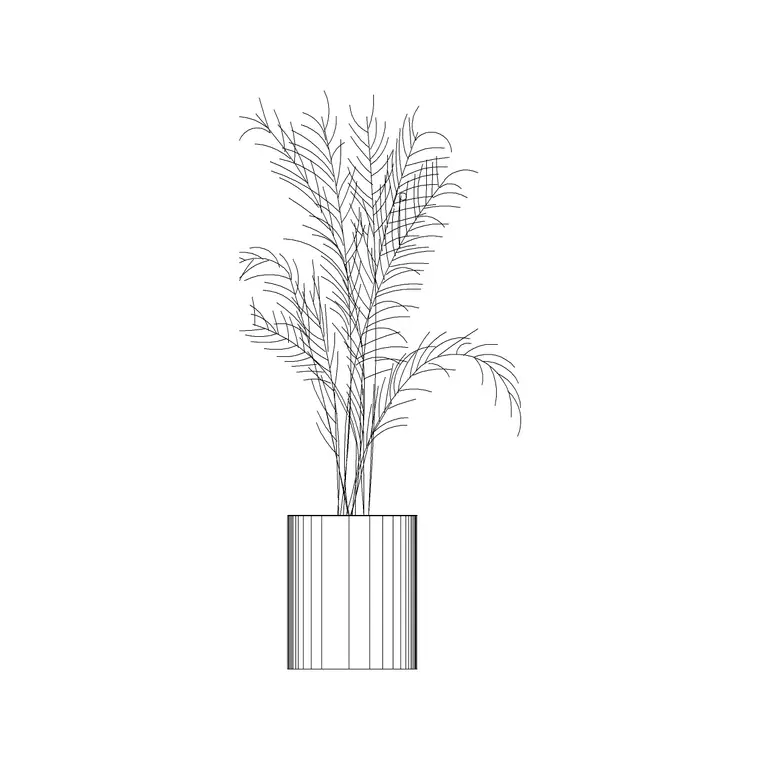
A block like Shrub E16 on cadblockdwg.com works well here as a base elevation shrub, a rounded mass with enough internal texture to read as a real plant rather than a generic circle, and for flowering species specifically you can layer a bit of extra detail onto a copy of the block, a light stipple or a scattered small mark pattern near the canopy edge, to hint at bloom without needing a fully rendered floral illustration, which keeps the drawing in a clean technical line style while still signaling that this particular shrub is a flowering variety rather than a plain evergreen one. For plan view, pair it with a top down shrub symbol and consider a slightly different fill or hatch pattern for flowering shrubs versus foliage only shrubs so the planting plan itself communicates the seasonal color scheme at a glance.
Layering by height for a front yard bed
A convincing front yard planting bed almost always layers by height, taller flowering shrubs at the back near the foundation, mid height shrubs in the middle ground, and low groundcover or small flowering perennials at the front edge closest to the lawn or walkway, and getting that layering right in your CAD blocks means scaling your shrub instances to genuinely different sizes rather than using one block at one scale throughout the bed. A foundation shrub against a house wall is commonly drawn in the 0.8 to 1.5 meter mature height range, a mid layer flowering shrub often sits in the 0.5 to 1 meter range, and front edge plantings frequently stay under 0.4 meters, and keeping those height bands distinct in your block scaling is what makes the front yard plan read as a real layered garden bed rather than a flat row of identical shrubs.
Spacing for infill without overplanting on paper
Flowering shrubs used in a front yard bed are usually spaced a bit tighter than a formal hedge line since the goal is a full, layered look rather than individually distinct specimens, commonly planted at roughly 60 to 80 percent of their mature spread apart so the bed fills in within a couple of growing seasons rather than looking sparse for years. The catch here is that spacing shrubs too tight on paper can make the plan view look like a solid green blob with no readable structure, so it helps to slightly stagger the canopy circles rather than lining them up in a perfectly even row, which also happens to be closer to how a landscaper would actually plant a front yard bed on site.
A mistake that shows up constantly: shrubs drawn too close to the house
The single most common correction I make on a front yard planting plan is a foundation shrub drawn hard against the wall, sometimes literally touching the block outline of the house, when the mature spread of that shrub a few years out is going to push right into the siding or brick and create a moisture and pest problem nobody wants near a foundation wall. A flowering shrub with a mature spread of, say, 1 meter needs its center planted at least half that distance, plus a bit of margin, off the wall face, so I generally hold foundation plantings back a minimum of 0.3 to 0.5 meters from the house for a smaller shrub and more like 0.6 to 0.9 meters for anything reaching a meter or more at maturity. The same logic applies right under windows, where a shrub that's going to top out taller than the sill height is going to start blocking the view and the light within a couple of growing seasons even if it looks perfectly proportioned in the plan the day it's drawn.
Coordinating bloom color and season across the bed
A front yard flowering shrub plan that's genuinely well designed usually stages bloom across the year rather than having every shrub flower at once and then sitting green and uneventful for the other nine months, and while the actual bloom timing is a planting design decision made by the landscape architect rather than something you invent as the drafter, it's worth reflecting that staging in how you label and organize the blocks on the drawing. A simple approach is color coding the shrub block fills or hatch patterns by bloom season, spring flowering in one tone, summer in another, so the planting plan itself visually communicates the succession strategy at a glance rather than requiring someone to cross reference every symbol against a schedule to understand the seasonal design intent.
This matters more on a front yard than almost anywhere else because it's the planting a homeowner looks at every single day walking to their front door, and a plan that shows thoughtful seasonal layering, even just through a simple color coding convention on the drawing, communicates a level of design consideration that a flat, uniform shrub layer doesn't, which is often exactly the kind of detail a residential client remembers and appreciates once the bed is actually installed and blooming through the year. It's also worth anchoring a bloom heavy front yard scheme with at least one or two evergreen flowering shrubs in the mix, something that holds structure and a bit of green through the dormant months, since a bed planned entirely around deciduous bloomers can look genuinely bare in the off season, and a homeowner who only sees the planting plan in a spring rendering sometimes doesn't clock that until the first winter after installation.
Getting the plan ready to hand off
Once the flowering shrubs are placed, keep them on a distinct layer from foundation evergreens and lawn edging, something like L-PLANT-FLWRSHRUB, so a contractor pricing the job or a homeowner reviewing the plan can isolate just the flowering component if they want to phase the planting or price it separately from the structural evergreen planting. Add a simple planting schedule table cross referencing each shrub block instance to a species name, mature size, and bloom season if you have that information, since a front yard plan without a schedule leaves too much interpretation to whoever's actually digging the holes, and a well labeled DWG file with clean block layering is exactly the kind of drawing that translates smoothly from a design concept into an accurate installation on site.
Further reading
Questions
Frequently asked
How should flowering shrubs be layered in a front yard planting bed?+
By height, generally taller shrubs near the foundation, mid height shrubs in the middle of the bed, and low groundcover or small flowering plants along the front edge, using genuinely different scale factors on your shrub blocks to reflect each height band.
How tight should flowering shrubs be spaced for a full looking bed?+
Roughly 60 to 80 percent of the shrub's mature spread apart is a common working figure for infill planting, tighter than a formal hedge line but staggered rather than gridded so the plan doesn't read as a solid block of green.
Should flowering shrubs be on their own CAD layer separate from evergreens?+
Yes, keeping flowering shrubs on a distinct layer from foundation evergreens makes it much easier for a contractor or client to isolate, phase, or price the flowering component of the planting separately.
Free downloads from this article
Free CAD block library
Download the blocks from this article — free, no signup


