Conference Table CAD Blocks: Sizing a Table to Your Meeting Room
How to match a conference table CAD block's size and shape to your actual room dimensions, not just headcount, with clearance math included.
Sumana Kumar10 min read

The table looked fine on paper and wrong in the room
I had a project a few months back where someone sent over a floor plan with a twelve seat table dropped into a room that measured roughly four meters by five and a half, and the render looked perfectly reasonable right up until you actually walked the numbers, because at that size the chairs on the long sides sat almost flush against the wall and nobody on that side could push back to stand up without hitting the person seated behind them. The table block itself was fine, it was a clean swap from a smaller round table to a bigger footprint version to fit a headcount request, and the problem was never the block, it was that the room and the table had never actually been checked against each other, they'd each looked correct in isolation and wrong together.
That's basically the whole failure mode with conference table CAD blocks, and it happens constantly because seat count feels like the obvious sizing input when it's actually the least useful one on its own. The table doesn't know how big your room is, so if you pick a block purely by headcount you're one measurement away from a boardroom that reads fine in the DWG and turns unusable the day the furniture actually lands and people try to sit around it for a real meeting.
Why seat count is the wrong first question
Ten seats tells you how many chairs go around the table, it tells you nothing about how much room those chairs actually need to be used, and that gap is exactly what catches people out. A person seated at a conference table generally needs somewhere around 600mm of chair pullback to stand up and sit down without clipping the wall or the colleague behind them, and if anyone ever needs to walk behind a seated person to reach the far end of the room, you want another 900mm to 1200mm of clear floor beyond that pullback zone. So the honest footprint of a table isn't the table, it's the table plus close to a meter and a half of working space on every side where people are either sitting or walking past.
So the real first question isn't how many seats you need, it's how many meters of clear floor you actually have around wherever the table would go, because that number is what tells you whether a ten seat round table or a full twenty seat conference table block is even physically honest for the space, and it's a five minute check that saves you from redrawing the whole room after a client walks it and says it feels tight.
A quick way to run this check inside the drawing itself is to actually draw the swept arc a chair travels through when someone pushes back to stand, rather than trusting a note in the margin about clearance distances. It only takes a couple of extra circles on the plan, one around each seat position at roughly chair depth plus the pullback distance, and once those arcs are drawn you can see at a glance whether they overlap the wall, a door swing, or each other, which a written clearance note never actually shows you until someone's standing in the room.
Reading your room in width and length bands
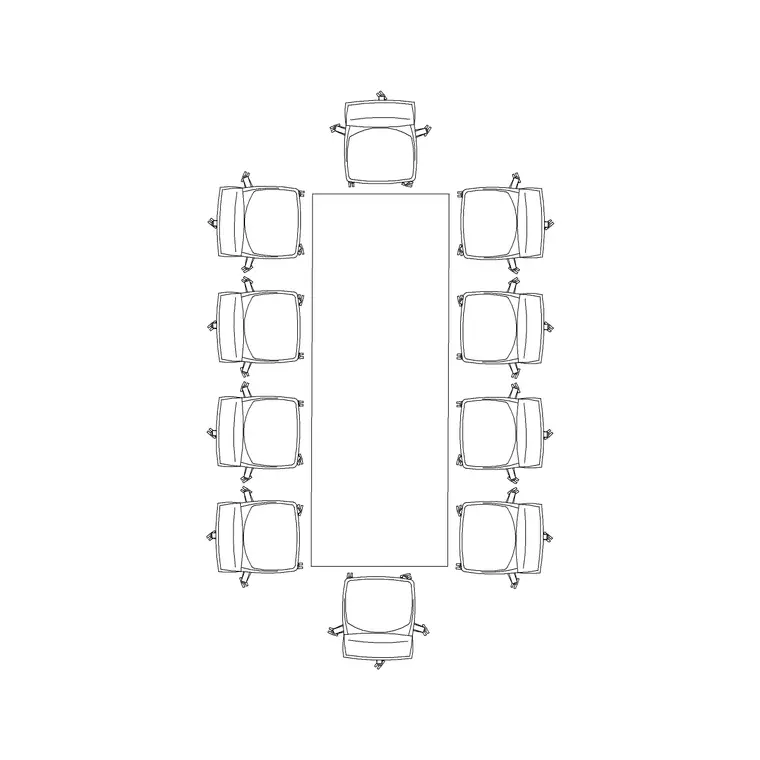
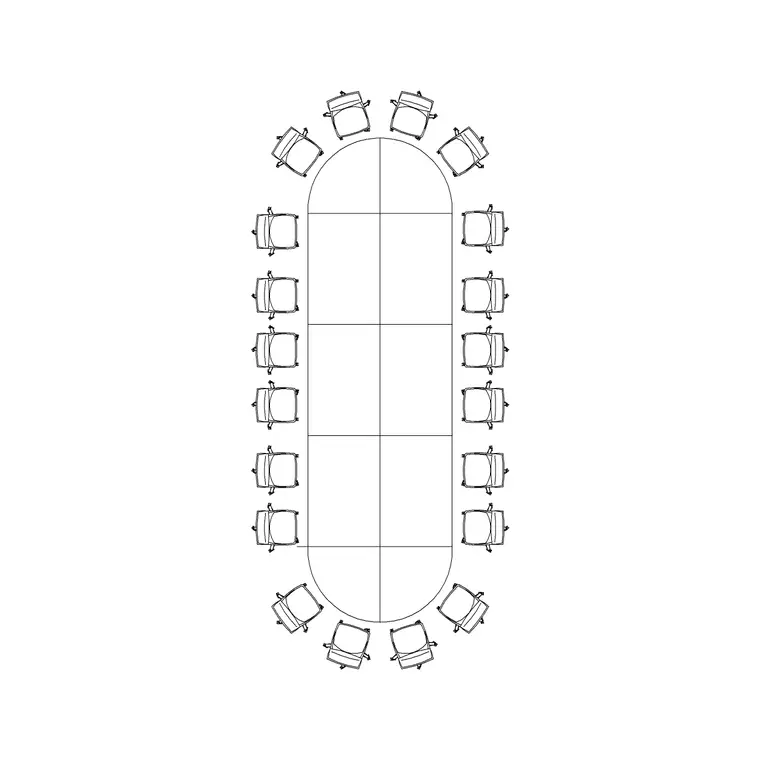
Once the clearance math is sorted, the room itself starts sorting into rough bands, and I treat these as a starting filter on every project rather than a hard rule. A small meeting room running about three and a half to four and a half meters on its shorter side comfortably takes something in the four to six seat family, blocks like the 4-seater-rec-table or the 6-seater-rec-table, both of which leave enough wall clearance for people to stand without doing the sideways shuffle around a pushed in chair. Step up into a mid sized room in the five to six meter range and you're in territory for an 8-seater-round-table or a 10-seater-round-table, sometimes a 10-seater-rec-table instead if the room reads more rectangular than square. Past roughly seven meters on the long axis you're genuinely in boardroom territory, where a 12-seater-round-sides or the full 20-seater-conference-table block starts to make sense, and at that scale the table stops being just furniture and effectively becomes the thing the room gets drawn around.
None of these bands are exact science, since a room that's close to five meters wide but carries a full glazed wall on one side loses real usable depth to blinds and sill clearance that a plain masonry wall wouldn't cost you, so use the number as a starting filter and confirm it against the specific room rather than trusting it blind.
Matching the table shape to the room's proportion
Shape matters just as much as size once the clearance check is done, and this is where a lot of otherwise correctly sized layouts still feel off. A long narrow room, say four meters by eight, almost always reads better with an elongated table like the 10-seater-rec-long-table than with a round table at the same capacity, because a round table dropped into a narrow room leaves awkward leftover floor at both ends that never actually gets used for anything useful. A room that's closer to square is where round tables such as the 8-seater-round-table or 10-seater-round-table genuinely earn their keep, since they let people see each other across the table without anyone occupying a fixed head position, which matters a lot if the room gets used for collaborative work rather than a strict presenter and audience setup.
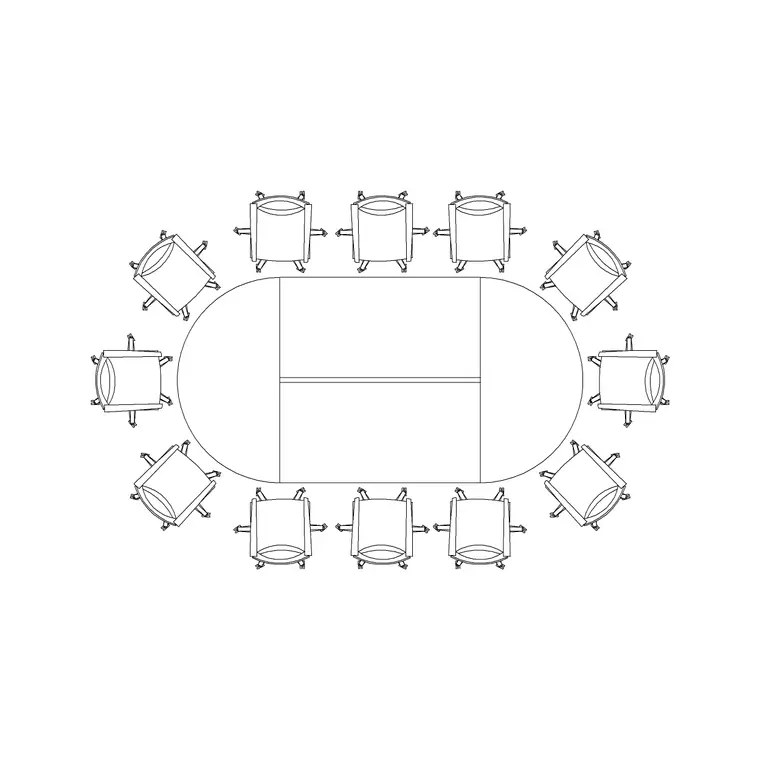
Curved tables solve a slightly different problem again. The 10-seater-curve-table is the clearest example in our set, and it's built for rooms where one wall is dominated by a screen or a run of windows, letting the seating bow gently away from that wall so nobody's chair ends up jammed against the glazing or fighting glare off a display. It's a narrower use case than round or rectangular, but when a room actually has that one awkward wall, it's the block that fits the constraint instead of forcing a straight table edge against a curved problem.
The wall math nobody does: credenza, screen and door swing
Even once the table and room agree on size and shape, most conference rooms carry three more consumers of floor space that rarely make it onto the first pass of a drawing. A credenza or side console for water, glasses and laptop bags typically wants 900mm to 1200mm of wall run of its own, and that floor area has to come from somewhere other than the walking clearance already allocated around the table. If there's a screen or projector wall, the seats closest to it need enough setback that nobody's craning sideways to see the display, which usually pushes the table a touch further from that wall than the raw clearance math alone would suggest. And the door swing, generally 900mm to 1000mm of arc, has to clear the table and any chairs pulled out from it, otherwise you get the exact situation where someone opening the door mid meeting knocks straight into the chair of whoever's sitting closest.
None of this shows up if you only check the table against the room's raw dimensions. It only shows up once you actually draw the credenza, the screen wall and the door swing into the same file as the table block, which is exactly why doing that check inside the DWG before anything gets built is worth the extra fifteen minutes it costs.
Where a smaller oval table earns its place
Not every meeting space is a full boardroom, and a lot of the layouts I see going wrong are actually the opposite problem, someone forcing a big rectangular block into what's really a huddle space or a breakout room sitting off the main boardroom. That's where something like the 5-seater-oval-galss-table does real work, since it's a lighter, smaller footprint block suited to a room that's maybe three to three and a half meters on a side, used for quick standups or a client call rather than a full stakeholder review. The oval shape keeps sightlines open across a short table the way a round table does, without needing the extra depth a true round table wants once you're working at that smaller scale.
The mistake to avoid here is scaling a boardroom's furniture logic straight down to a small room and picking whatever's smallest off the same table family, because the proportions that work at ten seats don't shrink cleanly to four or five, and a 5-seater-oval-galss-table drawn on its own footprint tends to sit more honestly in a small room than a shrunk down big table ever does.
This distinction matters most in buildings that have a mix of room types, a main boardroom alongside two or three smaller breakout spaces, since it's tempting to treat every room in the building as a smaller version of the same boardroom brief. Each of those smaller rooms deserves its own sizing pass using the bands from earlier in this piece, rather than inheriting a scaled down version of whatever table shape and family got chosen for the main room.
Checking the layout with a scale figure before you commit
One habit worth building into this process is dropping a people block into the room alongside the table before locking anything, because a plan view with just furniture on it hides how tight a walkway actually feels once a person's shoulder width and a chair's swept arc are both accounted for. A human figure block at scale next to the table's long edge shows immediately whether that supposed 900mm clearance behind a seated chair is realistic once you've drawn an actual body occupying it, especially in a rectangular room where the corners tend to get forgotten in the seat count math.
It costs nothing to run this check inside the same DWG rather than trusting the raw numbers on their own, and it catches the specific case where a table technically fits the room on paper but a real person walking behind a chair would clip the wall or another chair back.
Revisiting the table when the headcount changes later
One situation worth planning for even before the room is finished is what happens when the team using it grows or shrinks after the fact, because that's exactly when a lot of these boardrooms get revisited, and whether a swap is even possible depends entirely on the clearance math from earlier in this piece. A room originally sized around a 6-seater-rec-table with generous clearance on every side can often absorb an upgrade to an 8-seater-round-table without moving a single wall, simply because the original clearance budget had room to spare. A room that was sized tightly around its original table, on the other hand, usually can't take a bigger block without cutting into the walking clearance that made the room usable in the first place, which is exactly why it's worth building in a bit of slack on the clearance side even when the current headcount doesn't strictly need it.
This is also where knowing the room bands from earlier pays off directly, because if a room sits right at the boundary between two bands, say close to six meters on its shorter side, it's worth deliberately sizing the table toward the larger end of what that band supports rather than the smaller end, simply so the room has somewhere to grow into if the team using it does too.
A sizing checklist before you place the block
By the time you're ready to actually drop a conference table CAD block into a layout, the check itself is short enough to run in a couple of minutes. Measure the room's shorter dimension first, since that's usually the tighter constraint, and match it against the bands above rather than the seat count you were originally asked to design for. Add roughly one and a half meters of combined pullback and walking clearance around every side people actually use, more if that wall doubles as the walking path to the door. Confirm the credenza wall, the screen wall and the door swing all have their own dedicated space and none of them overlap the table's working zone, then and only then pick round, rectangular or curved based on the room's proportion and whichever wall carries the screen.
It's a slower process than typing a seat count into a brief and pulling the matching block, but at the end of the day it's the difference between a table that only reads fine in the drawing and one that actually works the day people sit around it for a two hour review.
Further reading
Questions
Frequently asked
What room size do I need for a 10 seater conference table CAD block?+
As a starting point, a 10 seater table like the 10-seater-round-table or 10-seater-rec-table generally wants a room in the five to six meter range on its shorter side once you account for chair pullback and walking clearance around the table. Confirm it against the specific room rather than treating it as a fixed rule, since a glazed wall or a door swing on that side can eat into the usable width.
How much clearance should I leave around a conference table for chairs?+
Plan for roughly 600mm of chair pullback so someone can stand up without hitting the wall, plus another 900mm to 1200mm of clear floor beyond that on any side where people need to walk past a seated colleague to reach the far end of the room.
Should I use a round or rectangular conference table CAD block for a small room?+
It depends on the room's proportion more than its size. A long narrow room usually reads better with a rectangular block like the 4-seater-rec-table or 6-seater-rec-table, while a squarer room suits a round table like the 6-seater-round-table or 8-seater-round-table, since round tables avoid a fixed head of table position and keep sightlines open for collaborative work.
Do you have a smaller table block for a huddle room rather than a full boardroom?+
Yes, the 5-seater-oval-galss-table is a lighter, smaller footprint option suited to a small breakout room used for quick standups or a client call, rather than scaling a big boardroom table's proportions down to a room that's really a huddle space.
Free downloads from this article
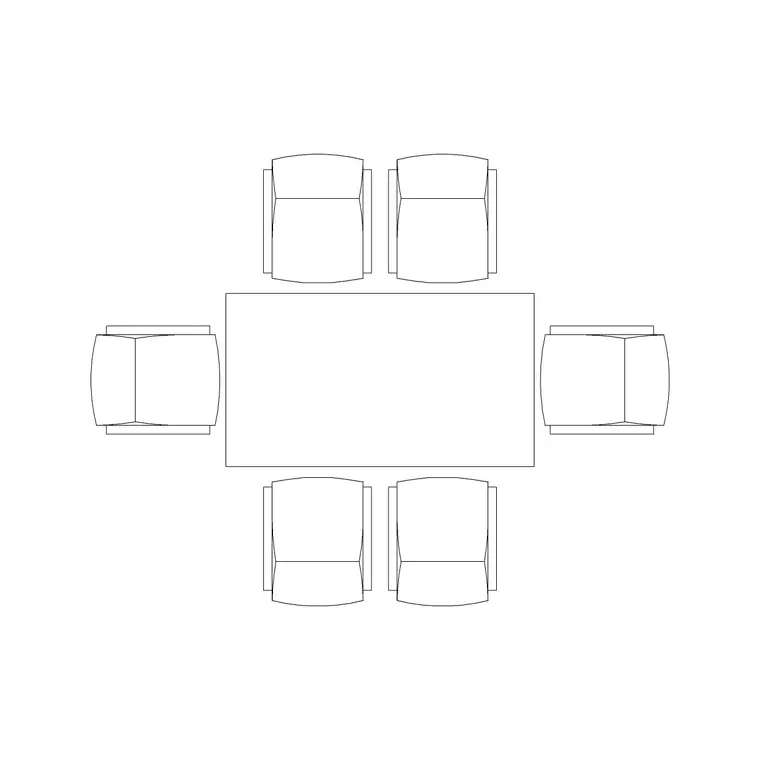
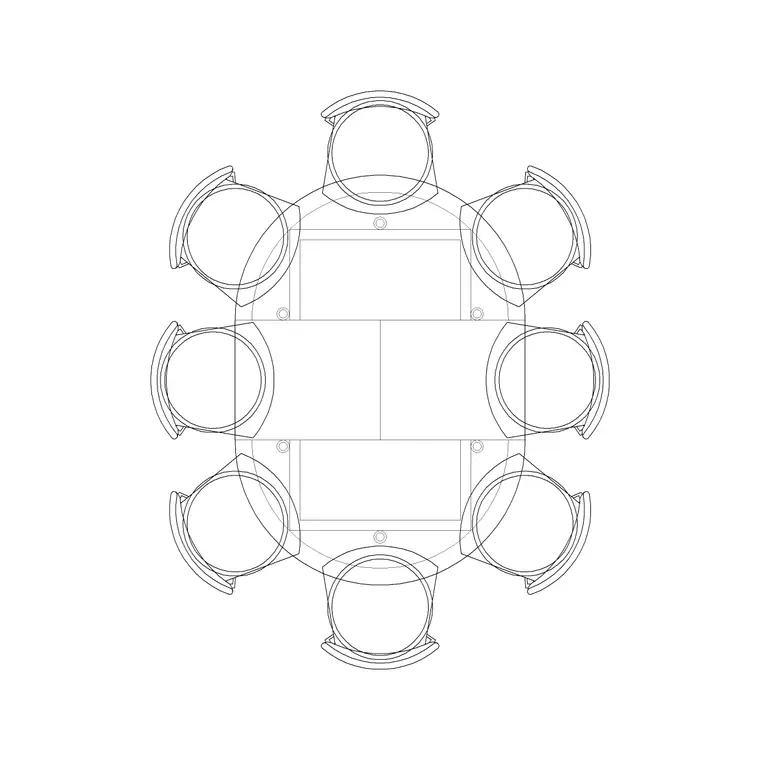
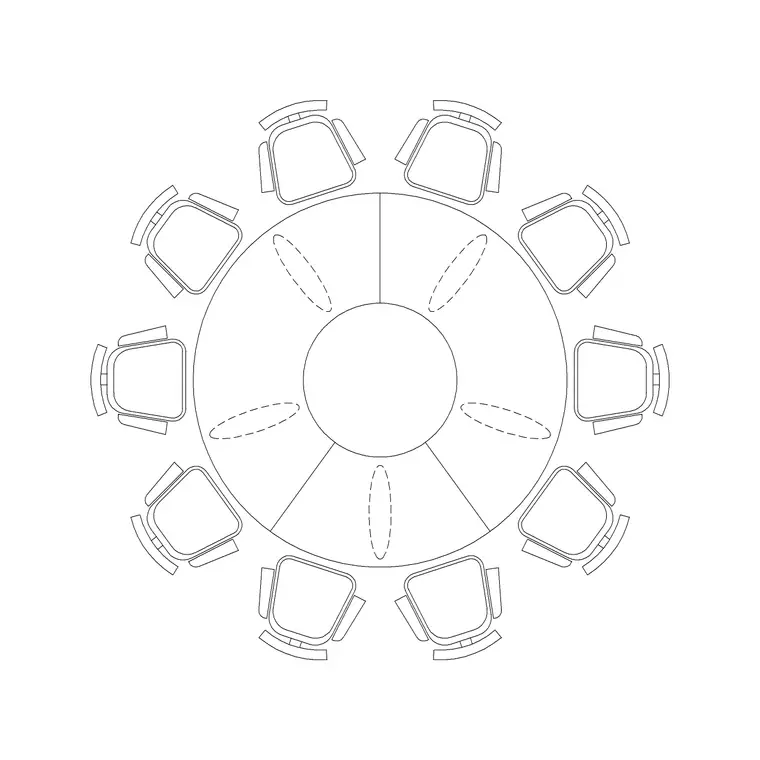
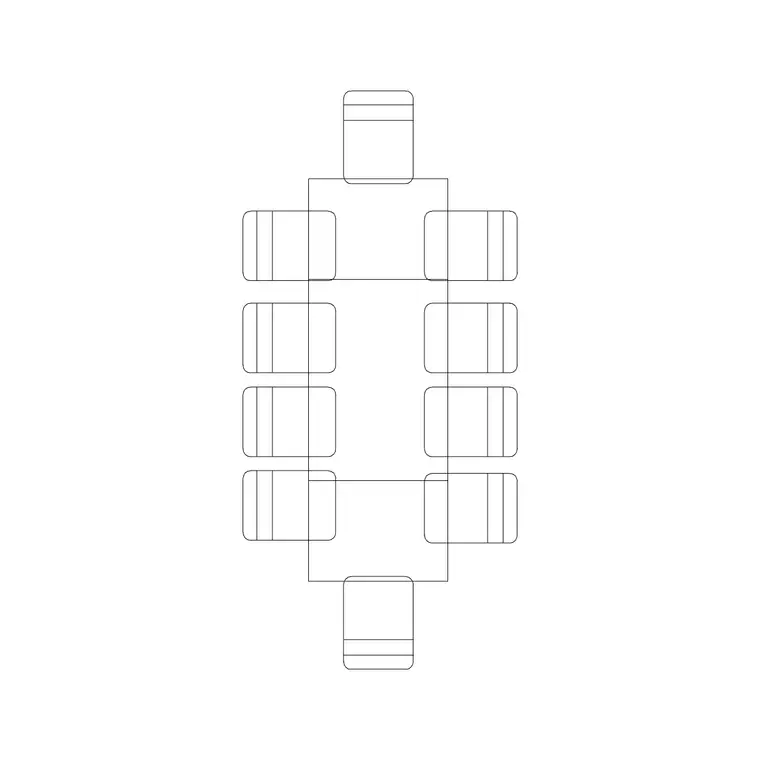
Free CAD block library
Download the blocks from this article — free, no signup


