Reception and Lobby Lighting Layout with Free CAD Blocks
How to layer a statement fixture, wall wash lighting and desk level task light in a reception or lobby CAD plan, with real product picks.
Saumyajit MaityUpdated 19 July 202610 min read

The lobby lighting plan is doing a first impression's worth of work
Nobody walks into a reception area and consciously registers the lighting layout, but everyone registers whether the space feels considered or feels like a waiting room with the fluorescent panels left on, and the gap between those two impressions is almost always the lighting layers, a single flat overhead grid reads as the second kind of space no matter how nice the reception desk itself is.
A reception or lobby that actually photographs well is almost never lit by one fixture type doing all the work, it's a statement piece over or near the desk that gives the space a focal point, a wall wash layer that keeps the perimeter from falling into shadow, and usually some kind of accent light in a waiting or seating zone that keeps the space from feeling clinically even from wall to wall, and drafting all three onto one coordinated RCP is really what separates a reception plan that reads as designed from one that reads as merely lit.
Every block discussed here comes from categories we already carry in real depth, lighting at 357 products and office furniture at 86, so there's no shortage of pieces to compose this layout from, the trick is sequencing them correctly rather than sourcing something new.
The sequencing worth following is roughly the order this post covers it in, desk fixture first because everything else in the room is positioned relative to it, wall wash second because it fills in whatever the desk fixture leaves dark, and the seating accent last since it's the layer that depends most on where the furniture actually ends up sitting.
Start with a single statement fixture over the desk or the entry
The reception desk itself is a single product in our office category, and it's worth building the lighting plan around wherever that desk sits rather than around the room's overall geometry, because the desk is the first thing a visitor's eye goes to, and a fixture positioned to complement it does more visual work than the same fixture centered on the lobby as a whole.
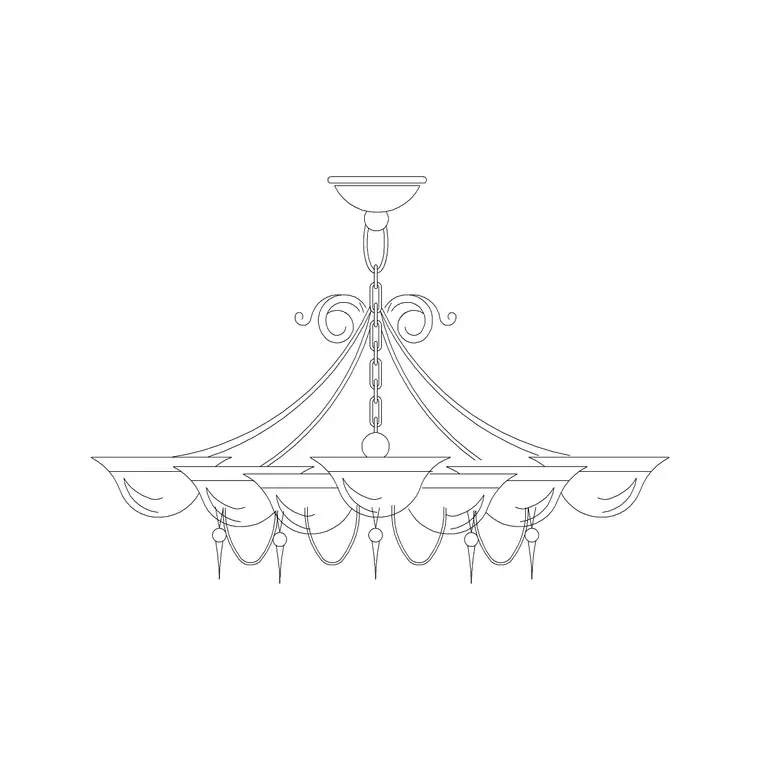
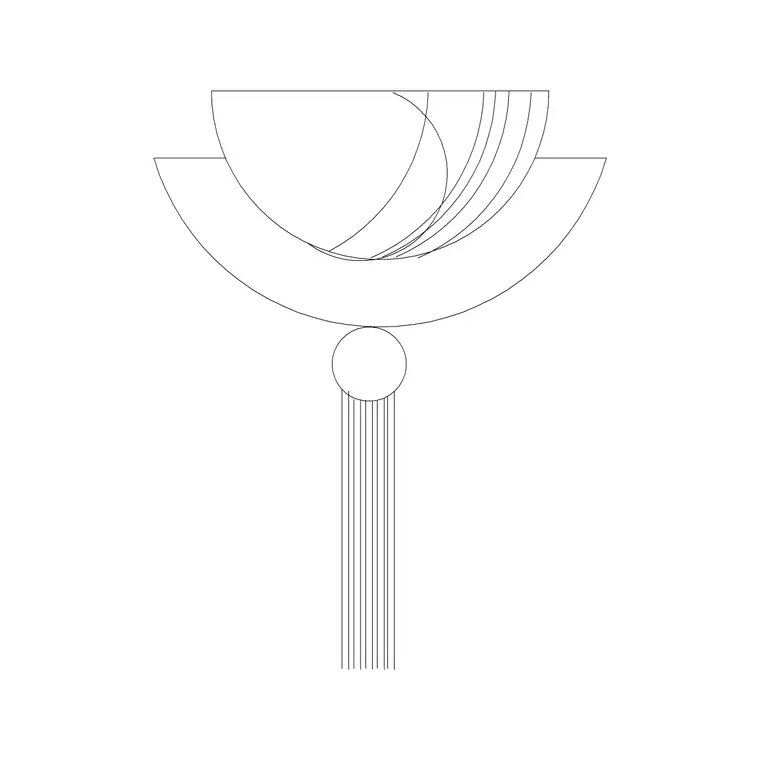
A suspended chandelier from the plain suspended family works well here precisely because it doesn't commit the space to an overly ornate look the way a round drum chandelier might, it reads as considered without reading as residential, and for a smaller reception area or a more compact entry vestibule, the small metal frame chandelier variant scales down nicely without losing that statement quality.
Wherever the statement fixture ends up, treat it the same way you'd treat a chandelier over a dining table, center it on the desk or the entry feature it's meant to highlight rather than on the room's four walls, since a reception space is rarely a perfectly symmetrical room and centering on the wrong reference point is an easy way to end up with a fixture that looks subtly wrong without anyone being able to say exactly why.
For a double height lobby specifically, it's worth reconsidering the plain suspended family in favor of one of the longer metal frame chandelier variants instead, purely because a taller vertical volume behind a reception desk benefits from the same open frame logic that works in a stairwell, a solid drum fixture scaled up to fill a genuinely tall lobby space tends to look heavier than the design usually intends.
Whichever fixture family you land on, it's worth showing it in both plan and elevation on the reception drawing set specifically, since a client reviewing the desk area almost always wants to see the elevation with the fixture, the desk and the seating in one composed view, and a plan symbol alone tends to prompt exactly the same follow up question that comes up on residential chandelier reviews, how far down does that actually hang above the desk.
Wall wash lighting keeps the perimeter from disappearing
A single statement fixture, however well placed, leaves the walls of a lobby comparatively dark, and that's where our wall lights series earns its place in the layout, the library carries more than twenty variants ranging from simple single shade fixtures through to more ornamental and designer profiles, and picking a pair or a run of them along the reception's perimeter walls fills in exactly the coverage gap a single central fixture leaves behind.
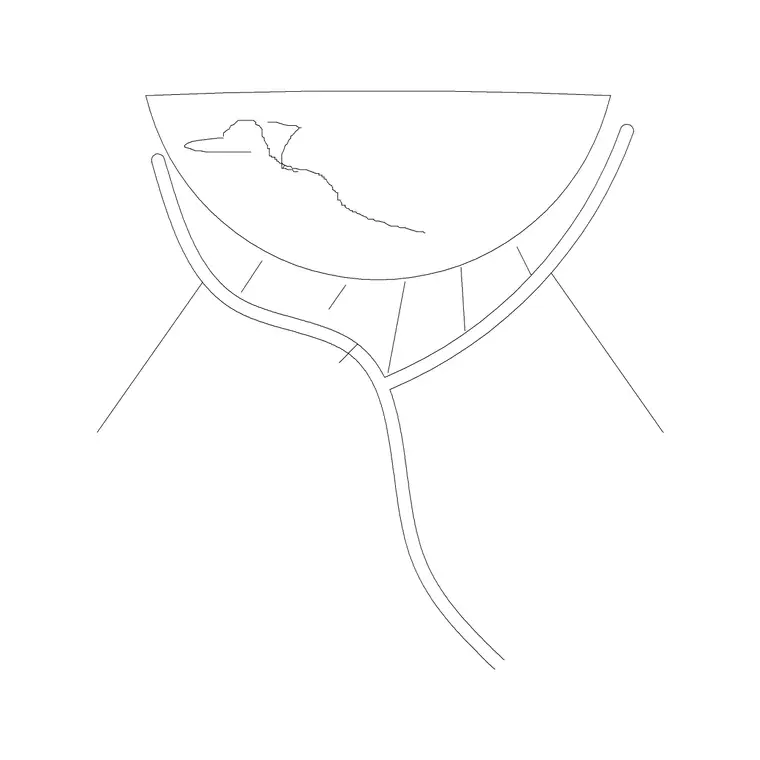
For a more upscale or hospitality feeling reception, the wall lights luxury and wall lights designer blocks read as more considered than the plainer single shade options, and running a consistent pair of them at even intervals along a feature wall, especially one behind or beside the reception desk, does a lot to make the space feel finished without needing a second major fixture.
The spacing logic here is similar to any other wall mounted lighting run, keep the intervals even and let the fixture spacing follow the wall's own proportions and any existing features like a logo panel or an art piece, rather than mechanically dividing the wall length by a fixed number without checking what's actually on that wall.
Where the reception wall carries a large logo panel or feature graphic, it's often worth washing that specific panel with its own pair of wall lights rather than distributing the fixtures purely evenly across the whole wall, since the panel is usually the one element on that wall the client actually wants noticed, and evenly spaced lighting that happens to leave the logo in relative shadow undercuts the point of having it there at all.
Seating areas need their own accent layer
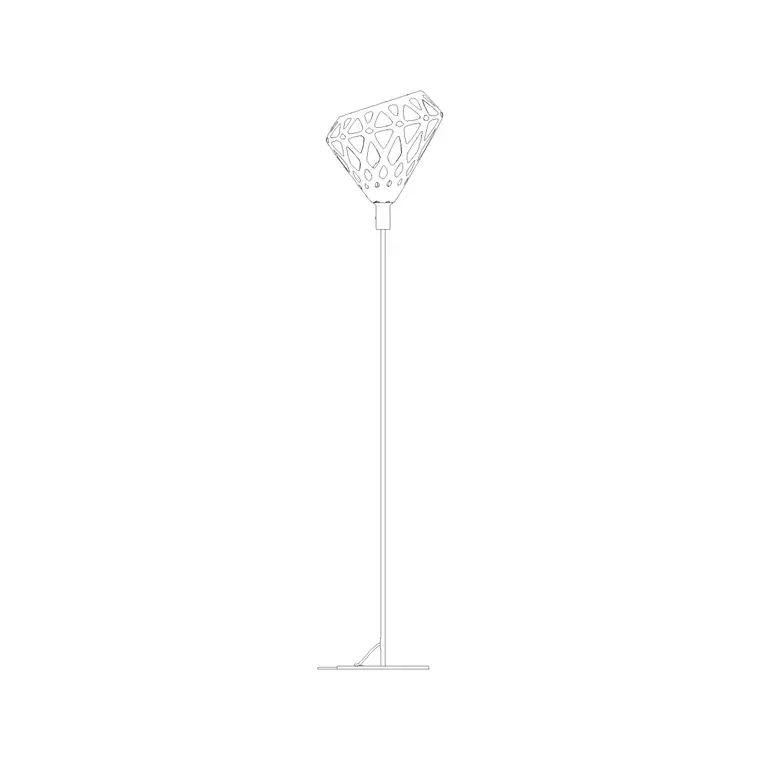
Most reception and lobby designs include some kind of waiting seating, a sofa arrangement or a cluster of chairs off to one side, and that zone reads better with its own lighting accent rather than relying purely on the desk fixture and the wall wash to carry it, a floor lamp positioned near the seating group gives that zone a sense of scale and warmth that overhead lighting alone doesn't provide.
Our sofa set plan series has dozens of layout variants to reference for the seating arrangement itself, and once you've picked one that matches the brief, placing a floor lamp block at the outer edge of that grouping, rather than dead center, tends to look more like a considered furniture vignette and less like a fixture placed purely to satisfy a lighting checklist.
This accent layer is also the place where a design team's personality shows up most, unlike the desk fixture and the wall wash which are largely functional decisions, the seating area's accent lighting is closer to a styling choice, and it's worth treating it that way rather than defaulting to whatever floor lamp block happens to be first in the list.
On a larger lobby with more than one seating cluster, it's worth varying the accent treatment slightly between clusters rather than repeating the identical floor lamp at every grouping, a small variation, a different table lamp block on a side table instead of a floor lamp in a second cluster for instance, keeps the space from feeling like the same vignette copied and pasted across the room.
Where the seating cluster sits directly beneath a skylight or a run of windows, it's worth checking the floor lamp placement against daylight hours as well as evening use, a lamp positioned where daylight already floods the space is doing very little work for most of the day and might be better relocated to a corner that genuinely reads as dim until the lamp is switched on, which makes the fixture's presence in the room feel purposeful rather than redundant.
Lighting levels and the accessibility case for reception spaces
A reception desk is often the first point of contact for someone who might have limited vision or is unfamiliar with the building, and the practical implication for a lighting layout is that the transition from the exterior or the lift lobby into the reception space shouldn't involve a sudden dramatic drop in light level, even where a design brief is asking for a moody, dimly lit lobby aesthetic.
This is really just an applied case of the broader Universal design principle that a space should work for the widest reasonable range of people using it without requiring special accommodation, and Accessibility considerations specifically call out lighting transitions and glare as common barriers, so it's worth keeping the wall wash layer bright enough near the entry threshold even if the rest of the lobby is deliberately kept moodier further in.
In practice this usually just means treating the first few meters inside the entry as its own lighting zone, slightly brighter and more evenly lit than the rest of the lobby, rather than applying one uniform dim scheme across the whole space purely for atmosphere.
The reception desk itself deserves the same consideration specifically, since it's the one spot in the lobby where someone is reading a form, signing something, or having a face to face conversation with staff, and under-lighting that specific surface for the sake of a moody overall scheme creates a functional problem right at the one point in the room where clear sight lines actually matter most.
This is worth raising with a client early rather than after a moody lighting concept has already been signed off, because it's a much easier conversation to have at the concept stage, keep the entry and the desk zone a notch brighter than the brief's mood board suggests, than it is to retrofit additional lighting into a scheme that's already been approved and built around a single uniform dim level throughout.
Placing people blocks to check the lighting reads at human scale
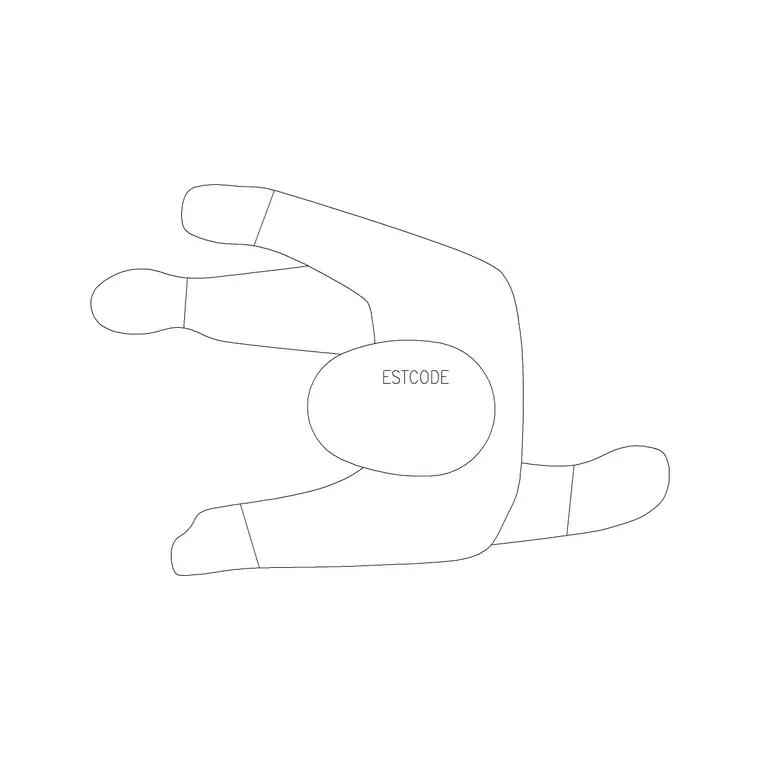
One habit worth building into any reception or lobby drawing, lighting or otherwise, is dropping in a human figure plan block near the desk and the seating area before finalizing fixture positions, because lighting fixtures that look correctly scaled against an empty floor plan can suddenly look oversized or undersized the moment there's a person block standing nearby for reference.
This matters especially for the statement fixture over the desk, since that's the piece most likely to be either too small to register as a focal point or too large and imposing for what's usually a fairly compact entry space, and a quick check against a human figure block at the desk position gives you an instant, visual sanity check that's faster than working out the scale relationship purely from dimensions.
It's a small step but it catches the same kind of scale mistake that's easy to make on any lighting plan when you're working purely against room geometry, the room might be the right size for the fixture on paper, but a person actually standing at the desk is the real reference point that determines whether the space feels right.
The same check is worth repeating at the seating cluster once the floor lamp accent is placed, since a lamp that looks proportionate next to an empty sofa block can read differently once a seated figure is added for scale, and catching that early is considerably cheaper than catching it after the space is built and photographed.
Putting the layers together
Start with the reception desk's actual position and build a statement fixture around it rather than the room's overall geometry, add a wall wash run along the perimeter using the wall lights series, place a floor lamp accent at the seating area's edge rather than its center, keep the entry threshold's lighting level a touch brighter than the deeper lobby for accessibility reasons, and check the whole composition against a human figure block before calling the layout finished.
On a corporate or hospitality project where the reception drawing is likely to go through several rounds of client review, it's worth keeping the sequence above as a literal checklist attached to the drawing set rather than trusting memory across revisions, since it's easy to redo the wall wash spacing after a wall panel changes and forget to re-check it against the desk fixture and seating accent that were coordinated against the earlier version of that same wall.
Every block named here, the chandeliers, the wall lights, the floor lamp, the reception desk, the sofa set and the human figure, downloads as DWG with no signup required and is cleared for commercial project use, so a fully layered reception lighting plan is really just a matter of working through this sequence rather than sourcing or drafting any of the individual pieces from scratch, and once you've built one lobby this way the same sequence carries over cleanly to the next reception project regardless of the scale or style it calls for.
Further reading
Questions
Frequently asked
What's the minimum lighting layout for a small reception area?+
A statement fixture centered on the desk and a wall wash layer along the nearest feature wall covers most compact receptions. The seating accent layer becomes more relevant once there's a distinct waiting area to light separately.
Should the reception desk lighting be centered on the room or the desk?+
The desk. Reception areas are rarely symmetrical rooms, and centering a statement fixture on the room's overall geometry instead of the desk itself is a common reason the fixture ends up looking subtly off.
Why does lighting near a reception entrance matter for accessibility?+
A sudden drop in light level right at the entry threshold is a common barrier for visitors with limited vision. Keeping the first few meters inside the door brighter than the rest of a deliberately moodier lobby avoids that transition problem.
Is it worth placing human figure blocks just to check lighting scale?+
Yes, a fixture that looks correctly scaled against an empty floor plan can read as oversized or undersized the moment there's a person block nearby for reference, and it's a faster sanity check than working scale out purely from dimensions.
Free downloads from this article
DWGReception Table
 DWG
DWGSuspended Chandelier Type A
 DWG
DWGSmall Suspended Chandelier Metal Type A
 DWG
DWGWall Lights Luxury
 DWG
DWGWall Lights Designer
 DWG
DWGFloor Lamp Ele (1)
 DWG
DWGSofa Set Plan 1
 DWG
DWGHuman Figure Plan 1
Free CAD block library
Download the blocks from this article — free, no signup


