A Retail Visual Merchandiser's Guide to CAD Blocks
Free CAD blocks for fixture layouts, window displays and store planograms, plus how to scale and place them cleanly in a floor plan.
Sumana KumarUpdated 20 April 20266 min read
Merchandising is a spacing problem before it's a design problem
Most of what a visual merchandiser is actually solving for, before you get anywhere near colour stories or seasonal themes, is spacing, sightlines and how a customer's eye moves through a store from the entrance to the till. I've laid out enough store plans to know that the fastest way to test a fixture arrangement isn't a sketch, it's a proper scaled CAD plan you can actually walk through in your head, checking aisle widths against real furniture footprints rather than boxes you've drawn freehand. That's where a library of free, ready scaled CAD blocks earns its keep, because you're not redrawing a display fixture or a seating unit from scratch every time you rework a floor set, you're dragging in geometry that's already accurate and getting straight to the layout decisions that matter.
This matters even more when you're working across a chain rather than a single boutique, since a fixture plan that gets reused across forty locations has to hold up in stores with wildly different footprints, and starting from accurate blocks means the geometry doesn't quietly drift as the plan gets copied and adapted store to store.
Where to pull fixtures and display furniture from
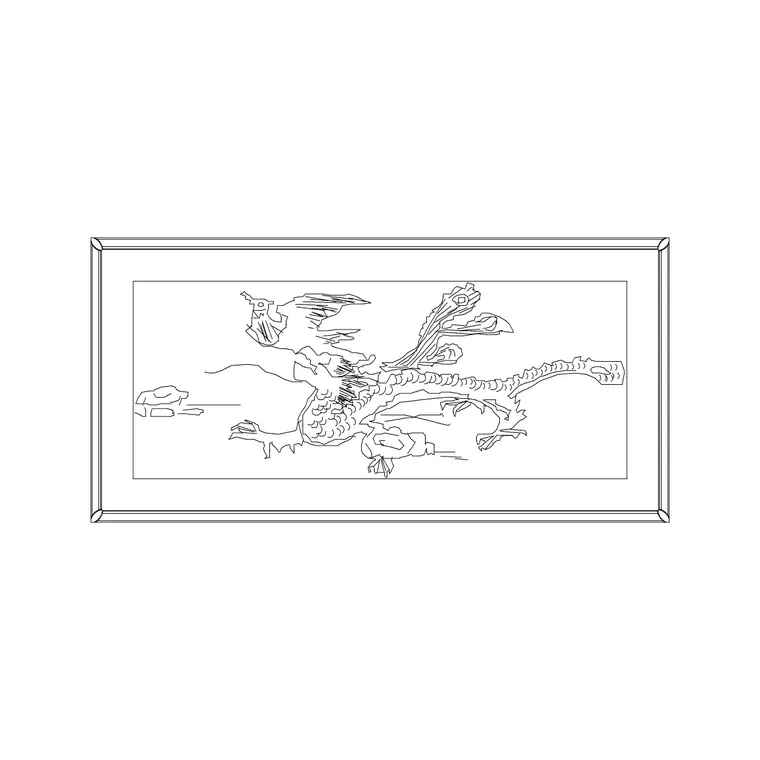
On cadblockdwg.com, the Accessories category is the one I go to most for merchandising work, since it covers the smaller display pieces, framed artwork and wall mounted items that dress a layout, and the big landscape picture frame block in particular is genuinely useful for feature wall call outs and gallery style product walls, both in plan and blocked out for an interior elevation. For seating, whether that's a fitting room chair or a customer lounge area near the till, the office chair block gives you a realistic footprint, typically in the range of 550 to 650mm wide once you account for the arms, which matters when you're checking that a seating nook doesn't eat into your minimum aisle clearance.
Accessible fitting rooms and checkout points are also worth marking clearly on a merchandising plan, and pulling the wheelchair accessible block in from Building Symbols alongside your fixture layout is a fast way to confirm a fitting room or a queue lane actually has the turning space it needs, rather than discovering the gap once the fixtures have physically shipped and been installed on site.
If the store has any external presence to plan, a picture window display, a sidewalk sale area, or parking out front, I'll bring in a sedan car block from Vehicles just to check real world scale against the shopfront glazing, since it's surprisingly easy to misjudge how much street a parked car actually eats up until you see one drawn to scale next to your storefront.
Building a planogram base plan that holds its scale
Set your drawing units before you insert anything, most retail CAD work runs comfortably in millimetres at 1:50 or 1:100 depending on whether you're doing a single department or a whole store. Once units are locked, insert each block and immediately check it against a known dimension on your plan, a standard door opening is a reliable gut check since most read somewhere around 900mm clear. If a fixture block looks visibly wrong against that door, you've got a units mismatch and scaling by 1000 or 0.001 on insert will usually fix it.
I keep display fixtures, seating and wall graphics on separate layers, something like F-FIXT, F-SEAT and F-GRAPHICS, so a store manager or a client reviewing the plan can toggle layers and see just the fixtures, or just the graphics, without the whole plan cluttering the conversation. That layer discipline pays off again the moment a client asks for a stripped down version of the plan to hand to a fit out contractor, since you're isolating layers rather than redrawing anything from scratch.
Reworking a floor set fast when the season changes
The real payoff of working this way shows up when a seasonal reset comes through and you need to move half the fixtures in a store within a day or two. Because the blocks are already scaled and sitting on clean layers, moving a fixture is a drag and rotate operation, not a redraw, and copying a proven fixture cluster from one store's plan into another location's floor plate takes minutes rather than a full afternoon.
I've found that keeping a small master file of the fixtures and display blocks I use most often, exported as a WBLOCK library, means a new floor set for a fresh location starts from a working kit rather than a blank page, which is honestly the single biggest time saver in this kind of work, especially during a busy reset season when three or four store plans might be due for revision in the same week.
Checking sightlines and circulation once the blocks are placed
Once the fixtures are down, I walk the plan visually the way a customer would, checking that no display block sits directly in a sightline from the entrance to the feature wall, and that circulation aisles stay at a workable width, generally you want a minimum of around 900mm to 1050mm for a single direction aisle and closer to 1200mm to 1500mm anywhere two customers need to pass. This is exactly the kind of check that's much easier with accurately scaled blocks than with sketch geometry, because a fixture that looks fine roughly drawn can turn out to be eating 200mm more than you thought once it's the real dimension.
I'll also check queue length at busy fixtures against realistic customer spacing, since a checkout lane that looks generous on a small print scale can feel genuinely cramped once real people are standing in it during a Saturday rush, and that's a detail worth catching on the drawing rather than hearing about from store staff after opening day.
A few things that trip up merchandising layouts specifically
The catch here is that retail furniture blocks get resized casually more than in most other kinds of drafting, someone stretches a fixture block to fit a gap and forgets it's no longer at true scale, which then throws off every measurement taken against it afterward. Always check a block's scale factor in its properties before trusting a dimension pulled from it. Second, watch for blocks inserted with negative scale to mirror them, since that flips the block but can confuse anyone editing the file later if they don't realise it happened.
And third, remember that a floor plan is a form of [orthographic projection](https://en.wikipedia.org/wiki/Orthographic_projection), a straight top down read of the space, so anything you actually need to sell on an elevation or a rendering will need a second, elevation view block or a proper 3D model layered on top, the plan alone won't carry that conversation with a client who's trying to picture how a feature wall will actually look at eye level.
Further reading
Questions
Frequently asked
What CAD blocks are most useful for a retail store floor set?+
Display and accessory blocks for feature walls, seating blocks for fitting rooms or lounge areas, and vehicle blocks if you're planning shopfront or parking visibility. On cadblockdwg.com those sit in Accessories, Furniture and Vehicles respectively.
What scale should a retail floor plan be drawn at?+
Most store level plans work well at 1:50, while a full store or mall unit plan is usually more manageable at 1:100. Pick one, set your INSUNITS accordingly, and stay consistent across the whole floor set.
Can I reuse the same fixture blocks across multiple store locations?+
Yes, that's actually the main efficiency gain. Save your commonly used fixtures as a WBLOCK library file and insert from it into each new store's base plan rather than rebuilding the layout from scratch.
Free downloads from this article



Free CAD block library
Download the blocks from this article — free, no signup

