Patient Bed CAD Blocks: Plan, Elevation and Curtain-Bay Layouts
How patient-bed, patient-bed-plan, patient-bed-elevation and the curtain block combine to draw a real ward bay, not just a bed symbol.
Saumyajit MaityUpdated 15 June 202611 min read
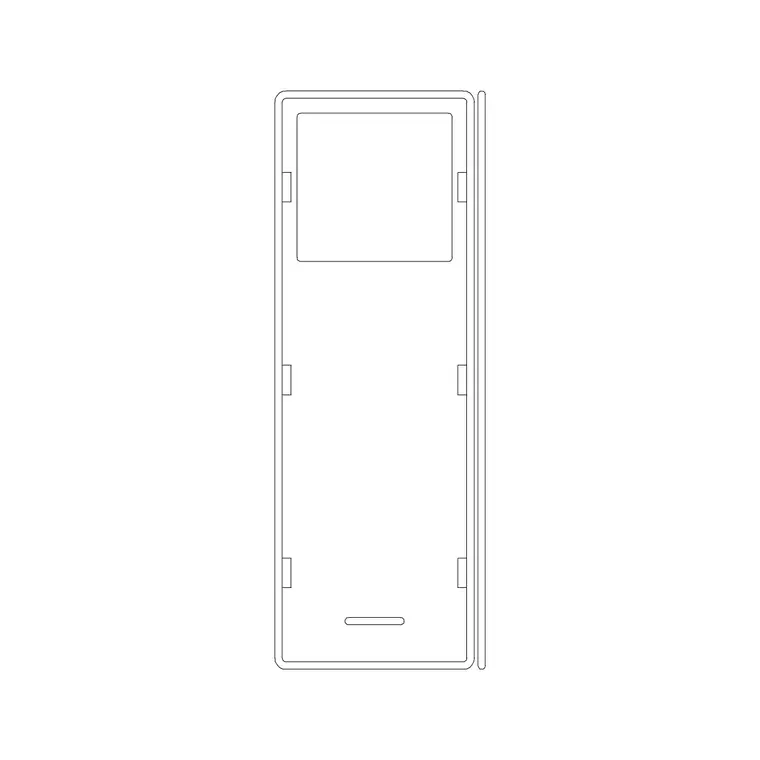
Why one bed symbol never finishes a ward drawing
Every time I drop a patient bed block into a floor plan and step back to look at it, the bed by itself is doing maybe a third of the actual communication the drawing needs to do, because the person reviewing it, whether that is a hospital planner or a nurse manager walking the print, is not really asking where the bed sits, they are asking whether the curtain clears, whether the head wall has room for the service unit, and whether there is a basin close enough to the doorway to matter, so the bed ends up being the anchor point and everything built around it is the actual planning problem.
Our medical category carries 36 products in total, and a real chunk of them exist specifically to answer that surrounding question rather than to draw the bed itself, patient-bed-with-curtain, bed-with-bed-head-unit, bed-with-machine, curtain, wash-basin-plan and wash-basin-elevation are all built around the same few feet of wall that one bed occupies, and the smart way to use them is as a small kit you reach for together, not as one generic bed symbol you drop in and call the bay finished.
The other thing worth saying plainly is that this kit reads differently depending on what kind of ward you are drawing, a general medical ward, an isolation room, or a step-down unit all lean on the same underlying blocks but combine them differently, an isolation bay usually wants the curtain and basin pulled tighter toward the door for a controlled entry sequence, while a general ward bay can afford to spread the basin further from the bed if the room shape calls for it, so treat the kit as adaptable rather than fixed.
patient-bed, patient-bed-plan and patient-bed-elevation, and when each one earns its place
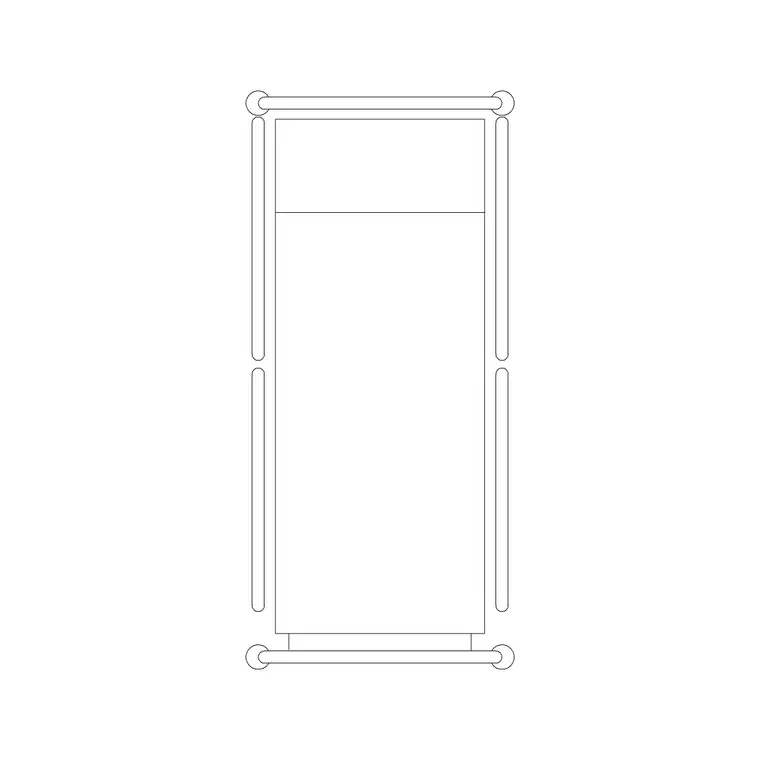
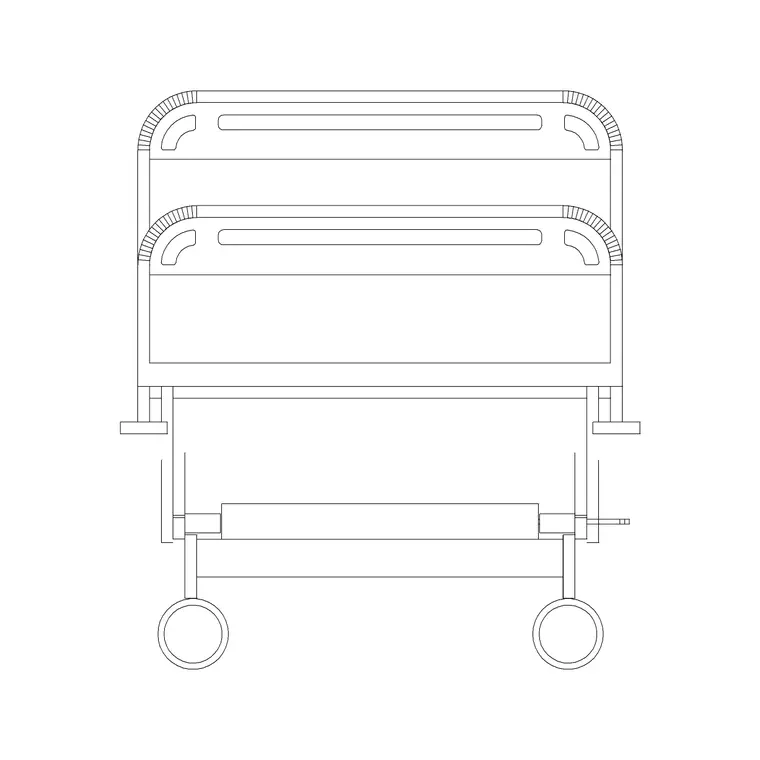
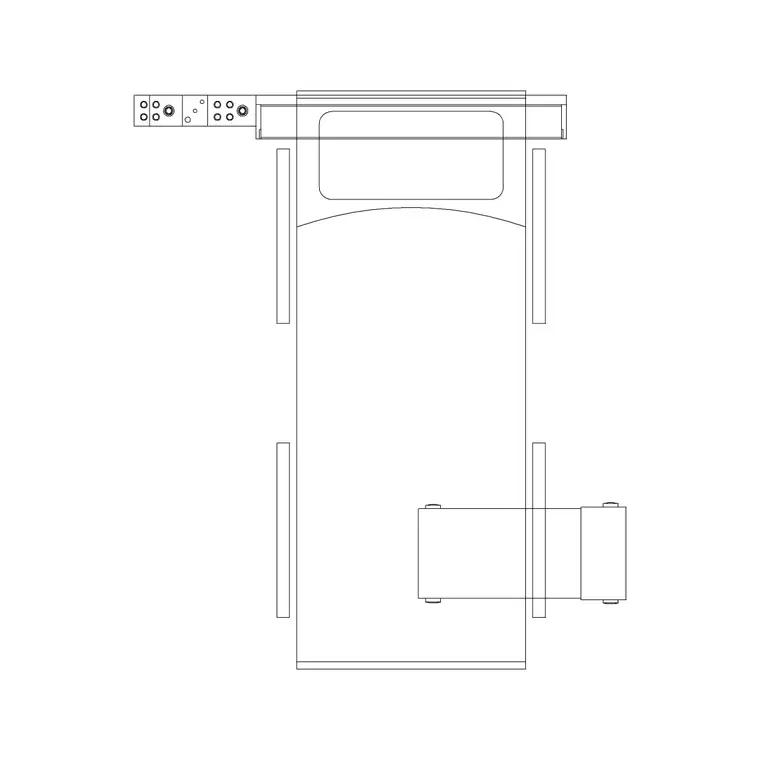
We carry three separate top-level bed blocks and the naming is deliberately literal rather than clever, patient-bed is the generic top-view symbol you reach for in a fast massing layout when you just need to prove a room fits the right number of beds, patient-bed-plan is drawn specifically for plan-sheet use so its line weights and hatch match the rest of a furniture layout rather than looking like it was borrowed from somewhere else, and patient-bed-elevation gives you the vertical view against the head wall, which is the one drawing most people forget they need until a reviewer asks how the headboard sits relative to the service unit above it.
The distinction matters because a floor plan and an elevation are answering two different questions about the same object, one is telling you where something sits on the ground and the other is telling you what it looks like standing in front of it, which is the whole reason orthographic projection exists as a drafting convention in the first place rather than everyone just drawing perspective sketches, and a ward bay genuinely needs both views coordinated, not just the plan, because the head wall service run above the bed is a section-and-elevation problem more than a plan problem.
It also helps to keep in mind that all three variants are stored as standard block definitions in the DWG, meaning each is a reusable reference rather than a one-off drawing of independent geometry, so once you have picked which of the three suits your sheet, inserting it forty times down a long ward corridor is just a matter of arraying or copying that one reference, not redrawing the bed from scratch every time, which is really the whole point of working from a block library instead of tracing a bed shape by hand for every room.
bed-with-bed-head-unit and bed-with-machine, the two variants that already carry context
bed-with-bed-head-unit bundles the bed with the wall-mounted service unit behind it in one insert, which is the piece most generic bed blocks skip entirely, and if you have ever tried to hand-draw a head wall unit from scratch at ward scale you know it is fiddly enough that having it pre-paired with the bed saves a real step every time you repeat a bay.
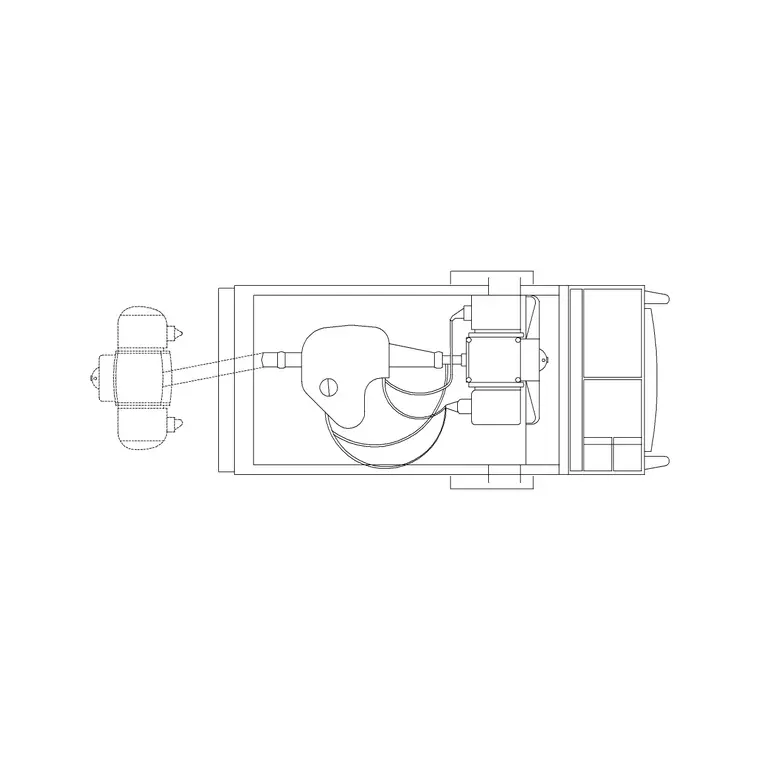
bed-with-machine is the other variant, showing the bed drawn together with an adjacent piece of equipment, and this is the one I reach for in a higher-acuity bay, a step-down or monitored bed rather than a plain general-ward bed, where the bed alone would understate how much floor area the room actually needs once equipment is parked beside it, and using the bundled block up front avoids the awkward moment later where a room that looked fine in plan turns out to be tighter than expected once the real equipment shows up on site.
Choosing between the two variants is really an acuity-level decision more than a style decision, a general ward floor plan that is mostly proving bed count and circulation width can lean on bed-with-bed-head-unit for every bay and stay consistent, while a mixed-acuity floor, general ward on one side and a monitored or step-down bay on the other, is a good reason to mix bed-with-bed-head-unit and bed-with-machine block types room by room so the drawing itself signals which bays carry more equipment before anyone reads a single room label.
patient-bed-with-curtain versus building the curtain yourself
patient-bed-with-curtain gives you the bed and its privacy curtain as a single insert, which is genuinely the fastest path for a standard bay where the curtain wraps a fairly typical run, and for a first-pass layout or a schematic set where you are proving bed count rather than detailing hardware, that single block is usually enough on its own.
Where it stops being enough is a non-standard bay, a corner bed against two walls instead of one, or a bay that is noticeably wider or narrower than the norm because of a structural column or a door swing eating into the space, and in that case you are better off exploding the bundled block or starting from the standalone curtain block and building the run yourself, because stretching a pre-built curtain shape to fit an odd geometry usually looks worse on the printed sheet than just redrawing the polyline to match the actual track path.
There is also a print-scale argument for picking one over the other, at a tight scale like 1:100 on a full-floor sheet the bundled block reads perfectly well and nobody is going to notice the curtain shape is generic, but the moment you are drawing a single bay in detail at something closer to 1:20 or 1:25 for a furniture or fit-out package, the bundled curtain starts to look noticeably schematic next to a hand-fitted track, which is usually the point where switching to the standalone curtain block and drawing the actual run becomes worth the extra few minutes.
Using the curtain block on its own for a custom bay width
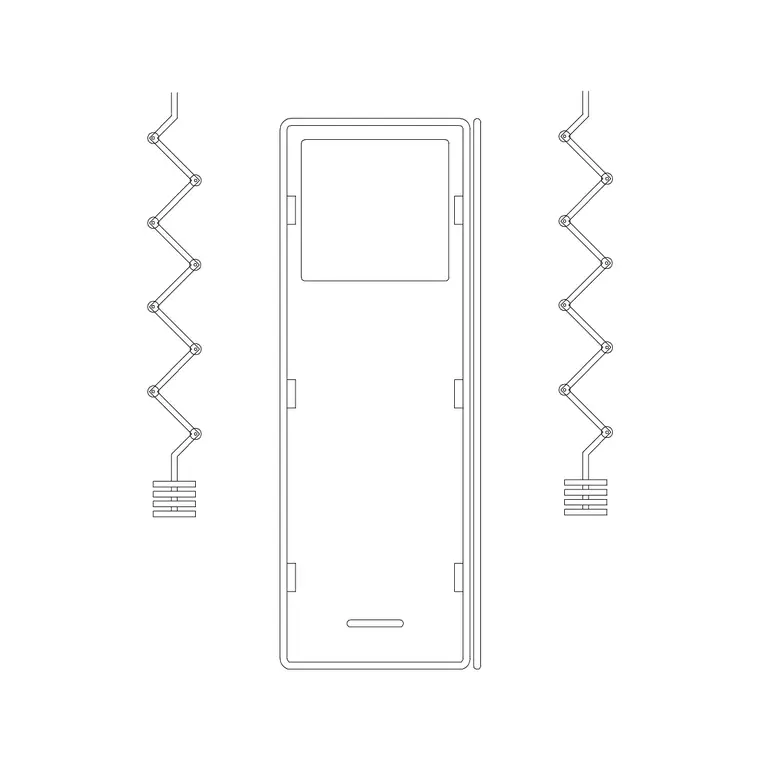
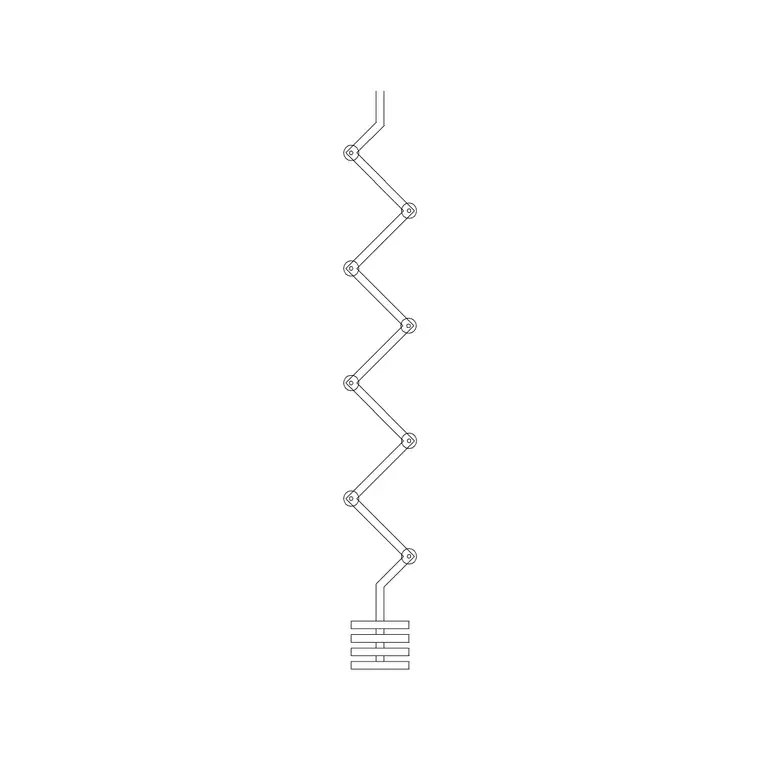
The standalone curtain block is the more flexible tool once a bay stops being standard, you mirror it, rotate it, and stretch the track run to whatever length the actual room geometry demands, and because a block reference in a DWG is just a pointer back to one block definition, you can make that adjustment across every instance in a drawing by redefining the block once rather than editing each curtain individually across a long ward.
The habit worth building here is treating the curtain less like a fixed piece of furniture and more like a dimension line that happens to be drawn as fabric, its job is to communicate where privacy starts and stops for each bed, so as long as the track length in your drawing matches the track length a contractor will actually install, the exact folds and drape shown in the block are cosmetic, and spending real time perfecting how the pleats look in plan view is usually time better spent checking that the bay width itself is correct.
One habit that saves real time across a floor plan with a dozen or more bays is building one clean curtain run first, checking it against the actual bay width, and then copying that single verified instance to every other bay on the floor rather than mirroring and stretching a fresh copy in each room, because a track that has already been checked once against a typical bay width is far less likely to need a second correction than one built fresh over and over down the ward.
wash-basin-plan next to the bay entrance
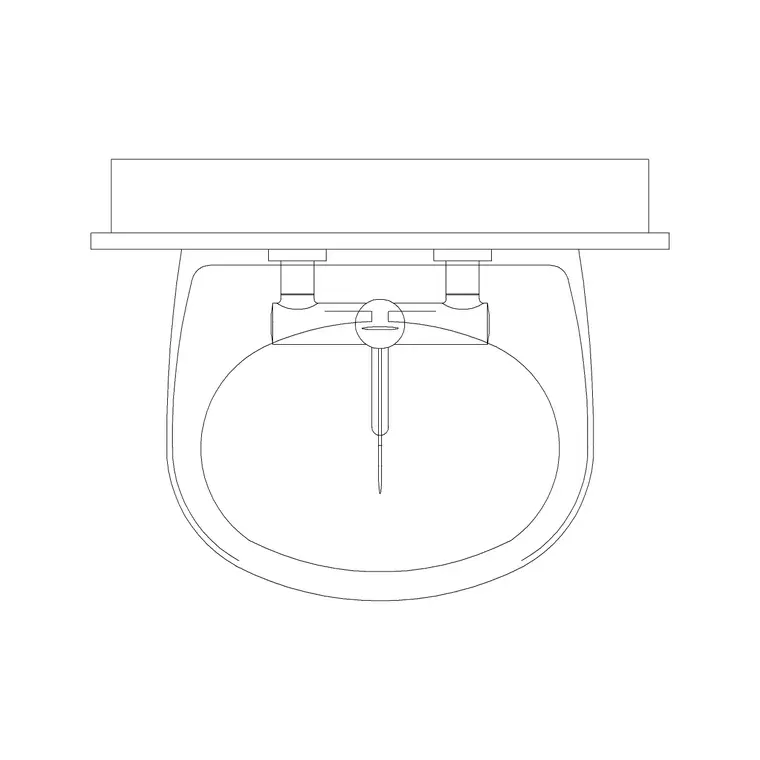
A basin close to each bed bay entrance shows up in ward planning guidance often enough that it is worth treating as a default assumption rather than an afterthought, and wash-basin-plan paired with wash-basin-elevation lets you show both the footprint against the wall and the height relationship to the head unit above it in the same coordinated pair we already used for the bed itself.
The practical habit is to place the basin block before you start arraying bed bays down the ward, not after, because the basin location usually pins where the head wall service run has to stop and where the next bay's curtain track has to start, so getting that one placement right early saves you from nudging every bay down the room once you notice the basin and the curtain overlap.
It is also worth pairing the basin with a nearby stand or trolley placement rather than leaving that corner of the room empty in the drawing, because in a real ward that same corner of the bay tends to collect a sanitizer stand and sometimes a small waste bin alongside the basin, and while we do not carry a block for every one of those smaller fixtures, leaving visible space for them in the layout rather than crowding the basin right up against the curtain track is a habit that saves a coordination headache once the fit-out team starts adding accessories the drawing did not originally show.
What actually sets the repeat distance between bays
The instinct is to think bed width decides how far apart you space each bay, but in practice the repeat unit is the bed footprint plus the curtain lane plus whatever aisle clearance the ward standard you are following actually calls for, and the bed itself is usually the smallest number in that sum, which is why two wards with identical bed blocks can still end up with noticeably different overall lengths once the aisle and curtain allowances are added in.
This is also where keeping your blocks drawn true to scale actually pays off, because once you start arraying a bay six or eight times down a ward, any small scale error in one block compounds across the whole row, and the whole point of drawing to a stated scale in the first place is that everyone reading the print, the contractor, the nurse manager, the equipment vendor, can trust the same ruler applies everywhere on the sheet.
A good sanity check once a repeat distance is set is to count how many bays actually fit across the available ward length before committing to that number on every sheet in the set, because it is a common mistake to lock in a repeat distance that works for six bays and then discover the seventh bay collides with a structural column or a door opening that was not accounted for in the early massing pass, so always test the repeat against the actual room length rather than trusting the arithmetic in isolation.
Putting the bay together in order
The sequence that has caused me the fewest headaches is head wall line first, then the bed block on its fixed insertion point against that wall, then the head unit or machine variant depending on acuity level, then the curtain track sized to the actual bay width, then the basin, and only after all of that do I array the whole assembly down the ward, because arraying too early just means re-editing every copy when one upstream decision changes.
None of these blocks are trying to be a finished ward template on their own, they are a kit, and the drawing only reads as a real ward once someone has made the actual spacing decisions the room calls for, which is really the whole difference between placing furniture and planning a space.
If you are handing this drawing off to someone else on the team, or reusing it months later on a different project, it is worth leaving a short note on the sheet describing which order you built the bay in and which block variant you used for the head unit, because the whole value of working from a small kit of interoperable blocks starts to erode if the next person opening the file has to reverse-engineer your bay logic from scratch instead of just reading it off a two-line note.
Common mistakes to watch for once this kit is repeated across a floor
The most frequent mistake I see is inconsistent scale between the bed block and the basin or curtain block sitting right next to it, usually because one block was inserted at a default scale and never checked against the others, and at a glance in a zoomed-out floor plan this is almost invisible, it only shows up once someone measures the basin against a known dimension and finds it does not match, so a quick scale check across all inserted blocks in a bay before arraying is worth the extra minute.
The second common mistake is mixing bed variants inconsistently within what is supposed to be one uniform ward, some bays using patient-bed-with-curtain and others rebuilt from the standalone bed and curtain separately, which is not wrong on its own but tends to leave slightly different line weights or curtain shapes scattered across a floor plan that is supposed to read as one consistent standard, so if a floor is meant to be uniform, pick one approach for the whole floor rather than switching bay by bay.
Further reading
Questions
Frequently asked
Does patient-bed-with-curtain already include the head wall service unit, or do I add that separately?+
No, patient-bed-with-curtain bundles the bed and its privacy curtain only, so for the service wall behind it you still pair it with bed-with-bed-head-unit, and it helps to treat the two as a small kit rather than expecting a single all-in-one bay block.
What is actually different between patient-bed and patient-bed-plan?+
Both are top view symbols of the same bed, the difference is drafting style rather than function, patient-bed-plan is drawn to sit cleanly inside a furniture layout sheet while patient-bed works fine for a fast massing study, so pick whichever matches the line weight of the rest of your plan.
Is there a dedicated ICU or high dependency bed block?+
Not labeled as such, the closest match in our medical set is bed-with-machine, which shows the bed together with an adjacent piece of equipment, from there you would add a trolley or stand block around it to build out a higher acuity bay.
Can the curtain block be resized for a wider or narrower bay than the default?+
Yes, since it is a standard block reference you can stretch, mirror or redefine it to match whatever track length the actual room geometry needs, just make sure the drawn length matches what will really be installed.
Free downloads from this article
Free CAD block library
Download the blocks from this article — free, no signup


