Patient bed CAD blocks: plan vs elevation for hospital wards
How plan and elevation patient bed CAD blocks work together to lay out a hospital ward, from bay spacing to headwall coordination.
Saumyajit MaityUpdated 10 May 20266 min read
Two views, two different jobs
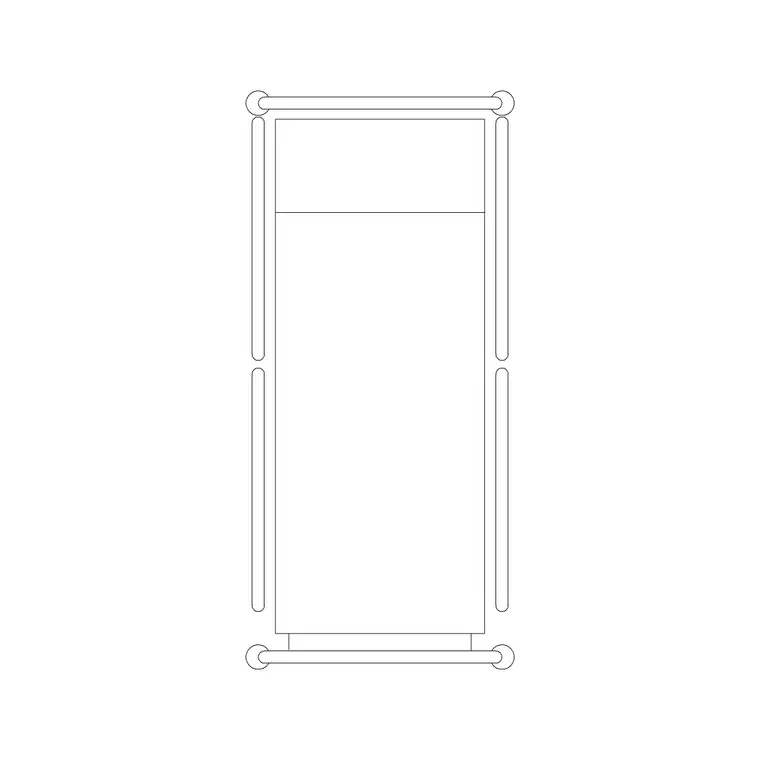
Every ward layout I've drafted starts the same way, with a patient bed plan block dropped at each bed position first, because that's the view that tells you whether the whole department actually fits, and only after the plan holds up do I bring in the elevation to sort out what happens on the headwall. It's easy to treat the two as interchangeable, just different pictures of the same bed, but they answer completely different questions on a hospital drawing set. The plan is about geometry on the floor, aisle widths, bed spacing, and how a trolley or a wheelchair actually moves between bays, while the elevation is about what's mounted on the wall behind the headboard, and how high it sits. A ward layout that only ever gets checked in plan will sail through the floor area review and then fall apart the moment someone tries to coordinate oxygen outlets, nurse call points and reading lights against a headwall that was never drawn to scale.
What's actually in the plan block
The patient bed plan block on the site is a clean top view, mattress outline, side rails, and usually a headboard line so you can see orientation at a glance, sized to a footprint that's typically in the range of 900mm to 1050mm wide and roughly 2000mm to 2150mm long, which lines up with the familiar 36 inch by 80 inch hospital bed most manufacturers build to. It comes down as a DWG, with a DXF alongside it so it opens cleanly if your office standard runs an older release, and like everything on the site it's free to pull straight into a commercial job with no signup and no watermark to clean up afterward. What I actually do when I'm starting a ward is insert one instance, set the insertion point at the headboard corner so every later copy lines up the same way, and only then start arraying it down the bay. Get that insertion point consistent from the first block and the rest of the layout basically draws itself.
Where the elevation view earns its keep
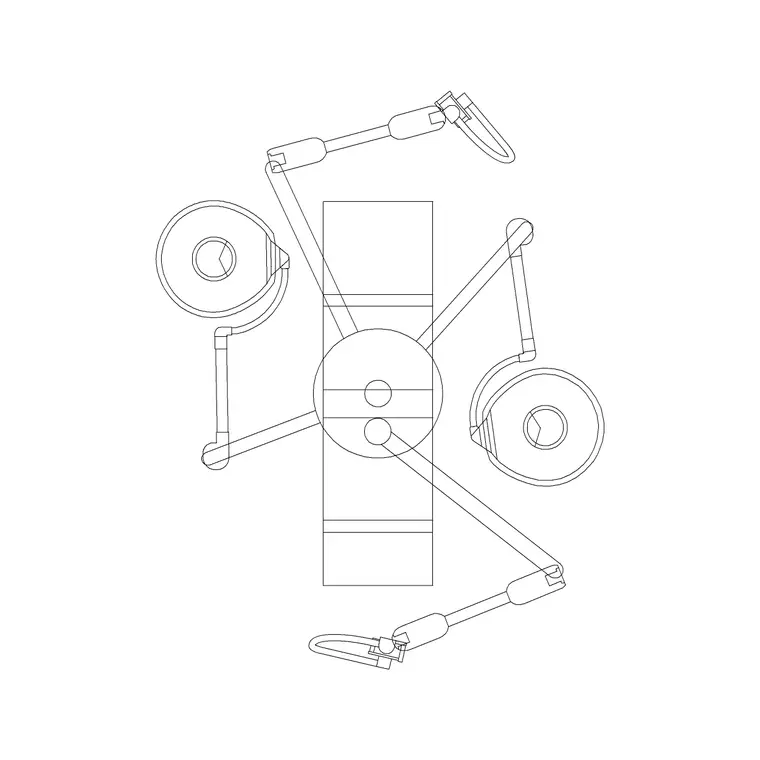
The elevation is the view that saves you from a coordination clash you won't catch in plan. It shows the bed at headboard height against the headwall, which is exactly the drawing you need when you're locating the medical gas outlets, the nurse call button, the GPO sockets and the reading light, all of which have to sit at a height that clears the raised headboard and stays reachable from a seated or lying position. On a general ward that headwall is usually a simpler strip panel, but the moment you're drawing a high dependency bay or a bed near an OT table with pendant setup, the elevation is also where you check that a swing arm or services pendant isn't going to clash with the bed when it's raised to its highest position. I keep the plan and elevation on the same sheet wherever I can, stacked so the eye can jump between them, because that's the fastest way to catch a clash before it becomes a site problem.
Laying out the ward: spacing and circulation
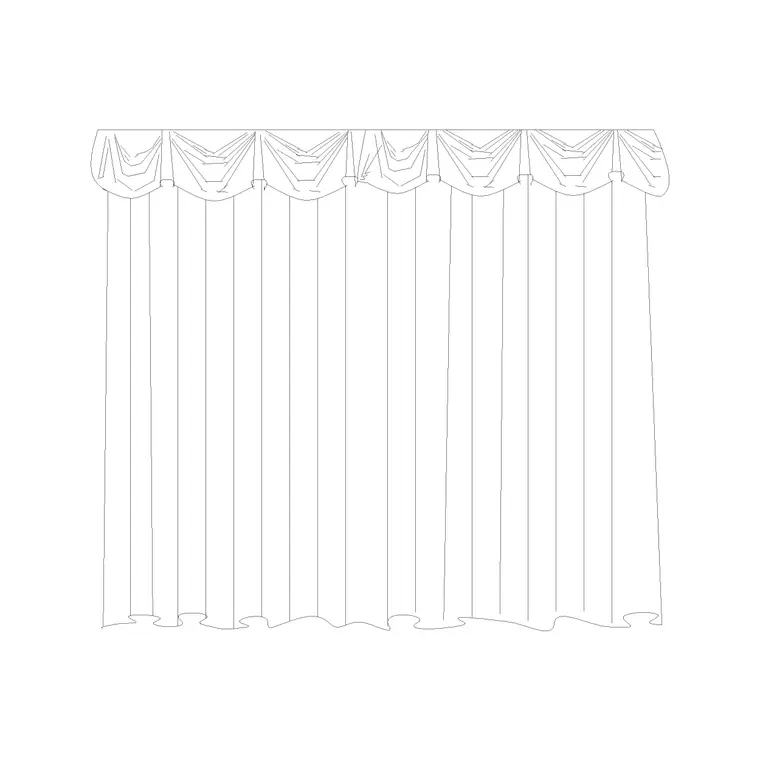
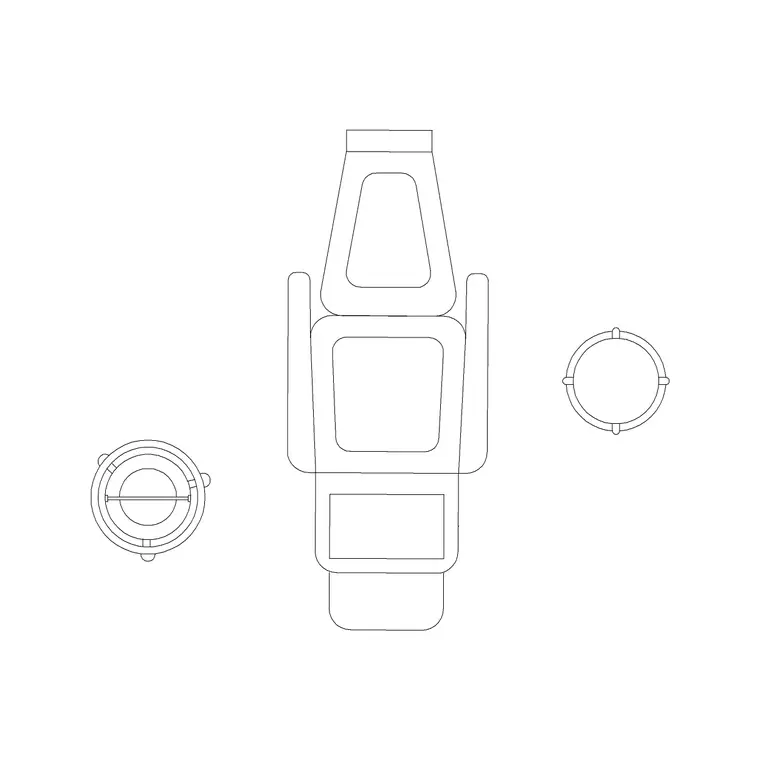
Once the individual bed block is right, the real drafting work is spacing. At the end of the day a ward layout lives or dies on circulation, so I leave clear aisle space on both sides of every bed for staff and equipment access, not just the corridor side, and I keep that spacing constant across the whole bay using a rectangular array rather than eyeballing each copy. Privacy is the other half of the plan, and this is where curtain and screen blocks come in, hung on a track that wraps three sides of each bed bay so a patient can be screened off without blocking the aisle. For a visitor or attendant chair, a recliner block dropped at the foot or side of the bed gives you a realistic footprint to check against, rather than leaving that space as an assumption that turns out wrong once furniture actually arrives on site.
Common pitfalls when you're reusing bed blocks at scale
The mistakes I see most often on ward drawings all come from reusing the same block dozens of times without checking the basics first. Units are the big one, if the block was drawn in millimetres and your file is set to inches, or vice versa, INSUNITS mismatches will scale every bed either absurdly large or tiny, so it's worth inserting one copy and measuring it before you array forty more. Layer 0 discipline matters just as much, because a block built on layer 0 inherits whatever layer it's inserted onto, which keeps your ward plan colour coded correctly if every bed goes onto a dedicated furniture or equipment layer instead of getting scattered across whatever layer happened to be current. And watch your insertion points, a plan block inserted from the headboard corner in one bay and from the centre in the next will throw your spacing off in a way that's genuinely hard to spot until you dimension the whole row.
One more thing worth checking before you commit to forty copies, open the block's properties and look at what's actually on it beyond the outline, because some patient bed blocks bundle in a mattress hatch, a pillow, and side rail detail as separate nested entities rather than one clean symbol, and if those nested pieces sit on their own named layers rather than layer 0, they won't inherit your ward's colour scheme the way the rest of the block does. I've had to explode and rebuild a bed block mid project because a hatch pattern buried inside it was set to a specific colour that fought with the rest of the drawing's print styles, which is a five minute fix caught early and a genuinely annoying one caught after forty beds are already placed. It only takes a minute to open the block editor and check what's nested inside before you rely on it across an entire ward.
Getting the sheet ready to issue
Once the layout and the headwall elevation both check out, the last step is getting it onto a sheet that actually reads at print scale. Hospital ward drawings tend to run at 1:100 for the overall department and 1:50 or 1:20 for a single bay blow up, so I keep the bed blocks as true blocks rather than exploded geometry, because that's what lets you swap scale on a viewport without redrawing anything. If your office standardises on ISO 216 paper sizes, an A1 or A3 sheet is usually the sweet spot for a ward that's more than a handful of beds, big enough to read bed numbers and headwall notes without a magnifying glass. Tag each bay with a bed number, cross reference the elevation sheet number next to it, and you've got a set that a contractor or a ward planner can actually build from without calling you to ask what's on the wall behind bed 14.
Further reading
Questions
Frequently asked
What's the actual difference between the plan and elevation patient bed blocks?+
The plan block is a top view used for floor layout, spacing and circulation between beds, while the elevation shows the bed from the side or front against the headwall, which is what you need to coordinate outlets, nurse call points and lighting height.
What size should I expect a patient bed CAD block to be drawn at?+
Most standard hospital bed blocks are sized in the range of 900mm to 1050mm wide and 2000mm to 2150mm long, close to the common 36 inch by 80 inch bed, though always insert one and check it against a known dimension before arraying it across a ward.
Do I need to pay or sign up to use the patient bed blocks on this site?+
No, the patient bed plan and related medical blocks are free to download in DWG and DXF, with no signup required, and they're cleared for commercial project use.
Free downloads from this article
Free CAD block library
Download the blocks from this article — free, no signup


