Outdoor Heater CAD Blocks for an Extended Season Patio
Where to place outdoor heater CAD blocks on a patio drawing and the clearance most manufacturers actually specify around them.
Sumana KumarUpdated 16 June 20265 min read
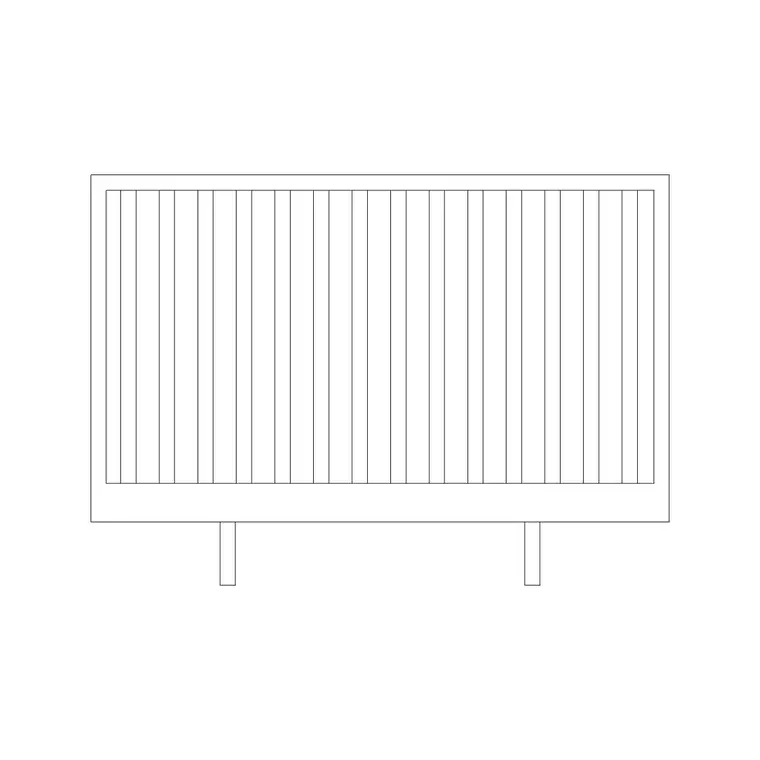
The furniture piece that gets forgotten until the layout's almost done
An outdoor heater is one of those elements that tends to get added to a patio drawing right at the end, once the seating and dining furniture are already placed and someone realizes the space needs to actually function in cooler weather, and that's backwards, because a heater has real clearance and placement requirements that are much easier to accommodate if you're thinking about them while the layout's still flexible rather than squeezing a heater block into whatever gap happens to be left over.
What the room heater blocks on this site represent
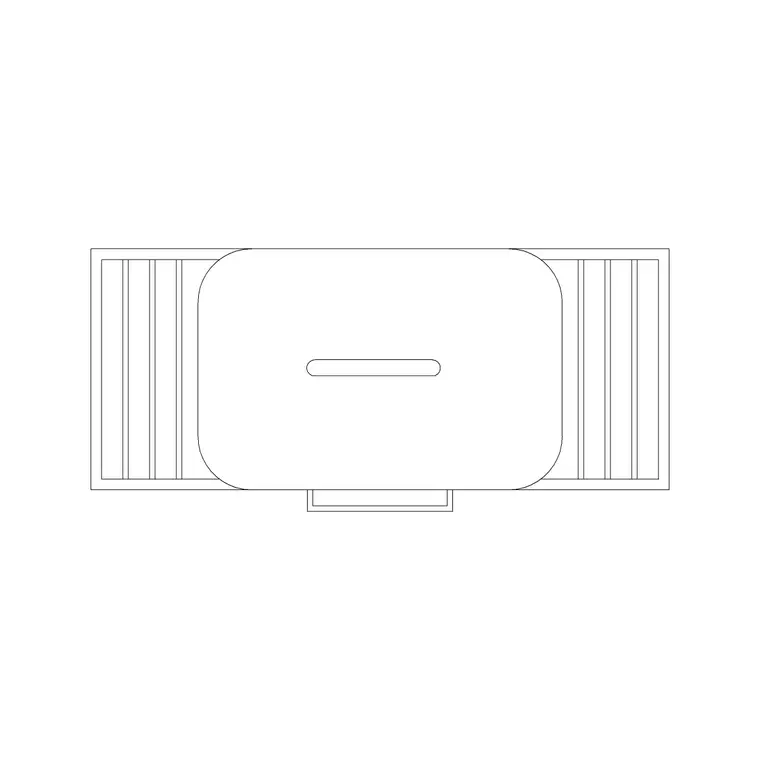
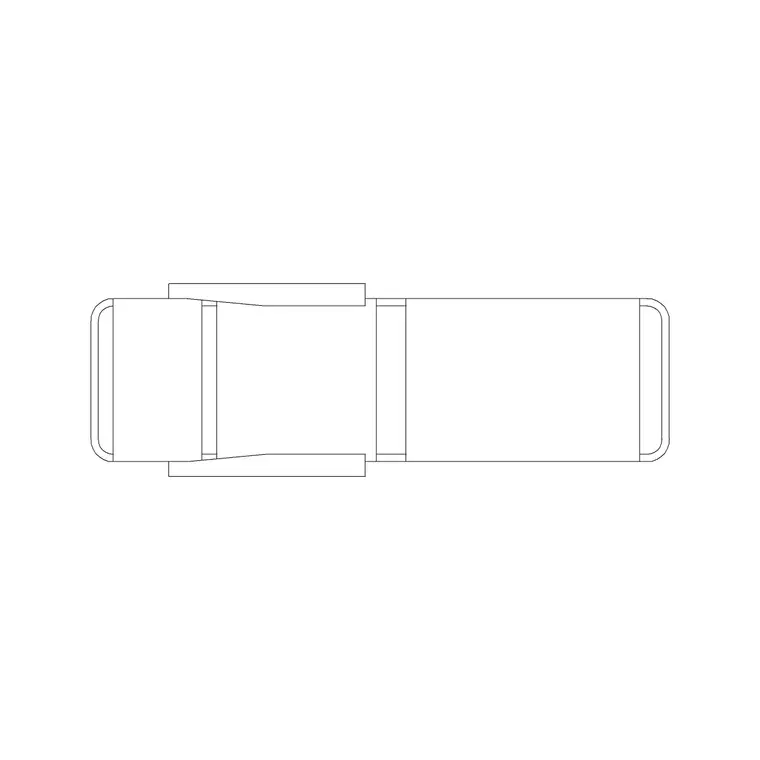
Room heater and room heater 2 cover a couple of standalone patio heater profiles, generally a freestanding column or pole mounted unit rather than a built in or ceiling mounted type, drawn in plan at a realistic footprint, typically somewhere around 400 to 600 mm in diameter or width for the base, tall enough in elevation views that you get a sense of the actual scale relative to seated furniture nearby, since a heater's visual presence in a space is driven far more by its height, often in the 2000 to 2300 mm range for a freestanding patio heater, than by its comparatively modest footprint.
Clearance most manufacturers actually call for
Most freestanding gas or electric patio heaters specify a minimum clearance from combustible materials and overhead structures, commonly somewhere in the 1000 to 1500 mm range depending on the specific unit and fuel type, along with a clear radius around the base for both heat safety and so it doesn't become a trip hazard tucked into a furniture arrangement. These figures vary meaningfully by product and by whether it's gas or electric, so treat the ranges here as a planning starting point, not a substitute for checking the actual manufacturer's clearance spec once a specific heater's been selected for the project.
Fuel type affects these figures meaningfully enough to mention specifically, a gas heater, whether propane or natural gas fed, generally needs more overhead and lateral clearance than an equivalent electric infrared unit, since the open flame and higher surface temperatures on a gas unit carry a more conservative clearance rating from most manufacturers, while electric units, particularly wall or ceiling mounted infrared panels rather than freestanding column heaters, often specify tighter clearances and can sometimes sit closer to a covered structure than a gas equivalent would be rated for. This is worth flagging early in a project if the heater type hasn't been selected yet, since assuming a generic clearance figure that turns out to be too tight for whatever unit actually gets specified is an easy, avoidable coordination gap between the drawing and the final installed equipment.
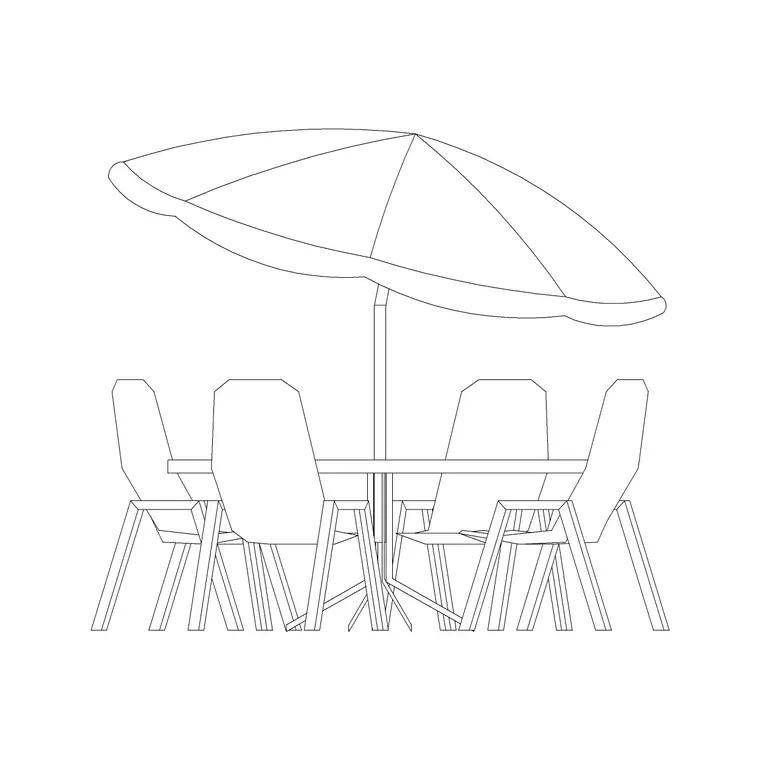
I also check clearance against umbrella canopies and any overhead shade structure already placed nearby, since a heater's minimum overhead clearance figure applies to fabric and other combustible material just as much as it does to a building overhang, and a canopy positioned without that check can end up sitting closer to a heater than the manufacturer's own specification allows, which is a detail that's easy to miss when the heater and the shade structure come from different parts of the drawing and get placed at different stages of the layout.
Where a heater actually earns its keep on a layout
The best placement for an outdoor heater is usually at the edge of a seating cluster rather than the centre, close enough that the warmth reaches the group, far enough that it's not the first thing someone bumps into moving through the space, and near enough to a natural gathering point, a dining table, a lounge grouping, that it's clearly serving that zone rather than sitting orphaned in open deck space. On a larger extended season patio, more than one heater covering different seating zones generally works better than one oversized unit trying to cover the whole space, since heat output drops off meaningfully with distance and a single central heater tends to leave the edges of a large layout genuinely cold.
Combining heaters with the rest of an extended season setup
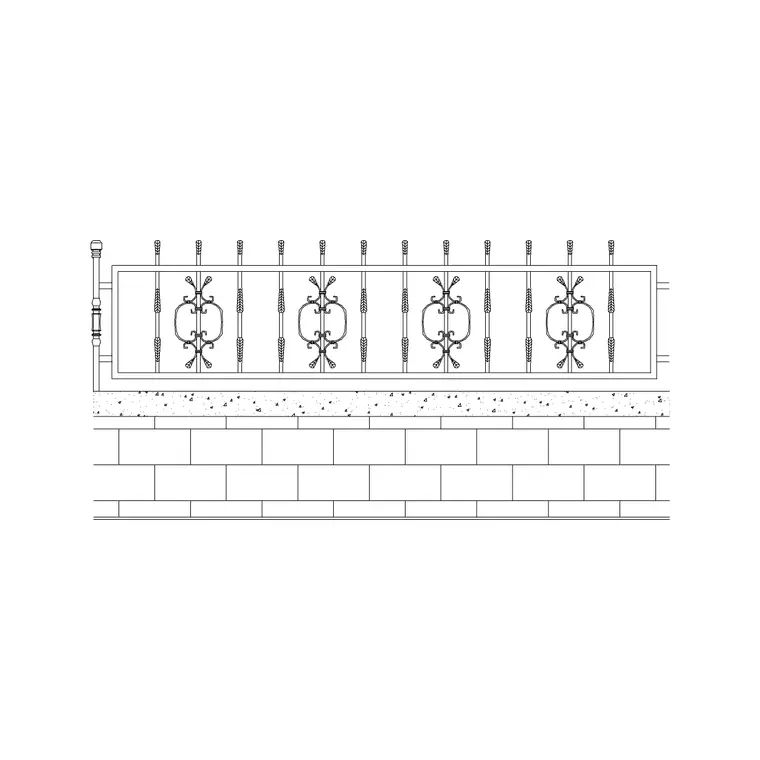
An outdoor heater rarely stands alone in a well thought out extended season patio, it's usually paired with wind protection, a fence or wall boundary condition helps here, which is part of why heater placement and boundary design end up connected decisions even though they come from different parts of the block library, along with overhead shelter if the patio has any, since heat that escapes straight up into open air performs worse than heat with even a partial ceiling or pergola to reflect against. I'll typically place the room heater blocks near a metal fence with wall run or an existing structure rather than in the most exposed, wind swept corner of an open deck, purely because that placement makes the heater's actual performance better, not just the drawing more complete.
Bringing the block in and what's not included
Room heater and room heater 2 ship as plan and elevation views, DWG with DXF available, at real scale for INSERT at 1:1. Fuel supply, whether that's a gas line or an electrical circuit, isn't modeled in the block and needs coordination with your actual MEP drawings, along with a base or footing detail if the unit's being permanently anchored rather than left as a movable freestanding piece, both of which are real project specific decisions the CAD block doesn't make for you.
Placement relative to seating direction and prevailing wind
A heater's effective coverage isn't a perfect circle around the unit the way a plan symbol might suggest, most freestanding patio heaters throw more usable warmth in the direction people are actually facing toward the heat source, and wind, even a mild breeze, pushes that effective zone further in one direction and shrinks it in the other, so placement relative to seating orientation and the site's typical prevailing wind direction genuinely matters more than just picking a spot that looks centred on the plan. Where I know the prevailing wind direction for a site, I'll generally position a heater so seating is on the downwind side of it relative to that typical wind, letting the warmth carry toward the group rather than away from it, which sounds like a small detail but makes a real difference to how well an extended season patio actually performs on a cool, breezy evening rather than just a still one.
It's also worth checking the heater's placement against any doors or windows that get opened regularly, since a heater positioned too close to a frequently used door can end up heating the outdoors every time that door swings open rather than doing its actual job, a minor point but one that's easy to catch on a plan before it becomes an annoyance on the finished patio.
Further reading
Questions
Frequently asked
How much clearance does a patio heater need from nearby furniture or structures?+
Most manufacturers specify a minimum clearance from combustibles and overhead structures somewhere in the 1000 to 1500 mm range, though this varies by unit and fuel type, so confirm against the actual product's spec once one's selected.
Should I use one large heater or several smaller ones on a big patio?+
For a larger extended season patio with multiple seating zones, several heaters positioned near each zone generally perform better than one oversized central unit, since heat output drops off with distance and a single heater tends to leave the edges of a large layout cold.
Do the heater blocks include the gas or electrical connection?+
No, fuel supply and any anchoring or footing detail need to be coordinated with your actual MEP drawings and the specific product selected. The block provides the plan and elevation geometry at real scale.
Free downloads from this article
Free CAD block library
Download the blocks from this article — free, no signup


