OT table and pendant CAD blocks for an operation theatre drawing
Using OT table and ceiling pendant CAD blocks together to draft an operation theatre, from table sizing to pendant swing clearance.
Sumana KumarUpdated 12 May 20265 min read
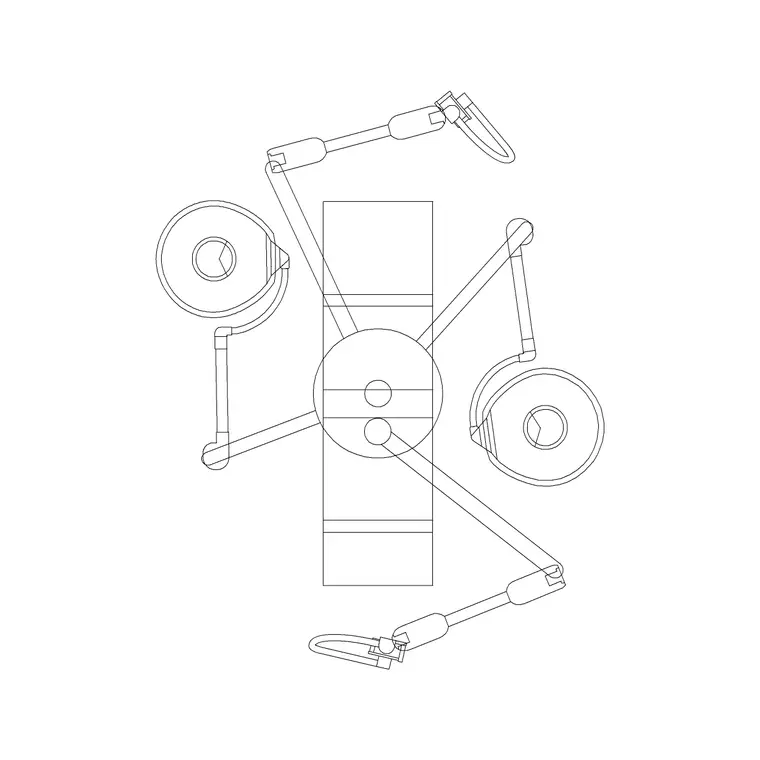
The one drawing where plan alone isn't enough
An operation theatre is one of the few rooms in a hospital set where I genuinely won't sign off a layout on plan alone, because so much of what makes an OT work is stacked above the table rather than around it. The table itself, the surgical light, the anaesthesia gas arm, sometimes a boom mounted monitor, all of it competes for the same patch of ceiling directly over the patient, and none of that reads on a floor plan. That's exactly why the ot-table-with-pendant block on the site is drawn as a combined unit rather than two separate downloads, the table footprint and the ceiling mounted pendant shown together, so you're checking their relationship from the first insert instead of trying to reconcile two blocks pulled from different sources at different scales.
What the block actually shows you
In plan, the OT table reads as a narrow rectangle, typically around 500mm to 600mm wide and 1900mm to 2100mm long including the head and leg sections, with the pendant shown as a circular reach zone centred roughly over the table's midpoint. That reach zone is the important part, because a ceiling pendant on a swing arm typically has a working radius somewhere in the range of 1000mm to 1500mm from its mounting point, and if that circle clips a wall, a door swing or another piece of fixed equipment, you've got a clash that won't show up until someone's trying to swing the light mid procedure. I pull the block in early on any theatre layout specifically to draw that reach circle and check it against the room before committing to where the table sits.
Coordinating the ceiling above the table
The pendant is really a proxy for a much bigger ceiling coordination problem, because a live OT ceiling usually carries the light pendant, a services pendant for gases and power, sometimes a laminar flow diffuser, and structural hangers for all of it, and every one of those needs to clear the others plus whatever door and glazing head heights are running around the room perimeter. This is where I'll usually bring the block into a reflected ceiling plan as well as the floor plan, because checking pendant swing against ceiling services in two views at once is the fastest way to catch a genuine clash rather than an assumed one. If your practice is moving toward building information modeling workflows for hospital work, this is also the room type where a 3D check pays off fastest, since a ceiling clash that's invisible in 2D plan is obvious the moment you spin the model.
Table orientation and the working zone around it
Table orientation drives everything else in the room, and the rule I work to is leaving genuine clear working space on all four sides, not just the anaesthetist's end, because a full surgical team, instrument trolleys and the anaesthesia machine all need floor space simultaneously during a procedure. I'll typically block out a working zone that extends well beyond the table footprint on every side before I start placing fixed equipment like scrub sinks or storage, and I keep the door swing clear of that zone entirely, since a door opening into an active working area around the table is the kind of thing that gets flagged in every infection control review I've been part of.
I also check the position of the scrub sink or scrub bay relative to the theatre door at this stage, since a surgeon moving from scrubbing straight into the sterile field needs a path that doesn't cross unsterile traffic or force a tight turn around fixed equipment, and that's really the same working zone question applied to a different piece of the room.
What sits around the table on the drawing
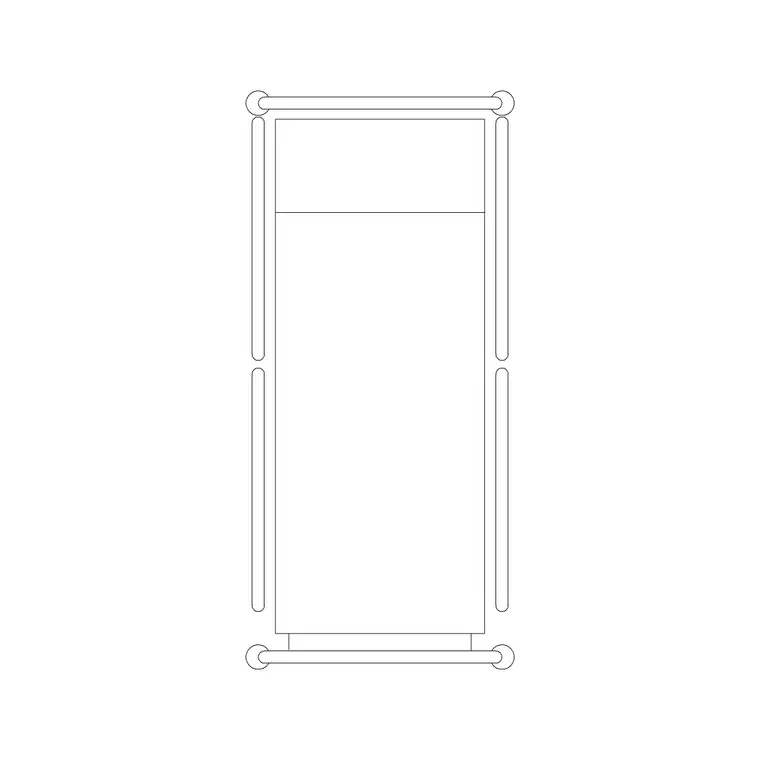
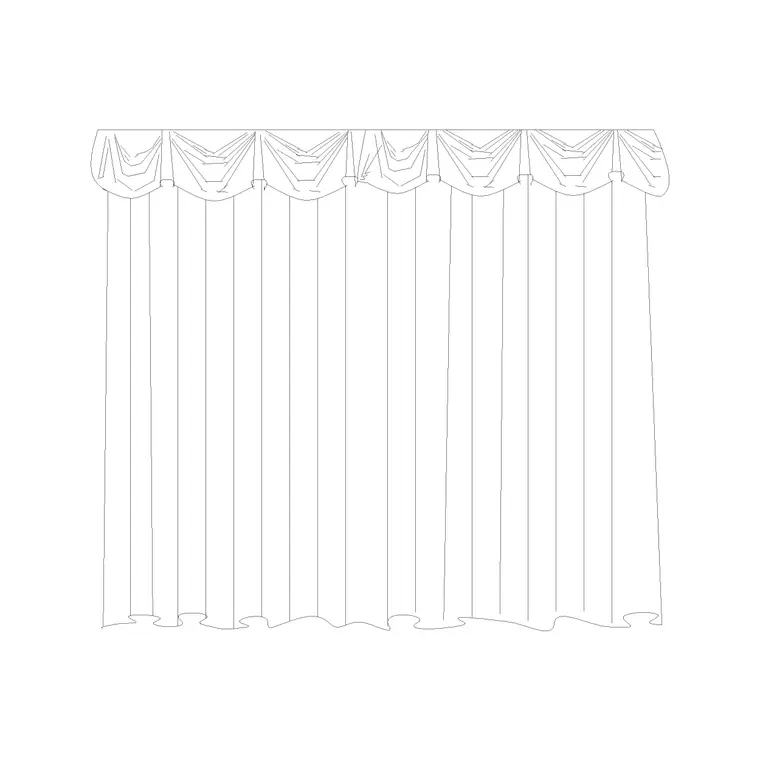
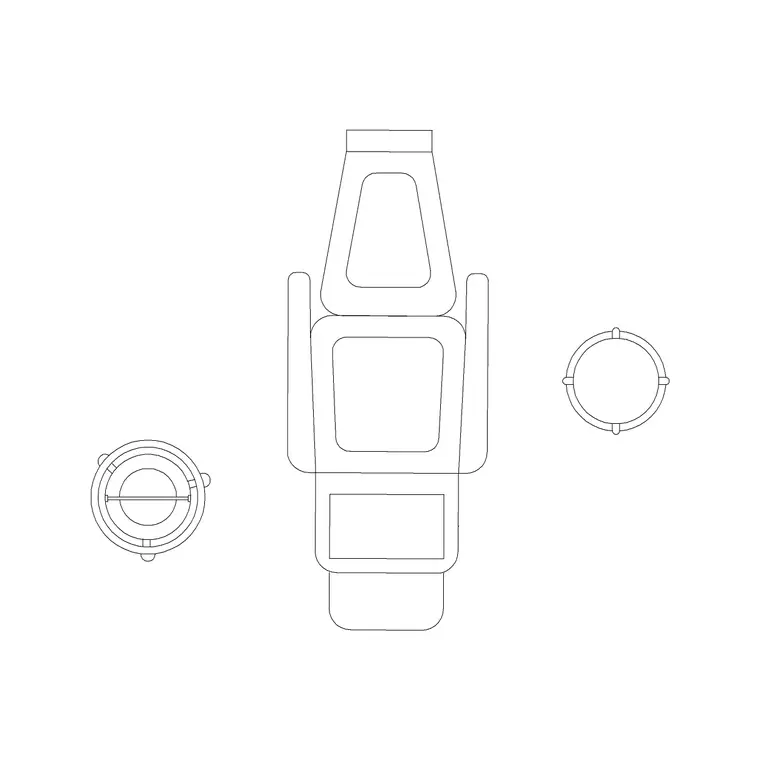
Outside the sterile core, the layout usually needs an anaesthesia bay or a pre op holding space nearby, and that's where a patient bed plan block earns its place on the same sheet, sized against the same 900mm to 1050mm by 2000mm to 2150mm range as a general ward bed, plus screening. A curtain or privacy screen block around a holding bay keeps that area visually separated without adding a wall, and if the drawing includes a recovery bay just outside theatre, a recliner block gives you a realistic footprint for a chair based recovery position rather than assuming every recovery spot is a full bed.
Drafting habits that keep the set clean
Because the table and pendant block carries two very different pieces of geometry in one insert, I keep it un-exploded and on its own dedicated layer, which makes it trivial to isolate the whole theatre furniture layer when I'm just checking room dimensions, and just as easy to turn it back on when I'm doing the services coordination pass. I also dimension the pendant reach circle explicitly on the sheet rather than leaving it implied, because a contractor coordinating the ceiling grid needs that number called out, not inferred from a scaled drawing. Get those two habits right and the OT sheet holds up through every later revision, instead of turning into the drawing everyone quietly stops trusting.
Floor mounted services and the zone below the table
The pendant above the table gets most of the attention because it's the dramatic clash to catch, but I check the floor just as carefully, because a lot of OT layouts route gas and power services up through the floor slab in a fixed trench rather than dropping everything from the ceiling, and that trench has to land in a position that doesn't conflict with the table's base or its castor lock points. I mark the trench or floor box location as its own line of geometry on the plan, typically running from the wall nearest the anaesthetist's end toward the table's fixed position, and I check it against the table's footprint before the table position is locked, not after, because moving a cast in place trench once the slab is poured is a genuinely expensive mistake. Some theatres also specify a conductive or anti static floor finish in the zone immediately around the table, tied to flammable anaesthetic gas handling protocols that are less common than they used to be but still specified in some hospital standards, and if that's called out in the brief I'll show the finish boundary as a hatched zone on the plan so it's unambiguous to whoever's pricing the floor covering. None of this shows up on the OT table block itself, it's context you build around it, but skipping it is exactly the kind of gap that turns into a change order once the mechanical and electrical trades start coordinating their own drawings against yours.
Further reading
Questions
Frequently asked
What does the OT table with pendant CAD block actually include?+
It's a combined block showing the operating table footprint in plan alongside the ceiling mounted services or light pendant above it, including its typical swing or reach radius, so you can check clearance in one insert instead of two separate blocks.
How much clear space should I leave around the OT table on the drawing?+
There's no single fixed figure since it depends on the specific theatre brief, but I typically block out clear working space well beyond the table footprint on all four sides for the surgical team, trolleys and anaesthesia equipment, and keep any door swing entirely out of that zone.
Can I use this block for a reflected ceiling plan as well as a floor plan?+
Yes, and I'd recommend it, since checking the pendant's position and reach radius against ceiling mounted services in both the floor plan and the reflected ceiling plan is the fastest way to catch a clash before it reaches site.
Free downloads from this article
Free CAD block library
Download the blocks from this article — free, no signup


