Dental chair CAD blocks: elevation vs plan for a clinic drawing
How to use dental chair CAD blocks in both plan and elevation to coordinate a dental clinic layout, unit cabinetry and light placement.
Sumana KumarUpdated 3 May 20265 min read
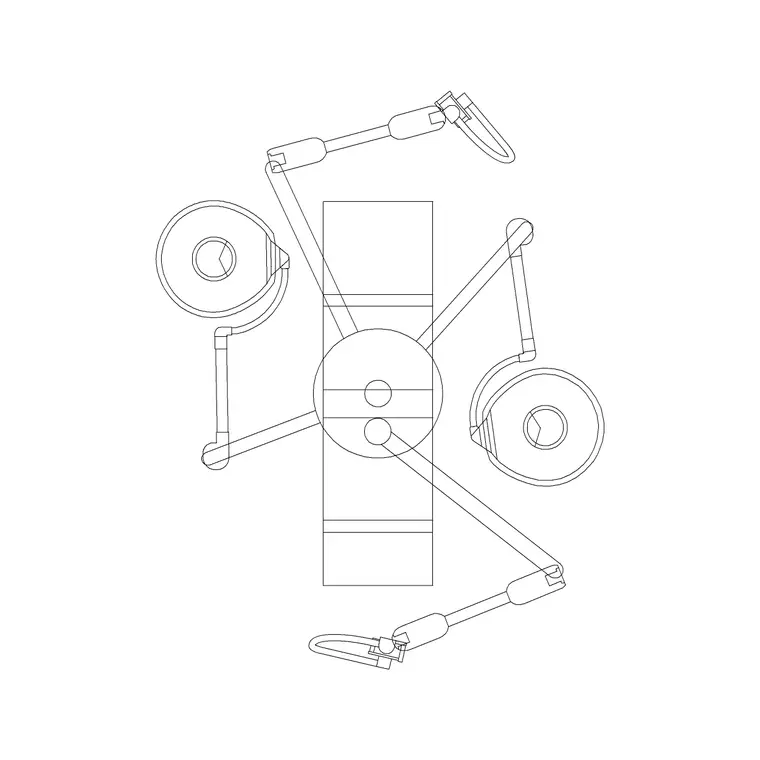
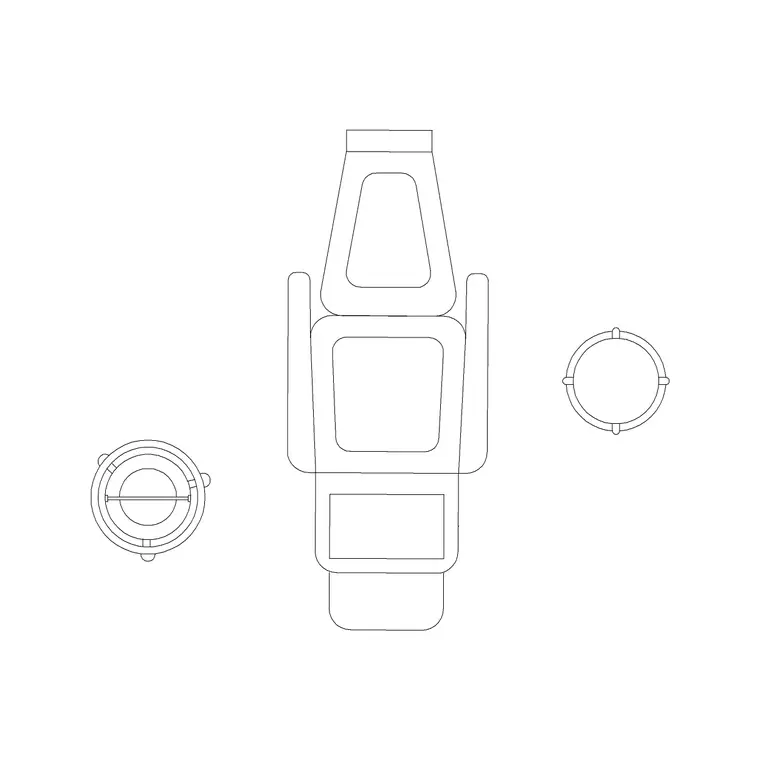
A chair that changes shape depending on the view
The dental chair is one of the more deceptive pieces of equipment to draft, because it doesn't have one footprint, it has a range that shifts depending on whether the patient's upright or fully reclined, and a plan view alone genuinely can't show you that range, only the elevation can. I've seen more than one dental surgery layout get approved on plan and then run into a clash on site because nobody checked what the chair looked like reclined against the cabinet or the operator's stool position, which is exactly the gap between the two views that this post is about closing.
What the plan view tells you
In plan, a dental chair reads as a relatively compact footprint, typically around 600mm to 700mm wide for the chair itself, though the true working footprint including the reclined patient position can extend to somewhere in the range of 1800mm to 2000mm in length, plus the dental unit or delivery cabinet mounted alongside adding another 500mm to 600mm to one side. That plan footprint is what you use for the room layout stage, checking against wall spacing, the operator's stool position, and clearance for an assistant to work from the opposite side, but it's a static snapshot, it doesn't show you the chair moving through its actual range of motion.
The spittoon or cuspidor bowl and the suction unit are worth locating explicitly on the plan too, since they're usually fixed to the dental unit cabinet rather than freestanding, and their position relative to the chair determines how far the patient needs to lean or turn during rinsing, which matters more for comfort than it might seem on paper. I check that the cuspidor's position doesn't force an awkward reach for a patient in a reclined position, and that the assistant's working side has enough clearance to operate suction without leaning across the dentist's own working zone, both of which are easy to overlook if the plan is drawn around the chair alone without the full dental unit assembly in mind.
What the elevation view actually catches
The elevation is where the chair's reclining motion becomes visible, and that's the view I use to check headroom against a light fixture or a low ceiling feature, since a dental operatory light mounted too low will clash with the chair back the moment it's reclined, not when it's upright, which is exactly the kind of thing that gets missed if elevation checking is skipped. The elevation also shows you where the dental unit cabinet, the spittoon bowl, and any wall mounted monitor arm sit relative to the chair at different recline angles, and coordinating those heights properly is the difference between a comfortable operatory and one where the dentist is working around their own equipment.
Room layout: chair, stool and assistant zone
Once both views check out individually, the room layout itself needs genuine working space around the chair on both sides, not just the operator's side, since a hygienist or assistant typically works from the opposite side during many procedures and needs the same reach access the dentist does. I usually block out clear floor space extending well beyond the chair's footprint on the operator side specifically to accommodate stool movement through a full range of positions, since a cramped operatory is one of the most common complaints I hear back from dental clients after fit out, and it's almost always traceable to a layout that was checked in plan only.
I also check the position of the chair's foot control pedal in plan, since it needs to sit within comfortable reach of the operator's stool position without being so far under the chair that it's awkward to find by feel during a procedure, a small detail that's easy to leave unspecified and then discover is wrong once the room's actually fitted out.
Coordinating with the rest of the clinic
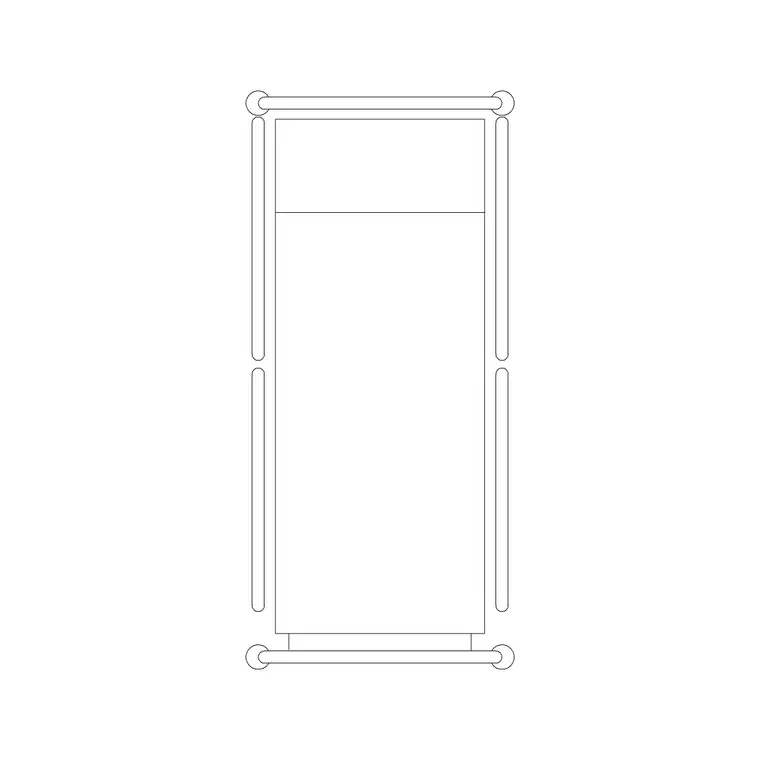
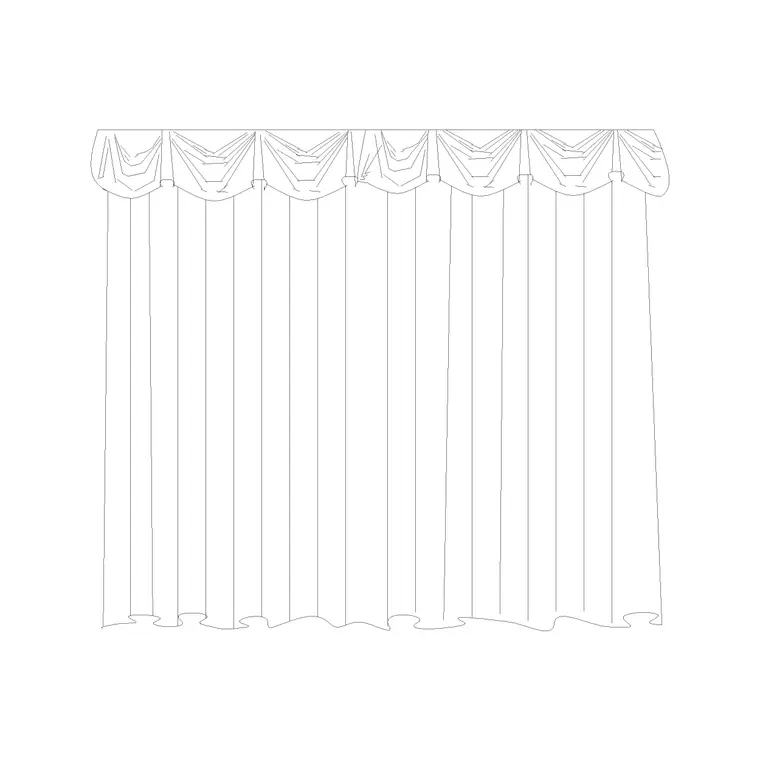
A dental operatory rarely sits in isolation, so I check the chair layout against the corridor circulation feeding it, against a curtain or screen if the operatory needs visual separation from a waiting or reception zone, and against a recliner or seating block if there's a recovery or consult space nearby. If the practice includes a minor procedures room closer to a general medical setup, the same plan versus elevation logic that applies to an OT table with pendant arrangement applies here too, checking both the floor footprint and what's happening above and around the patient position before the layout is locked.
A short checklist before issuing the drawing
Before I sign off a dental clinic sheet, I run the chair through the same short list every time. Confirm the plan footprint accounts for the fully reclined length, not just the upright chair. Check the elevation against the actual light and cabinet heights specified, not assumed defaults. Confirm clear space exists on the assistant's side as well as the operator's. And keep both views on the same sheet, or at minimum cross referenced clearly, so whoever's building from the drawing isn't relying on memory to reconcile a plan and an elevation that were checked days apart.
The wall mounted X-ray arm and where it actually needs to swing
Most dental operatories also carry a wall or ceiling mounted intraoral X-ray arm, and that's a piece of equipment I check in elevation just as carefully as the chair itself, because the arm needs to swing freely from its mounted position across to the chair and reach the patient's head at several different chair positions, not just the upright default. I'll typically show the arm's mounted position and a swept arc representing its reach on the same elevation sheet as the chair, since a mounting point that looks fine measured against the upright chair can still clash with the chair back or the dental unit cabinet once the chair's reclined and the arm's swung across to reach it. The same goes for a wall mounted monitor arm if the practice uses one for chairside imaging review, since monitor arms tend to get specified late in a fit out and squeezed onto whatever wall space is left, which is exactly how they end up clashing with the X-ray arm's swing path or blocking the assistant's working position. I check both arms together on the elevation before the wall layout is finalised, because retrofitting a mounting point after cabinetry and wall finishes are in is a far more disruptive fix than catching the clash on the drawing while the wall's still just a line.
Further reading
Questions
Frequently asked
Why isn't the plan view enough for a dental chair on its own?+
Because a dental chair's real footprint changes significantly between upright and fully reclined, and only the elevation view shows that range, which is what you need to check against light fixtures, cabinet heights and ceiling clearance.
How much space does a reclined dental chair actually need in plan?+
The chair itself is typically around 600mm to 700mm wide, but the full working footprint with a patient reclined can extend to roughly 1800mm to 2000mm in length, plus space for the dental unit cabinet mounted to one side.
Do I need clear space on both sides of the dental chair, or just the operator's side?+
Both sides ideally, since an assistant or hygienist commonly works from the opposite side during procedures and needs comparable reach access to the operator, which is easy to overlook if the layout is only checked from the dentist's position.
Free downloads from this article
Free CAD block library
Download the blocks from this article — free, no signup


