Matching appliance block widths to a real kitchen cabinet run
How to reconcile fixed appliance widths with modular cabinet sizing so a kitchen elevation prints accurately and stays buildable.
Saumyajit MaityUpdated 15 May 20266 min read
The single most common kitchen elevation error I still catch
The single most common kitchen elevation error I still catch, even in otherwise carefully drafted sets, is an appliance block that doesn't actually match the width called out in the schedule right next to it. It's an easy mistake to make, you insert a downloaded block, it looks roughly right at a glance, and you move on to the next item without double-checking it against the actual number specified for that project. On a set with a dozen appliances to place, that small gap compounds fast.
The module system cabinets are actually built on
Base cabinets are manufactured in a standard system of width increments, commonly 12, 15, 18, 21, 24, 27, 30, 33, and 36 inches, stepping in roughly 3 inch increments so a run of cabinets can be combined in different combinations to fill whatever total length a kitchen wall needs. This module system is what makes cabinetry economical to manufacture and straightforward to lay out, but it's a completely different system from the one fixed appliances are built to, and that's where the friction starts.
It helps to think of the two systems as separate design languages that happen to share a wall. The cabinet module system is flexible by design, built so a run of standard widths can be combined in dozens of ways to fill whatever total length a given kitchen wall needs, which is exactly why cabinetry is manufactured economically at scale rather than custom-built for every job. Appliance dimensions, on the other hand, are fixed by the manufacturer's engineering, the internal components, the motor, the tub, the compressor, don't shrink or stretch to match a cabinet grid, so the appliance is always the fixed constraint the flexible cabinet system has to bend around, never the reverse.
Where fixed appliances break the module, and why that's fine
Dishwashers are fixed at roughly 24 inches, which happens to line up cleanly with the cabinet module system, but refrigerators, typically 30 to 36 inches, and cooking ranges or cooktops, often 24, 30, or 36 inches depending on the model, don't always land on a width that closes out a cabinet run evenly. That's not a drafting mistake, it's just the reality of coordinating two different sizing systems, appliance manufacturer standards on one side and cabinet module increments on the other, and the cabinet run has to accommodate the appliance, not the other way round.
Using filler strips to close the gap cleanly
When an appliance width doesn't land cleanly against the adjacent cabinet module, the standard fix is a filler strip, typically 1 to 3 inches wide, inserted between the appliance and the neighboring cabinet rather than forcing the whole run to a nonstandard width or leaving an awkward gap. On the elevation, draw the filler as its own thin element, sometimes just a hatch or a narrow panel line, so it reads clearly as an intentional detail rather than a drafting error when someone reviews the sheet.
Filler strips aren't just a drafting convenience either, they're a real, purchasable cabinet accessory that a kitchen cabinet manufacturer will supply finished to match the surrounding door and drawer fronts, so specifying one on a drawing corresponds to something a contractor can actually order and install, not just a gap papered over on paper. It's worth calling the filler strip out explicitly in a cabinet schedule or a note on the elevation, including its width, rather than leaving it as an unlabeled sliver of space between two elements, since an unlabeled gap on a cabinet elevation reads as ambiguous to a fabricator, who then has to guess whether it's an intentional filler, a dimensioning error, or something that got missed during coordination.
Checking your downloaded block against the actual schedule
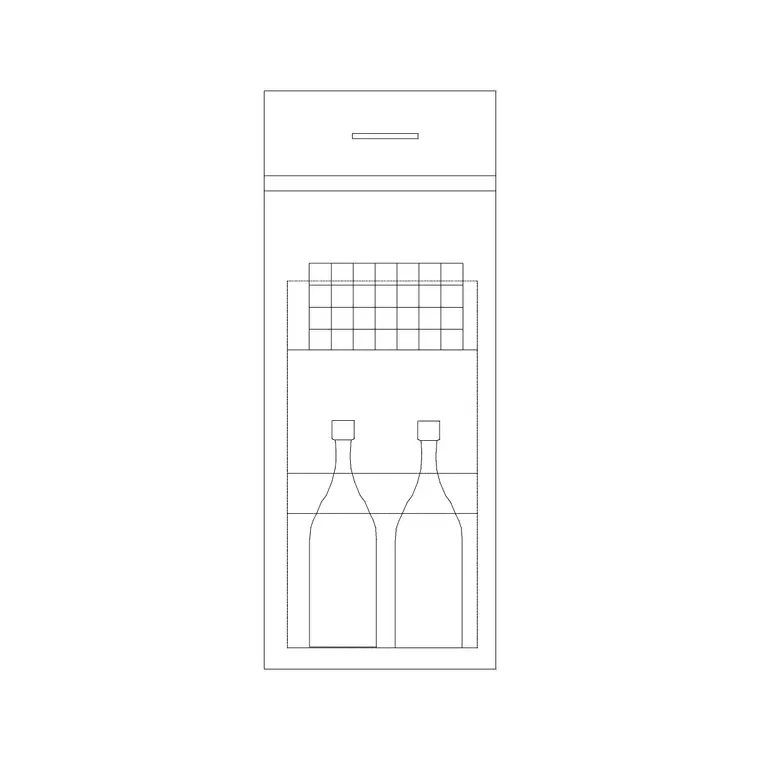
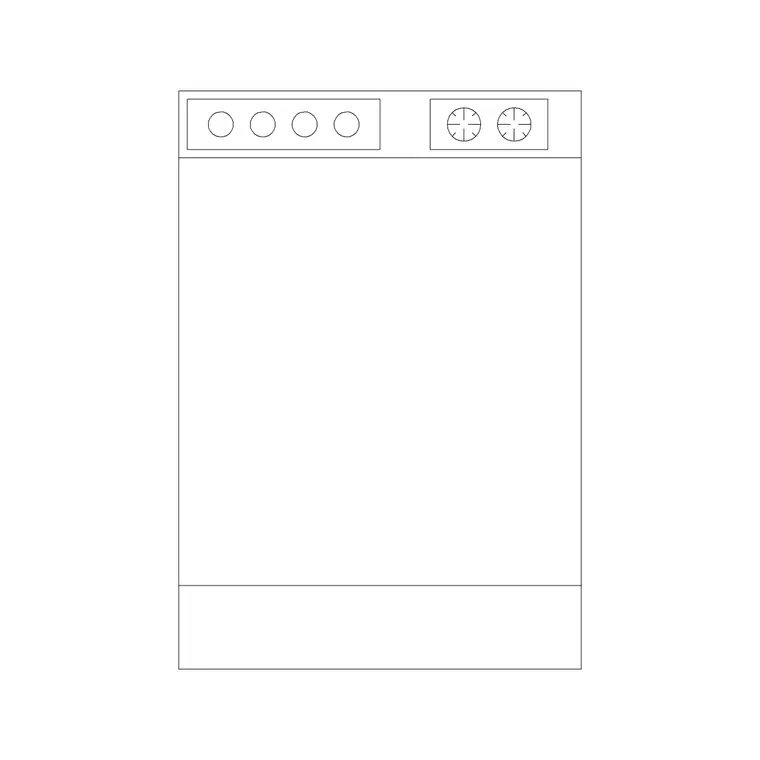
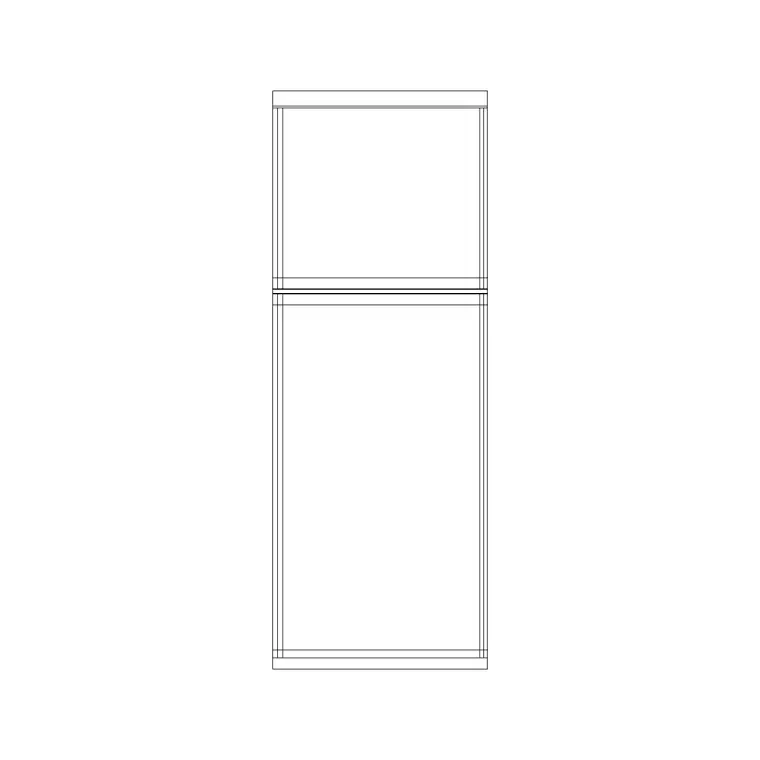
Downloaded appliance blocks, like the ones on cadblockdwg.com, are drawn as a generic, representative version of that appliance type, genuinely useful for concept layout and presentation work, but not a substitute for the real specified model once a project moves past the early stages. Before anything gets fabricated or ordered around it, scale the block to match the number on the appliance schedule rather than trusting the as-downloaded size blindly, since a generic dishwasher or refrigerator block won't always match the exact model a client or spec has actually called out.
Plotting at a scale that keeps these widths honest on paper
A kitchen elevation is commonly plotted at 1:20 or 1:50 on a standard A1 or A3 sheet, and it's worth remembering that a small scaling error becomes a real, measurable discrepancy once it's printed at that scale and someone holds a scale ruler up to it on site. Cross-check your printed dimension strings against the drawn width of each appliance and cabinet module before issuing a set, the same sanity check worth running whenever you're reading someone else's elevation for the first time.
Leaving enough clearance for someone to actually use the kitchen
Beyond getting the appliance and cabinet widths to line up correctly, it's worth thinking about the clear floor space in front of that run once it's built. Universal design guidance generally points toward keeping enough open floor space for a full turning circle, often cited around 60 inches in diameter, in front of a working kitchen run, with clear approach space at each major appliance. It's a lot easier to design that clearance in from the start than to try and retrofit it after the cabinet layout and appliance widths are already locked down.
This is worth building into the earliest concept sheet rather than treating it as a late-stage accessibility add-on, since retrofitting real clearance into a kitchen layout after the cabinet run and appliance widths have already been finalized almost always means giving something else up, counter length, storage, an island's size, to make room. A kitchen designed with generous circulation and appliance clearance from the very first layout sketch tends to work better for everyone who uses it, not just anyone with an accessibility requirement, since a wider, more open working triangle is simply more comfortable to move through day to day, whether that's one person cooking solo or two people working the kitchen at the same time during a busy weekend.
Panel-ready appliances add another wrinkle
Panel-ready dishwashers and refrigerators, the kind designed to accept a custom cabinet-matching door front rather than showing the manufacturer's own stainless or black finish, complicate the width coordination even further, since the appliance's structural width and its finished, paneled width aren't quite the same number. A panel-ready dishwasher might still be a true 24 inches structurally, but once a cabinetmaker builds and hangs a matching door panel over the front, the reveal lines and panel thickness can shift the effective width by a small but real margin, often just a few millimeters, though it's enough to throw off a tight filler calculation if it isn't accounted for on the schedule. If a project is specifying panel-ready appliances, it's worth getting the exact panel dimension from the cabinet shop rather than assuming the bare appliance width from the manufacturer's spec sheet is the final number the layout needs to be built around.
Further reading
Questions
Frequently asked
Why doesn't my downloaded appliance block width match the cabinet module exactly?+
Because appliances are built to manufacturer standards, not cabinet module increments, so a 24 inch dishwasher or a 33 inch refrigerator can land awkwardly between cabinet widths that step in 3 inch increments. That gap is usually closed with a filler strip rather than forcing the whole cabinet run to a nonstandard width.
Should I trust the exact width of a downloaded CAD block or check it against the real appliance spec sheet?+
Always check it against the spec sheet for the actual specified model once a project is past the concept stage. Downloaded blocks are drawn as a generic, representative version of that appliance type, useful for layout and presentation, but a real fabrication or ordering decision should be verified against the manufacturer's own dimensions.
How much clear floor space should I leave in front of a kitchen appliance run for accessibility?+
Universal design guidance generally points toward keeping enough open floor space for a full turning circle, often cited around 60 inches in diameter, in front of a working kitchen run, plus clear approach space at each major appliance. It's worth designing to that early rather than retrofitting clearance after the cabinet layout is locked.
Free downloads from this article
Free CAD block library
Download the blocks from this article — free, no signup