Machine and equipment CAD blocks for a diagnostic imaging room
How to approach a diagnostic imaging room layout using general medical equipment CAD blocks alongside specialist manufacturer drawings.
Saumyajit MaityUpdated 25 June 20265 min read
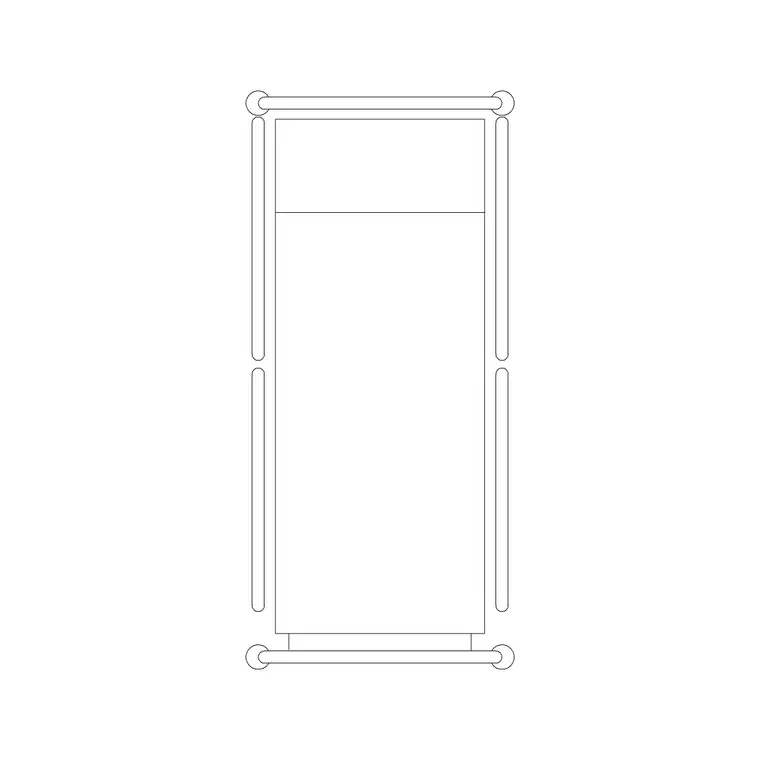
The block library only gets you part of the way here
I'll say this up front because it's the honest starting point for this post, a diagnostic imaging room, X-ray, CT, MRI, ultrasound, is one of the few room types in a healthcare set where a general medical CAD block library genuinely won't cover the main piece of equipment, and pretending otherwise sets a layout up to fail. The gantry, bore, or console for a specific imaging machine is proprietary geometry that comes from the manufacturer, tied to a specific model with specific shielding and clearance requirements, so the right approach is combining manufacturer supplied equipment drawings for the machine itself with general medical blocks, patient beds, trolleys, seating, screens, for everything around it.
What you actually need from the manufacturer
Before laying anything out, get the specific equipment drawing from the machine's manufacturer or supplier, which will show the true footprint, service clearance zones, and often a required exclusion zone tied to the equipment's operating requirements, magnetic field for an MRI, radiation shielding for an X-ray or CT unit, that a generic block simply can't represent accurately. I treat that manufacturer drawing as the fixed anchor of the whole room layout, inserted first and never resized or approximated, because getting that one piece of geometry wrong undermines every other placement decision made around it.
Where general medical blocks fill in the rest of the room
Once the imaging equipment itself is anchored, the rest of the room is where a general medical block library genuinely earns its place, a patient bed or trolley position for transferring a patient onto the table, sized against the same 900mm to 1050mm by 2000mm to 2150mm range as a standard ward bed, positioned to allow a smooth transfer without an awkward turn near the machine's exclusion zone. A curtain or screen block is often needed for patient changing or privacy near the entry, and if there's a recovery or waiting position for patients before or after the scan, a recliner block gives a realistic seated footprint for that zone rather than leaving it as assumed space.
The control room and viewing window, a separate coordination problem
Most imaging rooms pair with a control room separated by a shielded wall and a viewing window, and that relationship is its own layout problem distinct from the scan room itself, since the operator needs clear sightlines to the patient and the machine from the console position, and the window placement is usually dictated by the equipment manufacturer's own layout guidance rather than general architectural judgement. I check this as its own sub layout, console position, window sightline, door swing between the two rooms, before finalising anything else, because a control room that can't actually see the patient during a scan is a functional failure no matter how well the rest of the room is drawn.
Circulation and transfer paths around the equipment
Patient transfer paths need the same honest circulation check I'd run in any clinical corridor, a trolley or bed moving from the corridor into the room and up to the machine table, checked for turning clearance at the doorway and along the approach, kept entirely clear of the equipment's fixed exclusion zone. Staff working positions around the machine, particularly anywhere requiring quick access during a procedure, need their own clear zone too, and I mark those as deliberately as I would a trolley path, since imaging rooms tend to get busier and more cluttered with ancillary equipment over time if the original layout didn't leave enough working room.
For an MRI suite specifically, I also check the emergency egress path separately from the routine patient transfer path, since MRI safety protocols typically require a clear route to remove a patient from the magnet room quickly in an emergency without that route being blocked by the same equipment or furniture that's fine to have present during routine scanning. That's a slightly different circulation question from the everyday trolley path, checked against the room's specific emergency procedure rather than general traffic flow, and it's worth confirming with whoever's specifying the MRI installation exactly what that procedure requires before finalising where fixed furniture or storage sits in the room.
Software and coordination notes for this room type
For a single imaging room, standard 2D CAD work with the manufacturer's DWG or DXF equipment drawing dropped in alongside general medical blocks is usually enough, but for a larger diagnostic suite with multiple modalities, I'd lean toward a building information modeling approach if the practice has that capability, since a tool like Autodesk Revit makes it far easier to check shielding and exclusion zones in three dimensions across several rooms at once, catching a clash between an MRI's field extent and an adjacent room's equipment that a stack of 2D plans would struggle to reveal. Either way, the discipline is the same, manufacturer geometry anchors the room, general blocks fill in the human factors around it, and the control room relationship gets checked as its own problem rather than an afterthought.
Shielding walls, and a coordination problem that touches structure too
An imaging room's walls are rarely just partitions, X-ray and CT rooms typically need lead lined shielding built into the wall construction, and an MRI suite needs a fully shielded RF enclosure plus, in most installations, a separate magnetic shielding consideration for the structure around it, and both of those requirements change the wall thickness and sometimes the structural approach in ways a general architectural block simply won't show. I treat the shielding specification as something that comes from a radiation physicist or the equipment manufacturer's own installation guide, never assumed or estimated, and I draw the shielded wall as a distinctly thicker line weight on the plan with a note calling out the lead equivalence or shielding type specified, so nobody downstream mistakes it for a standard partition when they're pricing or building it. Door and window shielding gets the same treatment, since a shielded door is a specific, heavier assembly with its own frame requirements, and a shielded viewing window between the scan room and control room is typically a leaded glass unit that's considerably heavier and thicker than standard glazing, both of which need to be flagged early enough that the structural opening and the door frame are sized correctly the first time rather than discovered wrong once the shielded assembly arrives on site and doesn't fit the rough opening.
Further reading
Questions
Frequently asked
Can I use general medical CAD blocks for the imaging machine itself?+
Not reliably, since the gantry, bore or console for a specific CT, MRI or X-ray unit is proprietary geometry with real shielding and clearance requirements tied to that exact model, so it's worth getting the actual equipment drawing from the manufacturer and treating general blocks as support for everything around it, not the machine itself.
What role do patient bed and trolley CAD blocks play in an imaging room layout?+
They help you check the patient transfer path onto the scan table, sized against the same footprint range as a standard ward bed, and positioned to confirm a smooth transfer without an awkward turn near the equipment's fixed exclusion zone.
Why does the control room need its own layout check separate from the scan room?+
Because the console position, window sightline and door swing between the control room and the scan room is its own coordination problem, and a control room that can't actually see the patient during a scan is a functional failure regardless of how well the imaging room itself is laid out.
Free downloads from this article
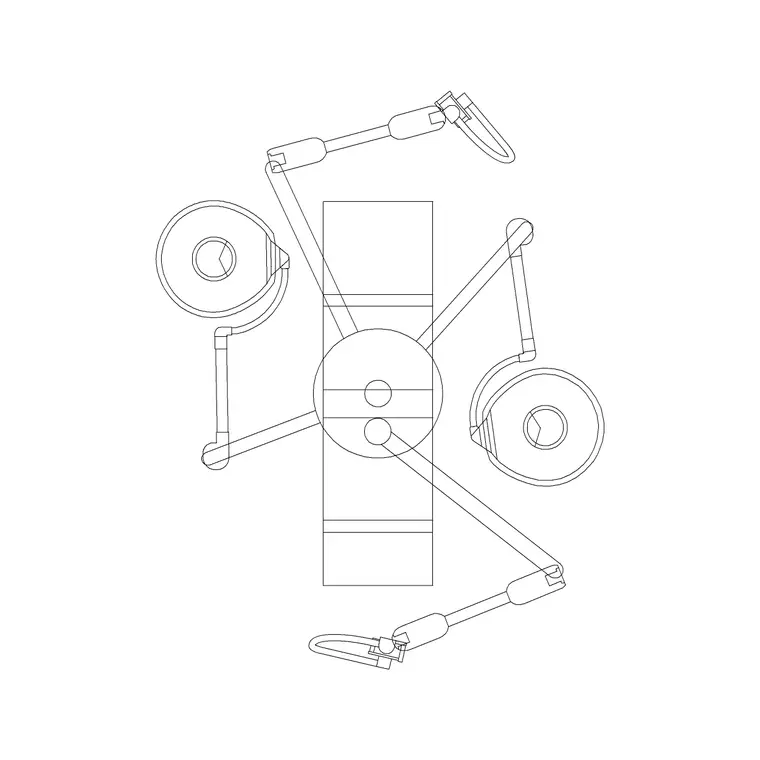

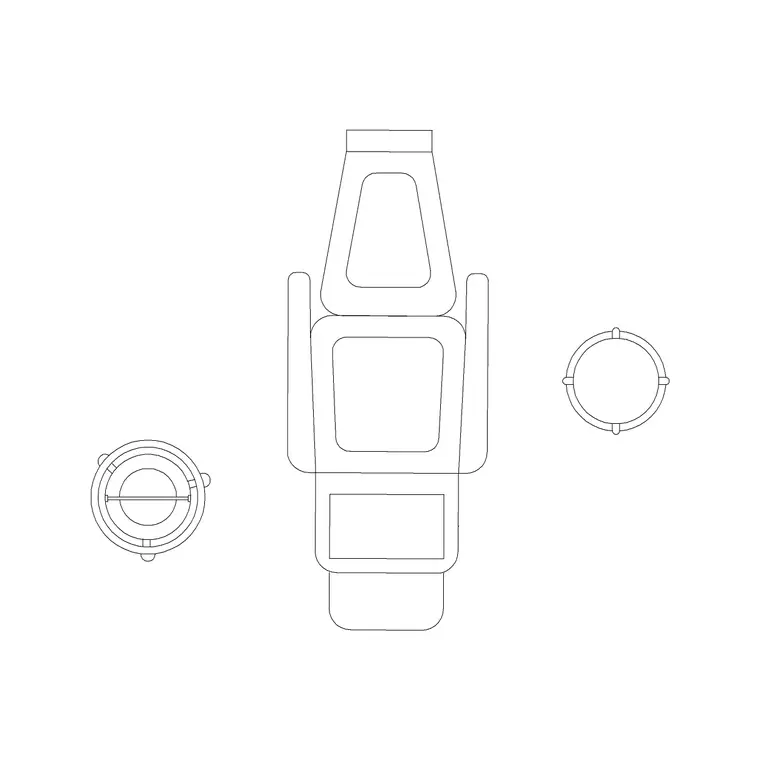
Free CAD block library
Download the blocks from this article — free, no signup


