Kitchen Triangle Workflow: Sink, Hob and Fridge Placement Rules
How to lay out the classic sink, hob and fridge work triangle in plan using free kitchen CAD blocks, and where the rule genuinely still applies.
Saumyajit MaityUpdated 11 June 202610 min read
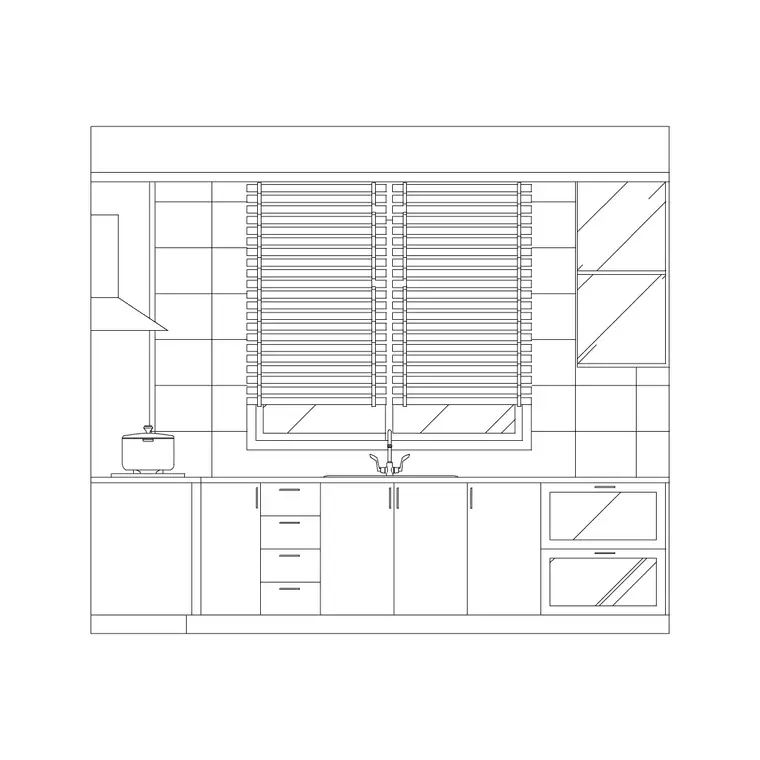
What the Triangle Is Actually For
The kitchen work triangle is one of those design ideas that gets repeated so often it starts to sound like folklore, sink, hob and fridge, three points, keep the distances reasonable, but the underlying reason it has stuck around for decades of residential design practice is genuinely practical rather than superstitious. A cook moves between those three points constantly during meal preparation, fridge to counter, counter to hob, hob to sink and back, and a layout that stretches those distances too far turns ordinary cooking into unnecessary walking, while a layout that crams them too close creates constant collision between the person cooking and whatever door, drawer or appliance happens to be in the way at that moment.
It is worth saying plainly that this is a heuristic, not a physical law, and plenty of excellent modern kitchens, single-wall galley layouts, large island kitchens with multiple cooks working at once, depart from a literal triangle shape while still respecting the underlying goal, keeping the three core work zones reachable without unnecessary travel and without functional paths colliding. This post walks through how to actually lay those three zones out in plan using the free blocks available in the kitchen category, and where the classic triangle framing genuinely still applies versus where it needs adapting.
The reason this matters enough to write about separately from a general modular kitchen layout post is that the triangle is fundamentally a plan-view decision, it lives entirely in how you position three zones relative to each other on the floor, and it is very easy to get the individual appliance blocks placed correctly in isolation while still getting their relationship to each other wrong in a way that only shows up once someone actually imagines cooking in the space.
I have reviewed plans that looked completely fine appliance by appliance, correct fridge width, correct hob clearance, correct sink dimension, but that still failed the moment I mentally walked through making a simple meal in the space, because the hob sat at one end of a long run and the fridge at the other with a full dining table's worth of distance between them for no functional reason. That kind of mistake rarely shows up in a spec check or a dimension audit, it only shows up when someone actually thinks through the sequence of movements a real cook makes, which is exactly the exercise this post is built around.
Placing the Hob First
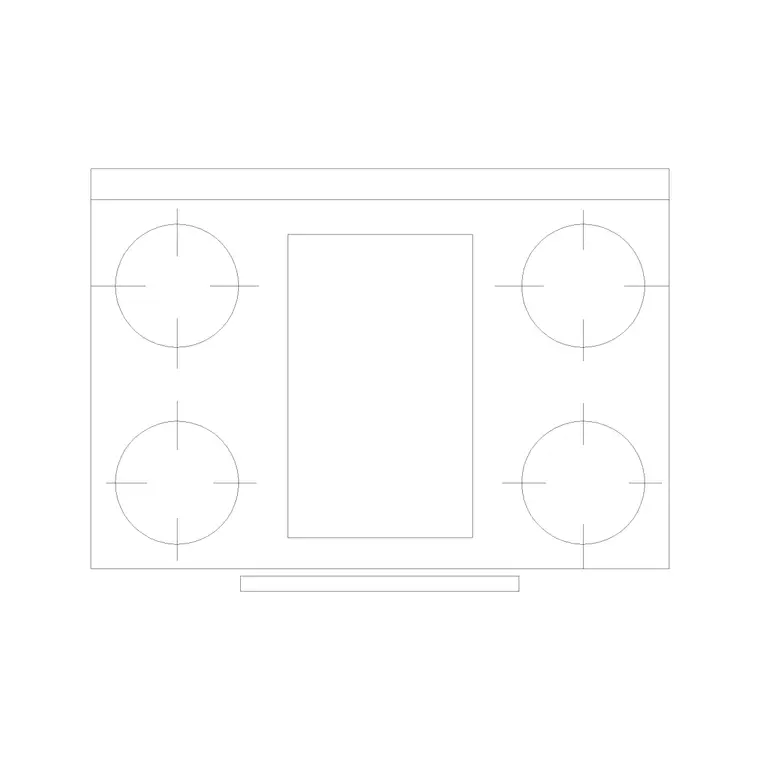
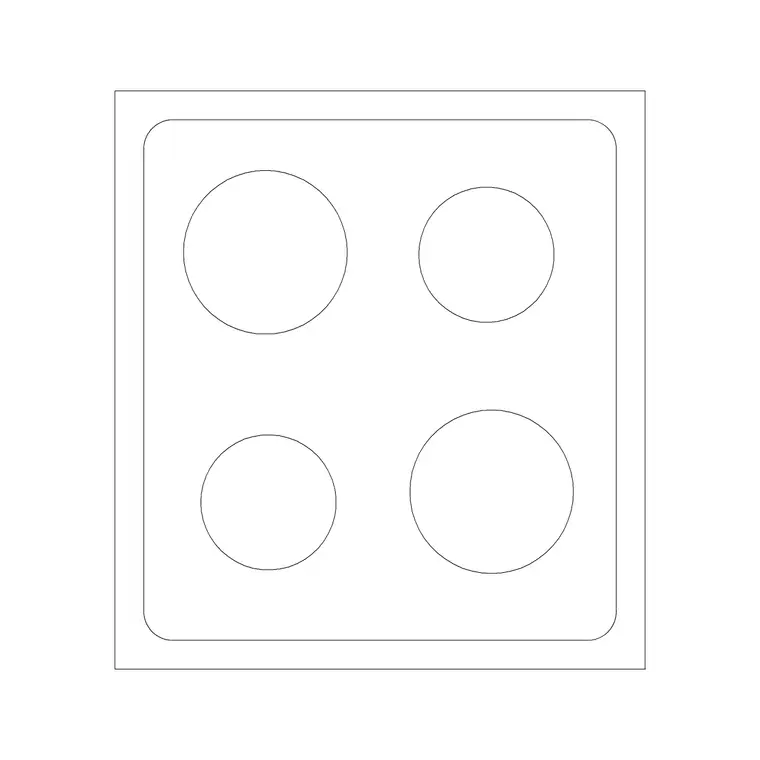
I generally place the hob or cooking range before the other two triangle points, using cooking-range-plan-1 or one of the stove blocks like stove-4-burner depending on whether the project has a built-in range or a freestanding cooker, because the hob's location is usually the most constrained of the three, tied to a gas line or a dedicated electrical circuit that may already exist or has already been decided by an engineer earlier in the project. Sink and fridge locations tend to have more flexibility than the hob does, so anchoring the layout on the least flexible point first avoids having to redesign around a fixed gas line late in the process.
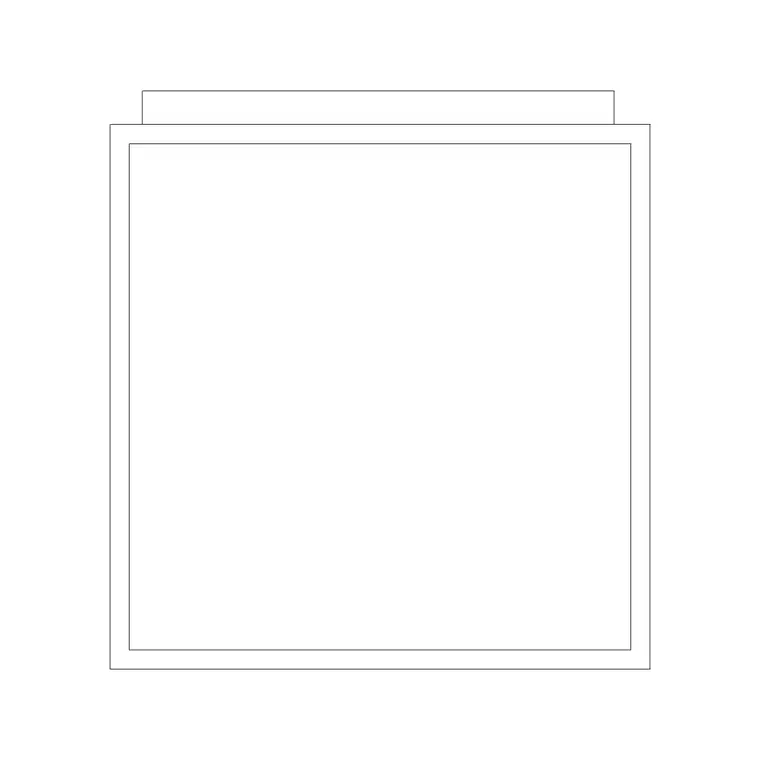
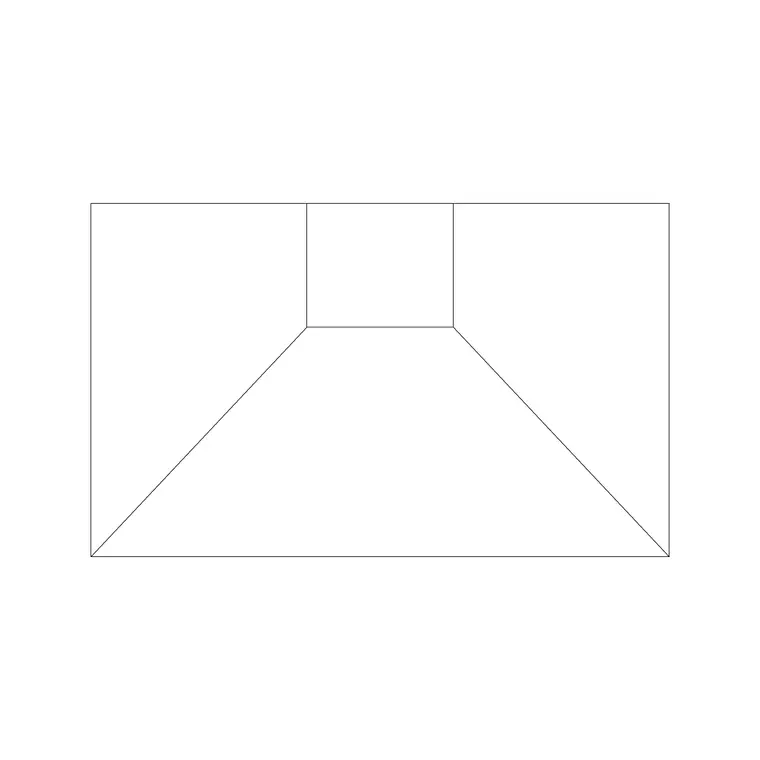
Once the hob position is set, hood-plan-1 gets centered directly above it in plan, the same alignment principle covered in more depth in the companion post on laying out a modular kitchen, and this is also the point where I check that the hob is not sitting directly in a straight line between a doorway and the rest of the room, since a cooking surface positioned in a high-traffic through path is one of the more common and more avoidable kitchen layout mistakes, triangle geometry aside. A hob at the end of a run, away from a door swing or a walkway, is almost always the safer default even before triangle distances get considered.
The other reason to lock the hob position early is that so much else in the layout keys off it, hood centerline as covered here, but also the counter material and any heat resistant surface treatment right around it, and the general rule of leaving a reasonable stretch of clear counter on at least one side of the hob for setting down a hot pan straight off the burner, which is a functional need that a triangle distance calculation alone would never surface but that anyone who actually cooks regularly will notice immediately if it is missing.
Placing the Fridge Without Blocking the Path
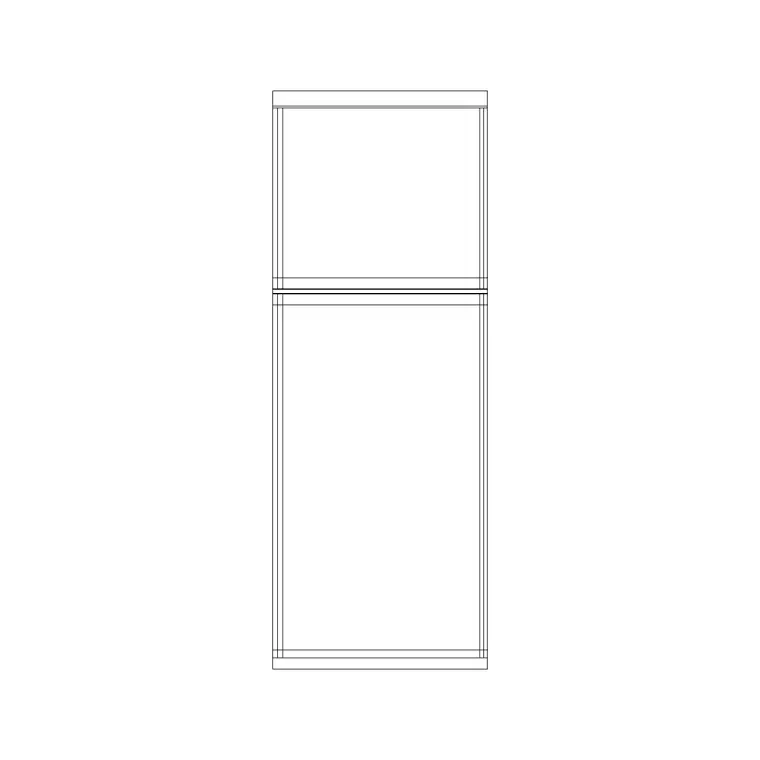
The fridge, positioned using refrigerator-plan-1 in plan and cross-checked against refrigerator-elevation-1 for the vertical composition, is the point in the triangle most people reach for constantly and often without warning, someone grabs milk mid-conversation, mid-task, without necessarily thinking ahead, which makes fridge placement more about keeping its door swing and the immediate approach area clear of other traffic than about hitting any specific distance target. A fridge tucked at the end of a run near the entry to the kitchen works well precisely because it can be reached without crossing through the hob or sink work zones at all, letting someone grab an ingredient without interrupting whoever is actually cooking.
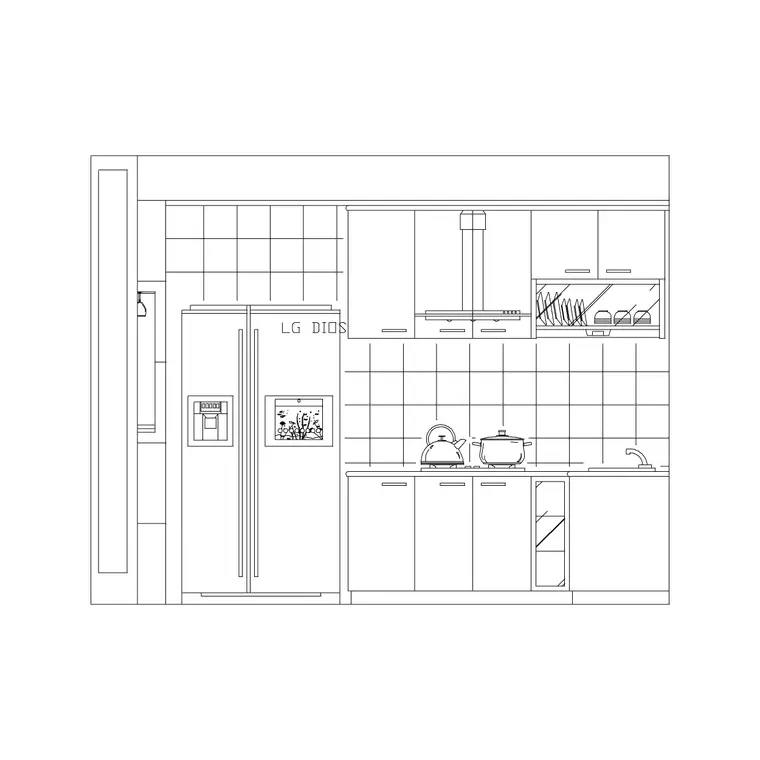
Where the fridge and hob sit close together or share a wall, kitchen-elevation-fridge-and-stove is worth pulling up as a reference composition even during the plan stage, since seeing how that relationship resolves in a finished elevation can surface a clearance problem in plan before it becomes visible only once the elevation gets drawn. The general rule I default to is treating the fridge door swing as a zone nothing else should be planned inside of, the same way you would treat a dishwasher door swing, since an open fridge door blocking the one path between the sink and the hob defeats the entire purpose of keeping those three zones efficiently connected in the first place.
Double door refrigerator models, the wider 700mm, 750mm and 800mm blocks in this category, need extra care here specifically because a double door swing occupies more floor space when fully open than a single door unit of similar overall width, so if a project has specified a larger double door fridge, it is worth re-checking the swing clearance against the plan even if a single door unit at a similar footprint would have fit comfortably in the same spot. This is exactly the kind of detail that a quick swing arc sketched directly onto the plan will catch immediately, and one that is very easy to miss if you are only comparing overall appliance widths without actually drawing the open door position.
Placing the Sink and Being Honest About the Plan View
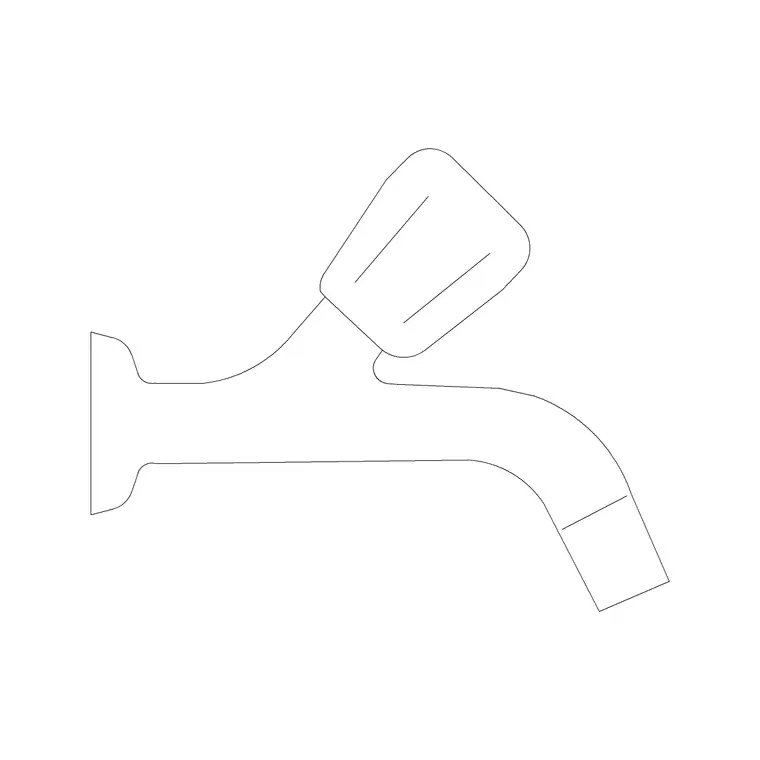
The sink and its faucet, faucet-1 in particular for this composition, typically anchors the third point of the triangle, and it is worth being upfront here the way earlier posts in this series have been about other gaps, this kitchen category does not carry a dedicated standalone plan-view sink block the way it carries refrigerator-plan-1 or cooking-range-plan-1. In practice a sink in plan gets represented as a break or cutout in the counter run at the correct width for the bowl configuration, with the small faucet footprint marked at the back edge, rather than as a single named plan block, and the composed kitchen-elevation-sink family of blocks is where the fuller, more detailed representation of that fixture actually lives, showing the vertical relationship between counter, sink, faucet and any window above.
Sink placement itself usually follows from the wall the plumbing stack is already on, more than from pure triangle geometry, and a sink under a window is common enough in residential work that it is worth checking early whether that condition applies to your project, since it constrains both the plan position and, later, which of the sink elevation composites in this series' companion post you will end up reaching for. Once the sink position is set, the triangle is essentially complete in plan, and the real test at that point is walking the layout mentally, sink to hob to fridge and back, checking that no single leg of that path is forced to cross another appliance's clearance zone.
A sink under a window, using kitchen-elevation-sink-and-window as the reference once you move from plan into elevation, is worth flagging one more time here specifically because it interacts with the triangle in a way that is easy to overlook, a window constrains the wall cabinet layout above the sink the way covered in the elevation-focused post in this series, but it also, less obviously, tends to fix the sink's position along that wall fairly rigidly, since moving the sink away from a window centerline for the sake of a slightly tighter triangle usually reads as visually wrong even when the triangle math technically improves. Plumbing and window constraints both tend to override pure triangle optimization in practice, and that is a completely reasonable trade to make.
When the Triangle Stretches or Breaks Down Entirely
Island kitchens are where the classic triangle shape most visibly breaks down, since a hob or a sink frequently sits on the island itself while the fridge stays against a perimeter wall, and rather than forcing a literal triangle onto that configuration, the more useful framing is thinking in terms of zones and clear paths between them rather than a strict three point shape. The underlying goal, minimal unnecessary travel, no functional path blocked by another appliance's clearance, holds up perfectly well even when the physical geometry no longer resembles a triangle at all.
Galley and single-wall kitchens present the opposite problem, not too spread out but potentially too compressed, where sink, hob and fridge all sit close together on one run and the risk shifts from excessive walking to constant clearance collisions, two open appliance doors competing for the same narrow floor space. In a genuinely tight single-wall layout, staggering which appliances get used simultaneously, rather than trying to stretch physical distance that the room does not have, becomes the more realistic design lever, and this is exactly the kind of layout where clearance discipline, sink and fridge and hob distances checked individually rather than as one triangle metric, matters more than the triangle framing itself.
Accessibility Changes the Math
Anyone designing a kitchen intended to work for a wheelchair user, or genuinely for anyone regardless of mobility, needs to think past the classic triangle entirely and toward the broader principle of universal design, where clearances get planned generously enough for turning radius and reach range rather than for the narrowest gap a standing adult can technically squeeze through. That shift changes fridge, hob and sink placement meaningfully, wider clear floor space between each point, hob and counter heights that may differ from a standard fixed dimension, and door swings planned with enough buffer that a wheelchair user is never forced to fully close one appliance door before opening another.
This is not a niche consideration limited to specialized projects either, accessibility thinking applied to an ordinary kitchen tends to produce a more comfortable, less cramped layout for every user regardless of mobility, which is really the whole premise behind universal design as a broader idea, that designing generously for the widest range of users tends to produce a better result for everyone rather than a narrower one. If a project brief mentions aging in place, a multi-generational household, or any accessibility requirement at all, treat the triangle distances discussed earlier in this post as a floor to build up from rather than a target to hit exactly.
A Practical Sequence to Follow
Putting the whole workflow together, place the hob first using cooking-range-plan-1 or a stove block since it is usually the least flexible point, center the hood above it using hood-plan-1, place the fridge using refrigerator-plan-1 somewhere it can be reached without crossing the hob or sink zones, establish the sink position based on the plumbing wall and represent it as a counter cutout with a faucet footprint rather than hunting for a plan block that does not exist in this category, then walk the resulting triangle mentally checking that no appliance's door swing or clearance zone blocks another's approach path.
Every block referenced through this sequence downloads as a free DWG file with no signup, cleared for commercial use, the same as the rest of the kitchen category covered throughout this series, and running this whole triangle check costs nothing beyond the time it takes to actually walk through it. If your project is starting from a completely blank plan rather than refining an existing layout, the companion post on laying out a modular kitchen in AutoCAD covers the fuller sequence, cabinet run first, then appliances, then elevation, that this triangle logic sits inside of as one specific and genuinely important step.
Further reading
Questions
Frequently asked
Is the kitchen work triangle still a relevant design rule today?+
As a rigid geometric rule, less so, especially with island and open-plan kitchens common now. As an underlying goal, keeping sink, hob and fridge reachable without unnecessary travel or clearance conflicts, it is still genuinely useful and worth checking on any layout.
Which point of the triangle should be placed first in a plan?+
Generally the hob or range, since its location is often the least flexible, tied to an existing gas line or dedicated electrical circuit. Sink and fridge placement usually have more flexibility to work around a fixed hob location.
Is there a dedicated plan-view sink block in the kitchen category?+
No, and it is worth being upfront about that. A sink in plan is typically represented as a counter cutout with a faucet footprint rather than a single named block, while the fuller, detailed sink representation lives in the kitchen-elevation-sink family of composed elevation blocks.
How does accessibility change kitchen triangle planning?+
Universal design principles call for more generous clearances than a standard layout, enough turning radius and reach range for a wheelchair user, and door swings planned with buffer so appliances are not forced to compete for the same tight floor space. Treat standard triangle distances as a minimum to build up from, not a target.
Free downloads from this article
Free CAD block library
Download the blocks from this article — free, no signup


