Kitchen Elevation Drawings: What Blocks You Actually Need
A working checklist of the free kitchen elevation blocks that actually cover a standard drawing set, sink wall through internal elevations.
Saumyajit MaityUpdated 13 April 202610 min read
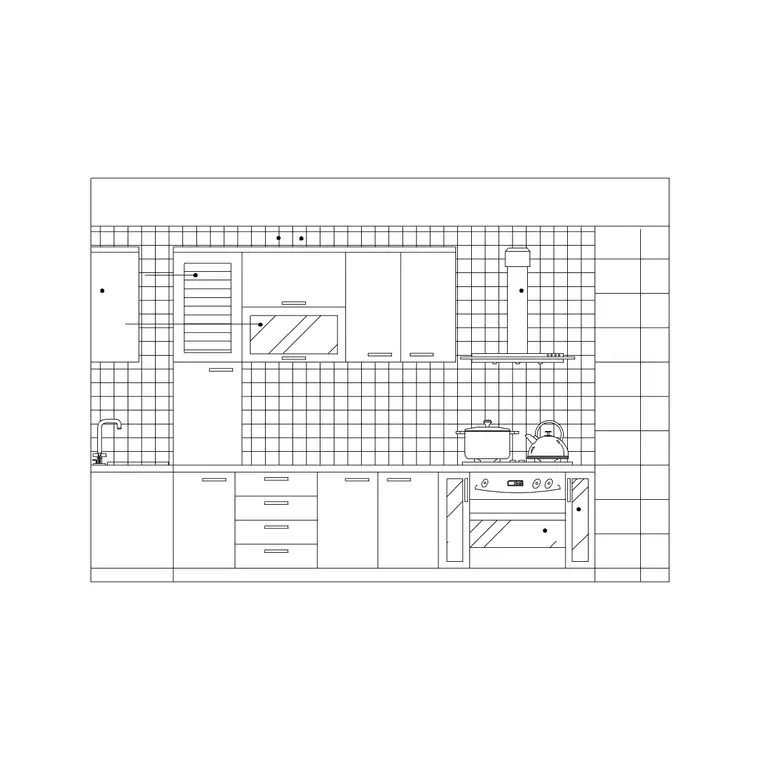
Why an Elevation Set Needs Its Own Checklist
A kitchen plan tells you where things go, but a kitchen elevation tells you what the room actually looks like standing inside it, height relationships, appliance faces, window placement relative to the counter, and any reviewer or client who has ever looked at a plan and then asked what does this actually look like already understands why the elevation set matters as much as the plan does. The trouble is a full kitchen elevation set usually needs more than one drawing, because a kitchen typically has at least two or three distinct walls worth showing, the sink wall, the cooking wall, sometimes a separate fridge wall, and treating that as a single generic kitchen elevation task tends to produce an incomplete set, one where a reviewer or a client asks a perfectly reasonable question about a wall that was simply never drawn.
This post is a checklist, not a tutorial, built from the nineteen kitchen elevation blocks actually available in the category on this site, organized by which wall or zone of a real kitchen each one covers, so you can walk through your own project and confirm you have not missed a wall that needs its own elevation before the sheet goes out for review.
I started keeping this kind of checklist for myself years ago after handing in a kitchen elevation set that looked complete on the surface but had quietly skipped the fridge wall entirely, because the fridge happened to sit around a corner from the wall I had been focused on and it simply did not occur to me that it needed its own drawing until a reviewer asked where it was. That is the specific failure mode a checklist like this is meant to prevent, not getting any single elevation wrong, but forgetting that a wall exists at all because it was not the wall you happened to be thinking about that day.
The Sink Wall: Three Options Depending on Context
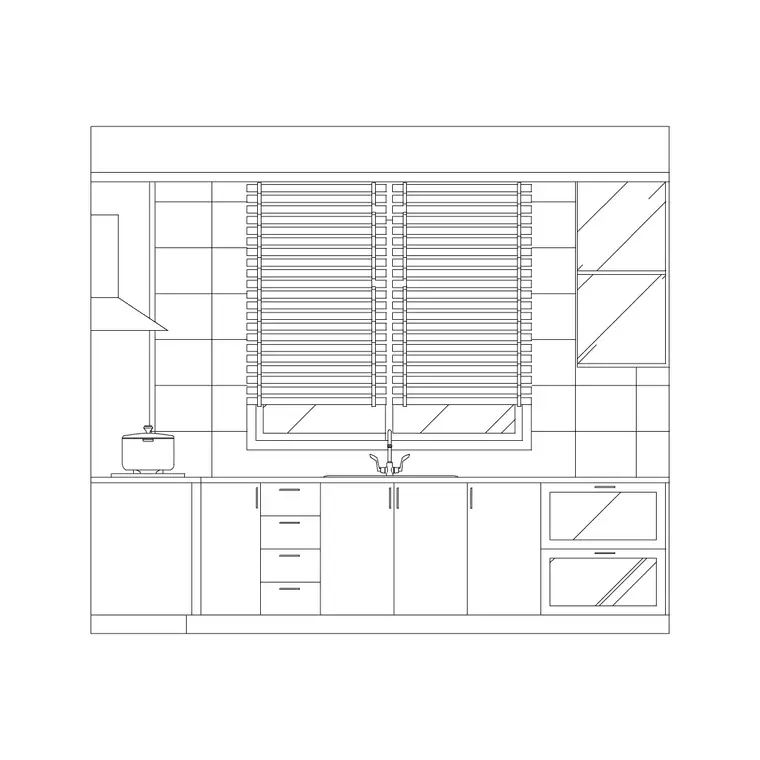
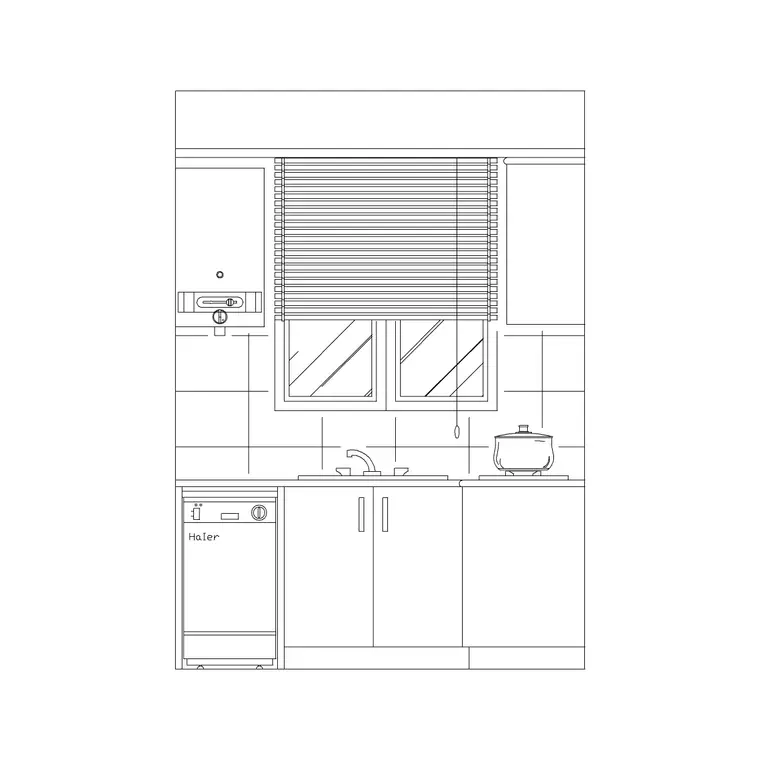
Every kitchen elevation set needs a sink wall drawing, and there are effectively three options depending on what that wall actually contains, kitchen-elevation-sink for a straightforward sink and cabinet composition, kitchen-elevation-sink-2 as an alternate composition and proportion, and kitchen-elevation-sink-and-window for the very common case where the sink sits directly beneath a window, which is worth reaching for by default in a residential project since that configuration shows up far more often than a sink wall with no window at all.
The decision between these three usually comes down to what is actually true of the project, if there genuinely is a window over the sink, start from the sink-and-window composite rather than building that relationship from scratch, and if there is no window, either sink elevation works as a base to adjust from. Getting the sink wall right matters beyond just this one drawing too, since the faucet and cabinet choices made here need to stay consistent with whatever is shown on any detail elevations elsewhere in the set.
The sink wall is also usually the first elevation a client actually studies closely in a review meeting, since it is the wall with the most immediately recognizable fixtures on it, so it is worth treating it as the elevation to get compositionally right first even if it is not necessarily the first one you draw in your own workflow. A slightly rough cooking wall elevation tends to get forgiven more easily in an early review than a sink wall that looks obviously unresolved, purely because of how much visual attention that particular wall naturally draws.
The Cooking Wall: Stove, Hood or Both Together
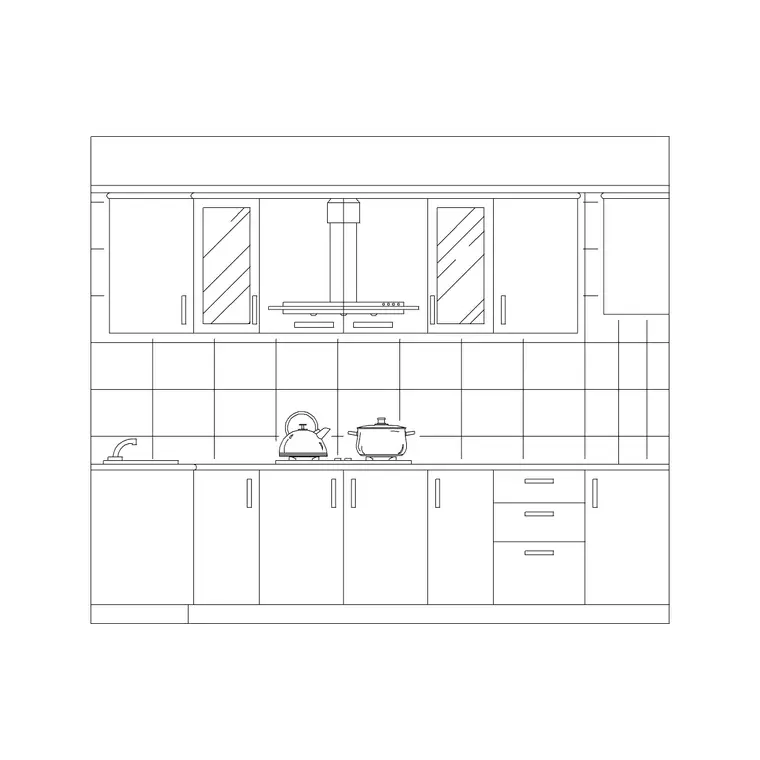
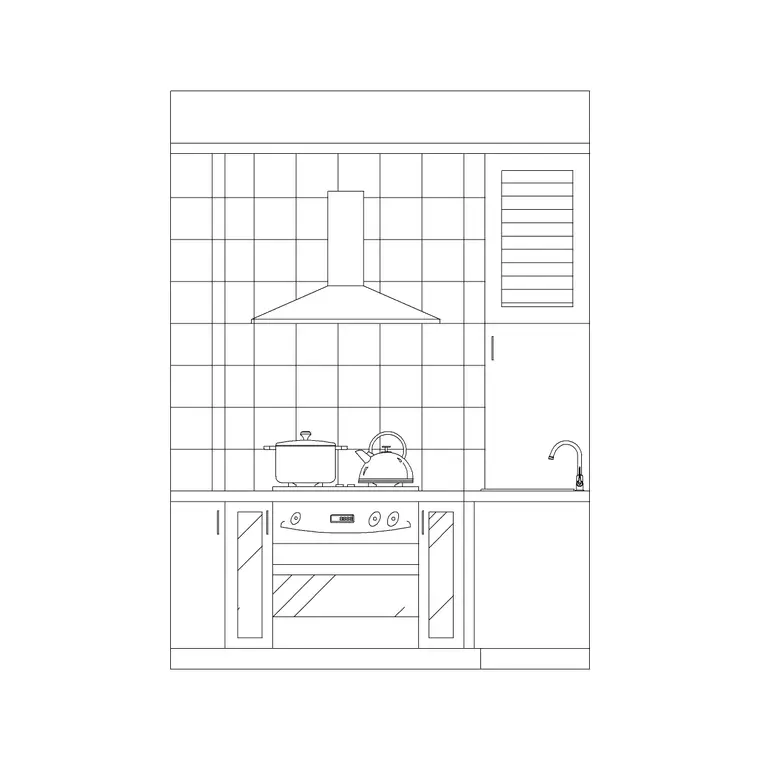
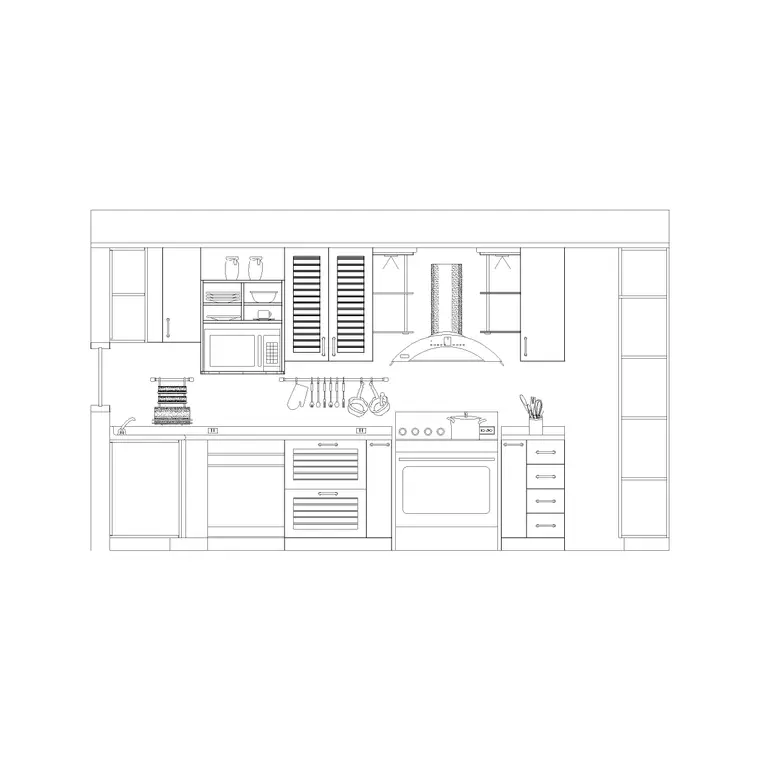
The cooking wall is where the block library gives you the most flexibility, kitchen-elevation-stove and kitchen-elevation-hood as separate compositions if the stove and hood are being detailed independently, or kitchen-elevation-stove-and-hood and kitchen-elevation-with-stove as pre-combined options when you want both shown together and already reconciled against each other, which is honestly the more common real-world need since a stove without its hood shown above it looks like an unfinished drawing.
kitchen-elevation-hood-and-cabinet is worth calling out separately, since it specifically shows the hood in relationship to the surrounding cabinet run rather than just the appliance in isolation, useful when the wall cabinet layout around the hood is part of what needs reviewing rather than just the appliance itself, which comes up more often than not since a hood almost never sits in a cabinet vacuum, it is nearly always flanked by wall units on at least one side. If your project has a straightforward single-wall cooking zone, starting from one of the combined stove-and-hood compositions will get you further, faster, than assembling stove and hood elevations separately and hoping the proportions agree.
One coordination point worth flagging specifically for this wall, if your project uses a wall-mounted or canopy hood rather than an under-cabinet unit, make sure whichever combined stove-and-hood block you are using actually reflects that mount type, since a canopy hood sits noticeably higher and reads very differently in elevation than an under-cabinet unit tucked directly beneath a wall cabinet. Grabbing a combined block without checking that the hood style matches your actual specified appliance is an easy way to end up with an elevation that needs correcting after a client has already seen it.
A worked example makes this concrete, on an L-shape kitchen where the range sits on the short leg and the hood is ducted through the longer leg's ceiling void, the combined stove-and-hood composite still works fine as a starting point as long as you rotate and reposition it to match the actual duct path shown on your plan rather than assuming the block's default orientation already matches your layout. The common mistake worth flagging is dropping a combined composite straight in at its default orientation and only noticing the duct run does not actually reach an exterior wall once the reflected ceiling plan gets drawn weeks later, right, a five minute check against the plan up front avoids that entirely.
The Fridge Wall and Fixture Callouts
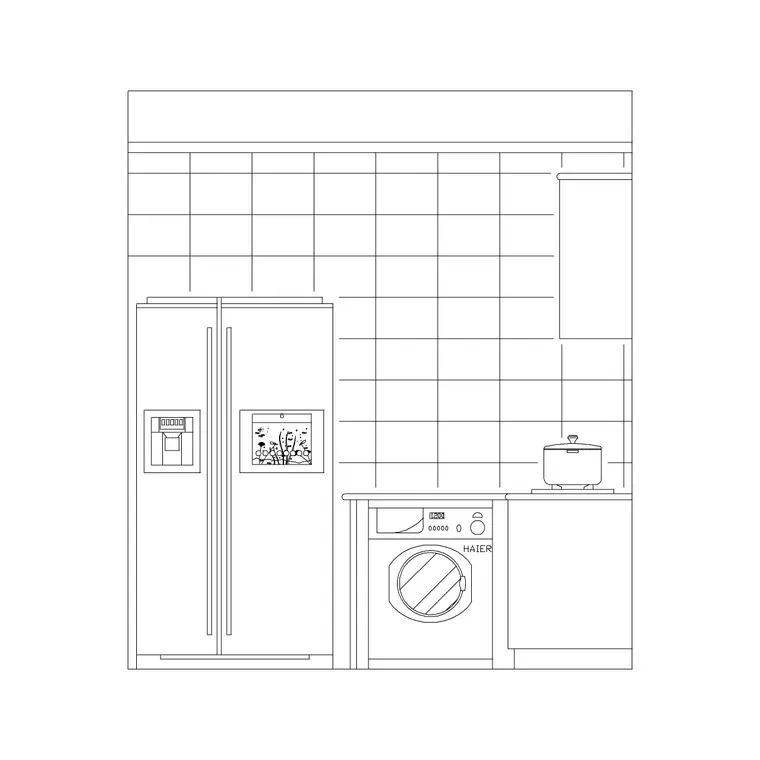
kitchen-elevation-fridge covers the refrigerator standing alone against its wall, while kitchen-elevation-fridge-and-stove is the composite option for a kitchen where the fridge and range share a wall or sit close enough together that showing them in one combined elevation makes more sense than two separate drawings. Which one applies depends entirely on your actual layout, and it is worth deciding this at the plan stage rather than the elevation stage, since the plan will already tell you whether the fridge and range genuinely share a wall, and going back to check the plan rather than guessing from memory takes thirty seconds and removes any ambiguity about which of the two blocks actually applies to your specific layout.
kitchen-elevation-fixtures rounds out this group, covering smaller fixture callouts, handles, pulls, smaller hardware detail, that a full appliance elevation does not always resolve at a legible scale. This is the block to reach for when a client or a cabinet installer needs to see hardware placement specifically, handle style, pull orientation, hinge side, rather than the overall appliance and cabinet composition, similar in spirit to the cabinet detail blocks covered in the companion post on base, wall and tall units.
Deciding whether the fridge needs its own elevation or shares one with the stove is worth making at the plan review stage, before any elevation drawing begins, because retrofitting a standalone fridge elevation into a set that was built around a combined fridge-and-stove composite, or vice versa, means redoing proportion work that could have been settled once at the very start of the drawing sequence.
Windows on a Kitchen Wall
kitchen-elevation-window is the dedicated block for a kitchen wall where a window is the primary feature being detailed, useful beyond the sink-and-window composite for cases like a window over a peninsula or a window on a wall without a sink beneath it, a kitchen breakfast nook wall for instance, or a compact galley kitchen where the only window in the entire room happens to sit above the counter rather than above the sink specifically. Window height, sill height and head height relative to counter height is exactly the kind of relationship that is much easier to get right starting from an existing resolved composition than working it out independently for every project.
A quick technical note worth remembering here, since elevation drawings rely on orthographic projection to represent a subject from a fixed viewing angle, window head and sill heights shown on an elevation should always be checked against the same reference floor line used elsewhere on the sheet, rather than measured independently from the window block's own default insertion point, which is a small discipline that keeps every wall of a multi-elevation kitchen set internally consistent.
A window on a kitchen wall also has knock-on implications for cabinet layout that are worth checking against the base and wall unit basics covered elsewhere in this series, a window interrupts the wall cabinet run above the counter, so the wall cabinet elevation on that specific wall needs to reconcile with wherever the window sits rather than assuming continuous cabinet coverage the way a windowless wall would allow.
Internal Elevations for Multi-Wall Kitchens
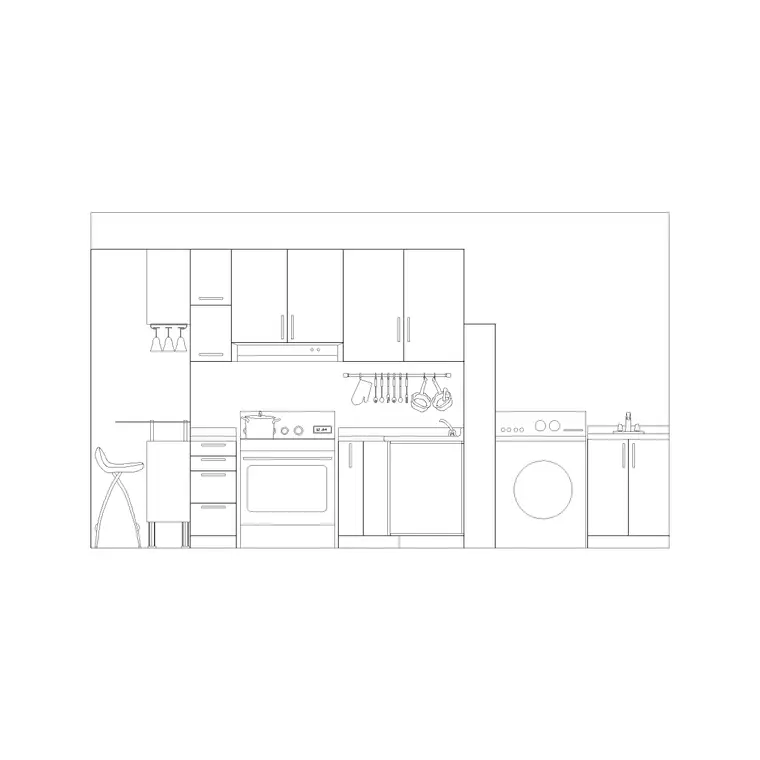
kitchen-internal-elevation, kitchen-internal-elevation-2 and kitchen-internal-elevation-3 exist for kitchens with more than the simple two or three wall configurations covered by the more specific blocks above, an L-shape or U-shape kitchen where an internal corner wall or a peninsula face needs its own dedicated elevation that does not neatly match any of the sink, stove or fridge specific compositions. These three give a reasonable spread of internal wall proportions to start from rather than building a corner or peninsula elevation entirely from scratch.
For a genuinely complex kitchen, an island with seating, a butler's pantry connection, more than three distinct walls worth detailing, expect to need a combination of these internal elevations plus several of the wall-specific blocks covered earlier, rather than any single block covering the whole space, and budget the extra drawing time for that complexity at the proposal stage rather than discovering it partway through a project. This is where the checklist framing of this post matters most, walk your own plan wall by wall and confirm each one has a corresponding elevation planned before the sheet set gets called complete.
A U-shape kitchen in particular tends to need at least one internal elevation beyond the three main appliance walls, since the corner condition where two runs meet rarely gets adequately represented by simply placing the sink, stove and fridge elevations side by side without an actual corner transition drawn. If your plan shows any corner where two cabinet runs turn a genuine ninety degree angle, budget for one of the internal elevation blocks specifically to cover that transition rather than assuming the adjacent wall elevations will imply it well enough on their own.
Assembling the Full Set
Putting this together into an actual checklist, sink wall covered by one of three sink options, cooking wall covered by stove, hood or a combined composite, fridge wall covered standalone or combined with the stove, fixture callouts where hardware detail matters, window elevation wherever a window is a primary feature of a wall, and internal elevations for any additional wall an L-shape, U-shape or island configuration introduces beyond the basics. Run down that list against your own plan one wall at a time, out loud if it helps, rather than skimming it once and assuming everything is covered.
None of these are a single magic file that produces a complete kitchen elevation set on its own, and being upfront about that matters more than pretending otherwise, a real kitchen elevation set is genuinely a small collection of coordinated drawings rather than one document, the same way a real kitchen has more than one wall worth looking at. Walk your own plan against this checklist before calling a drawing set finished, and you will catch a missing wall far more reliably than trying to remember from memory whether you have covered everything.
All nineteen of these kitchen elevation blocks download as free DWG files with no signup and are cleared for commercial use, the same as every other block in the kitchen category, so running through this entire checklist for a paying client project costs nothing beyond the time it takes to place and coordinate the blocks against your own plan. Keep this list open in a second window the next time you are assembling a kitchen elevation set, and treat it less as a product catalog and more as a wall by wall audit of a real drawing set before it goes out the door, the kind of quiet, unglamorous check that rarely gets noticed when it is done right but is always noticed the one time it is skipped.
Further reading
Questions
Frequently asked
How many separate elevation drawings does a typical kitchen actually need?+
Most residential kitchens need at least two to four, covering the sink wall, the cooking wall, the fridge wall if it is separate, and sometimes an internal or corner elevation for an L-shape or U-shape layout. There is no single elevation block that covers every wall of a real kitchen.
Should I use a combined stove-and-hood block or separate stove and hood elevations?+
Use the combined composite, kitchen-elevation-stove-and-hood or kitchen-elevation-with-stove, whenever the stove and hood are being shown together, which is the more common real need since a stove elevation without its hood above it reads as unfinished.
What are the internal elevation blocks actually for?+
They cover corner walls, peninsula faces and other internal wall conditions in L-shape or U-shape kitchens that do not match the simpler sink, stove or fridge specific compositions. They are a starting proportion reference rather than a universal solution.
Is there one file that produces a complete kitchen elevation set?+
No, and that is worth being honest about. A full kitchen elevation set is a coordinated collection of several drawings covering different walls and fixtures, not a single downloadable file, the same way a real kitchen has more than one wall to detail.
Free downloads from this article
Free CAD block library
Download the blocks from this article — free, no signup


