IV Stand and Equipment Trolley CAD Blocks for a Ward Bay
Free, real DWG blocks for IV drip stands and equipment trolleys, plus a practical checklist for drafting a hospital ward bay in plan.
Saumyajit MaityUpdated 28 May 202611 min read
The two blocks that make a ward bay read as a ward bay
I've laid out enough clinic and ward drawings now to know that the thing that convinces a reviewer a floor plan is a real hospital bay, and not just a bedroom with a fancier name, comes down to two small pieces of furniture sitting next to the bed. One is the IV stand, the tall wheeled pole that carries the drip bag, and the other is the equipment trolley parked at the foot or side of the bed for dressings, vitals kit, or a crash cart. Neither of these is large in square footage terms, but leave them out of a plan and the drawing looks unfinished, and worse, it stops telling the truth about how much floor space a bed actually needs once you account for the equipment that lives around it.
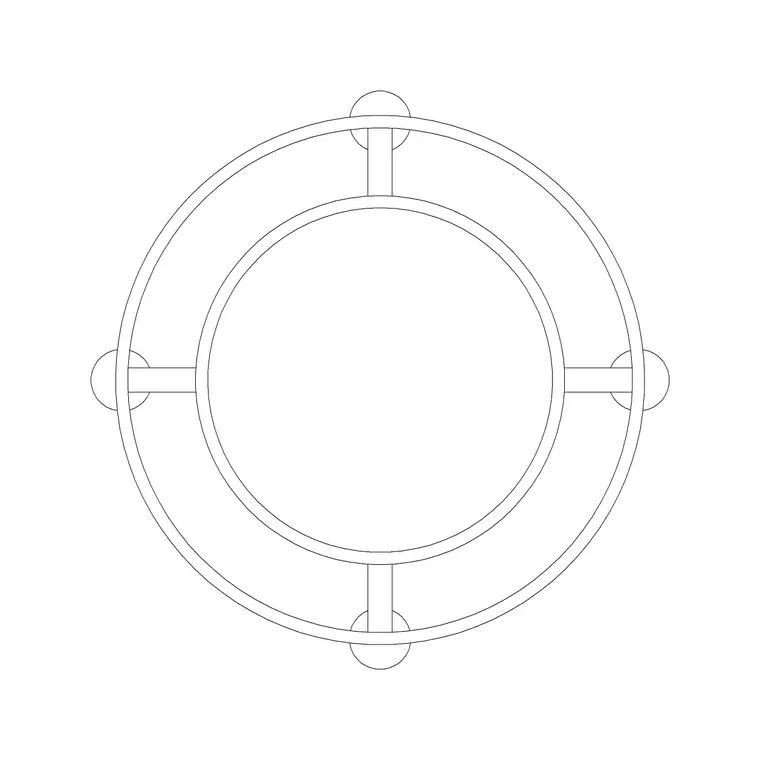
On cadblockdwg.com we have this covered with real, downloadable DWG blocks rather than a generic circle-and-label placeholder. The IV stand is listed under our medical category as Circular Stand 1 and Circular Stand 2 (slugs circular-stand-1 and circular-stand-2), and the trolley comes in several numbered variants, with Trolley 1 and Trolley 2 being the two I reach for most often because their footprint sits closest to what you'll actually see rolled into a ward bay. Both families are free, both come as DWG, and both are drawn in top view, which is exactly the view you need for a floor plan.
What a ward bay layout actually needs, as a checklist
Before getting into the two hero blocks, it's worth being honest about the full list of things a ward bay drawing needs, because a bed and an IV stand alone do not make a finished plan. At the end of the day a ward bay is a small room, and small rooms still need every element a room needs.
- A patient bed block, ideally one with the correct plan footprint rather than a stretched rectangle - A privacy curtain or curtain track around the bed zone - The IV stand next to the headboard - An equipment trolley for immediate-use supplies - A bedside locker or stand for personal items - A wash basin if the bay includes one, drawn in its own plan or elevation - People-for-scale figures, so a reviewer can judge circulation width at a glance - Doors and, where relevant, windows for the room shell itself
We genuinely have real, verified downloads for every one of those except the last two categories being pulled from our general door and window libraries rather than a medical-specific one, and that's fine, because a hospital door is still a door in plan. What we do not claim to have is anything wildly specialised like nurse call panels or medical gas outlets drawn as individual blocks, so if your project needs that level of MEP detail you'll be sourcing it elsewhere or drawing it yourself.
The IV stand blocks, in detail
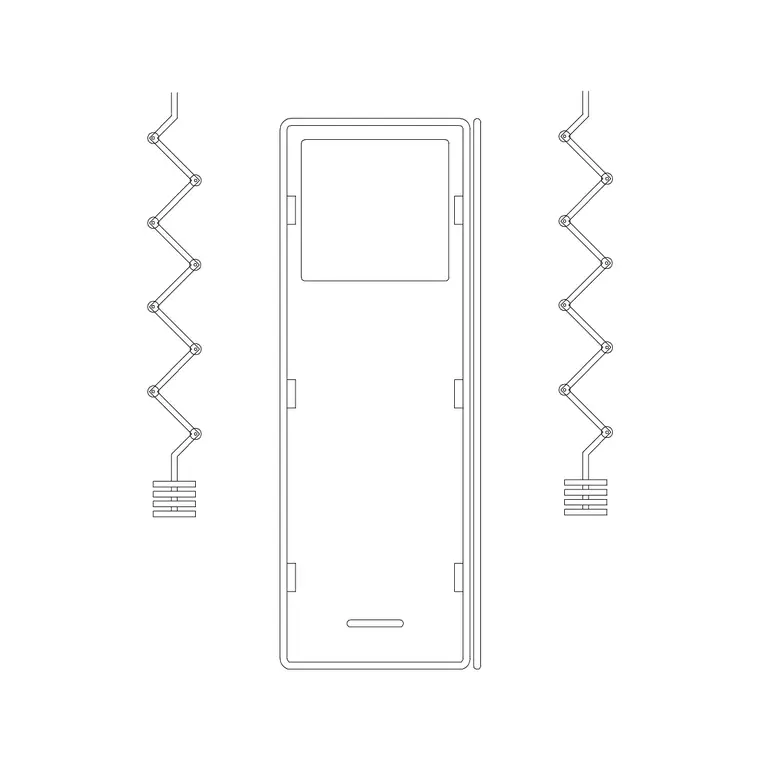
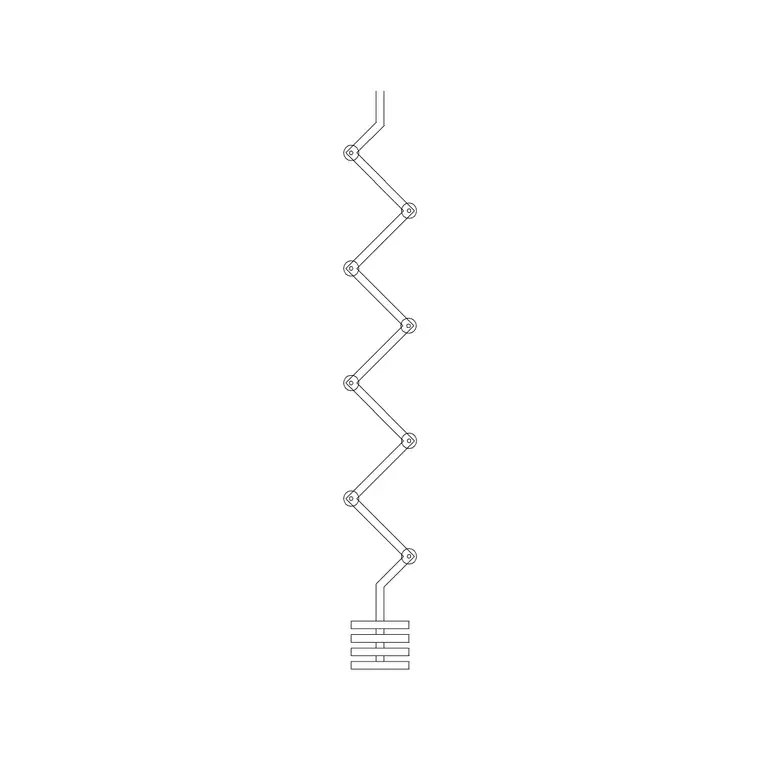
Circular Stand 1 and Circular Stand 2 are both drawn top view, showing the small circular base with the characteristic splayed feet that keep a real IV pole from tipping when someone brushes past it. The two versions differ slightly in how the base and pole hub are drawn, so if you're populating a large ward with repeated bays, alternating between the two keeps the plan from looking like it was stamped out with a single cookie cutter, which is a small trick but it does make a drawing read as more deliberate.
In practice I place the IV stand tight against the head end of the bed, usually on the side away from the door swing so staff have a clear approach path. The real object these blocks represent is a slim wheeled pole, typically in the range of about 1.5 to 2 metres tall with a small footprint base, usually well under half a metre across, though the drawing itself only needs the plan footprint of that base since height doesn't show in a top view. Because the block is small, it's an easy one to forget to rotate or nudge when you copy a bay layout across a ward, so double check its position relative to the bed rail each time rather than trusting a straight paste.
The equipment trolley blocks, and the other variants
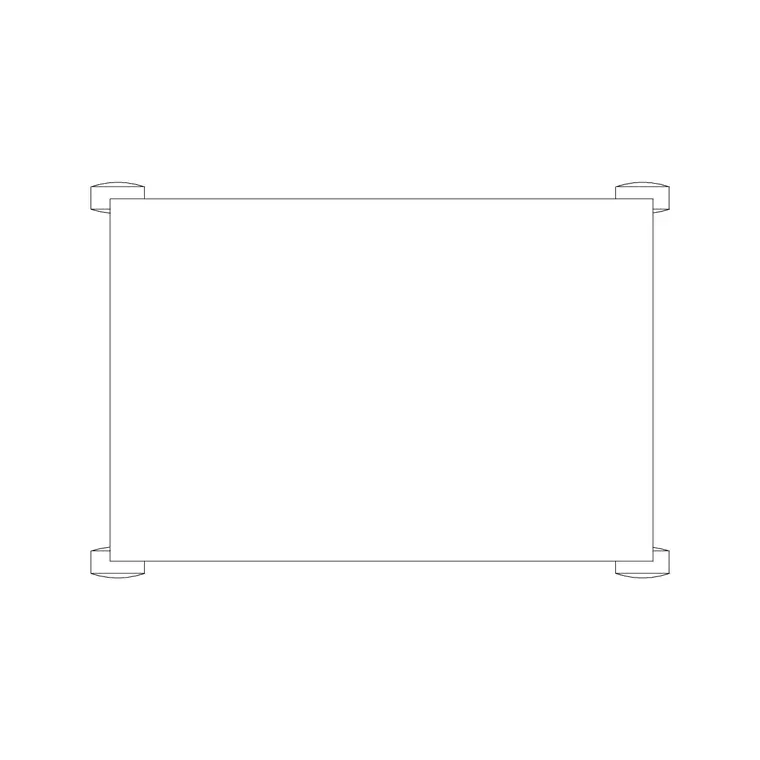
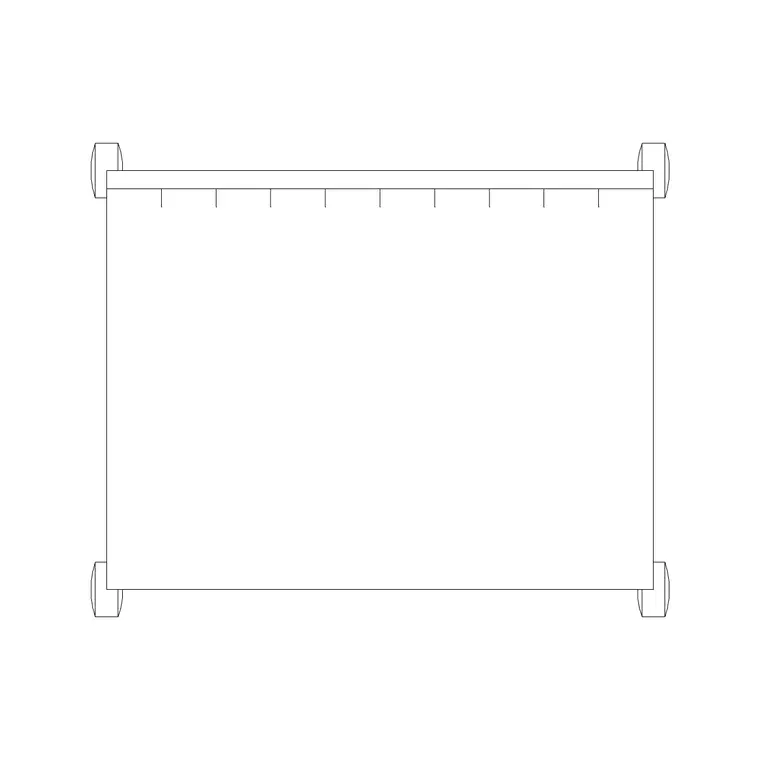
Trolley 1 and Trolley 2 (slugs trolley-1 and trolley-2) are the pair I'd point you to first for a general ward bay, since their proportions read as a mid-size procedure or dressing trolley, the kind with a couple of shelves and a set of castors. But it's worth knowing the catalogue doesn't stop there, we also carry Trolley, Trolley 4, Trolley 5 and Trolley 6 as additional real, downloadable variants in the same medical category, each with a slightly different plan outline. If you're drafting more than one bay type on the same floor, for instance a general ward next to a slightly larger isolation bay, pulling from the wider trolley set lets each bay look distinct without you having to draw a single new line.
The catch here is that all of these trolley blocks, like the IV stands, are top view only in our library right now, so if your drawing set calls for an elevation of the trolley sitting beside the bed, that particular view isn't something we have ready to download today. For elevation-heavy sheets you'd be drawing that view yourself or leaning on a different reference, and I'd rather tell you that plainly than have you download a block expecting an elevation and not find one.
Clearance and circulation around the bed
Hospital planning guidance varies by country and by facility type, so I'm not going to hand you a single number and call it universal, but the general principle every guide agrees on is that a bed bay needs meaningfully more circulation space than a bedroom because staff, equipment, and sometimes a second person all need to move around the bed at once. Most planning references put usable clearance at the sides of a general ward bed in the range of roughly 0.9 to 1.2 metres to allow a trolley or a person to pass, with more room typically reserved at the foot of the bed, often in a similar 1.2 metre-plus range, so a wheeled bed or a crash cart can be brought straight in without a three-point turn.
What this means for your CAD layout practically is that the IV stand and trolley blocks should never be treated as free-floating clutter you drop wherever there's a gap. Each one eats into that clearance zone, so if you place the trolley on the same side as the main staff approach, you've effectively narrowed the working aisle by the trolley's own width, and that's the kind of thing that gets flagged in a design review long before anyone notices a rendering issue. Draw the clearance zone as a light construction line first, at whatever figure your project brief specifies, and only then drop the stand and trolley blocks so you can see immediately if they're eating into it.
Working through an actual bay makes the arithmetic concrete, a standard single bed footprint around 900mm by 2000mm sitting inside a room that's 3.6m wide leaves roughly 2.7m of width beyond the bed itself to split between both sides plus whatever furniture occupies it, so if the IV stand and a bedside locker take up a combined 700mm on one side, the remaining space on the working side needs to comfortably clear that 0.9 to 1.2 meter circulation figure once the trolley is factored in too, and running that quick check on paper before finalizing the layout catches a lot of tight bays before they ever reach a design review.
Plan view is the working view here, and that's fine
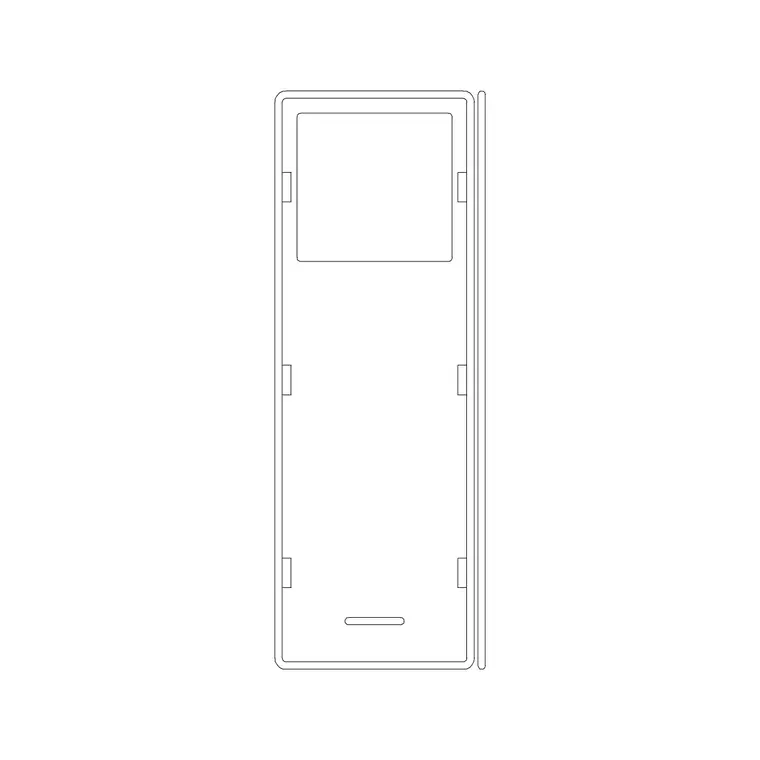
Nearly every medical block we carry, including both stand variants and every trolley variant, ships as a top view, which lines up with how these drawings actually get produced in the real world since ward layouts live and die on plan, not on elevation. A small number of our medical blocks do carry an elevation alongside the top view, Machine Stand Elevation and Machine Stand Elevation 2 among them, and if your sheet set needs an elevation of the equipment stand specifically, those are the two to check rather than assuming every medical block has both views.
This is a broader point worth internalising for medical drafting generally: this category leans hard into plan view because that's the view planners, nurse managers and infection-control reviewers actually read from. If you're building a full drawing set with elevations of every piece of ward furniture, you're going to be supplementing our top-view blocks with your own elevation work or another source for most of them, and I'd rather say that upfront than have you assume elevation coverage that isn't there.
Filling out the rest of the bay with real, verified blocks
Once the IV stand and trolley are placed, the rest of a believable ward bay comes together from other real products in our medical category rather than anything invented for this post. Patient Bed, Patient Bed Plan and Patient Bed With Curtain are all genuine downloads, and Patient Bed Plan in particular carries both a plan and top view tag, which is handy when a reviewer wants to see the bed drawn with its full plan detail rather than a simplified rectangle. Curtain is a real block too, for the privacy screen or curtain track around the bay, and Stand covers a simpler bedside stand or locker if your bay needs one beyond the IV pole itself.
For bays that include ceiling-mounted service pendants rather than wall trunking, Pendant 1 through Pendant 4 are genuine downloads worth checking, and Bed With Bed Head Unit combines the bed with its headboard service panel in a single block if that matches your project's fit-out. None of this is guesswork, every slug named in this section exists in our live catalogue today, which is the whole point of writing this as a checklist rather than a shopping list of things that sound plausible.
Common mistakes I keep seeing in ward bay drawings
The most frequent one is scale drift, where a block gets inserted at the wrong insertion scale and the IV stand ends up looking the same size as the bed, which is an easy thing to miss if you're not zoomed in when you place it, so always check a freshly inserted block against a known dimension, like the bed length, before moving on.
The second is treating the trolley as decoration rather than as a space-eating object, which I touched on above, so it bears repeating: if the trolley sits in the circulation path, the bay doesn't work no matter how tidy the drawing looks on screen. The third is layering, since medical furniture blocks should sit on their own layer, separate from the architectural walls and doors, so a reviewer or a later drafter can isolate or freeze the furniture layer without losing the room shell, and separate again from any MEP layers if your project has them. Get those three things right, correct scale, honest circulation, and clean layering, and a ward bay drawing built from these real blocks holds up under scrutiny.
A fourth mistake, smaller but common, is mirroring the trolley or IV stand block without checking whether the mirrored version still reads correctly, since a few plan-view medical blocks have a subtle asymmetry in the base or handle detail, and a flipped copy can end up looking like a slightly different piece of equipment than what you actually intended to show. It rarely breaks a drawing outright, but it's worth a quick zoomed-in look after any mirror command, especially on a large ward where you're mirroring a whole bay across a corridor centreline.
Repeating the bay across a full ward, without it looking copy-pasted
Once one bay is right, the temptation is to array or copy it straight across the ward, and for the room shell that's exactly the correct move, walls and doors should repeat identically. But for the furniture layer, I'd push back on doing that blindly. Alternating between Circular Stand 1 and Circular Stand 2 every other bay, and rotating between the Trolley, Trolley 1, Trolley 2, Trolley 4, Trolley 5 and Trolley 6 variants rather than copying the same trolley block down the whole row, is a small habit that makes a twenty-bed ward plan look like it was actually populated bay by bay rather than stamped once and pasted nineteen more times.
This matters more than it sounds like it should, because reviewers who look at healthcare drawings professionally, infection control staff, facility planners, equipment procurement teams, tend to notice a suspiciously identical repeat pattern and read it as a sign the drafter didn't actually think through each bay individually, even when the underlying room dimensions genuinely are identical. A little intentional variation in the furniture layer costs you nothing and buys a more credible-looking drawing.
One habit worth carrying into a full ward drawing, tag each bay with its bed number early rather than leaving that for a final annotation pass, since a nurse station reference sheet, an equipment inventory, and an infection control walk through all end up cross referencing bay numbers against the same plan, and a drawing where numbering gets added as an afterthought is a much more error prone place to introduce a mismatch than one where the numbering was baked in from the first bay onward.
Further reading
Questions
Frequently asked
Are the IV stand and trolley blocks free to download and use commercially?+
Yes. Every product referenced in this guide, including both circular stand slugs and every trolley variant, is a free download on cadblockdwg.com with no signup required, and it's cleared for commercial project use, not just personal reference.
Do these medical blocks come in elevation as well as plan?+
Mostly no. The IV stand and trolley blocks are top view only. A couple of related medical blocks, Machine Stand Elevation and Machine Stand Elevation 2, do carry an elevation alongside the top view, but treat that as the exception rather than the rule across this category.
What real dimension should I use for the IV stand footprint if my brief doesn't specify one?+
A real IV stand base typically sits well under half a metre across with a pole around 1.5 to 2 metres tall, though only the base footprint matters in plan. Always defer to your project's actual equipment spec sheet if one exists, since these are general ranges, not a fixed standard.
Can I use these blocks for a clinic bay instead of a full hospital ward?+
Yes, the same IV stand and trolley blocks work fine for a clinic procedure room or a day-care bay, the underlying furniture is the same. Just adjust your clearance assumptions since clinic bays are often smaller than inpatient ward bays and may not need the same circulation width.
Free downloads from this article


Free CAD block library
Download the blocks from this article — free, no signup


