Handbag and luggage CAD blocks for a retail store layout
Handbag, luggage, and garment CAD blocks for a retail store layout, with display density, sizing, and aisle clearance guidance.
Saumyajit MaityUpdated 3 July 20265 min read
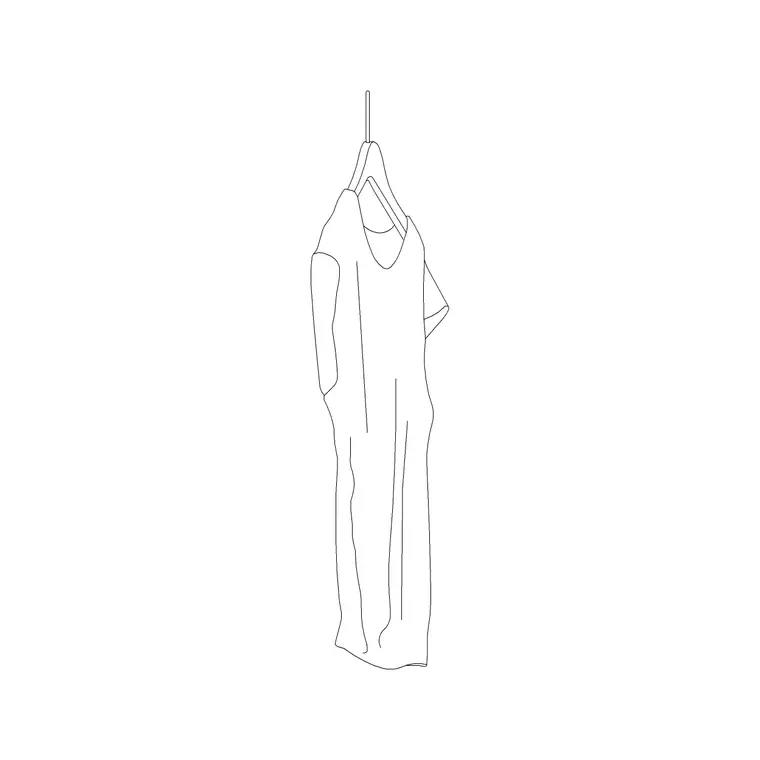
Why retail elevations need product, not just fixtures
A retail fit-out elevation that shows nothing but empty shelving, rails, and display plinths is a hard sell to a client trying to picture their actual store, because retail is fundamentally about merchandise density and presentation, and a bare fixture wall doesn't communicate either of those things. Populating a display wall or rail run with product blocks, whether that's a hanging garment like the 1-ladies-dress block or accessory items styled across a display table, is what turns a fixture drawing into something that reads as an actual store.
This is especially true on a leasing or investor presentation package, where the audience isn't necessarily a retail specialist and needs the drawing to do more visual storytelling than a purely technical fit-out drawing would, a populated store elevation communicates the brand experience in a way an empty fixture plan simply can't, which is often exactly the point of that particular sheet in the package.
What a garment or accessory block adds to a display wall
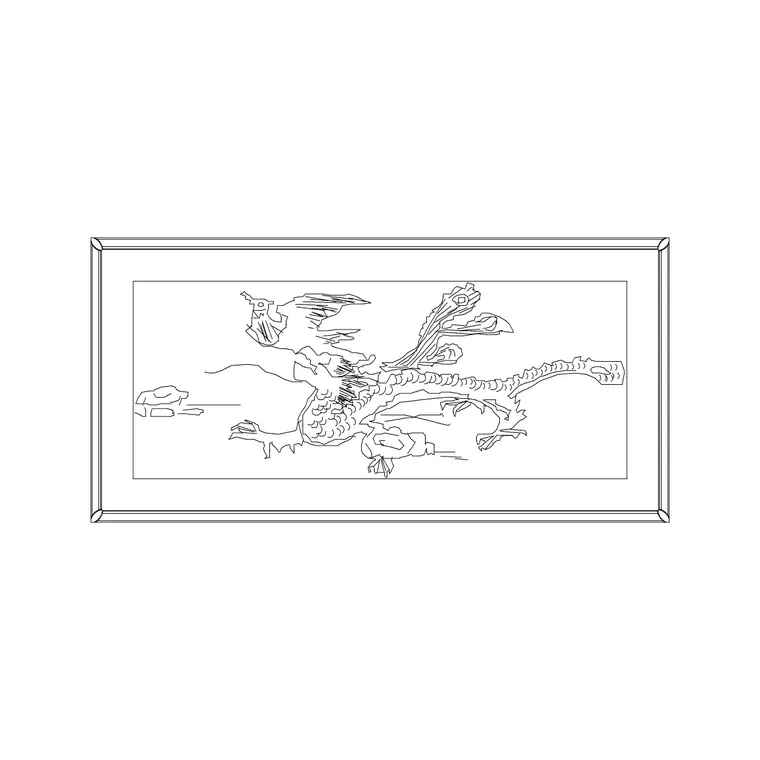
For an apparel or accessories focused retail layout, the 1-ladies-dress block does double duty, on a hanging rail it represents garment stock the way it would in a closet elevation, and on a mannequin or bust display it becomes the anchor piece for a window or feature wall vignette. Pairing that with smaller accessory props, a framed piece of brand art on the wall behind a display, or a styled shelf edge with a book stack or decor object near a seating area, rounds out a retail elevation so it reads as merchandised rather than just fixtured.
For a luggage or hard goods focused layout specifically, it's worth building out a plinth or table top display block set alongside any garment blocks, since hard sided product tends to get shown on raised display surfaces or stacked arrangements rather than hung, and that display logic, stacked at varied heights on a plinth, echoes the same asymmetric styling principle that applies to a styled bookshelf or console vignette elsewhere in the accessory library.
Display density and how it should vary by fixture type
Display density should vary deliberately across a retail layout rather than staying uniform, and this is a detail that separates a convincing retail elevation from a flat, evenly spaced one. A feature wall or window display typically wants lower density, fewer pieces, more negative space, so the eye lands on a specific hero product, whereas a bulk stock wall or a sale rail wants higher density, garments packed closer together to communicate volume and value. Mixing both densities across a single store layout, tight on the main floor rails, loose on the feature wall, is what an actual merchandised store looks like.
It's also worth varying density along the customer journey through the store rather than just by fixture type, entry zones often want a slightly lower density to avoid overwhelming a customer the moment they walk in, while zones deeper into the store, where a customer has already committed to browsing, can support a denser, more immersive merchandising presentation without feeling aggressive.
Realistic sizing to keep displays proportional
Realistic proportions matter for keeping a retail elevation from looking like a doll house. Garment blocks on a rail typically sit with a spacing of roughly 40 to 60 millimeters between hanger centers for a comfortably browsable rail, tighter than that and the drawing implies customers can't actually flip through stock, which is worth flagging even at concept stage. A feature mannequin or bust display is usually positioned with clear space around it, often at least 600 to 900 millimeters of approach clearance so a customer can walk around and view the piece from multiple angles without brushing against adjacent fixtures.
Checkout and counter areas deserve their own separate density logic too, typically kept fairly clear of product styling so the transaction zone itself reads clean and functional on the drawing, with any product accessories reserved for impulse or add on display fixtures positioned specifically near the queue rather than crowding the actual till counter itself.
Circulation and clearance around display fixtures
Circulation is the part of a retail layout that gets rushed when the focus is on making the elevation look good, but aisle widths genuinely drive whether the layout functions, a primary circulation aisle is typically drafted at a minimum of around 1200 millimeters, secondary aisles between fixture runs can run tighter, sometimes down to 900 millimeters, though anything below that starts to feel genuinely cramped once real customers and their bags are moving through it. Checking your display and product blocks against these aisle widths before finalizing a layout catches the kind of clearance issue that's much cheaper to fix on the drawing than after the fixtures are built.
Accessible aisle width deserves specific attention on a retail layout beyond just the general comfort clearance, many jurisdictions set a minimum accessible route width through a retail floor that's stricter than what feels merely comfortable, so it's worth checking your local code requirement rather than relying purely on the 900 to 1200 millimeter working range as a universal standard, since retail accessibility requirements vary meaningfully between regions.
Practical drafting notes for a retail package
Insert garment and accessory blocks with INSERT, keep them on a merchandising or FF&E layer distinct from the fixture and millwork layers so a construction document set can hide product styling and just show the physical build. Because retail layouts often repeat the same product block many times across a rail run, use ARRAY rather than manually copying each instance, it keeps spacing consistent and makes it far faster to adjust density across the whole rail if the client asks for a denser or sparser look later in the process.
On a larger multi fixture retail package, it also helps to establish one master styled bay early, get the client sign off on garment spacing, display density, and accessory placement for a single representative fixture run, then propagate that approved density and spacing logic across the rest of the layout using ARRAY and COPY, rather than styling every single fixture independently from scratch. That master bay approach also gives the client one clear reference point to approve rather than reviewing density decisions scattered across dozens of individually styled fixtures, which tends to speed up sign off meaningfully on a larger retail package with many repeated fixture types.
Further reading
Questions
Frequently asked
How much clearance should a feature display fixture have around it?+
Typically at least 600 to 900 millimeters of approach space so customers can view and walk around the piece comfortably without brushing adjacent fixtures.
What spacing works for garments on a browsable rail?+
Roughly 40 to 60 millimeters between hanger centers keeps the rail visually full while still implying customers can flip through the stock, tighter spacing starts to read as overcrowded.
What's a reasonable minimum aisle width for a retail layout?+
Around 1200 millimeters for primary circulation aisles is a common working minimum, secondary aisles between fixtures can run tighter but going much below 900 millimeters tends to feel cramped in practice.
Free downloads from this article
Free CAD block library
Download the blocks from this article — free, no signup


