Fence with Flower Bed CAD Blocks for a Softened Boundary
Using fence with flower bed CAD blocks to soften a hard boundary line on a landscape plan without losing the property edge.
Sumana KumarUpdated 22 June 20266 min read
The problem a plain fence line creates on a landscape plan
A plain fence run, drawn as a single straight line with regular posts, does its job on a boundary drawing but it tends to look harsh on a landscape plan meant to sell or communicate a softer garden feel, and that's the gap the fence with flower bed CAD block is actually built to close, it gives you the boundary definition and the planting softening in one placed block instead of two separate elements you'd otherwise have to align and maintain by hand every time the fence line moves.
What the block actually shows
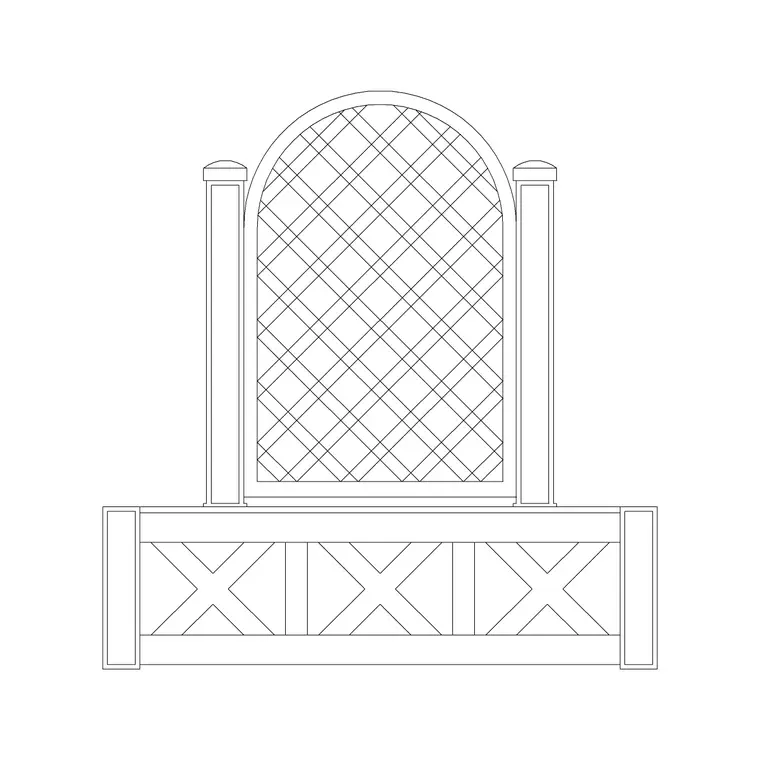
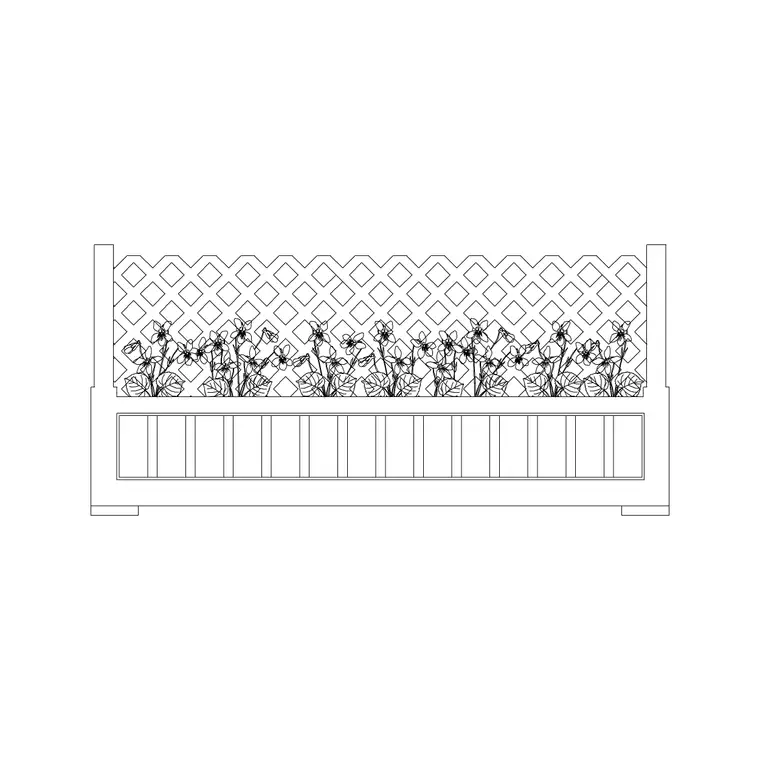
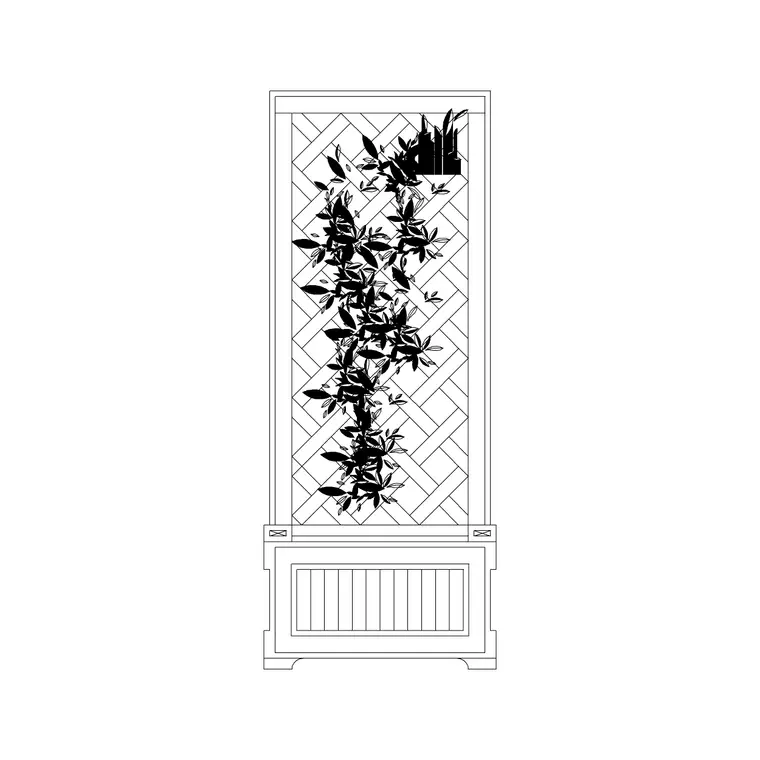
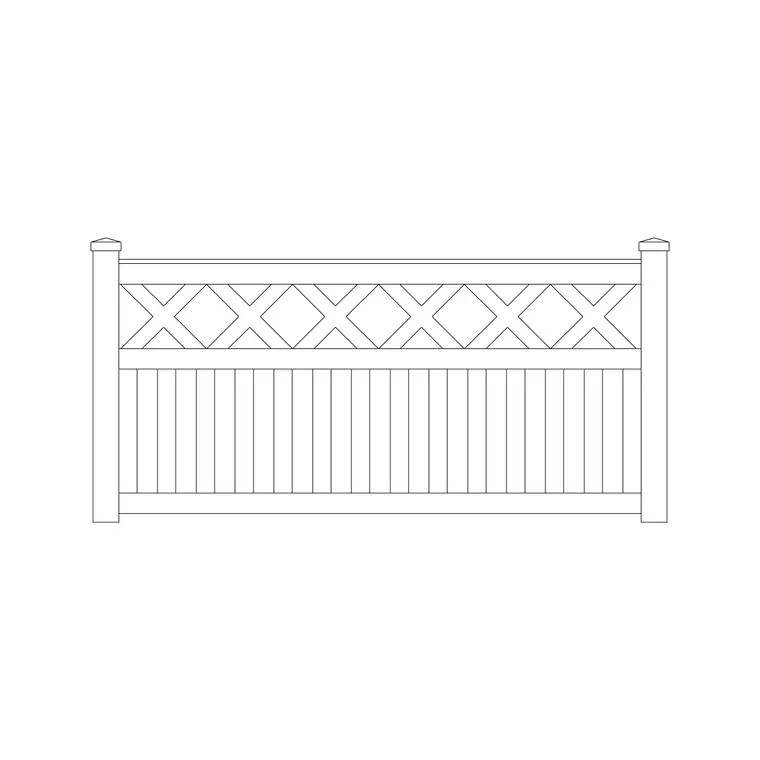
The fence with flower bed block on this site combines a fence run, drawn to the same board and rail language as the standalone fence design blocks, with a planting bed running along its base, shown in plan as the typical mounded or curved bed edge with planting symbols inside it. It's meant to represent a narrow foundation planting condition, generally somewhere in the 300 to 600 mm depth range measured off the fence line, rather than a full garden bed, so treat it as a boundary detail, not a substitute for a proper planting plan where the bed is the main event.
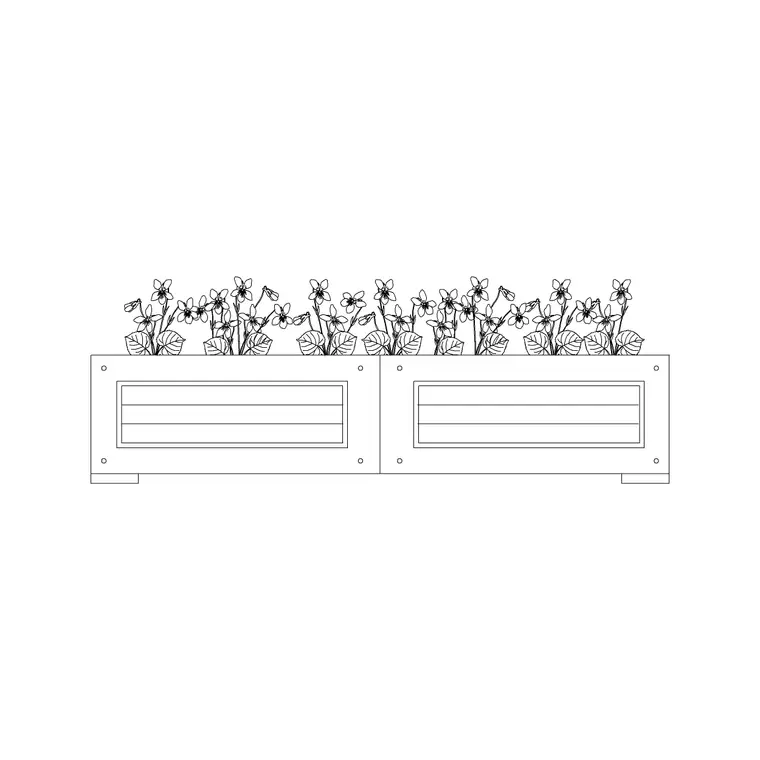
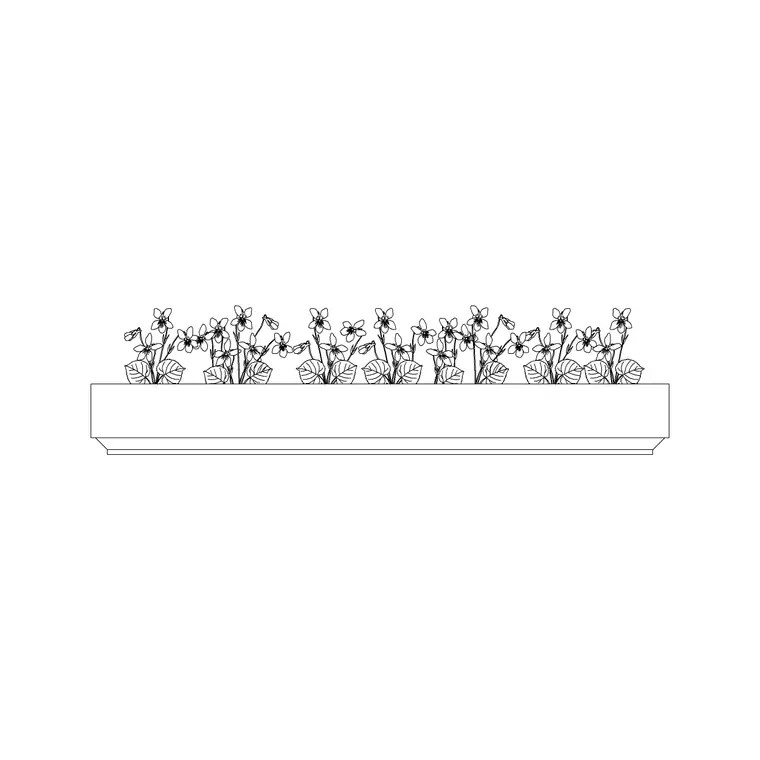
If you need a wider, standalone bed, the flower bed with carved back, rec flower bed, and long rec flower bed blocks on the site are built for that condition instead, a bed that isn't tied to a fence run, and either the flower with iron rec fence or flower with iron round fence blocks if you specifically need the bed paired with an iron rather than wooden boundary.
Where this combination actually earns its place
I reach for the fence with flower bed condition most on a front boundary facing the street, where a plain fence reads as a bit institutional but a full landscape design along the entire boundary is more scope than the brief calls for, so the narrow planting strip does a lot of visual work for very little added drafting or actual planting cost. It's also useful along a side yard visible from a main living space window, softening what would otherwise be a fence you're staring directly at from the kitchen or the living room, without turning the whole side yard into a planting project.
For a rear or less visible boundary, plain fence is often the more honest choice, since there's less benefit to the softening if nobody's really looking at that stretch of the property closely.
Keeping the boundary line legible underneath the planting
The one mistake worth avoiding is letting the planting symbols in the block obscure the actual property or fence line to the point a reviewer or contractor can't find it on the sheet, so I usually keep the fence line itself on a distinct layer from the planting bed hatch or symbols, even though they came in as one block, so I can toggle the planting off if a particular sheet, a setback or survey overlay for instance, needs the boundary read cleanly without the softening graphics on top of it. This is a five second layer edit after inserting the block and it saves a real headache later when a plan check reviewer is trying to confirm your setback dimension against a fence line half hidden by shrub symbols.
Scale and realistic planting expectations
Don't oversell the planting bed's actual maturity in the drawing, the block shows a reasonable, established planting condition, but a freshly planted bed will look sparser than this for at least one full growing season, so if the drawing is being used to set client expectations rather than just to communicate design intent, it's worth a note on the sheet or in the presentation that the planting shown represents a mature condition, typically achievable something like two to three years after installation depending on species and climate, not day one.
On the planting palette itself, and this is more a landscape design note than a CAD one, but it affects how the symbols in the block should be read, I generally treat the strip as needing an evergreen anchor plant repeated at intervals to hold structure through winter, with seasonal color filled in between rather than the whole strip planted in something that dies back completely in the cold months and leaves the fence looking bare for half the year. The block's planting symbols are generic, they don't specify species, so that palette decision happens separately in your planting schedule, but it's worth keeping in mind when you're deciding how densely to space the symbol repetitions along the run, since a strip meant to read as structured evergreen hedging wants a tighter, more regular symbol spacing than one meant to read as a looser seasonal border.
I'll also note the mature spread of whatever's actually being planted against the strip's drawn depth, because a shrub with a mature spread wider than the 300 to 600 mm strip will eventually push past the fence line into the walkway or lawn beyond it, which is a maintenance headache down the line that's much easier to avoid by choosing a naturally compact variety at the planting design stage than by pruning an oversized shrub back hard every season once it's established.
Combining it with a gate
On a full boundary run that includes an entrance, I'll usually run the fence with flower bed block along both sides of a gate, an iron gate or one of the metal gate single or metal gate double blocks, letting the planting frame the entrance the way it often does in a real front garden. Just watch the gate swing arc against the planting bed depth, since a gate that swings outward into a 500 mm deep planting strip is a conflict on paper before anyone's even planted anything, and it's a much easier fix at the drawing stage than after the beds are actually installed.
Irrigation and maintenance access for the planting strip
A narrow planting bed running the length of a fence looks straightforward in plan, but it creates a real maintenance access question that's worth thinking through at the drawing stage rather than leaving for whoever ends up gardening the space. A bed in the 300 to 600 mm depth range this block typically represents is narrow enough that most of it can be reached and weeded from one side without stepping into the bed itself, which is actually a point in its favour compared to a wider bed that needs access from both sides or stepping stones through the middle.
Irrigation is the other practical detail, a drip line or soaker hose run along the base of the fence, tucked behind the planting rather than in front of it, is the common approach, and it's worth showing as a dashed reference line on an irrigation or landscape detail sheet even though it won't be part of the CAD block itself. If the fence with flower bed run is long, more than about ten or fifteen metres, I'll also flag that a single irrigation zone might not give even coverage end to end depending on your water pressure, which is a note for whoever's doing the irrigation design, not something the fence block resolves on its own.
Further reading
Questions
Frequently asked
How wide is the planting bed shown in the fence with flower bed block?+
It's a narrow foundation strip, typically in the 300 to 600 mm range off the fence line, meant as a boundary softening detail rather than a full planting bed. For a wider bed, use the standalone flower bed blocks instead.
Should the planting bed be on the same layer as the fence?+
Better to split them, fence line on one layer, planting bed and symbols on another, even though they insert as a single block. That way you can turn the planting off on a sheet that needs a clean, legible boundary or setback line.
Can this block pair with an iron gate instead of a wooden fence?+
The block itself is drawn with a wooden fence, but the flower with iron rec fence and flower with iron round fence blocks on the site pair planting with an iron boundary condition if that's what the project calls for.
Free downloads from this article
Free CAD block library
Download the blocks from this article — free, no signup


