Building a community garden allotment layout from CAD blocks
Laying out a community garden's plot grid, paths and shared pavilion with free DWG blocks, using real plot and path width ranges.
Saumyajit MaityUpdated 26 March 20266 min read

It's a grid and a path network before it's anything else
A community garden allotment is one of the few site plans I draft where the building itself is almost an afterthought, a tool shed maybe, a small pavilion, and the real design work is the grid of plots and the path network connecting them. Individual allotment plots vary a lot by program, ranging anywhere from smaller 3 by 3 meter community beds up to full sized 3 by 6 meter or even 6 by 12 meter plots for a more serious growing operation, and the choice of plot size early on determines almost everything else about how many gardeners the site can serve and how wide the paths between them need to be.
Blocking the zones
Even a fairly simple community garden benefits from being planned as a full site rather than just a field divided into rectangles, since the shared infrastructure around the plots is usually what determines whether the garden feels well run or chaotic once it's actually in use.
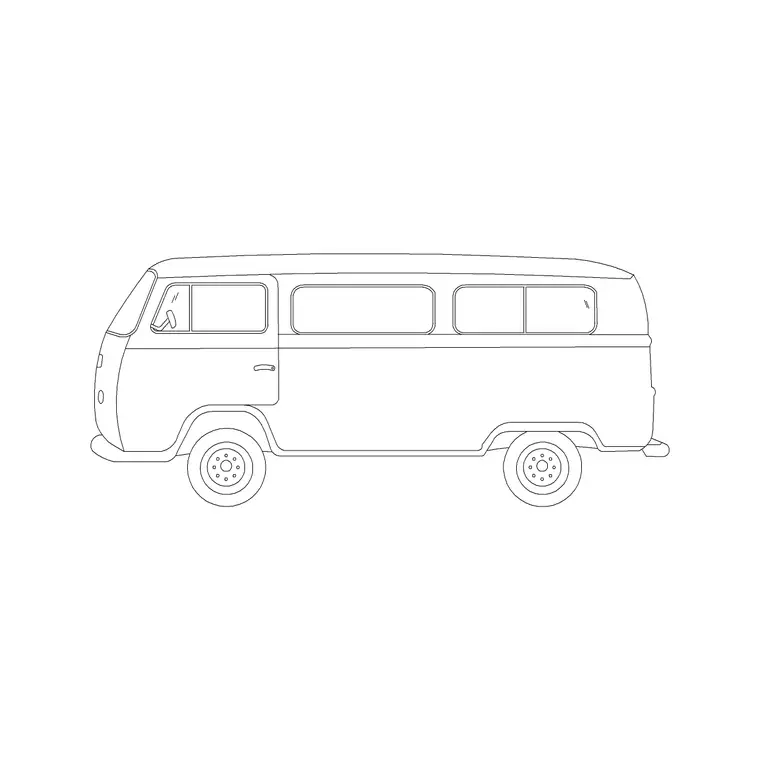
- Individual plots, laid out on a numbered grid - Communal pedestrian paths between plots - A wider service path for wheelbarrow and occasional vehicle access - A shared tool shed or storage building - Water spigots distributed through the grid - A compost area - A communal gathering or pavilion space (sofa-set-plan-1) - Perimeter fencing and a gate - Parking for volunteers and gardeners (sedan-car, van for deliveries)
Dimension ranges that shape the grid
Plot sizes as noted range from around 3 by 3 meters for smaller community beds up to 3 by 6 or 6 by 12 meters for larger individual plots. Pedestrian paths between plots typically run 1 to 1.5 meters, enough for a gardener with a wheelbarrow to move comfortably but not so wide that it eats into growable land unnecessarily. The wider service path, used less often but needed for compost delivery, mulch drop off and the occasional maintenance vehicle, is usually planned around 3 to 3.5 meters.
Gate width for the main vehicle and wheelbarrow entrance is typically planned around 3 to 3.5 meters to match the service path it connects to, while smaller pedestrian gates elsewhere on the perimeter can be considerably narrower, generally around 900mm to 1.2 meters, enough for a gardener and a wheelbarrow but not intended for vehicle access.
Practical block use
Pine-elevation-1 works well along the perimeter or in a dedicated community orchard section, a genuine feature many larger community gardens now include, and laying it in at real canopy spacing helps catch a problem that's easy to miss on a flat site plan, namely a tree's mature canopy eventually shading out sun loving vegetable plots that were fine in year one but suffer by year five. Sofa-set-plan-1 sizes the communal pavilion or gathering area honestly for meetings and shared meals. Van is worth checking against the service path for the twice yearly compost or mulch delivery truck, and sedan-car sizes volunteer and gardener parking against realistic weekend turnout.
Accessible plots and raised beds
A genuinely inclusive community garden sets aside a share of its plots as raised beds, typically built somewhere around 750 to 900mm high so a gardener using a wheelchair can reach the growing surface without bending over a ground level plot, and those beds work best clustered near the main entrance and the accessible parking rather than scattered across the far end of the site where the path network is longer and less maintained. Universal design thinking on a project like this isn't really an add on, it's mostly just planning the path network and the bed heights with everyone in mind from the first sketch rather than retrofitting a few beds later once the rest of the grid is already fixed.
Path width right around accessible plots deserves a bit more room than the standard 1 to 1.5 meter spacing used elsewhere in the grid, since a wheelchair needs turning space at the bed itself, not just a straight line to get there, so I usually widen the immediate approach to something closer to 1.5 to 1.8 meters at each accessible plot.
Fencing, gate access and plot signage
Perimeter fencing on a community garden is usually less about security in the traditional sense and more about keeping deer, rabbits and other wildlife out of the plots, which means fence height and mesh size both need to be picked against the local pest pressure rather than a generic security fence spec, a fence that stops a person but not a rabbit is missing the actual point on most of these sites. Gate width matters for the same reason the service path does, wide enough for a wheelbarrow and the occasional small vehicle to pass through without requiring the gate to be propped fully open all day, which defeats the purpose of having it at all. Plot numbering and signage sound like an afterthought but genuinely affect how the grid reads once it's built, a clear numbering scheme that follows the path network logically, rather than an arbitrary sequence, saves a new gardener from wandering the whole site looking for plot 47 on their first visit, and I usually work the numbering scheme out on the same drawing as the plot grid itself rather than leaving it for whoever paints the plot stakes later.
Pitfalls that show up in these plans
Paths too narrow for a loaded wheelbarrow to pass another gardener coming the other way is the most common complaint once a garden is actually in use, especially at the smaller end of the 1 to 1.5 meter range. Water spigots spaced too far apart across the grid forces long hose runs that snake across other people's plots, a small design detail that causes a surprising amount of neighborly friction. And shade trees planted for the pavilion or perimeter without mapping their mature canopy spread, not just their planting day footprint, routinely end up shadowing plots that were sold to gardeners as full sun.
Fencing specified against a generic security standard rather than the actual local pest pressure is a mistake that shows up the first growing season, when deer or rabbits get into plots through a fence that technically meets code but was never actually the right mesh size for the wildlife it needed to exclude.
A workflow for the whole site
I start with the plot grid and pedestrian path width, since that combination determines how many gardeners the site can actually serve, then add the wider service path and tool shed, place the pavilion using sofa-set-plan-1 for honest gathering space, and finish with pine-elevation-1 planted at real mature canopy spacing so shade ends up where it's wanted and nowhere else. Accessible plots get sited early in that sequence too, close to the entrance and parking, rather than wherever happens to be left over once the rest of the grid is drawn, since retrofitting a raised bed and a wider approach path into an already finished layout is a lot more disruptive than planning for it from the first sketch.
Fencing, gates and the plot numbering scheme get worked out on the same drawing as the grid itself, not left for whoever paints the plot stakes once the garden opens.
Further reading
Questions
Frequently asked
What's a typical size range for a community garden plot?+
Smaller community beds often run around 3 by 3 meters, while larger individual plots for serious growing can be 3 by 6 meters or even 6 by 12 meters, depending on how the program is set up.
How wide should paths be between plots?+
Pedestrian paths between plots typically run 1 to 1.5 meters, wide enough for a wheelbarrow to move comfortably. A wider service path for delivery and maintenance access is usually planned around 3 to 3.5 meters.
Why does tree placement matter so much on a garden site plan?+
Because a tree's mature canopy spread, not its footprint on planting day, is what eventually determines shade patterns. Testing tree blocks at real mature spacing early helps avoid shading out sun loving vegetable plots years down the line.
Free downloads from this article


Free CAD block library
Download the blocks from this article — free, no signup


