Building a makerspace or fablab layout from CAD blocks
Zoning a makerspace or fablab with free DWG blocks, organized around noise and dust hazard levels rather than just tool type.
Sumana KumarUpdated 21 June 20266 min read

Zoning by hazard level, not by tool type
The organizing principle for a makerspace isn't which machine does what, it's how loud, dusty or wet each activity is, and getting that wrong is the single biggest source of complaints once a space is actually running. A clean electronics bench sitting next to a table saw sounds harmless on paper until sawdust starts settling into open circuit boards, and a ceramics or dye station near the woodshop means water and fine wood dust sharing a floor drain that neither process actually wants. I draft these spaces in three rough bands, quiet and clean, moderate and dry, loud and dusty or wet, and let the physical layout follow those bands rather than a simple list of equipment.
Blocking the zones
A well rounded fablab or makerspace program usually includes most of the following, arranged by hazard band.
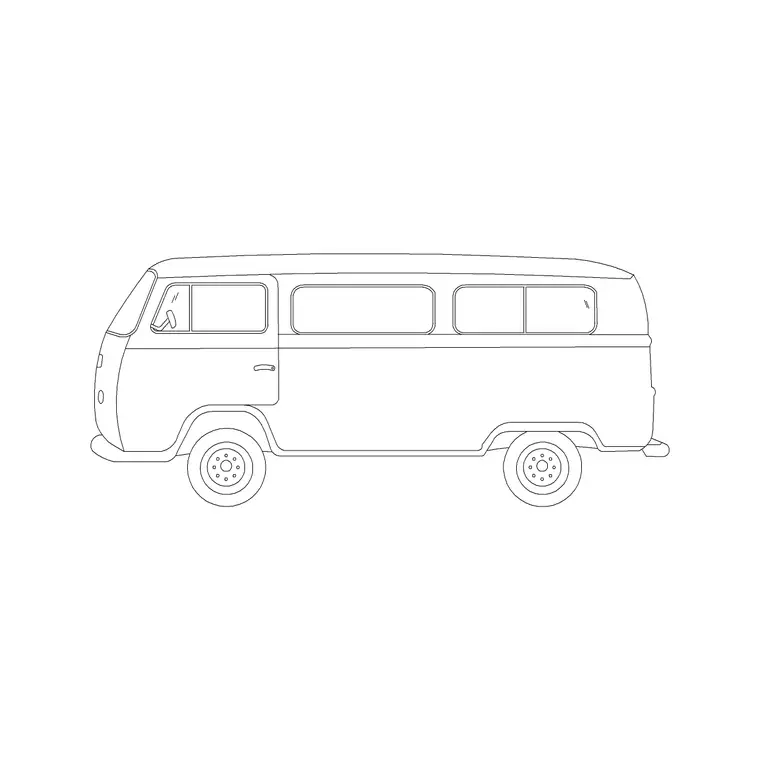
- Reception and a lounge or collaboration area (sofa-set-plan-1) - Classroom or collaborative work tables, clean and quiet - A 3D printing and laser cutter bay, moderate, needs ventilation - A woodshop, loud and dusty - A metal shop, loud and potentially hazardous - An electronics bench, clean, needs to stay isolated from dust - Materials storage - A tool crib or checkout counter - A loading dock sized for material delivery (van)
Dimension ranges worth designing around
Workbench depth typically runs 750 to 900mm for comfortable working posture. Clearance behind a table saw is commonly recommended at a minimum of 1.2 to 1.5 meters to give proper room for kickback safety and material feed, and that clearance zone needs to be treated as fixed floor area in the plan, not flexible circulation space that gets absorbed later. Laser cutters and 3D printers need service and ventilation clearance to the nearest wall, typically in the range of 150 to 300mm plus room to open service panels, on top of whatever ducting the exhaust requires. A CNC router bay in particular needs its own footprint check beyond the machine's own bed size, since material handling around a CNC commonly requires clear space to feed a full sheet in from at least one side, often an extra 1.2 to 1.5 meters beyond the machine footprint itself, and that infeed and outfeed zone is routinely underestimated in early layouts that size the bay just off the machine's stated dimensions in a spec sheet without accounting for how a sheet actually gets loaded and unloaded during real use.
Practical block use
The van block is genuinely useful here for sizing the material delivery dock, since plywood sheets and dimensional lumber need a straight, unobstructed run to unload rather than a tight turn through a narrow door, and testing a van's footprint against your loading area tells you fast whether the dock as drawn actually works. Sofa-set-plan-1 goes into the lounge or collaboration zone to check real seating capacity, and if the space has an outdoor patio or entry courtyard, a pine-elevation-1 block is a reasonable way to soften what's otherwise a very hard, industrial feeling entrance. A sedan-car block helps size member parking honestly against expected traffic.
Finishing and hazardous material storage need their own room, not a shelf
Almost every makerspace program ends up with a finishing station somewhere, spray paint, wood stain, resin work, solvent based adhesives, and it's a mistake to treat that as just another corner of the woodshop rather than its own separately ventilated space, since flammable and hazardous material storage generally has real code requirements around it, often requiring a dedicated flammable storage cabinet and, depending on the volume of material on site, a fire rated room separation from the rest of the shop. I generally draft the finishing area as its own enclosed room with independent exhaust ventilation rather than an open bay off the woodshop, both because overspray genuinely travels further than people expect in an open shop environment and because a fire marshal reviewing the plan is going to ask about hazardous material storage volume and separation specifically, a question that's much easier to answer cleanly when the finishing area is already drawn as its own defined space rather than folded into general shop storage.
Storage and material flow
A makerspace accumulates raw material fast, sheet goods, filament spools, metal stock, and shelving depth matters more here than in most retail or office storage because oversized material like a full plywood sheet needs a shelf or rack system built around its actual dimensions rather than a generic industrial shelving unit. I typically plan sheet good racks with at least 1.3 meters of clear depth so a 4x8 foot panel can be pulled and reslotted without scraping an adjacent shelf, and I keep that storage close to both the loading dock and the woodshop so material doesn't have to cross the clean zones to reach the machines that use it.
The tool crib or checkout counter deserves a clear sightline to the shop floor too, since staff supervising tool checkout are often the same people keeping an eye on machine safety, and a counter tucked into a blind corner makes both jobs harder than they need to be. Metal stock storage deserves its own consideration too if the metal shop program includes any real bar stock or sheet metal, since long metal lengths need a horizontal rack sized for the material's actual length rather than a generic shelving unit, and keeping that rack near the metal shop rather than shared with the wood storage prevents the kind of cross contamination, metal shavings mixing into wood dust collection, that causes real problems for both processes over time.
Pitfalls that show up in these plans
Dust collection ducting gets planned after the layout is already locked far too often, when it really needs to be roughed in during the zoning phase, since duct runs from a woodshop dust collector are large and inflexible once installed. A single door doing double duty for both material delivery and everyday member traffic is another recurring issue, since a delivery truck unloading lumber will block student and member access for however long that takes. And a clean electronics bench placed too close to a sawdust generating machine, even across an aisle, tends to accumulate fine particulate that eventually causes real equipment problems. Finishing and hazardous storage getting folded into general shop space instead of its own ventilated room is one more recurring miss worth naming directly, since it's the kind of shortcut that looks harmless on a floor plan and then becomes a real problem the first time a fire marshal walks the finished space.
A workflow for the whole space
I start by grouping every planned activity into the three hazard bands before drawing anything, then place the loud and dusty band as far from the clean band as the building allows, check the loading dock against a van block early since it's expensive to move later, and finish with the lounge and reception zone once the working areas are locked, using sofa-set-plan-1 to confirm real seating capacity for the collaboration space. Ventilation and dust collection routing get roughed in on the same pass as the hazard band zoning, not after, since retrofitting ducting through a finished ceiling is one of the more expensive change orders a makerspace build can run into.
Further reading
Questions
Frequently asked
How should I zone a makerspace to avoid dust and noise complaints?+
Group activities into rough hazard bands, clean and quiet, moderate and dry, loud and dusty or wet, and physically separate them rather than arranging by tool type alone. This keeps sawdust away from electronics and wet processes away from ventilated machines, and it makes ductwork and acoustic treatment far more straightforward to plan since each band shares similar mechanical needs.
How much clearance does a table saw need behind it?+
Most safety guidance points to a minimum of 1.2 to 1.5 meters of clear space behind a table saw for material feed and kickback safety, and that space should be treated as fixed floor area in the layout, not flexible circulation.
How do I check whether the loading dock can handle material delivery?+
Drop a van block into the loading dock drawing at real scale and check it against the door width and the turning path. This is a fast way to catch a dock that looks fine on paper but can't actually accommodate an unloading delivery truck, particularly one carrying long sheet goods or dimensional lumber that needs a straight approach rather than a tight turn.
Free downloads from this article


Free CAD block library
Download the blocks from this article — free, no signup


