Building a styled interior elevation from accessory CAD blocks
How to layer curtain, vase, clock, frame, and other accessory CAD blocks into one convincing, well scaled interior elevation.
Sumana KumarUpdated 29 May 20265 min read
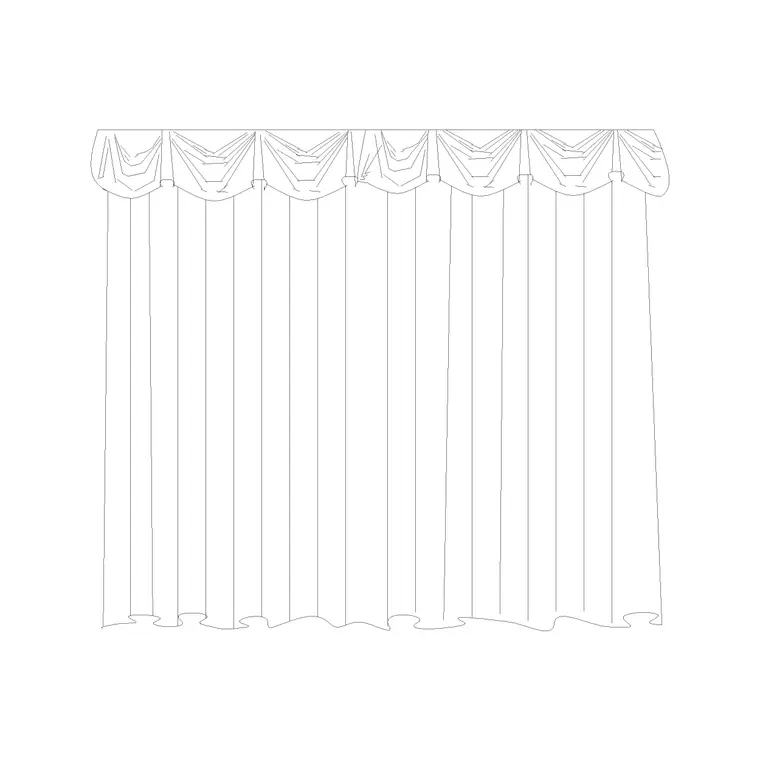
Why the accessory pass is a separate step from the furniture pass
I treat styling an elevation as its own separate pass, not something that happens automatically while placing furniture, because trying to do both at once almost always means the accessories end up as an afterthought, scattered in wherever there happens to be blank wall left over. Once the walls, windows, doors, and major furniture are locked on an elevation, that's when I go back through with the accessory library, curtains, vases, clocks, frames, books, instruments, umbrellas, garment blocks, and build up the styling in deliberate layers rather than dropping everything in at once.
It also means the accessory pass can happen at a different point in the project timeline than the architectural pass, sometimes weeks later once a client has actually confirmed the styling direction, without holding up the underlying drawing, which is a genuinely useful separation of concerns on any project where the styling brief is still being finalized while the architecture itself is already locked.
Starting with the anchor pieces
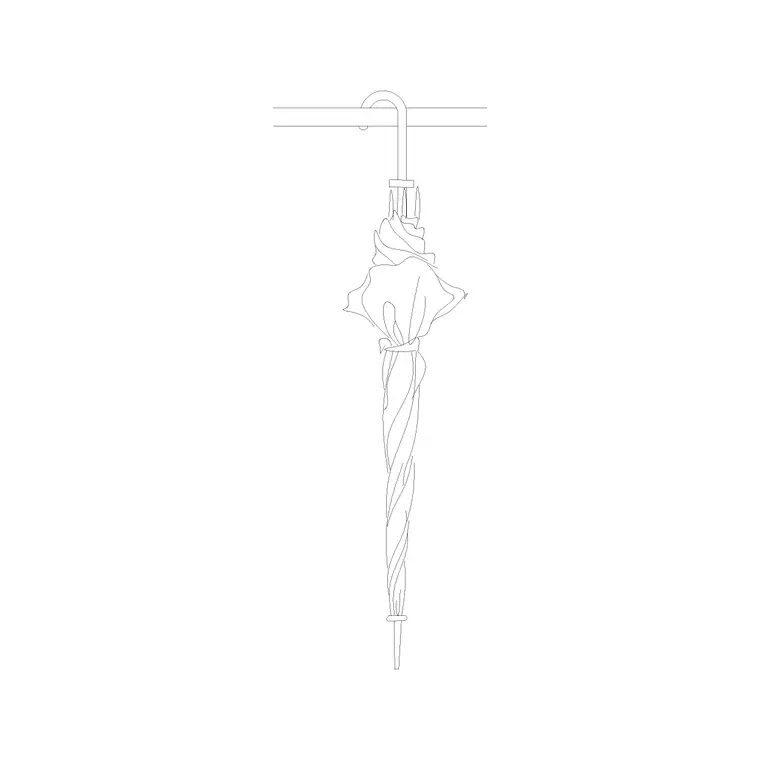
The first layer is the anchor pieces, the accessories that are large enough or positioned prominently enough to set the tone for the whole wall. A curtain treatment like curtain-elevation-1 across the main window, a statement piece like a big-landscape-picture-frame on the largest blank wall segment, or an umbrella-1 anchoring an outdoor seating cluster if the elevation is exterior facing, these go in first because everything else on the wall gets scaled and positioned in relation to them, not the other way around.
Anchor pieces are also the ones worth spending the most individual attention on, checking their scale against the wall and furniture with an actual reference dimension rather than eyeballing it, because an error on an anchor piece propagates visually through everything placed around it, whereas an error on a small detail object stays contained to that one small area of the wall.
Layering in mid-size accessories
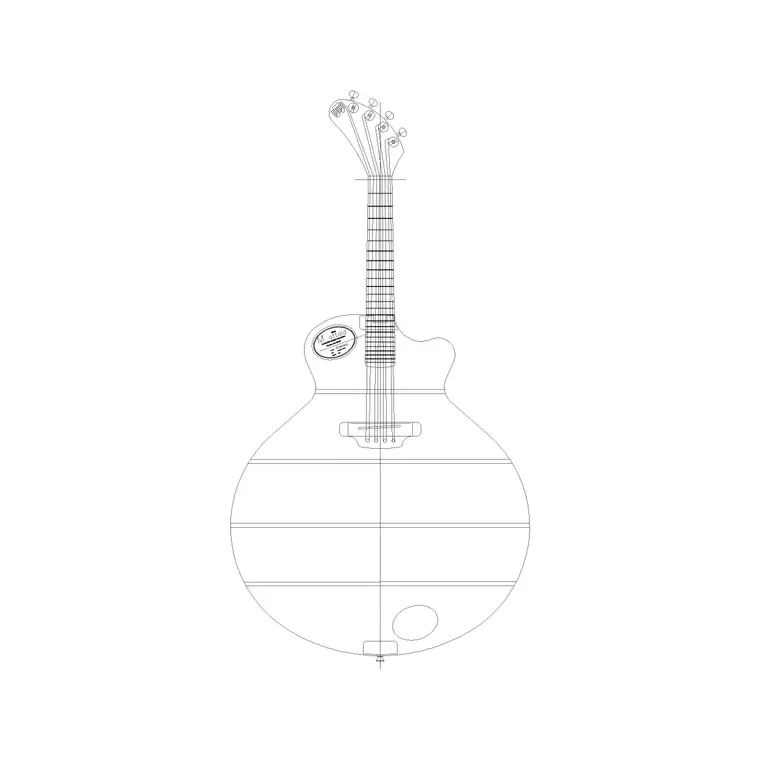
With the anchors placed, the next layer is mid-size accessories that support the composition without competing with it, a carved vase or planter on a console or shelf edge, a cuckoo-clock or plain wall clock breaking up a secondary wall segment, a guitar-front-elevation leaned into a corner if the room calls for it. These pieces should be positioned with the same asymmetric logic that makes real styled rooms convincing, off center groupings, varied heights, deliberate negative space rather than evenly spaced filler.
It's worth resisting the temptation to fill every available gap at this stage too, a wall with three well chosen mid-size accessories and some genuine negative space left around them reads as more considered than a wall where every available surface has something sitting on it, restraint at this layer is doing just as much design work as the placement itself.
Finishing with the small detail layer
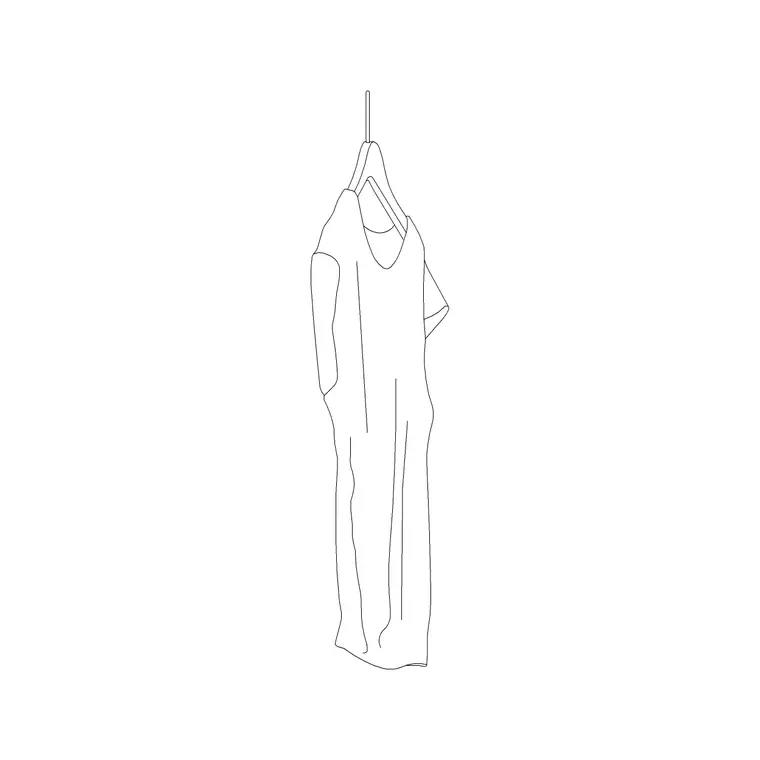
The last layer is the small detail accessories, a books-stacking-2 tucked beside a vase, a 1-ladies-dress hung on a rail if the elevation includes a closet or dressing area, the kind of small scale objects that most viewers won't consciously notice but that make the difference between an elevation that reads as genuinely inhabited and one that reads as a furniture catalog with nothing on the surfaces. Restraint matters here more than in any other layer, three or four well placed small details beat eight scattered ones every time.
A useful habit at this stage is stepping away from the screen entirely for a minute and coming back to look at the elevation fresh, small detail placement is exactly the kind of decision that benefits from a second look with slightly rested eyes, since it's easy to lose perspective on density and balance after having stared at the same wall for the previous hour while placing the anchor and mid-size layers.
Checking scale and consistency across the whole elevation
Once every layer is placed, go back through the whole elevation and check scale consistency specifically, this is the step people skip when they're working fast and it's the one that causes the most visible errors once a sheet is plotted or presented. Every accessory block should be checked against the furniture or architecture it's sitting beside, a vase taller than the sofa arm beside it, a mirror wider than the basin below it, a curtain drop that stops short of the floor line, these are the mistakes that undermine an otherwise well composed elevation and they're genuinely fast to catch if you deliberately look for them rather than trusting that each block inserted correctly the first time.
This final scale pass is also the right moment to check that every accessory's insertion point actually landed where you intended rather than assuming the block behaved correctly on first insertion, a quick way to catch this is switching to a wireframe or wireframe adjacent visual style briefly, which makes floating or misaligned base points much easier to spot than they are under a fully shaded or rendered display.
Keeping the drawing organized as it fills up
Keeping the drawing organized matters just as much once the elevation fills up with a dozen or more accessory blocks. Run a separate layer, or a small family of layers, for accessories distinct from the furniture and architecture layers, something like DECOR-SOFT for curtains and fabric pieces, DECOR-HARD for clocks and frames, DECOR-SMALL for books and tabletop objects, so the whole styling pass can be toggled off in one or two clicks whenever the drawing needs to go back to being a clean construction document rather than a presentation piece.
This layer structure pays off well beyond the current project too, once you've built a consistent DECOR-SOFT, DECOR-HARD, DECOR-SMALL layer family on one job, reusing that same structure on the next project means anyone opening the file, including someone who wasn't on the original team, can immediately understand and isolate the styling pass without having to ask.
A working checklist before you call it done
Before calling a styled elevation finished, run through a short checklist, scale checked against adjacent furniture and architecture for every accessory block, insertion points confirmed so nothing floats above its resting surface, layer assignment consistent so the whole styling pass can be isolated, formality and period consistency checked across the accessory palette so a cuckoo clock isn't sitting next to a minimal contemporary curtain by accident, and enough negative space left that the wall reads as curated rather than crowded. That last check, restraint, is honestly the one that separates a convincing styled elevation from one that just has a lot of blocks on it.
Further reading
Questions
Frequently asked
How many accessory blocks is too many on a single elevation wall?+
There's no fixed number, but if you can't point to why each piece is there, or the wall feels visually busy rather than composed, it's worth removing rather than adding another, restraint tends to read as more professional than density.
Should styling accessories be on the same layer as furniture?+
Generally no, keeping accessories on their own layer or layer family lets you hide the styling pass independently when a drawing needs to serve as a clean construction document rather than a presentation elevation.
What's the biggest scale mistake to check for across a styled elevation?+
Accessories that were inserted at a default or copied scale without checking against the specific furniture or architecture beside them, a mismatch that's easy to introduce quickly and easy to catch with a deliberate final pass.
Free downloads from this article
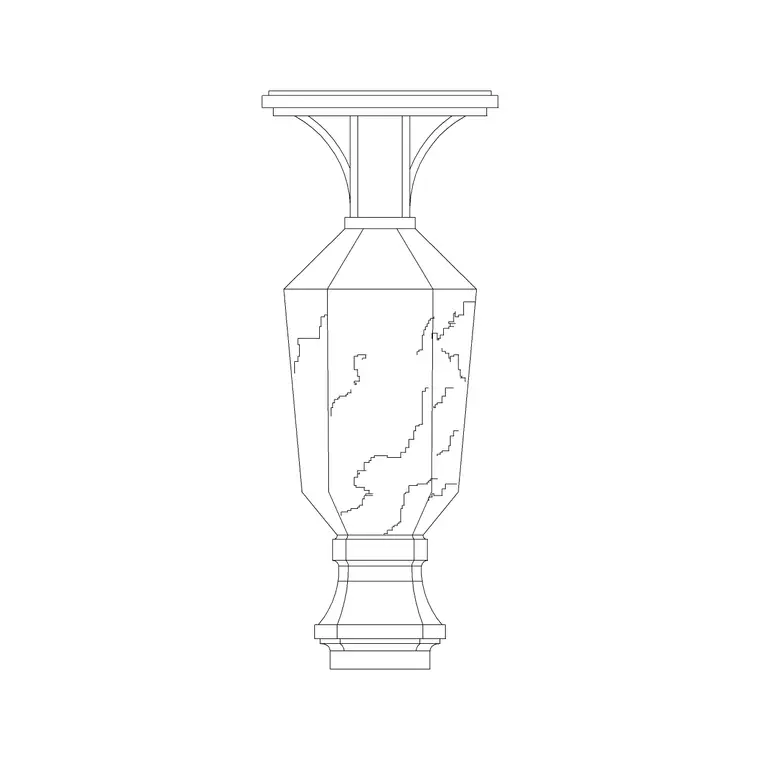
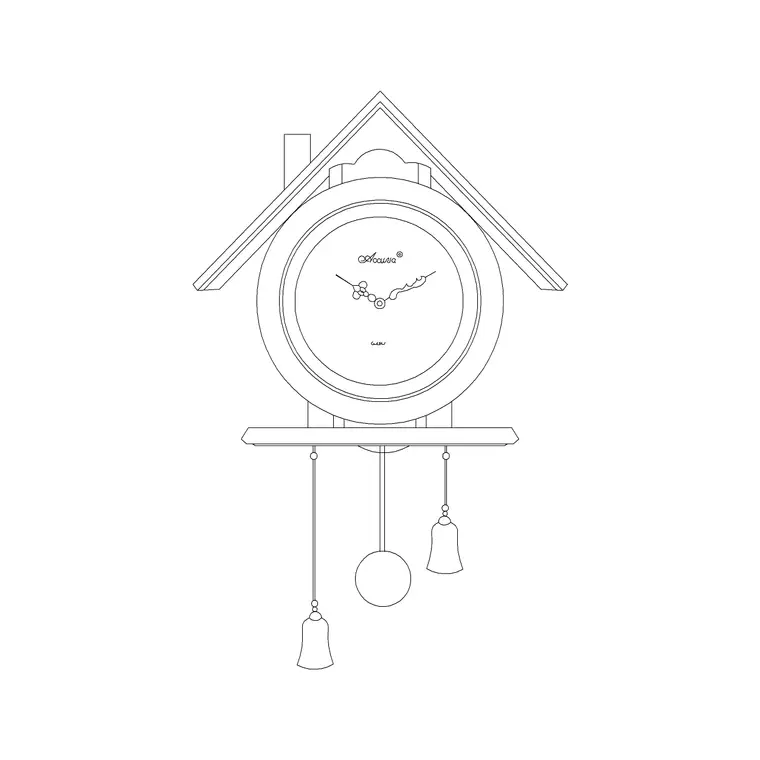
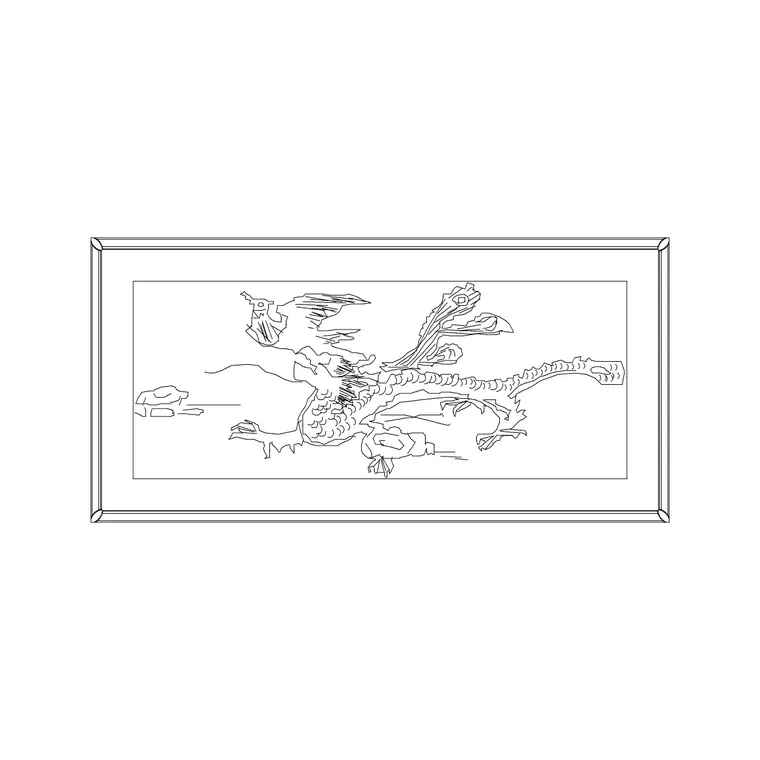
Free CAD block library
Download the blocks from this article — free, no signup


