Autumn planting plan CAD blocks
Building an autumn planting plan with tree, shrub, fence and deck railing CAD blocks, including realistic spacing and mature spread ranges.
Sumana KumarUpdated 23 June 20265 min read

Autumn is planting season for a lot more than people realize
A surprising amount of planting actually goes into the ground in autumn rather than spring, cooler soil and less transplant stress make it the better window for a lot of trees and shrubs, and that means the planting plans crossing my desk this time of year are often more serious than the spring ones, real stock is about to be ordered against them rather than a loose concept being pitched. That changes what the drawing needs to do, spacing and mature spread need to be accurate because a nursery or landscaper is going to work directly off the plan.
So an autumn planting plan earns the extra half hour of care that a rough concept sketch does not, because the gap between a well-spaced plan and a sloppy one shows up in the yard three years later as either a coherent planting scheme or a tangle of overcrowded shrubs nobody wants to thin out.
Soil temperature is really the driver here, most trees and shrubs establish root systems more effectively when the soil is still warm from summer but air temperatures have cooled enough to reduce transplant stress on the top growth, which is why a lot of nurseries push their best stock availability toward autumn rather than holding everything back for the traditional spring rush.
Laying out the tree structure first
I always place the tree layer before anything else in a planting plan, because trees set the structure everything else has to work around, shade patterns, root zones, sightlines. An elevation tree block like pine elevation is useful once the plan moves into a section or elevation view showing how the planting reads at eye level, typically modeled at a mature height in the 3 to 8 metre range, and for a plan-view layout the same family usually gives a canopy circle sized to that same mature spread, which is the dimension that actually matters for spacing decisions, not the current size of the nursery stock going in the ground this autumn.
Spacing trees at roughly their mature canopy width apart, rather than however close they look fine as saplings, is the single habit that prevents a planting plan from turning into an overcrowded mess a decade later, and it is worth noting that spacing directly on the drawing so whoever plants it does not default to instinct.
I also cross-check tree placement against any underground utilities noted on the base survey before finalizing spacing, since a mature root system reaching the 3 to 8 metre canopy range this block represents is going to extend a comparable distance underground, and a tree planted too close to a service line is a mistake that is expensive to fix once it has been in the ground a few years.
Shrub layer and mass planting spacing
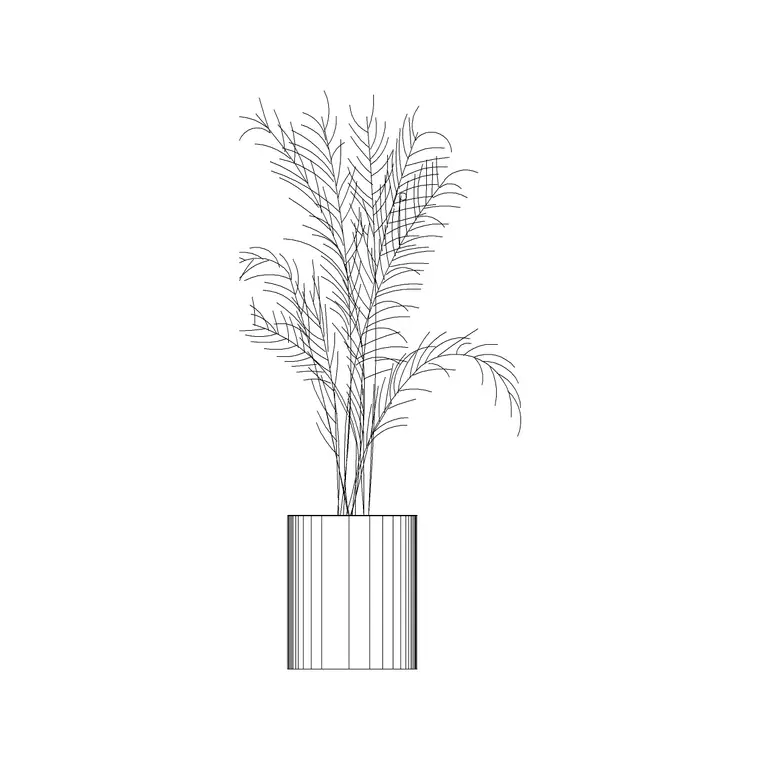
Shrub blocks such as shrub E16 do most of the visual work in a planting plan since they fill the mid layer between tree canopy and ground cover, mature spread on a typical shrub block usually sits in the 0.6 to 1.8 metre range depending on the species being represented, and what I actually do when laying out a mass planting bed is space the block centers at roughly that mature spread distance so the plan already shows the intended mature coverage rather than the underplanted look of day-one spacing. A landscaper reading the plan should be able to count blocks and know exactly how many plants to order, which only works if the spacing in the drawing reflects a real planting density rather than an arbitrary decorative scatter.
For a mixed planting bed with several different shrub varieties, I also stagger the spacing slightly rather than using a rigid grid, since a naturalistic autumn planting scheme generally reads better with some variation in spacing than with shrubs marching in perfectly even rows, though the average spacing across the bed should still land close to the mature spread figure for whichever species is being represented.
Boundary and structure elements around the planting
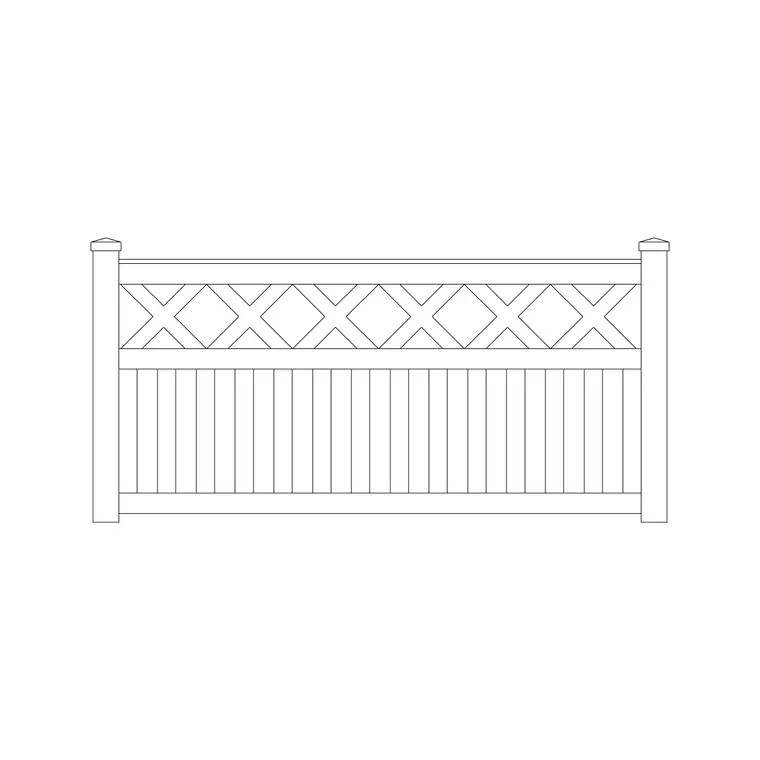
A planting plan rarely exists in isolation from the site's boundary treatment, so if a fence line is part of the same autumn project, a fence design block belongs in the drawing alongside the planting rather than left as a placeholder line, particularly if hedging or shrub planting is meant to run parallel to it. Typical garden fence heights run from about 0.9 to 1.2 metres for a low boundary up to 1.8 to 2.1 metres for full privacy screening, and having the actual block in place means the planting spacing can be checked against the real fence geometry rather than an approximate line.
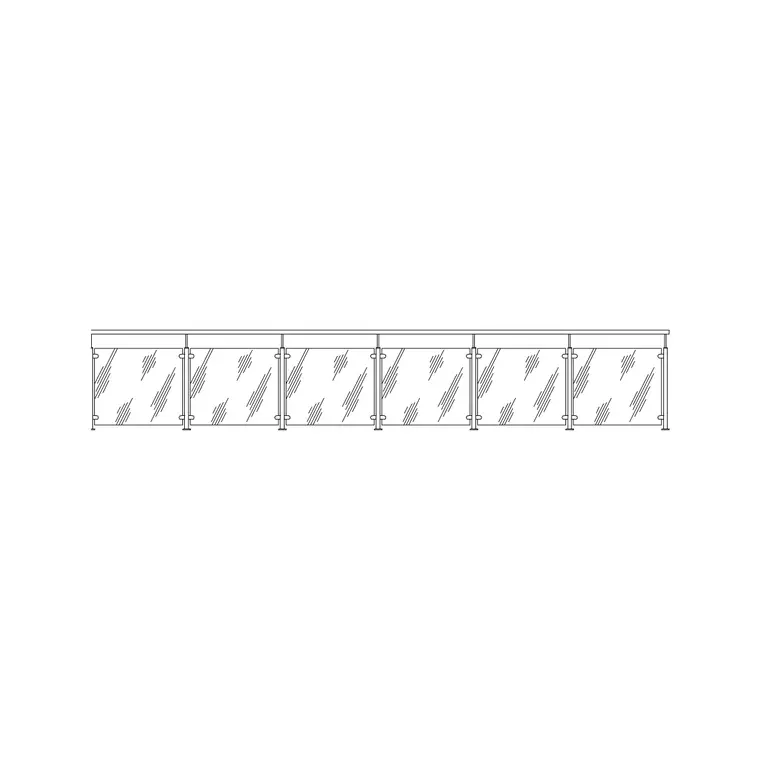
If the planting plan includes a deck or raised bed with any drop over it, a glass railing block is worth adding too, typically detailed at a 900 to 1100 millimetre guard height, since an autumn planting plan around a deck often gets reviewed alongside the deck's own safety detailing rather than as a separate submission.
If the autumn project also includes a new gate or access point through the fence line, mark that clearly before finalizing the planting layout on either side of it, since a beautifully spaced hedge run that gets interrupted awkwardly by a gate location nobody planned for is one of the more avoidable mistakes in an otherwise careful planting plan.
Drafting habits that keep the plan usable for years
For a planting plan I keep every plant category on its own layer, trees, shrubs, ground cover, so a future infill planting or a replacement after a plant dies does not require touching the rest of the scheme. A naming convention like PLANT-TREE, PLANT-SHRUB keeps things legible for whoever reopens the file in a few years, and it is worth double-checking insertion points before a mass placement, since most tree and shrub blocks insert at trunk or canopy center, and confirming that against a known dimension before copying a block forty times across a bed saves a rescale later on.
It is also worth keeping a simple plant schedule as a table alongside the drawing, block type, quantity, and mature size, so a nursery quoting the job can work from a clear list rather than having to count symbols across the plan by hand.
Further reading
Questions
Frequently asked
Why is autumn a good time to finalize a planting plan?+
Cooler soil and lower transplant stress make autumn a common planting window for many trees and shrubs, so plans drafted this time of year are often used to order real nursery stock rather than serve as a loose concept.
How far apart should shrub blocks be spaced in a mass planting bed?+
Space the block centers at roughly the mature spread distance, typically in the 0.6 to 1.8 metre range depending on species, so the drawing reflects the intended mature coverage rather than an underplanted day-one gap.
Should tree spacing be based on the nursery stock size or the mature size?+
Base spacing on the mature canopy spread, not the current nursery stock size. Planting too close because saplings look small now is one of the most common mistakes in amateur planting plans.
Free downloads from this article
Free CAD block library
Download the blocks from this article — free, no signup


