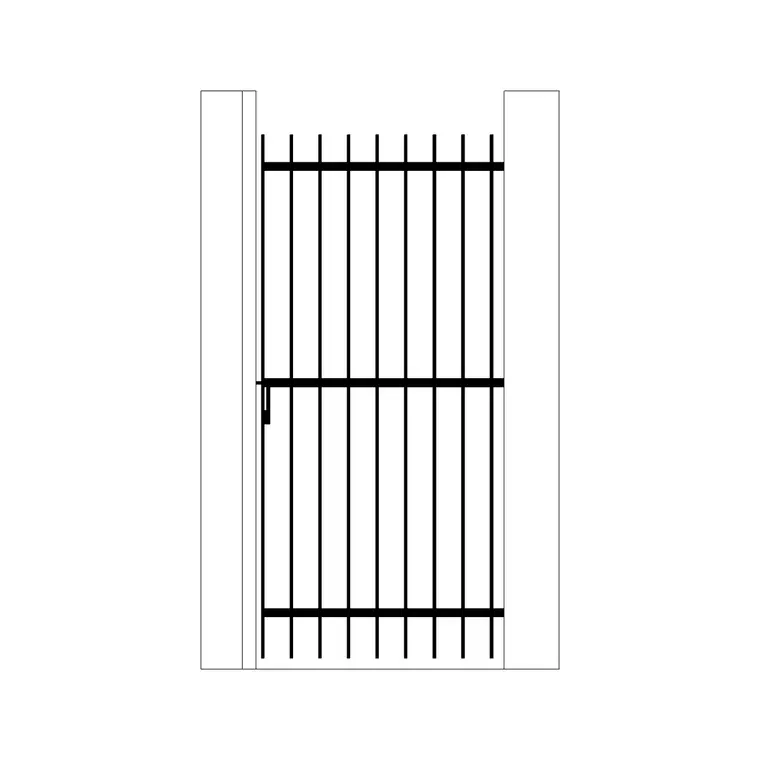
Using CAD blocks as underlay for a hand-rendered presentation
How drafters use downloaded CAD blocks as an accurate underlay for pen, marker or watercolor presentation drawings without losing scale or proportion.
Saumyajit MaityUpdated 4 April 20265 min read

Why hand rendering still starts in CAD
Plenty of the best hand-rendered presentation drawings I've seen didn't start with a blank sheet of trace paper, they started as a printed or plotted CAD underlay that got traced, inked or painted over, and the reason that workflow persists even now is that it gets you accurate scale and proportion for free, which is the part hand sketching is genuinely hard to nail on a complex plan or elevation. Freehand you can absolutely nail proportion on a simple sketch, but the moment a drawing has real dimensional stakes, a floor plan that has to actually fit furniture, an elevation that has to match a real facade, an accurate underlay saves you from redrawing corrections after the fact.
Downloaded CAD blocks fit into this workflow directly, you're not hand-drawing a sofa or a tree from scratch and hoping the proportions read right, you're placing an already-correct block, plotting the whole composition as a light-line underlay, and then bringing the actual rendering skill to the surface pass on top.
Setting up the drawing for a good underlay print
The underlay needs to be visible enough to trace accurately but light enough that it doesn't compete with or show through your final ink or marker work, and that's a plot style decision more than a drawing decision. Set a dedicated plot style, or a separate layer state, where everything prints in a light gray rather than black, somewhere around 30 to 50 percent gray density is a good starting point, and turn off any hatching or fill on blocks since solid fills print dark and make the underlay harder to see through once you're rendering on top.
Print at the actual scale you'll be working at, not scaled down and enlarged on a photocopier afterward, because that process degrades line quality and can introduce slight distortion that throws proportion off exactly in the areas, like a tightly spaced furniture layout, where accuracy matters most.
Choosing which blocks to include in the underlay
Not everything belongs in the underlay, and this is where a lot of people overcomplicate the setup. Include the architectural base obviously, walls, openings, structure, and include furniture and major entourage blocks like a sofa set or tree elevation where their exact footprint and proportion genuinely matters to the final rendering. But leave out blocks whose detail you actually want to hand-draw for character, a lot of renderers deliberately draw human figures freehand even over a CAD underlay because hand-drawn figures carry more life and gesture than a CAD block silhouette, using the underlay figure only as a scale reference rather than tracing it directly.
That's a legitimate hybrid approach worth considering, use CAD blocks for anything where precision matters and leave the expressive elements, figures, foliage texture, cloud shadows, to the hand skill, since that's usually where the charm of a hand-rendered presentation actually lives.
Working over the underlay without losing accuracy
Once you're tracing or rendering over the printed underlay, resist the urge to "improve" proportions freehand as you go, since that's exactly the accuracy the underlay was there to protect. If a tree canopy from the pine elevation block looks too small compared to how you'd stylistically want to draw it, that's a decision to make back in CAD before you print the next underlay, swap in a larger block or rescale it, rather than fudging it by hand and ending up with a drawing that no longer matches the dimensioned set behind it.
This matters more than it sounds like it should, because presentation drawings that get shown alongside a dimensioned plan or elevation get compared directly, and a hand-rendered piece that's noticeably out of proportion with its own CAD-generated companion sheet undermines trust in both documents even if the rendering itself is beautiful.
Digitizing the finished piece
Once the hand rendering is done, scan or photograph it at a resolution that preserves fine ink and marker detail, generally 300 dpi or higher for anything going to print, and if you want to reintroduce it into a digital presentation set, overlay it back against the original CAD file at matched scale so dimensions and callouts can still reference the correct locations even though the surface treatment is now hand art.
This full-circle approach, CAD underlay out, hand rendering in, digitized rendering back into the digital set, is genuinely common on hybrid presentation packages where a firm wants the warmth of hand rendering alongside the precision of a CAD-produced technical drawing, and getting the underlay step right at the start is what makes the whole loop hold together instead of drifting out of scale along the way.
When an underlay isn't actually the right call
It's worth saying that a CAD underlay isn't always the better starting point, for a loose concept sketch meant to explore an idea rather than represent a specific building accurately, working freehand from the start often produces a livelier, more exploratory drawing than one constrained by an underlay from the first mark. I reach for an underlay specifically when the drawing has to be dimensionally trustworthy alongside its expressive qualities, a final presentation piece, a client deliverable, something going in a portfolio next to a dimensioned plan, rather than for early-stage sketching where the whole point is speed and looseness.
Knowing which mode you're in before you start saves wasted effort either direction, printing an underlay for a five-minute concept sketch is overkill, and skipping one for a final client-facing elevation that has to match a real facade is a risk that usually isn't worth taking just to preserve a looser hand.
Materials and tools that work well over a light underlay
Ink pens with a consistent nib size hold up best when tracing directly over a printed underlay, since a wobbly or inconsistent line weight undermines the crispness the CAD base was supposed to lend the piece in the first place, and a lot of renderers keep two or three nib widths on hand, a fine one for detail and entourage, a broader one for the primary building outline, echoing the same line weight hierarchy that matters in a purely digital presentation drawing. Markers and washes go down after the ink line work is committed, not before, since ink over wet marker tends to bleed and lose the crispness a good underlay trace is meant to deliver.
If you're working digitally over a scanned underlay instead of on physical paper, the same logic carries over, keep the underlay layer locked and reduced in opacity beneath your digital ink or paint layers rather than merging it in early, so you can always toggle it back on to double check a proportion question partway through the rendering pass.
Further reading
Questions
Frequently asked
What plot settings work best for a CAD underlay meant for hand rendering?+
Print at a light gray, roughly 30 to 50 percent density, with hatching and solid fills turned off, at the actual final scale rather than scaled up afterward, so the underlay stays visible without competing with your ink or marker pass.
Should I trace CAD figure blocks directly or draw figures freehand?+
Many renderers use the CAD figure block only as a scale and position reference and draw the actual figure freehand, since hand-drawn people usually carry more life than a traced silhouette. It's a legitimate hybrid choice either way.
How do I get a hand-rendered drawing back into a digital presentation set?+
Scan or photograph at 300 dpi or higher, then overlay it back against the original CAD file at matched scale so any dimensions or callouts on the digital set still line up correctly with the hand-rendered surface.
Free downloads from this article


Free CAD block library
Download the blocks from this article — free, no signup