Stair Rise and Going Calculator: Free CAD Block Download
How to calculate stair rise and going by hand before you draft, plus the real, downloadable stair CAD blocks you can adapt once the numbers check out.
Saumyajit MaityUpdated 15 June 202611 min read

I still do this math before I open AutoCAD
Every stair I have ever drafted started with arithmetic, not a block library, working out how many risers a given floor to floor height needs and whether the resulting going leaves enough foot room to actually walk comfortably. Skip that step and jump straight to placing a stair block, and you end up either forcing a project's real dimensions to match whatever the block happened to be drawn at, or worse, submitting a stair that technically fits on the sheet but would be genuinely uncomfortable or unsafe to climb in real life.
So this is genuinely a two part post, the calculation method first, since that is the part no downloadable file can do for you, and then the real, verified stair blocks on this site that are worth adapting once your numbers are actually settled.
It is worth being upfront that this arithmetic is not optional or something a block library can quietly handle for you behind the scenes, a stair genuinely bridges a specific vertical height on a specific project, and no generic downloaded geometry knows what that height is going to be until you tell it, which is exactly why the calculation has to come first, every single time, regardless of how good the eventual reference block looks on the sheet.
What rise and going actually mean
Rise is the vertical height of a single step, measured from the top of one tread to the top of the next. Going is the horizontal depth of a single step, measured from the face of one riser to the face of the next along the direction of travel. Together, every step in a flight repeats the same rise and going, and the total number of risers multiplied by the rise figure has to add up to the exact floor to floor height the stair is bridging.
These two numbers interact, a stair with a low rise and a generous going feels gentle and easy to climb but eats more floor space and needs more steps, while a stair with a high rise and a shallow going is compact but can feel steep and uncomfortable, which is exactly why building codes constrain both rather than leaving either one unlimited.
Tread and riser are the physical building components that give these two measurements their real world form, the riser is the vertical board or surface at the back of a step, the tread is the horizontal surface you actually step on, and getting comfortable naming both correctly matters when you are talking to a contractor or reading a manufacturer's stair specification, since rise and going describe the measurements while tread and riser describe the physical pieces that create them.
A third figure worth defining alongside these two, the total going of a full flight, which is simply the going of a single step multiplied by the number of steps in that flight minus one, since the top landing itself does not count as an additional going. This total going number is what actually tells you how much horizontal floor space the stair physically consumes, and it is usually the figure that determines whether a chosen configuration even fits the available space before rise and going comfort is even considered.
The comfort rule that connects rise and going
A widely referenced rule of thumb in stair design holds that twice the rise plus the going should land within a comfortable range, commonly cited somewhere around 550 to 700 millimetres depending on which guidance or building code you are following, since this figure varies meaningfully between countries and even between residential and commercial use within the same country. It is a useful sanity check rather than a rigid formula to apply blindly.
Alongside that combined figure, many residential building codes separately cap the maximum riser height, often somewhere in the region of 180 to 200 millimetres, and set a minimum going, often somewhere around 220 to 280 millimetres, though again, always confirm the actual figures against whatever specific code governs your project rather than trusting a generic range from an article like this one.
Commercial and public building codes are typically stricter still, often demanding a shallower rise and more generous going than a residential stair would need, purely because a stair used by the general public, including people less familiar with that specific building, needs a wider margin of comfort and safety than one used daily by residents who already know it well. Never assume a residential proportion is acceptable on a commercial project without checking the actual code that applies.
A worked example, start to finish
Say a project has a floor to floor height of 2800 millimetres, a common range for a residential storey, though this genuinely varies by building and should always be measured on the actual project rather than assumed. Choose a target riser height within a typical comfortable range, say 175 millimetres, and divide the floor to floor height by that figure, 2800 divided by 175 gives exactly 16 risers.
With 16 risers confirmed, check the resulting going against the comfort rule mentioned above, if a going of 260 millimetres is chosen, twice 175 plus 260 gives 610, comfortably within the commonly cited range. If the total had landed outside a sensible range, the fix is adjusting the riser height slightly and recalculating the riser count, not forcing an uncomfortable going just to match a stair block someone already drew.
It is worth running this exact calculation for both extremes of your acceptable riser range before settling on a final figure, the lowest comfortable riser and the highest, since that immediately shows you the full range of riser counts a project could reasonably use, and lets you pick the count that best fits the actual available floor space rather than accepting the first workable number you land on.
It is worth running the same arithmetic once more against a different scenario to see how much the resulting stair actually changes, since the numbers are not universal even within a single project type. Take a commercial or public building context instead of the residential one above, where code often caps riser height more conservatively, say at 150 millimetres for this second example, and the same 2800 millimetre floor to floor height now divides out to roughly 18.7 risers, which rounds up to 19 risers at a slightly reduced actual rise of about 147 millimetres each, since the total rise has to divide evenly across a whole number of risers rather than landing on a fraction. Checking the comfort rule again with a going of 300 millimetres, common for a more generous public stair, twice 147 plus 300 gives 594, still comfortably within range but noticeably different from the residential figures worked out above.
The point of running both examples side by side is not that either set of numbers is more correct than the other, it is that the same floor to floor height produces a genuinely different riser count and going once the applicable code and comfort targets shift, which is exactly why the arithmetic has to be redone for every project rather than reusing a riser count that worked fine on a previous job with a similar sounding floor to floor height.
Calculating going on a winder or curved stair
Everything above assumes a straight flight where every tread has an identical going, but a stair that turns through winders, tapered treads that replace a landing in a dog leg or U shape configuration, or a fully circular stair needs one extra step before the same comfort rule can be applied. Because a winder tread is wider at its outer edge than at its inner edge, going has to be measured along a consistent walking line rather than at either extreme, and the convention most codes settle on is a line drawn a fixed distance in from the inside edge of the stair, commonly somewhere in the range of 270 to 300 millimetres for a domestic stair, wider still for a stair intended for public use.
Once that walking line is established, going on each winder tread is simply measured along it exactly the same way going is measured on a straight tread, and the same comfort rule, twice the rise plus the going landing within a sensible range, still applies at every point along that line. The genuine trap on a winder stair is checking going only at the wide outer edge, where it always looks comfortably generous, without confirming it also holds up along the actual walking line closer to the inside edge, where the same tread can shrink to an uncomfortably narrow going even though the outer edge measurement looked perfectly fine.
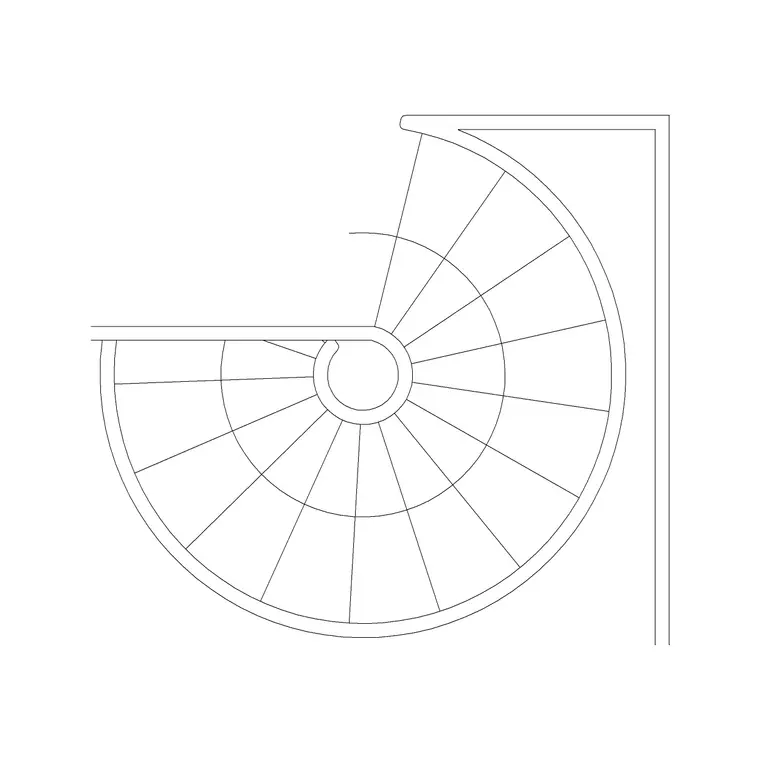
A circular or spiral stair carries this same logic to its extreme, since every tread is effectively a winder around the full turn, and the walking line convention becomes even more important because the innermost part of a tight spiral can taper to a going far too narrow to be safely walked on at all, which is exactly why spiral stairs are typically restricted by code to secondary or limited use access rather than being approved as a primary means of escape in most jurisdictions. Always check your local code's specific restrictions on spiral and winder stairs before assuming the same rise and going comfort rule that governs a straight flight applies unchanged.
Turning the math into an actual plan
Once rise and going are settled, the next check is headroom, the vertical clearance above the stair's walking line, which needs to clear anything overhead, a floor structure, a landing, or a ceiling, by a margin that again varies by code but should never be assumed adequate without checking against the actual project section. For a stair with a bend, a dog leg or a U shape configuration, going is measured along the actual walking line, typically a consistent distance in from the inside edge on winders or curved treads, rather than straight through the geometric centre of the plan.
This is also the point where you decide on configuration, straight, dog leg, U shape, or a circular or spiral stair where floor space is genuinely tight, and that choice interacts with the rise and going numbers you have already calculated rather than replacing them.
What is actually downloadable here, and what is not
Being direct about this, there is no interactive calculator file or software tool downloadable from this site, what the method above gives you is the calculation itself, worked out by hand or in a simple spreadsheet. What is genuinely downloadable, and verified real in the catalogue, are stair CAD blocks, plans and elevations you adapt once your project's own rise and going numbers are settled.
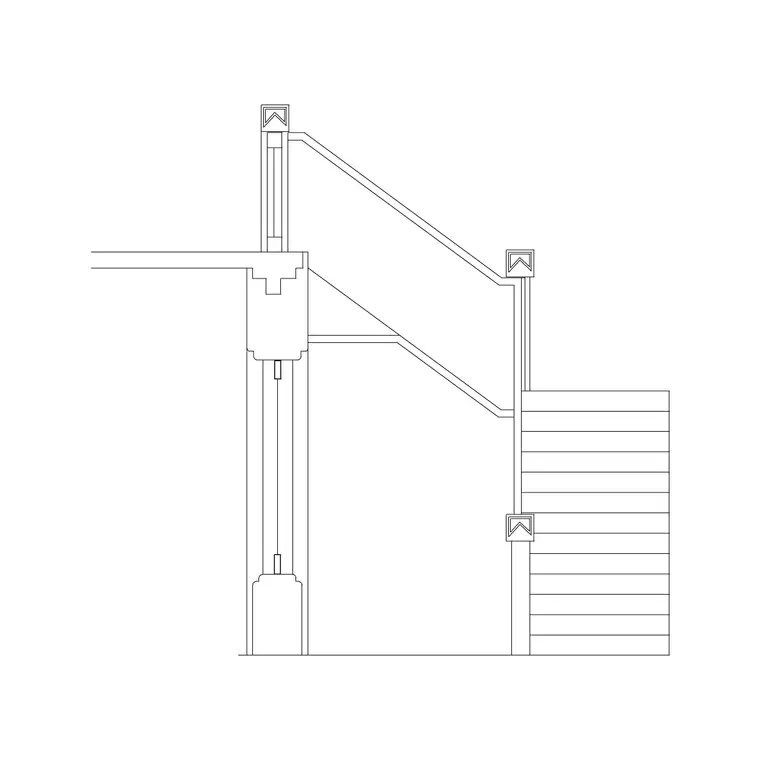
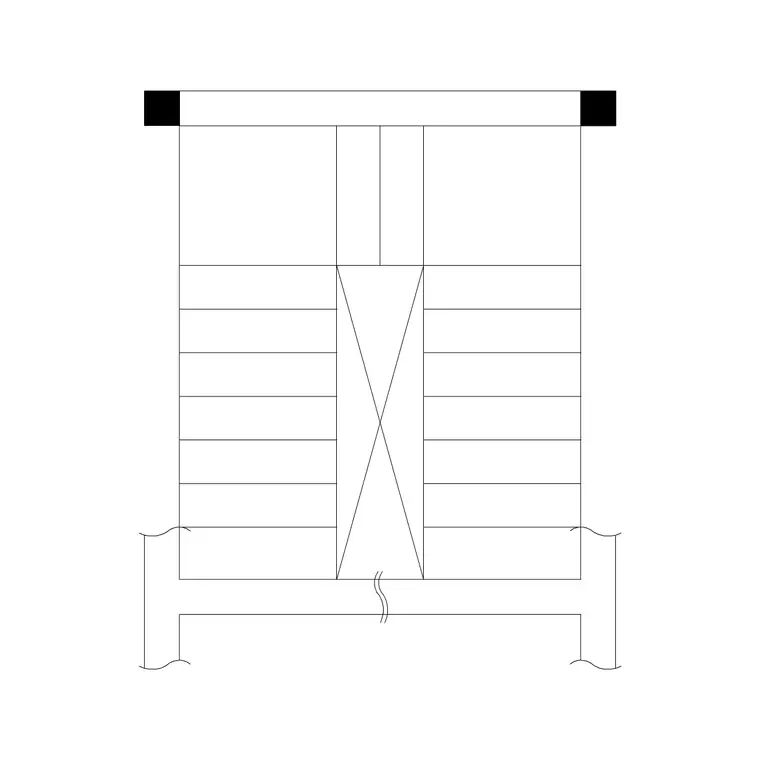
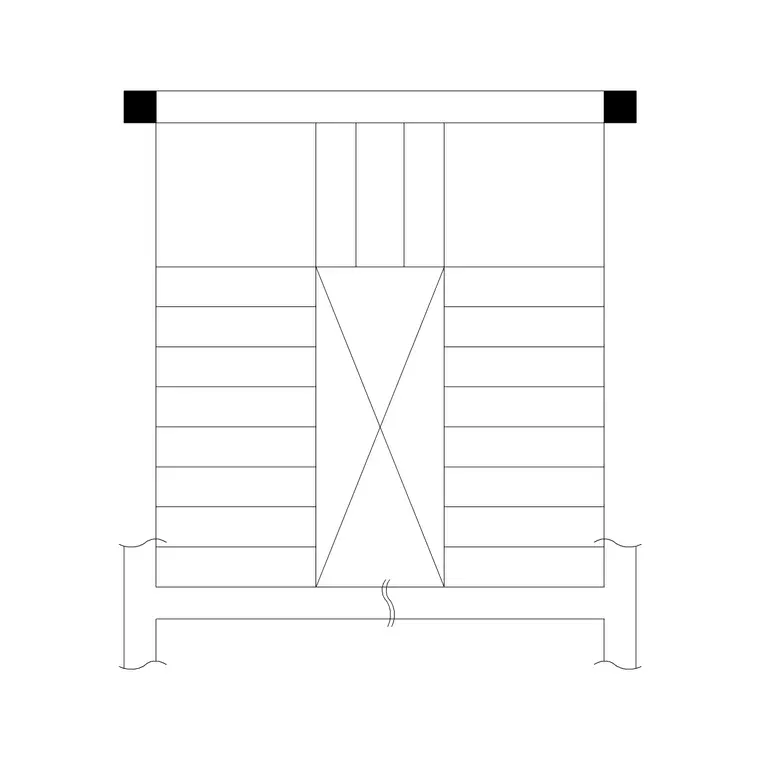
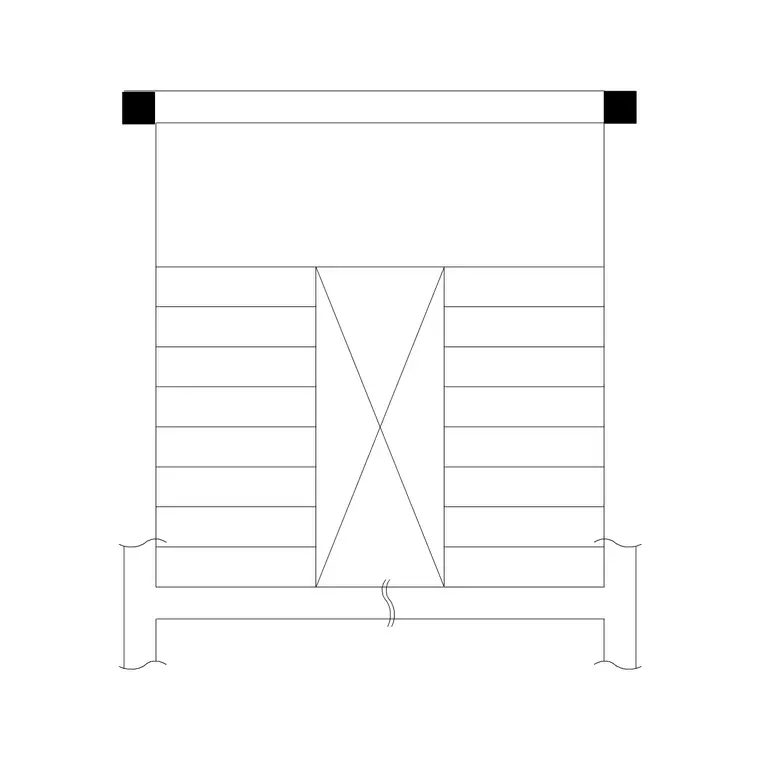
The stairs category here runs 40 products deep, including Circular Stairs Type 1 through several numbered variants for curved configurations, Metal Staircase Front Elevation 1 and its side elevation counterparts for a straight run, Metal Staircase Dog Leg Plan for a stair that turns through a landing, Metal Staircase U Shape Plan for a tighter turning configuration, Circular Metal Staircase for a fully curved industrial style stair, and Metal Staircase With Well Plan where the flights wrap around an open central well.
Adapting a downloaded block to your calculated numbers
A downloaded stair block is drawn at a representative, typical proportion, not necessarily at your project's exact calculated rise and going. The honest way to use one is either as an elevation reference, showing the right general form and tread count logic while you draw the plan's actual tread dimensions to match your own numbers, or by stretching and adjusting the block's tread spacing directly if your CAD software's editing tools make that practical for the specific geometry.
Do not assume a generic block's baked in proportions automatically match your project's calculated figures, verify tread count and spacing against your own math before committing the block to a construction drawing, the same discipline that applies to any downloaded reference geometry regardless of category.
For an elevation specifically, this verification is usually just a tread count check, does the elevation show the same number of risers your calculation produced, since a mismatch there is immediately obvious and easy to fix by array copying an extra tread or two before the block goes onto a live sheet. For a plan, the check runs a little deeper since going and total flight length both need to match, which is exactly why treating the plan as a reference to redraw over, rather than something to insert unmodified, is usually the more reliable approach for anything beyond an early concept sheet.
A quick recap checklist
- Measure the actual floor to floor height you are bridging, do not assume a generic figure. - Pick a target riser within a sensible range for your project type and confirm against your local code. - Divide floor to floor height by target riser to get riser count, adjusting the riser slightly if the division is not clean. - Check the resulting going against the twice rise plus going comfort rule, and against your code's stated minimums and maximums. - Confirm headroom clearance along the actual walking line before finalising configuration. - Choose a stair block, straight, dog leg, U shape, or circular, that matches your configuration, and verify its drawn proportions against your calculated numbers before use.
Do the arithmetic first, choose the block second, and the stair you draft ends up both code checked and comfortable rather than merely looking right on the sheet.
That order matters more than it might seem worth belabouring, since it is entirely possible to draft a stair that looks completely convincing on a sheet, correct line weights, a plausible tread pattern, a sensible looking configuration, while being genuinely uncomfortable or non compliant in built reality, purely because the underlying rise and going numbers were never actually checked against a real calculation. A good looking drawing and a buildable, code compliant stair are not automatically the same thing, and the arithmetic in this post is exactly what closes that gap.
Further reading
Questions
Frequently asked
Is there a downloadable stair calculator tool on this site?+
No, there is no interactive software calculator here. What is downloadable are real stair CAD blocks, plans and elevations, that you adapt once you have worked out your project's rise and going by hand using the method in this post.
What is a comfortable stair rise and going?+
It varies by code and country, but many residential guidelines keep the riser under roughly 180 to 200 millimetres and the going above roughly 220 to 280 millimetres, and a common rule of thumb checks that twice the rise plus the going lands somewhere around 550 to 700 millimetres. Always confirm against your specific local building code.
Do the stair blocks on this site have specific rise and going numbers built in?+
They are drawn at typical, representative proportions rather than tailored to any single project's calculated figures, so treat them as a reference to trace over or adjust rather than as an already correct, project specific stair.
What stair block should I start from for a small residential project?+
A straight or dog leg metal staircase plan is usually the simplest to adapt for typical residential floor to floor heights, while a circular or spiral configuration is worth using specifically when floor space is genuinely tight.
Free downloads from this article
Free CAD block library
Download the blocks from this article — free, no signup

