Road Marking and Floor Marking Symbol Standards
A practical guide to road and floor marking conventions, line widths, bay marking and colour rules, checked against real vehicle CAD blocks.
Saumyajit MaityUpdated 9 July 202611 min read
Road marking versus floor marking
Road marking and floor marking describe the same basic idea, painted or thermoplastic lines and symbols applied to a driving or parking surface to control movement and communicate rules, but the terminology splits depending on where the surface sits. Markings on a public road or an external site access route are usually called road markings and tend to follow a national traffic sign and marking regulation. Markings inside a private car park, a warehouse floor or a basement level are more often called floor markings and have more design freedom, though many designers still follow the same conventions out of habit, and because drivers already recognize them.
On a site drawing, this distinction matters mostly for which regulation you're actually bound by, a public road marking usually cannot deviate from the national standard, while a private car park marking scheme has more room for a client's own branding or colour scheme as long as it doesn't confuse a driver used to the standard convention.
The boundary between the two isn't always a single clean line either, right, a lot of sites have a short stretch of access road that's technically private but sits right at the junction with a public road, and that transition zone is usually the one place worth defaulting to the stricter public road convention regardless of ownership, simply because an arriving driver hasn't yet recalibrated to a private site's looser rules.
Line types and widths
Most marking systems build up from a small vocabulary of line types: a continuous line meaning don't cross, a broken or dashed line meaning a permitted but discouraged crossing, and a double line combining both for asymmetric restrictions. Line widths are typically specified in a fairly narrow band, commonly somewhere around 100 to 150mm for standard bay and lane lines, with wider lines, sometimes 200mm or more, reserved for edge lines or markings meant to be visible from further away or at higher approach speeds. On a CAD drawing these are usually drawn as simple offset polylines or a hatch between two parallel lines at the specified width, which is straightforward geometry, the actual skill is in getting the layout logic right rather than the line itself.
Hatched box markings, sometimes called keep clear boxes, are another common element, used at the top of a ramp, in front of a barrier, or across a junction within a car park, to keep a critical pinch point clear of stopped traffic even when the rest of the car park is busy. These are usually drawn as diagonal hatching within a bordered box rather than a solid fill, both for visibility and because a solid painted area shows tyre wear and looks patchy faster than a hatched pattern does.
Bay marking conventions
A standard parking bay is typically marked with either a single continuous line down each side, the more common, economical convention, or, less often, an L shaped or full box marking. Corner bays and end bays sometimes get hatched no parking zones alongside them to keep a clear turning path at the end of a row, and accessible bays are usually marked with both the bay outline and a hatched access aisle alongside, often finished with the accessibility symbol painted at the head of the bay so it reads clearly even from a driving position rather than requiring someone to get out and read a sign.
The hatched access aisle beside an accessible bay is worth marking distinctly from an ordinary hatched no parking zone, since the two serve different purposes and can otherwise be visually indistinguishable to a driver, one is genuinely reserved pedestrian transfer space and the other is simply discouraging casual parking near a corner. A common convention is to mark the accessible access aisle with a tighter hatch spacing or a distinct colour combined with the accessibility symbol, so it reads unambiguously even to a driver glancing quickly while looking for a space.
Directional and warning markings
Directional arrows painted on a surface, straight ahead, left only, right only, are a common way to enforce one way circulation in a car park without relying purely on signage, and they're usually sized generously, easily a meter or more in length, so they read clearly from a seated driving position rather than needing to be read up close. Give way triangles, stop lines and pedestrian crossing markings follow broadly similar logic to their road equivalents, scaled and simplified for a private site context, and text markings, words like slow or a bay number, are typically stretched vertically in the direction of travel so they read correctly to an approaching driver rather than appearing squashed from that viewing angle.
A give way or stop line is typically painted a short distance before the actual junction or conflict point rather than right at it, giving a driver enough room to actually stop clear of the crossing traffic rather than nosing into it. Getting that setback distance right on a drawing is a small detail, but it's exactly the kind of thing that only becomes obvious once a real vehicle, rather than a line on a plan, is sitting at the marking waiting for a gap.
Colour conventions
Colour conventions vary meaningfully by country and shouldn't be assumed to transfer directly from one region's standard to another, but a few broad patterns repeat often enough to be worth knowing generally: white is the most common default marking colour worldwide, yellow frequently marks restricted or no waiting zones, and blue is commonly associated with accessible parking bay markings in a number of countries. Red is sometimes used for fire routes or strict no stopping zones. None of this replaces checking the specific national or local standard your project sits under, but it's a reasonable starting mental model when you're sketching a marking scheme before confirming the exact palette.
Electric vehicle charging bays have picked up their own emerging colour and symbol conventions in a number of markets, often a green tint or a dedicated painted EV symbol at the head of the bay, though this is still less standardized globally than the older accessible bay convention, so it's worth checking current local practice rather than assuming a single universal colour for this specific case.
It's worth building the habit of confirming a marking colour convention at the start of a project rather than the end, since a marking scheme that's been fully painted in the wrong colour convention for a given country is an expensive, disruptive thing to correct afterward compared to a five minute check against the local standard before painting begins. Where a project genuinely spans more than one country's sites, keeping a simple reference table of each country's specific colour and line width convention alongside the drawing set is a small effort that saves a lot of confusion when different site teams are working from what looks like the same generic layout.
Numbering, wayfinding and how long a marking actually lasts
Beyond the functional lines, most car parks of any real size add a numbering or zone system painted directly onto the surface or the adjacent kerb, a letter and number grid, a colour coded zone, or simple sequential bay numbers, so a driver can locate their own car later and so a parking attendant or enforcement officer can reference a specific bay unambiguously. This is worth planning early rather than adding as an afterthought, since retrofitting a numbering scheme after the main marking layout is finalized often means squeezing numbers into leftover space at an angle that's hard to read, when a small allowance built into the original bay marking design would have kept it legible from a normal driving position.
A marking scheme also has a practical lifespan worth factoring into the drawing set, since a line that's technically correct on day one but wears away within a season isn't actually doing its job for very long. Thermoplastic markings generally hold up longer under regular vehicle traffic than standard painted lines, particularly at pinch points like the entrance to a bay or a turning point where tyres scrub across the marking repeatedly, though thermoplastic costs more to apply initially and needs a properly prepared, dry surface to bond correctly. For a low traffic private car park, standard line paint with a planned repainting cycle is often the more practical specification; for a busy public or retail car park with heavy daily turnover, the higher upfront cost of thermoplastic at high wear points is usually worth it over the marking's working life.
Checking a marking layout against real vehicle footprints
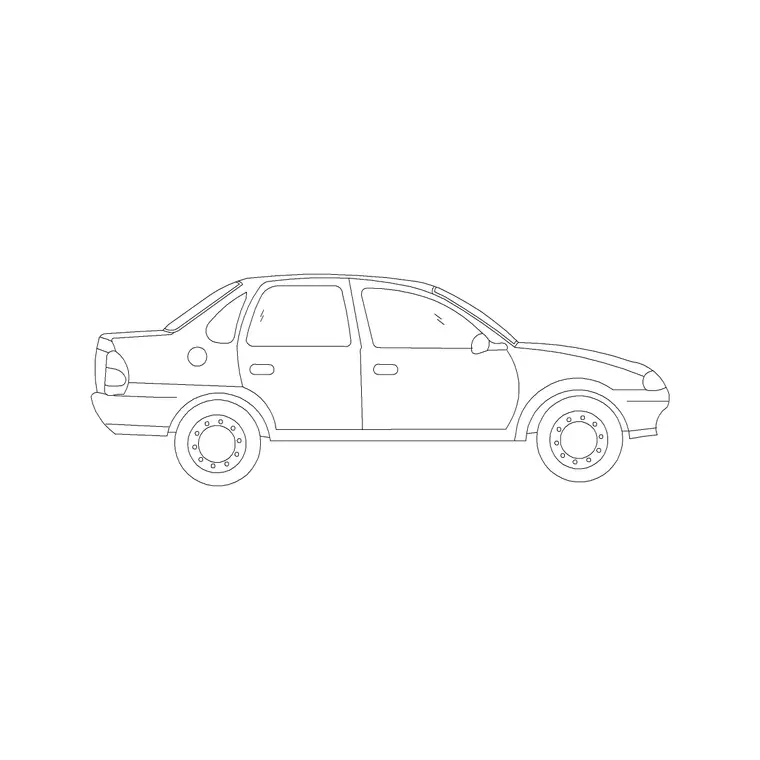
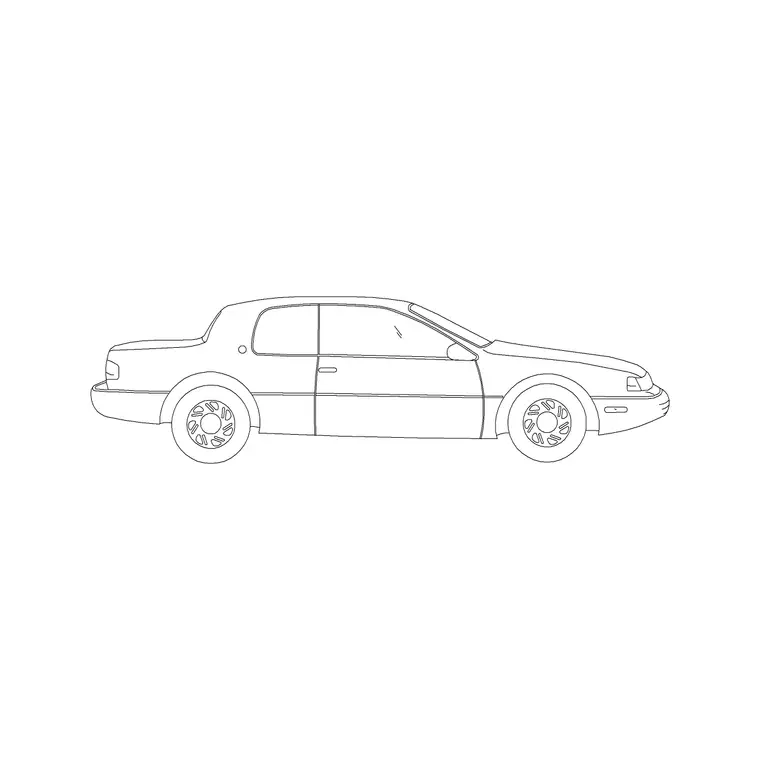
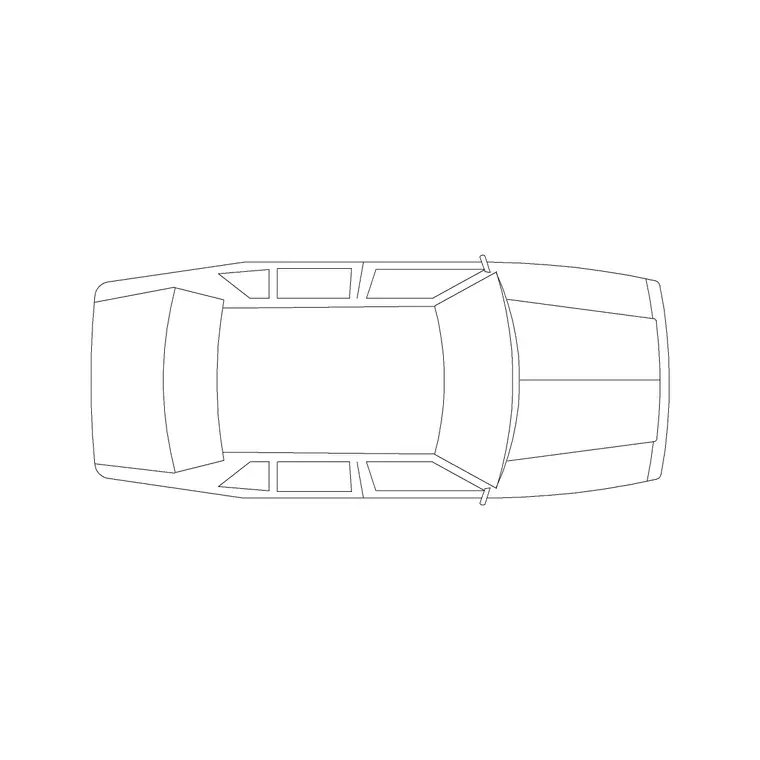
The most useful sanity check for a marking layout, beyond making sure the lines are legally compliant, is making sure they actually work for a real car. Drop one of our vehicle blocks like the compact sedan car or the 2 door sedan car into a few marked bays across your layout and check that the bay lines actually sit clear of the vehicle body with a sensible margin, rather than trusting that a compliant bay dimension automatically looks right once painted. This is particularly worth doing at the ends of rows and near columns, where the marked bay might be dimensionally correct but visually tight once you can see a real vehicle outline sitting inside it. Our plan view blocks like car-plan-5 are useful here too, since a plan view vehicle sitting inside a marked bay is a much faster way to spot an awkward line placement than trying to picture it from a dimension string alone.
It's also worth checking a directional arrow marking against the same vehicle block, placed as if the car were following it, to confirm the arrow actually sits in a sensible spot relative to where a driver's eye line falls, roughly a car length or so ahead of the vehicle rather than directly underneath it, since an arrow painted too close to where a car is already sitting is one a driver has largely stopped being able to read by the time they're near enough to act on it.
A worked example: laying out a small car park's marking scheme
Worth walking through how this comes together on an actual layout rather than just listing the individual conventions, so say you're marking out a forty bay surface car park attached to a small retail unit. Start with the boundary and circulation logic first, the one way arrows and the give way line at the site entrance, since those decisions constrain where the bay rows can actually sit, then lay out the standard bays as simple parallel offset lines at your chosen width, checking a handful of them against a vehicle plan block as covered above before you commit to the full run. Accessible bays get positioned closest to the building entrance, with their hatched access aisle checked against the accessible parking requirement for your jurisdiction rather than assumed from the standard bay hatch spacing, and it's worth marking two or three accessible bays rather than the bare minimum if the site's expected user mix justifies it, since retrofitting an additional accessible bay into an already painted layout usually means sacrificing an ordinary bay awkwardly rather than a clean addition.
The corner bays at the end of each row are where I'd add hatched no parking markings to protect the turning path for cars leaving the row, and this is also where the numbering scheme needs to be planned rather than squeezed in afterward, since a corner bay often has less spare surface next to it for a painted number than a straight run bay does. Once the functional layout is locked, that's when I'd go back and add the wayfinding elements, entrance and exit signage cues painted at ground level, directional arrows guiding traffic toward the accessible bays or toward a specific zone, since painting these before the functional geometry is finalized just means repainting them once a bay gets shifted.
What we do and don't carry as downloadable blocks
We don't currently stock a dedicated set of road marking or pavement paint symbol blocks, arrow markings, give way triangles and the like, as standalone downloads in the library, so if that's specifically what you're after, that download doesn't exist here yet. What is useful from our catalogue for this kind of drawing is the paving blocks, paving-block-1 and paving-block-10 for instance, to represent the surface finish your markings sit on top of, combined with our vehicle blocks to check the marking geometry actually clears a real car.
In practice, most marking symbols end up drawn directly in the drawing as simple polylines and hatches rather than inserted as reusable blocks anyway, since a given site's marking scheme is usually specific enough, exact bay count, exact numbering, exact junction geometry, that a generic reusable symbol saves less time than it would on a repeating element like a door or a tree.
Common mistakes
- Copying a marking scheme from a public road drawing directly onto a private car park without checking whether the local jurisdiction's private site rules differ - Sizing directional arrows too small to read from a driving position, a mistake that only shows up once the car park is actually painted - Forgetting that a marking colour convention doesn't automatically transfer between countries - Marking an accessible bay's access aisle without checking it against the actual accessible bay width requirement, producing a bay that reads compliant but isn't - Adding a bay numbering scheme as an afterthought once the marking layout is already finalized, leaving no clean space to paint it legibly - Specifying standard paint at a high wear pinch point where it will need repainting within months rather than years
Further reading
Questions
Frequently asked
What's the difference between road marking and floor marking?+
They describe the same painted line and symbol conventions, but road marking usually refers to a public road bound by national regulation, while floor marking usually refers to a private car park or warehouse floor with more design freedom.
How wide should a parking bay line be?+
Most bay and lane lines are drawn somewhere around 100 to 150mm wide, with wider lines sometimes used for edge markings or high speed approach areas.
Do you have road marking symbol CAD blocks?+
Not currently as standalone downloads. We do carry paving blocks for the surface finish and vehicle blocks you can use to check a marking layout against a real car footprint.
Is marking colour the same everywhere?+
No. White is a common default in many countries, and colours like yellow and blue often carry specific meanings, restricted zones or accessible bays, but conventions vary by country, so always confirm against your local standard.
Free downloads from this article


Free CAD block library
Download the blocks from this article — free, no signup


