Parking Bay Dimensions: A Complete Reference Guide
Standard parking bay widths, lengths, aisle widths and accessible bay sizes explained, with real vehicle and paving CAD blocks to lay them out.
Sumana KumarUpdated 13 July 202611 min read
A parking bay is a dimension problem before it is a drawing problem
I've laid out enough car parks in AutoCAD to know that the argument rarely happens over the bay itself, it happens over the aisle behind it, the corner where two rows meet, and the one accessible bay near the entrance that somebody forgot needs an extra meter and a half beside it. So before getting into specific numbers, it helps to separate the three things that actually define a working parking layout: the bay itself, the rectangle a car sits in, the drive aisle that lets a car get in and out of that rectangle, and the turning path a driver actually swings through to line up straight. Get any one of those wrong and the other two don't save you, a generous bay behind a cramped aisle is still a car park nobody can reverse out of comfortably.
Most site layout drawings inherit their parking dimensions from whatever local planning guidance or building code applies, and that guidance varies more than people expect between countries and even between local authorities in the same country. So treat everything below as the range you'll typically see quoted in design guidance and manuals, not a single hardcoded number to copy onto a drawing without checking your own jurisdiction's requirement first.
This guide works through those layers in order, standard bay width and length first, then aisle width and the angle trade off sitting behind it, then the accessible and specialist bay types worth a closer look, before finishing with a practical way to check a finished layout using real vehicle and paving CAD blocks so you're verifying against an actual footprint rather than a dimension string alone.
Standard bay width and length, and why the range is wide
For a typical 90 degree parking bay serving ordinary passenger cars, most guidance documents land somewhere in the range of 2.4 to 2.7 meters wide and 4.8 to 5.5 meters long, with the wider end of that range usually specified next to a wall, column or another obstruction where a driver needs extra room to open a door. Retail and public car parks often standardize on something close to 2.5 by 5.0 meters as a comfortable middle ground, tight enough to fit a reasonable number of bays per row and wide enough that most family cars and SUVs open their doors without hitting the neighboring vehicle.
The length matters more than people assume, because it isn't just the car's bumper to bumper measurement, it needs enough spare distance at the front of the bay for pedestrians to walk past a parked bonnet, or for the car to overhang slightly onto a landscaped strip without blocking a footpath. If you're drafting overflow or long stay parking where turnover is slow, tighter bays close to the minimum end of the range are usually acceptable. If you're drafting a busy retail or hospital car park where cars are constantly maneuvering in and out, err toward the wider and longer end of the range instead.
Running the numbers on an actual site helps this stick, a car park needing 40 bays at 2.5m width plus a 6m aisle for a 90 degree layout works out to roughly 100m of total width across two facing rows and the aisle between them, so tightening every bay down to the minimum 2.4m instead saves only about 4m across that whole run, not nothing on a constrained site, but usually not worth the tradeoff in comfort and door clearance either, unless the site genuinely can't accommodate the wider figure and every meter is being fought over during the planning stage.
Aisle width depends entirely on the parking angle you choose
This is the part that trips up a lot of first drafts: aisle width isn't a fixed number, it's a function of how the bays are angled. A 90 degree layout, where cars park perpendicular to the aisle, needs the widest aisle because a driver has to turn almost a full right angle to get in, typically somewhere around 6 to 6.5 meters for two way traffic. Angle the bays to 60 degrees and the aisle can usually narrow to somewhere in the 5.5 to 6 meter range because the entry turn is gentler. Drop to 45 degrees and you can often get away with a one way aisle as narrow as 3.5 to 4 meters, though you lose bay efficiency because each bay now takes up more linear frontage along the aisle.
So the angle decision is really a site efficiency trade off, right: steeper angles closer to 90 degrees pack more bays into a given site area but demand wider aisles and better driver skill to reverse out of, while shallower angles are more forgiving to drive but eat more perimeter length per bay. Most large format car parks default to 90 degrees purely for bay count, and rely on generous aisle width rather than a shallow angle to keep maneuvering comfortable.
Switching that same 40 bay layout from 90 degrees to 45 degrees changes more than just the aisle number, since each bay now needs more linear frontage along the aisle to accommodate the angled entry, so the row itself runs longer even though the aisle behind it can narrow considerably, and on a site that's long and narrow rather than wide and shallow, that trade off can actually work against you, a narrower aisle doesn't help if the row now needs to run further than the site's own length allows, so it's worth testing both angle options against the actual site boundary before committing to one purely because it looked more space efficient on a generic reference table.
Row length and where a pedestrian refuge belongs
A long unbroken row of bays looks efficient on paper, but it creates two practical problems worth designing around: pedestrians end up walking the full length of a row to reach a crossing point, and a driver reversing out of a bay near the middle of a long row has less warning of pedestrian movement than someone near the end of it. Many car park design guides suggest breaking a long row, anything beyond roughly 20 to 25 bays is a reasonable point to start thinking about it, with a landscaped island or a marked pedestrian route running perpendicular to the aisle, giving pedestrians a shorter, safer path to a building entrance rather than forcing them to walk the length of the row and cross only at the end.
These breaks also do useful secondary work on a drawing: a planted island softens a large expanse of hardstanding visually, and it gives you a sensible place to put a lighting column or a sign without eating into the bay or aisle dimensions you've already fixed elsewhere in the layout.
Accessible and van accessible bays need dedicated space, not just a bigger bay
An accessible parking bay is not simply a wider version of a standard bay, it is a standard sized bay plus a dedicated access aisle down one side, sometimes shared between two adjacent accessible bays, wide enough for a wheelchair user to transfer from the car door onto a level, unobstructed surface. Depending on which accessibility standard you're designing to, that access aisle typically needs to be somewhere in the 1.2 to 1.5 meter range for a standard accessible bay, and wider again, often approaching 2.4 meters, for a van accessible bay where a wheelchair lift or ramp deploys from the side or rear of the vehicle.
The other detail that gets missed is surface gradient: accessible bays and their access aisles are usually required to sit close to flat, often within a gradient of around 1 in 50, which matters when you're setting these bays out on a sloped site and need to identify the flattest available zone rather than just the closest one to the entrance. For more on the broader design thinking behind this, the Wikipedia entries on universal design and accessibility are both useful general references when you're justifying a layout decision to a client or a reviewer.
Working through an example, a standard accessible bay at 2.4m wide plus a shared 1.5m access aisle between two bays means the pair together occupy roughly 6.3m of frontage, noticeably more than two standard bays at 2.5m each, so budgeting that extra width into the layout early, rather than trying to squeeze accessible bays into leftover space near the entrance after everything else is fixed, avoids the common situation where the accessible bay ends up technically compliant on paper but awkwardly positioned relative to the actual building entrance it's meant to serve.
Motorcycle and compact bays, briefly
Motorcycle bays are usually drawn much smaller, frequently in the range of 1 to 1.2 meters wide by 2 to 2.4 meters long, and are often clustered together rather than spread through the main car park since several motorcycles can share the linear frontage one car would occupy. Compact car bays, where a jurisdiction or client specifically allows them, trim maybe 150 to 300mm off both the standard width and length, but they've fallen out of favor in a lot of markets as the average vehicle footprint, thanks to SUVs and crossovers, has crept upward rather than down. So check current local guidance before relying on a compact bay allowance pulled from an older reference document, at the end of the day it's an easy thing to get caught out on.
Family or parent and child bays are another variant worth knowing, common in retail car parks, wider than a standard bay and typically located close to a building entrance or trolley bay. These are often sized closer to accessible bay width, somewhere around 3 to 3.3 meters, to give room for opening rear doors fully and managing young children safely beside the vehicle rather than out into the aisle.
Drawing bays against real vehicle footprints instead of a blank rectangle
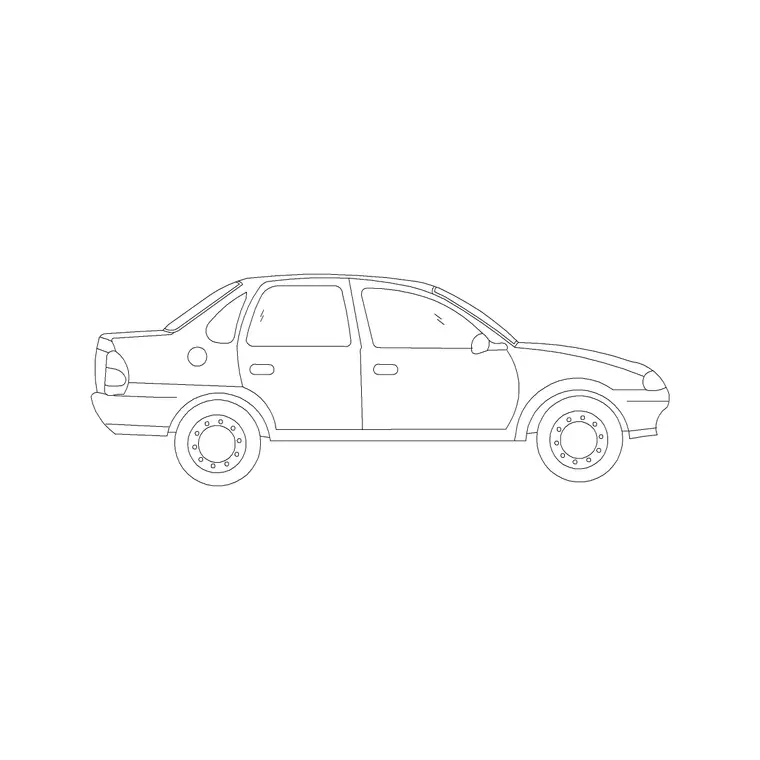
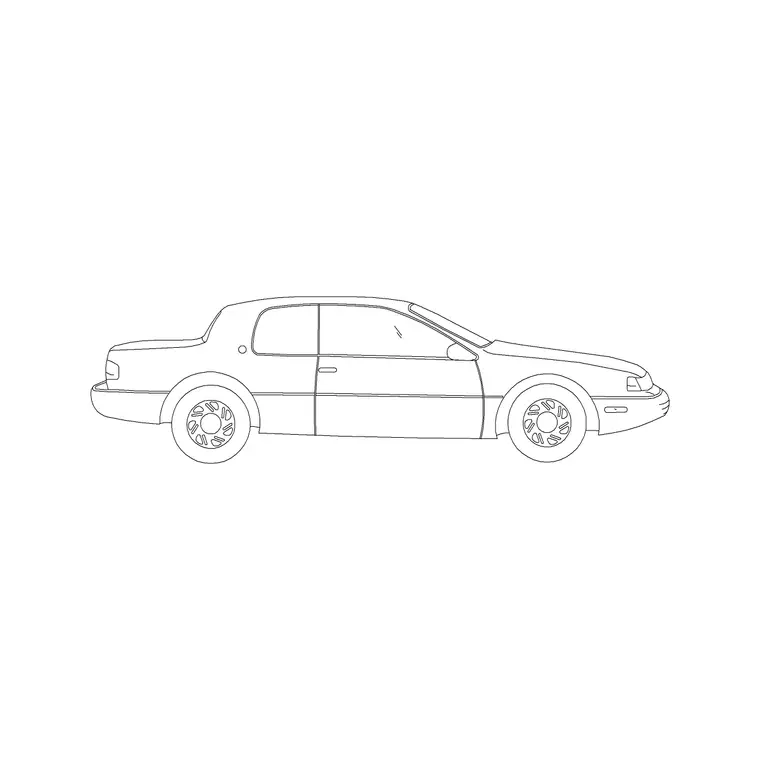
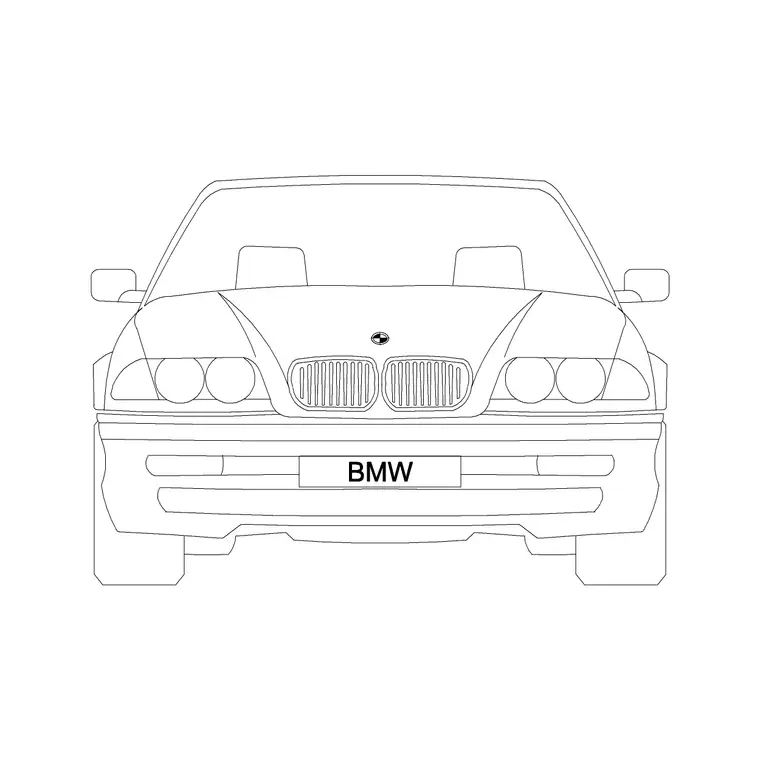
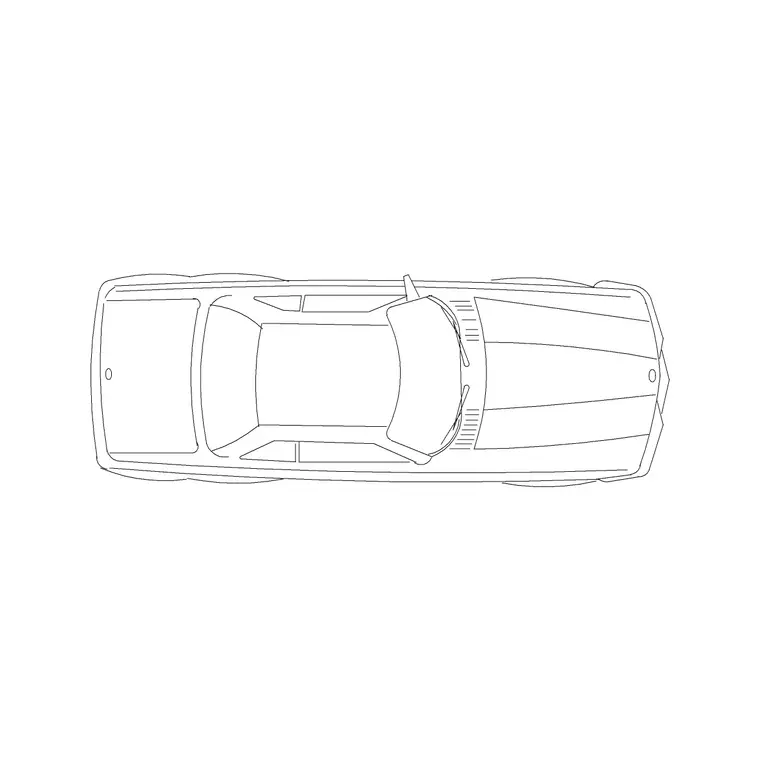
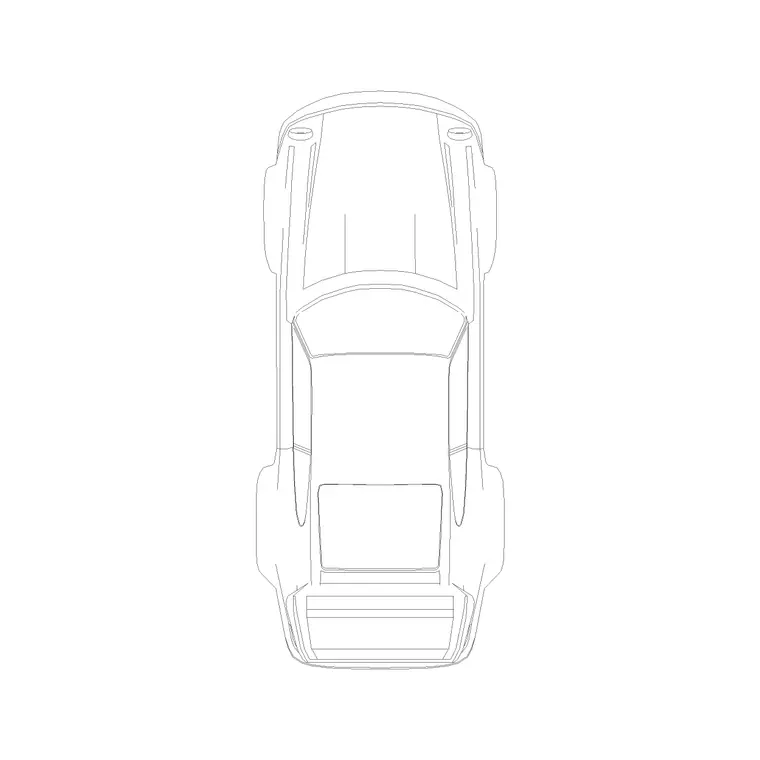
The mistake I see most often in early stage layouts is dimensioning the bay correctly but never actually checking it against a real car footprint, so the rectangle looks fine on the drawing and then turns out uncomfortably tight the moment an actual vehicle sits inside it. Once you've got your bay grid laid out, drop one of our vehicle blocks, something like the compact sedan car or the 2 door sedan car, straight into a handful of bays across the layout, corner bays, bays next to columns, accessible bays, and you'll immediately see whether your dimensioning assumption actually holds up against a real vehicle outline rather than just a rule of thumb. The BMW car front elevation block is useful for a different check: drop it into a section view alongside your bay to confirm headroom under a canopy or low soffit, since elevation views catch clearance problems that a plan view alone won't show you.
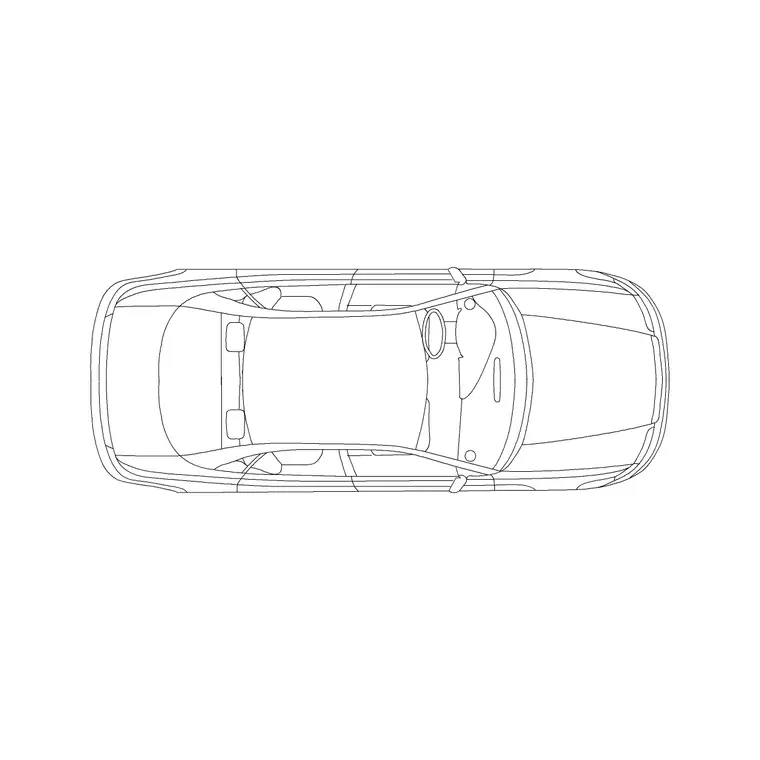
For the aisle and turning geometry, our plan view blocks like car-plan-1, car-plan-2 and the suv-car-plan-7 top view are genuinely useful for tracing a driver's swing path by eye across a few positions rather than trusting a single generic turning radius number, particularly at corners where two aisles meet. And once the vehicle geometry checks out, swap in one of our paving blocks, paving-block-1 or paving-block-3 for instance, to represent the actual hardstanding finish and make sure the joint pattern or module size you're specifying lines up sensibly with your bay markings rather than cutting awkwardly through a bay line.
On one layout I checked this way, a row of bays that measured out correctly on paper turned out, once the compact sedan car block was actually dropped into the end bay next to a support column, to leave barely enough door swing clearance for someone to exit comfortably, since the column's own footprint had been drafted into the wall thickness rather than as a separate obstruction eating into the bay's clear width, and that's exactly the kind of discrepancy that a dimension string alone won't reveal but a real vehicle block dropped into the actual bay catches in about thirty seconds of checking.
Common mistakes worth checking before you issue the drawing
- Dimensioning the bay from centerline to centerline of the paint line rather than the usable clear width, which quietly steals width from every bay in a row - Forgetting that a column or wall reduces effective bay width even when the dimension string says otherwise, so end bays next to structure usually need the wider end of the range - Copying an aisle width from a 90 degree layout into a 45 or 60 degree layout without re-checking it, since the two are not interchangeable - Placing the accessible bay somewhere technically compliant on paper but nowhere near the building entrance it's meant to serve - Assuming every car in the world is the size of a small hatchback, then discovering the client's actual fleet is mostly SUVs once the site is built - Running a long row of bays without a pedestrian break, then adding one late once landscaping and lighting are already fixed elsewhere on the layout
Getting these details right at the drafting stage, checked against real vehicle geometry rather than assumption, is what saves a rework once the car park is marked out on site.
Further reading
Questions
Frequently asked
What is a typical parking bay size?+
Most guidance documents put a standard 90 degree bay somewhere between 2.4 and 2.7 meters wide and 4.8 to 5.5 meters long, though the exact figure depends on the local code or design guide you're working to.
How wide should a two way parking aisle be?+
For 90 degree bays, aisles are typically drawn around 6 to 6.5 meters for two way traffic; shallower parking angles of 45 or 60 degrees usually allow a narrower aisle, sometimes as low as 3.5 to 4 meters for a one way arrangement.
How much extra space does an accessible bay need?+
Beyond the standard bay footprint, most standards require a dedicated access aisle alongside the bay, typically 1.2 to 1.5 meters wide for a standard accessible bay and wider, often near 2.4 meters, for a van accessible bay.
Do you have parking bay CAD blocks I can download?+
We don't have a single dedicated parking bay block since a bay is really just a dimensioned rectangle, but our vehicle blocks and paving blocks let you build and check the layout against real vehicle footprints and a real hardstanding finish.
Free downloads from this article


Free CAD block library
Download the blocks from this article — free, no signup


