Building a recording or podcast studio layout from CAD blocks
Planning a podcast or recording studio with free DWG blocks, from booth sizing and sound lock vestibules to the green room lounge.
Sumana KumarUpdated 17 May 20266 min read

Acoustic isolation decides the plan before furniture does
The mistake I see most in early studio sketches is starting with furniture, a desk here, a couch there, when the thing that actually determines whether the room works is the room within a room construction around it. A proper isolation build eats floor area on every side, typically 100 to 150mm of buildout per wall once you account for an independent stud frame and an air gap, so a booth that reads as 2.4 by 2.4 meters on the architectural shell can end up closer to 2.1 by 2.1 meters of usable interior space once the acoustic treatment is in. Draw the isolation shell first, then furnish inside what's left, not the other way around.
Blocking the zones
A small single host podcast setup can run on a single booth plus a control area, but most studios I've drafted end up with a fuller program once the client sees what's possible in the space.
- A live room or booth, sized to the guest count - A control room or producer desk, often glass walled into the booth - A separate iso booth for voiceover or overdubs - A green room or guest lounge (sofa-set-plan-1 works well here) - Gear storage, cables, mic stands, spare interfaces - A sound lock vestibule, a small double door hallway that breaks the direct sound path between the booth and the rest of the building
Dimension ranges worth designing around
A single host recording booth typically runs 1.5 by 1.5 meters up to about 2.4 by 2.4 meters, while a multi guest podcast room built for three or four people around a table usually wants closer to 3 by 3.5 meters or larger once you add camera angles for video podcasting into the mix. Mic spacing between host positions at a shared table is usually planned around 900mm to 1.2 meters apart to keep each mic from picking up too much bleed from its neighbor. Ceiling height matters more here than in most commercial spaces, most acoustic guidance points toward at least 2.7 meters where possible, since low, flat ceilings are harder to treat well.
Desk depth in the control room deserves its own check too, a producer running an audio interface, a couple of monitors and a mixing surface usually needs at least 750 to 900mm of desk depth to keep cables and gear from crowding the working surface, and I always mock this up with a real desk footprint before assuming a generic office desk block will do the job. For a studio built around video podcasting specifically, camera sightlines add another layer to the dimension check, since a wider room accommodates a two or three camera setup more comfortably than the tighter single host booth range, and I generally add at least 300 to 450mm of extra depth behind each camera position beyond what audio alone would require, just so a camera operator or a fixed camera mount isn't pressed directly against the back wall with no room to adjust framing.
Practical block use
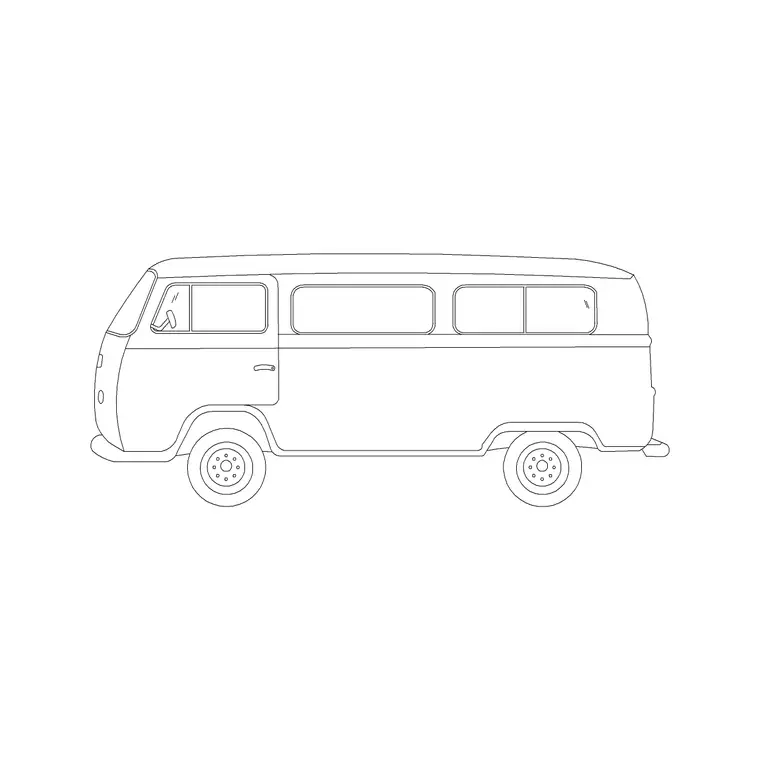
The sofa-set-plan-1 block is the one I reach for most on these jobs, laid into the green room or guest waiting lounge to check honestly how many guests can sit comfortably before a recording session, which matters more than it sounds because podcast guests often arrive with a manager or a second guest in tow. If the studio does remote or on location recording, a van block sized against the loading door tells you whether a mobile rig can actually be wheeled in and out without routing through the live room.
For a standalone studio building rather than a suite inside an office, a sedan-car block helps size guest parking honestly, and a pine-elevation-1 block in the lobby or entry can be a reasonable way to soften a space that's otherwise all hard acoustic surfaces.
Mechanical noise floor is an acoustic decision, not just an HVAC one
A room within a room isolation shell does nothing to stop noise that's introduced from inside it, and the single biggest offender in a lot of studio builds is the HVAC system itself, since a standard commercial air handler and duct run pushes far more noise into a quiet booth than most people expect until they've actually sat in one and heard the hum under a recording. Studio focused HVAC design generally aims for a much lower noise floor than a typical office space, and getting there usually means oversized, slow moving ductwork, sound attenuating duct silencers, and equipment located well away from or acoustically isolated from the booth itself rather than a compact unit mounted directly above it. I always note on the drawing that HVAC in the booth and control room needs a specialist acoustic consultant's input rather than a standard mechanical sizing calculation, since a system that's perfectly adequate for cooling a room can still ruin a recording if the air handler noise floor sits above what a condenser mic will pick up, and that's a genuinely common and expensive mistake to discover only after the studio is built and the first quiet vocal take reveals a low hum in the background.
Cable management and gear storage
A studio's gear list grows every year, more interfaces, more mic preamps, backup recorders, and the wiring that connects all of it needs a real path drawn into the plan rather than an assumption that cables will just get run along the baseboard later. I usually plan for a rack storage footprint around 600mm deep near the control room desk, with a dedicated conduit or cable pass through from the booth to the rack rather than routing cable under a door, which both looks unfinished and is a real acoustic leak point at the door seal.
Spare gear storage is worth its own small closet too, extra mic stands, pop filters, backup cables, and a shelf for client swag or merchandise if the studio does any brand work, since none of this belongs in the booth itself where it competes with acoustic treatment for wall space. Labeling every cable run at both ends as it's installed, not after the fact, is a small habit that saves real time later, since a studio's wiring only gets more complex as gear is added over the years, and an unlabeled cable pass through a wall is genuinely difficult to trace once three more cables have been run alongside it.
Pitfalls that come up in studio drawings
The sound lock vestibule is the element most often value engineered out of a plan when floor area gets tight, and it's usually the wrong cut, without it, every door opening during a live take becomes a real risk. HVAC ductwork routed straight through a shared wall between the booth and the rest of the building is another common miss, since even a well isolated wall can be defeated by a duct that carries sound straight past it.
On the furniture side, I regularly see a desk shape finalized before the guest chair count and mic positions are locked, which forces awkward last minute changes once the actual gear list comes in.
A workflow that keeps it manageable
Draw the acoustic shell first, including the buildout allowance on every wall, then place the booth, control room and vestibule inside it, then bring in sofa-set-plan-1 for the lounge and van for load in access, checking each against the shell rather than the outer building line so the numbers stay honest.
Further reading
Questions
Frequently asked
How much space does a room within a room isolation build actually cost me?+
Plan for roughly 100 to 150mm of buildout on each wall for an independent stud frame and air gap, which means a booth that looks like 2.4 by 2.4 meters on the architectural shell can end up closer to 2.1 by 2.1 meters of usable interior space.
What's a typical size for a multi guest podcast room?+
A table for three or four guests usually wants at least 3 by 3.5 meters, larger if you're adding camera angles for video podcasting, with mic positions spaced roughly 900mm to 1.2 meters apart to limit bleed.
Is a sound lock vestibule really necessary?+
For anything doing live, uninterrupted recording, yes. It's the small double door hallway that keeps a hallway conversation or a slamming door from bleeding straight into a take, and it's one of the first things cut when floor area is tight, usually to the project's regret.
Free downloads from this article


Free CAD block library
Download the blocks from this article — free, no signup


