Reading bath-plan CAD block variants for a renovation job
How to read and select the right bath-plan CAD block variant when the drawing has to match an existing renovation footprint, not a blank room.
Sumana KumarUpdated 7 July 20265 min read
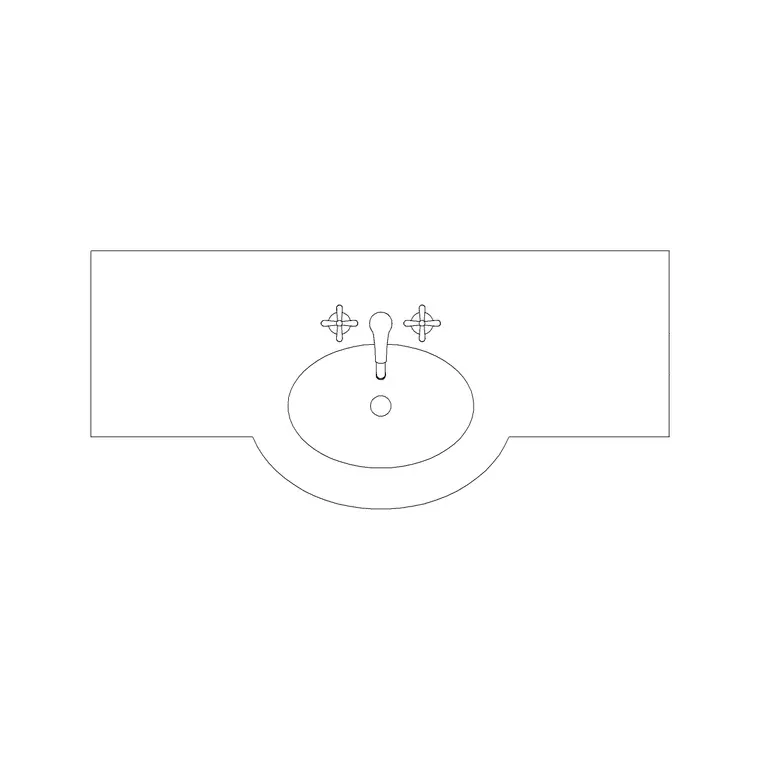
New build blocks assume a freedom renovations don't have
Drafting a renovation is a different exercise from a new build, because the walls, the wet wall location and often the existing waste pipe are fixed before you've opened a single CAD block, and the job becomes matching a block variant to a footprint that already exists rather than choosing the ideal fixture for an empty room. I've had to walk clients back from a beautiful oval bath they wanted purely because the existing waste stack sat exactly where a rectangular tub's drain needed to be, and moving it wasn't in the renovation budget. That conversation is a lot easier to have early, with a candidate block actually sitting on the surveyed plan, than after the client's already fallen in love with a shape a photo made look effortless.
Surveying the existing footprint before touching a block library
Before picking any bath plan block, get the existing room's real dimensions onto the drawing, wall to wall, and mark where the existing waste, supply and any structural constraint actually sit. This becomes the frame every candidate block gets tested against. Skipping this step and picking a fixture shape first is exactly how a renovation drawing ends up looking clean on screen and unbuildable on site, since the existing plumbing doesn't care how good the render looks.
A laser measure and a simple sketch with dimensions noted directly on it, done on site before you're anywhere near the CAD file, tends to produce more reliable numbers than trying to remember measurements or relying on an old as-built drawing that may not reflect what's actually behind the wall now.
Why bath plan variants exist and how to use that to your advantage
The reason a catalog carries so many bath plan variants, rectangular types, oval types, triangular corner shapes with and without a faucet position marked, isn't decorative, it's because renovation work constantly needs a slightly different footprint to match an existing constraint rather than an ideal one. A rectangular bath plan block with the faucet drawn on one end versus one with it centered are functionally different fixtures once you're matching an existing supply point, and having several variants to compare against your surveyed dimensions is genuinely useful here, more so than in a new build where the plumber can put the supply wherever the plan says.
Matching a block variant to a constrained wet wall
Once you know which wall is carrying the existing waste connection, filter your candidate blocks down to variants whose drain position, usually inferred from where the faucet or overflow symbol sits in the plan, actually lines up with that wall. This is where reading the block carefully matters more than in new construction, a bath plan block drawn generically without a clear faucet position leaves you guessing, while one with the faucet position explicitly shown, like the Bath Plan Rec With Faucet style variants in the catalog, gives you a direct reference point to check against the existing rough-in.
It's also worth checking whether the existing waste connection was ever intended to serve a bath at all, some renovation rooms are being converted from a different original use, a laundry or a small bedroom, and the existing drain might be sized or positioned for a different fixture entirely, in which case no plan variant solves the problem without a plumber's involvement first.
When the existing footprint forces a shape compromise
Sometimes the honest answer is that the existing room simply won't take the client's first choice of shape without moving plumbing that's outside the renovation scope, and that's worth surfacing early rather than discovering it after the drawing's been through two rounds of review. A corner bath variant might be the only shape that both fits the existing wall dimensions and keeps the drain within reach of the existing waste run, even if a straight rectangular tub was the original ask. Presenting that tradeoff clearly, with the block actually placed against the surveyed walls, tends to land better with a client than describing the constraint in words alone.
I've had this conversation go both ways, sometimes the client is genuinely relieved to have a concrete visual reason for the compromise rather than a vague explanation, and sometimes it opens a real conversation about whether moving the waste connection is actually worth the added renovation cost after all, which is a decision that belongs to the client and the budget, not something to settle unilaterally on the drawing.
Documenting the match so it survives the build
Once you've settled on a variant, annotate the drawing with a note tying the block choice back to the existing constraint it's solving, why this specific faucet position, why this footprint and not the alternative, since that context gets lost fast once the drawing set passes through a few more hands before construction. At the end of the day a renovation drawing that explains its own constraints is worth more than one that just shows the fixture sitting there, because whoever's actually building it will eventually ask why, and it's better that answer already lives on the sheet.
A single sentence noting the constraint is usually enough, something like noting the fixture's faucet position was matched to an existing waste connection at a stated location, rather than a lengthy justification, the goal is just making sure the reasoning survives past your own involvement in the project.
A short list of what to actually measure on site
Before opening any block library for a renovation, the site measurements worth taking are fairly consistent from project to project. - Wall to wall dimensions at floor level and again at a higher point, since older walls are rarely perfectly square - The waste stack or drain location relative to two fixed reference walls, not just one - Supply line locations for hot and cold, and their height off the floor if wall mounted - Any structural element, a chase, a beam, a load bearing wall, that can't move within the renovation's scope and budget - Existing tile or finish lines if any part of the room isn't being fully gutted, since that can constrain where a new fixture's edge can land That list takes twenty minutes on a normal site visit and it's the difference between a bath plan block selection that's actually informed and one that's a guess dressed up as a decision. Skipping it because the room looks straightforward from a quick look rarely saves the time it costs later in revisions.
Further reading
Questions
Frequently asked
Why does a renovation need a different bath plan block than a new build?+
Because the existing wall, waste connection and often the supply location are already fixed, so the block has to match those constraints rather than represent an ideal fixture placement chosen freely.
How do I know where a bath plan block's drain position is?+
Look for the faucet or overflow symbol in the plan view, variants with a clearly marked faucet position, like a Bath Plan Rec With Faucet style block, give you a direct reference point to compare against the existing rough-in location.
What if no bath shape fits the existing footprint cleanly?+
A shape compromise, often a corner or triangular variant, can sometimes fit constraints that a straight rectangular tub can't. Surface that tradeoff to the client early with the block actually placed on the surveyed plan, rather than after the drawing set has already moved through review.
Free downloads from this article
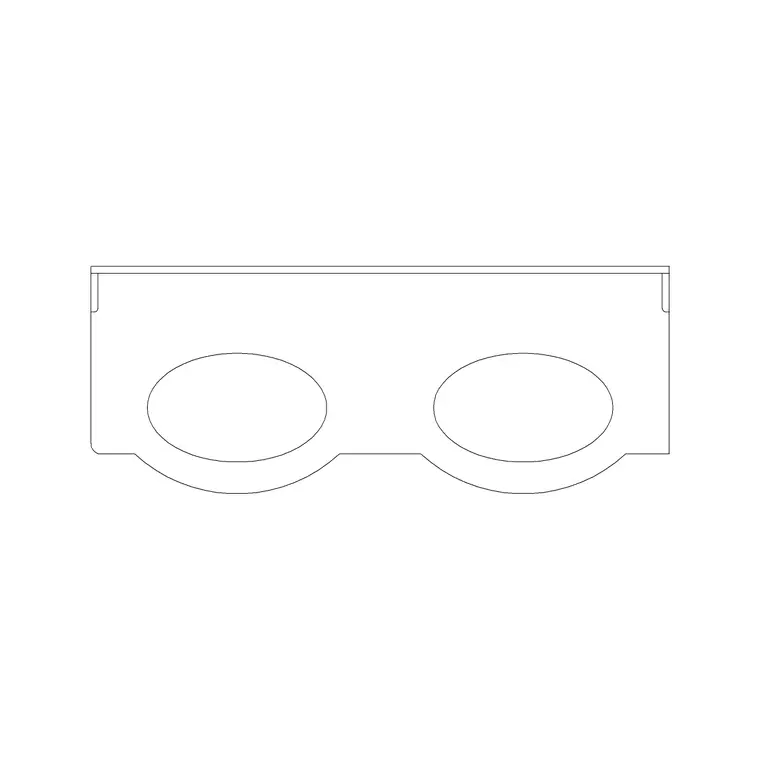
Free CAD block library
Download the blocks from this article — free, no signup

