Reading a kitchen elevation drawing from appliance blocks
A practical guide to reading a kitchen elevation built from downloaded appliance CAD blocks, from cabinet baseline to styled dressing.
Saumyajit MaityUpdated 3 April 20265 min read
A kitchen elevation looks like noise until you know the pieces
A kitchen elevation looks like noise until you know which lines are load-bearing information and which ones are just dressing, and that's true whether you're a junior drafter handed someone else's set for the first time or a client trying to make sense of a drawing your architect just sent over. Once you know what to look for, the same sheet that looked like an undifferentiated wall of lines starts reading in a clear, predictable order, and that order is worth learning once so you can apply it to any kitchen elevation you're handed from here on.
Start with the cabinet run as your baseline
Everything else on a kitchen elevation is measured against the cabinet run, so start there. Base cabinets sit at a standard 36 inch counter height, built in modular widths, commonly 12 through 36 inches in 3 inch steps, and wall cabinets sit above with roughly 18 inches of clearance from the counter. Once you can read the cabinet module widths across the run, you have a scale reference for everything else on the sheet, since appliances, fixtures, and accessories are all positioned relative to that same cabinet grid.
A useful trick here, especially with an elevation you didn't draft yourself, is picking one cabinet door and measuring it against the printed dimension string if one's provided, then using that confirmed width as your personal ruler for reading everything else on the sheet by eye. Once you've calibrated your own sense of scale against one verified module, you can estimate the width of a neighboring appliance or fixture reasonably accurately just by comparing it visually against that known reference, without needing to pull out a scale ruler for every single element on the drawing. It's a habit that speeds up reviewing someone else's kitchen elevation considerably once you've done it a few times.
Locate the fixed appliances next
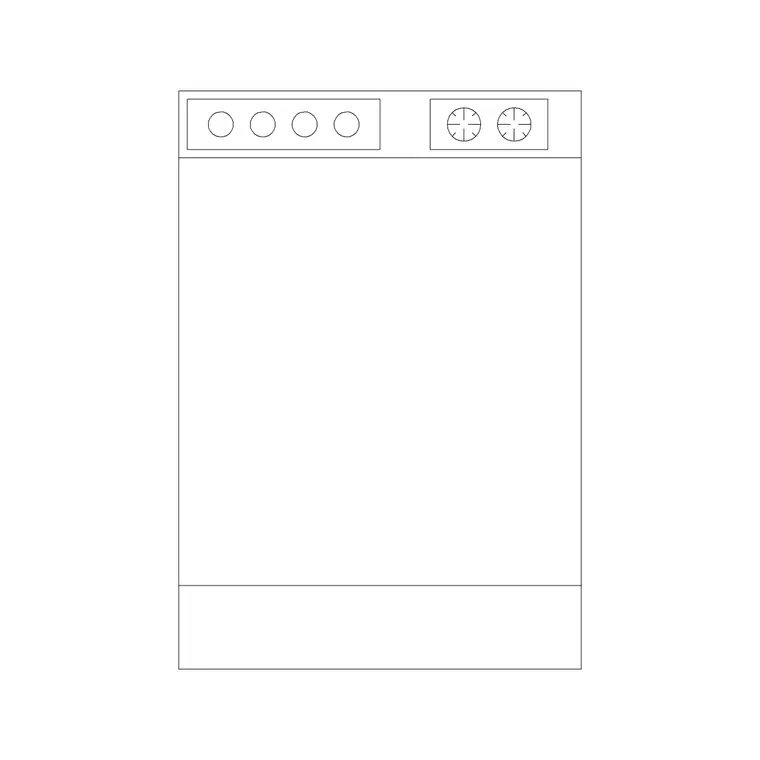
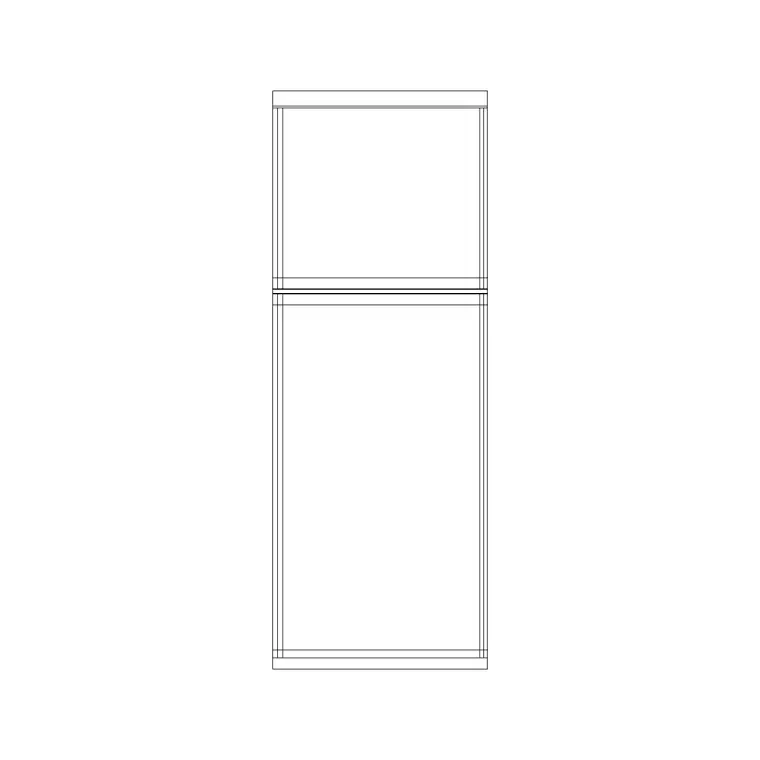
Fixed appliances are the elements the cabinet run has to accommodate rather than the other way round. A dishwasher reads as a roughly 24 inch wide bay, typically without a visible countertop above it since it sits flush under the counter. A refrigerator reads as a tall box, usually 30 to 36 inches wide and running close to full ceiling height on the elevation, often positioned at one end of a run rather than buried in the middle of it. These two are usually the easiest elements to pick out first, since their proportions are the most distinct from the surrounding cabinetry.
Faucet, hood, and the smaller fixture lines
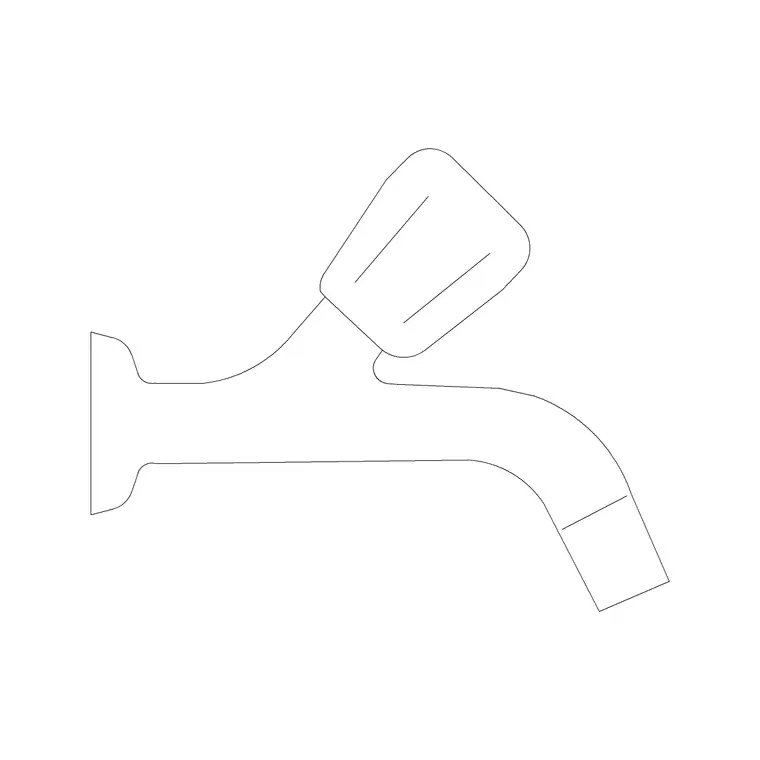
Once the cabinets and fixed appliances are located, look for the faucet, typically centered above the sink cutout within the counter run, and the range hood, either a standalone canopy element above the cooktop with a visible chimney, or a slimmer profile tucked beneath a wall cabinet if it's under-cabinet mounted. These fixture-level elements sit at a smaller scale than the appliances and cabinets around them, but they're still functional, dimensioned elements rather than decoration, and a construction set will usually carry real callouts or dimension strings tied to them.
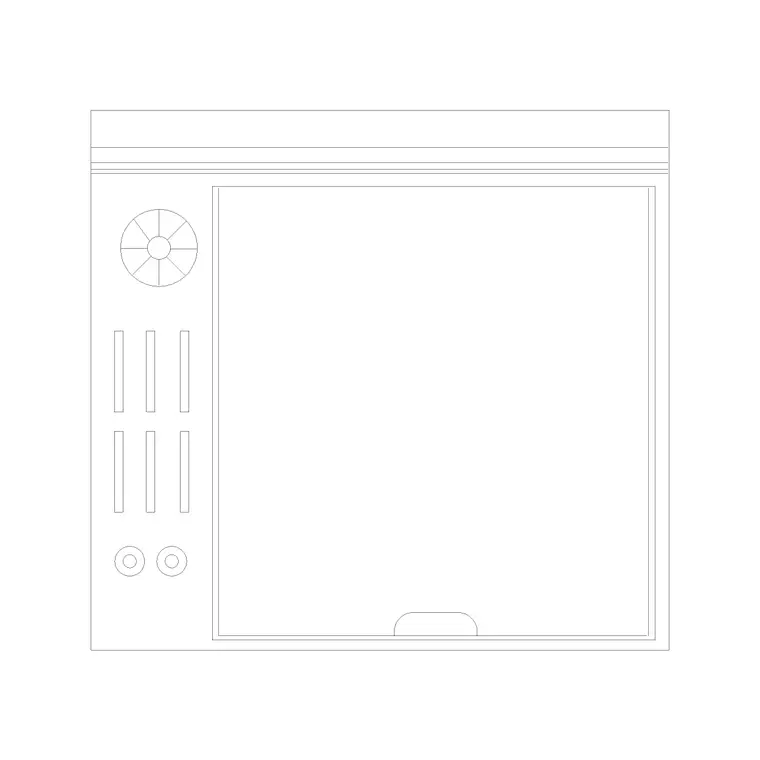
If the sheet includes a range or cooktop as well, that's usually the anchor the hood is centered above, so tracing a vertical line up from the cooktop's centerline is a reliable way to confirm whether the hood above it is actually aligned correctly, a surprisingly common small error on quickly assembled elevations. Windows, if any appear within the kitchen wall being elevated, are another useful anchor point, since their head height and sill height are usually locked by the building's overall window schedule rather than the kitchen layout, giving you an independent reference point to cross-check the rest of the elevation's vertical proportions against, especially useful if you suspect something on the sheet has been drawn at an inconsistent scale.
What the accessory and dish blocks are telling you, and what they're not
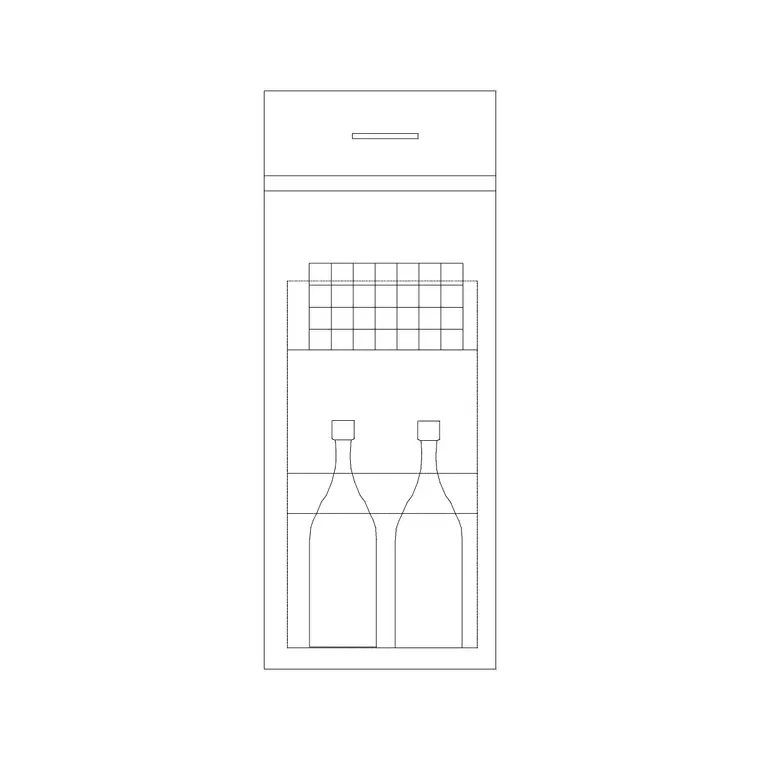
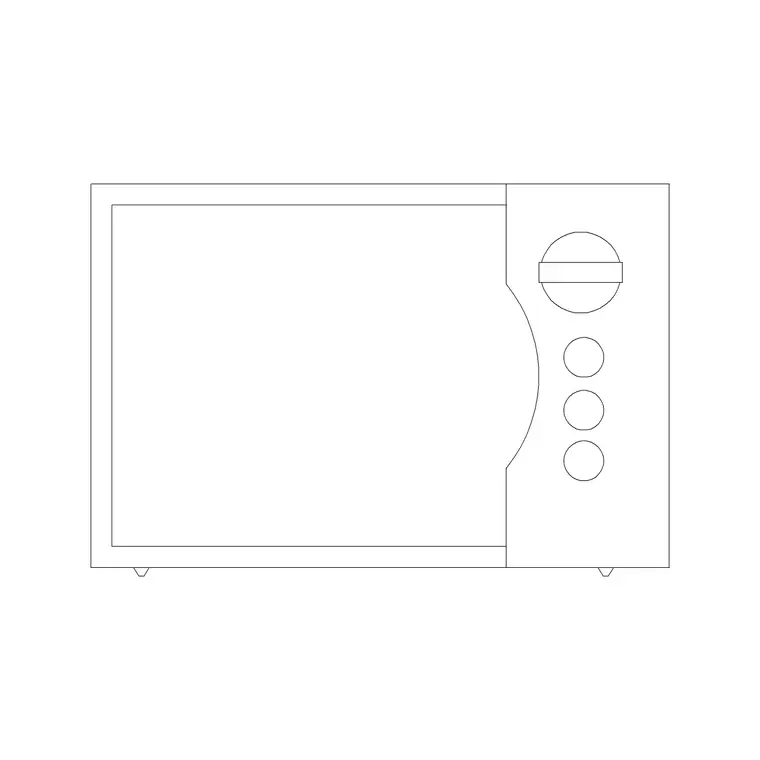
Small accessory and crockery blocks, toasters, juicers, dish groupings, are the last layer to read, and it's worth recognizing early that they're not carrying dimensional information the way everything else on the sheet is. They're there to help a viewer visualize the finished, lived-in space, and on a genuine construction set they may not appear at all, since a contractor pricing the job doesn't need to know where the toaster goes. If a sheet is dense with this kind of dressing, it's very likely a presentation elevation rather than a construction document.
Cross-checking dimensions against what you see drawn
A quick sanity check for scale is measuring a fixed reference point you already know, the dishwasher bay is a reliable one since it's built around a standard 24 inch width across most manufacturers, against the printed scale bar or a dimension string on the sheet. If it doesn't line up, the plot scale or a block's insertion likely got mixed up somewhere upstream, and it's worth flagging before the drawing goes any further in a review or approval process.
Beyond the dishwasher, the standard 36 inch counter height is another dependable reference for a fast vertical scale check, since it holds true across nearly every residential kitchen regardless of the specific cabinet line or appliance brand being used. If the counter line on an elevation you're reviewing sits noticeably higher or lower than that relative to the cabinets and appliances around it once you've calibrated your eye, that's worth a second look too, since counter height is one of the more rigid conventions in kitchen design and a deviation from it is either an intentional accessible-design decision worth confirming, or a scale problem worth catching before the sheet moves any further through review.
A short checklist for reading any kitchen elevation fast
When you're handed an unfamiliar kitchen elevation, work through it in this order, it's the same sequence every time regardless of the specific project:
- Read the cabinet run and its module widths first, since it's the baseline scale reference for everything else - Locate the fixed appliances, dishwasher and refrigerator, by their distinct proportions - Find the faucet and range hood, the fixture-level elements sitting within or above the cabinet run - Identify any accessory or crockery dressing, and recognize it as visual context rather than dimensional data - Sanity check the plot scale against a known reference like the dishwasher bay width before trusting the sheet fully
Further reading
Questions
Frequently asked
What should I look at first when reading an unfamiliar kitchen elevation?+
Start with the cabinet run, since it's the baseline everything else is measured against, then locate the fixed appliances, the dishwasher and refrigerator, before working through the smaller fixtures and any decorative dressing layered on top.
How can I tell if a kitchen elevation is a construction set or a presentation set just by looking at it?+
A construction set tends to be leaner, dimension strings, cabinet and appliance outlines, minimal styling, while a presentation set carries more dressing, dishes, small appliances, accessories, layered in to help a client visualize the finished space rather than price it.
Is there a quick way to sanity check the scale of a printed kitchen elevation?+
Measure a fixed reference point you already know, the dishwasher bay is reliable since it's built around a standard 24 inch width across most manufacturers, against the scale bar or dimension string on the sheet. If it doesn't line up, the plot scale or block insertion likely got mixed up somewhere upstream.
Free downloads from this article
Free CAD block library
Download the blocks from this article — free, no signup