Outdoor and Garden Lighting CAD Blocks for a Landscape Plan
Street light, path light and gate mounted fixture CAD blocks for a landscape plan, spacing guidance, and an honest note on what still needs drafting by hand.
Saumyajit MaityUpdated 13 April 202610 min read
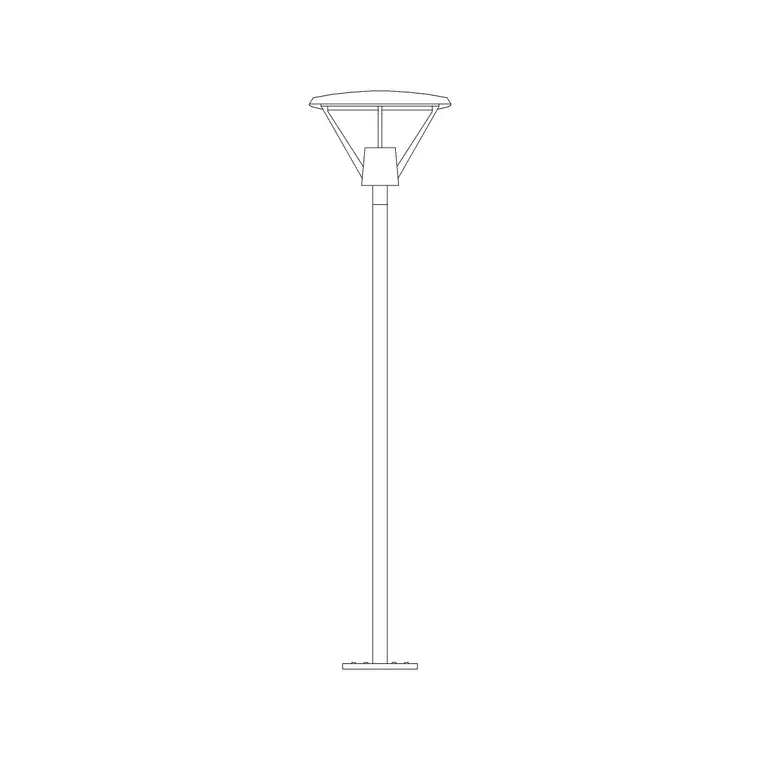
A landscape plan needs a different lighting vocabulary than an interior one
Every lighting block discussed elsewhere on this site, chandeliers, pendants, wall lamps, is drawn to solve an interior ceiling plan problem, a fixture hanging from something or mounted to an internal wall, and none of that vocabulary transfers cleanly to a site or landscape plan, where the fixtures are pole mounted, gate mounted, or built into a boundary wall instead, and the drawing itself is usually a plan or a long elevation strip rather than a reflected ceiling plan.
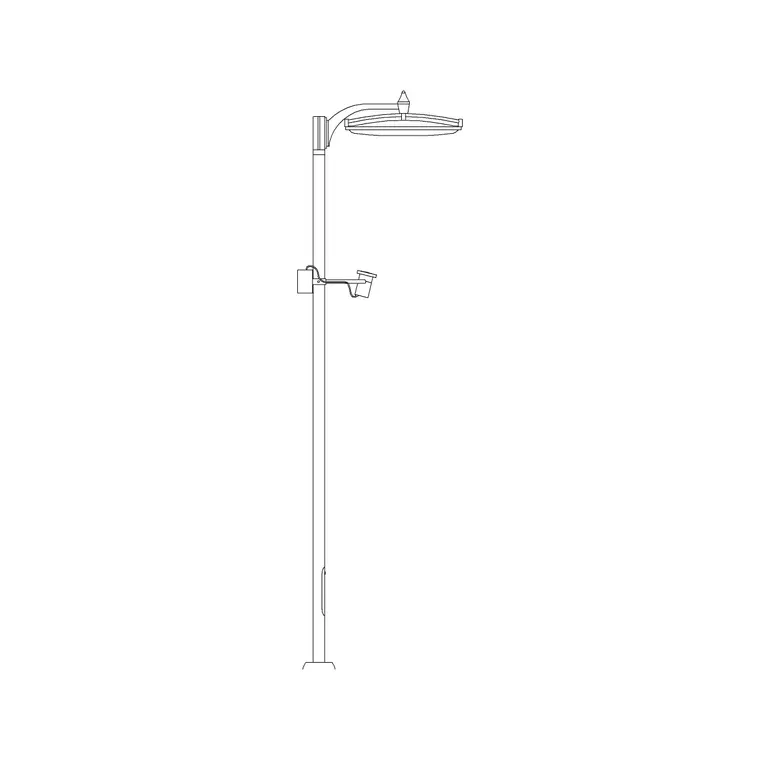
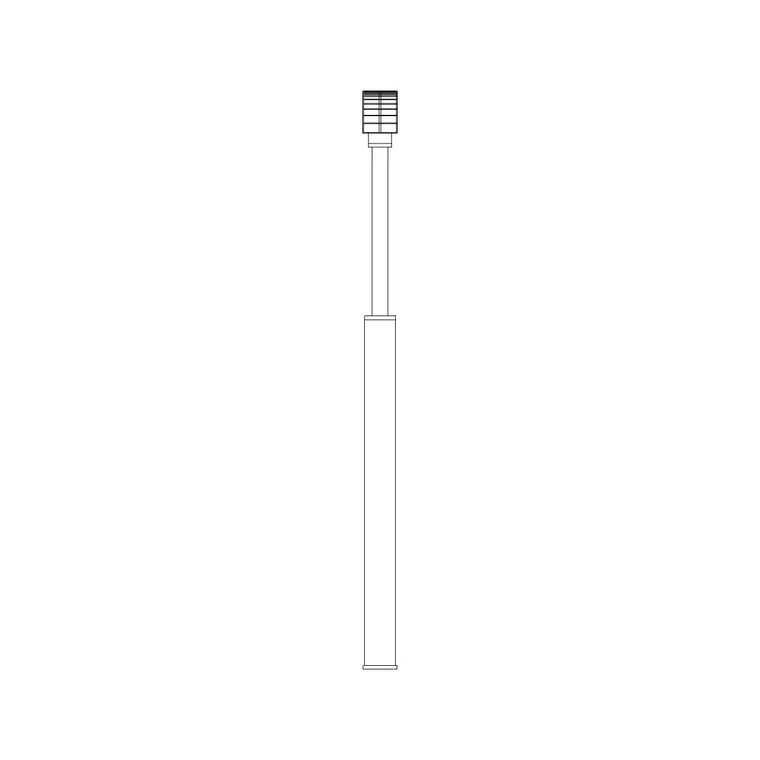
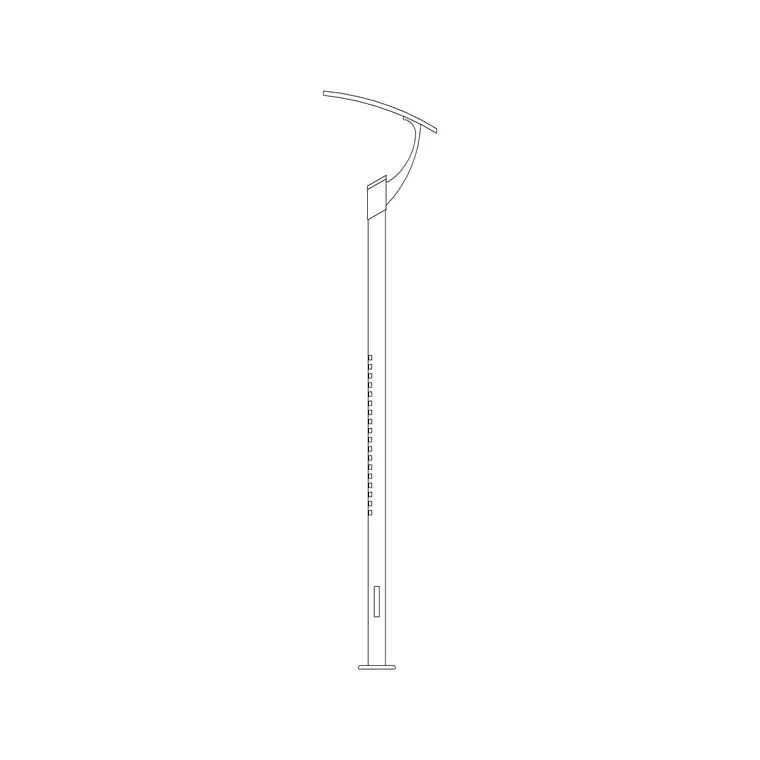
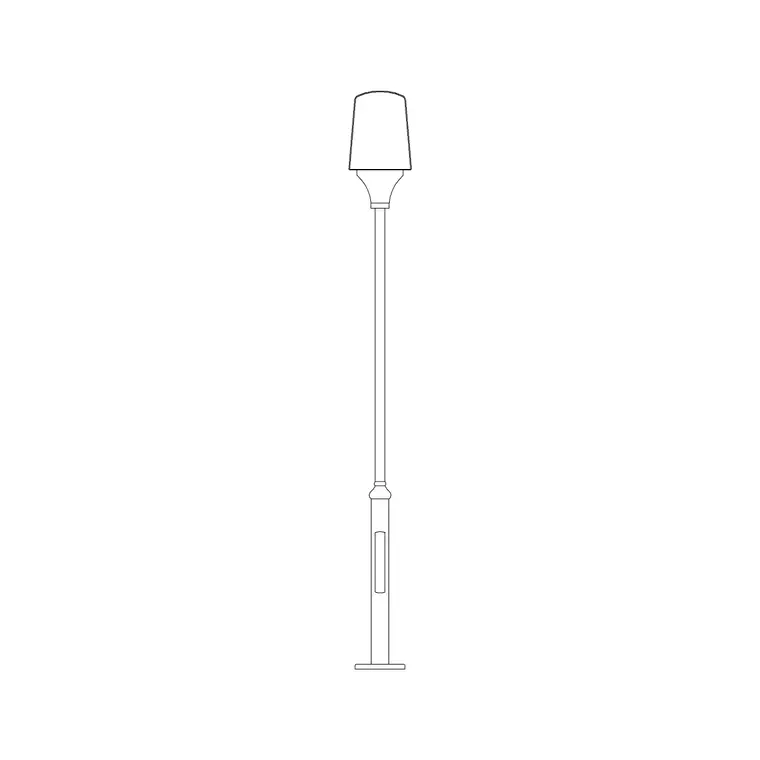
Our library carries a dedicated street light family, eleven variants covering straight poles, curved arms, modern minimal heads and a longer designer profile, plus a handful of fence and gate blocks that already have a light fixture built into the same drawing, and between those two groups you can cover most of what a residential landscape or a small commercial site plan actually needs without drafting a single fixture from scratch.
What the library doesn't have, and it's worth being upfront about this rather than pretending otherwise, is a plan view symbol for the street light family, every one of the eleven variants is drawn as an elevation, so if your site plan needs a top down lighting symbol you'll be adding a simple circle or fixture symbol yourself in plan, using the elevation purely for the pole height and fixture profile reference.
This gap is worth planning for early rather than discovering it halfway through a site plan, because a landscape lighting sheet that's all elevation and no plan symbol genuinely can't communicate spacing on its own, the elevation tells you what the fixture looks like and how tall it stands, the plan tells you where it actually sits relative to the path or drive, and a full landscape lighting package needs both even if one of them has to be drafted by hand.
The street light family and where each profile fits
The straight, tall variants read as classic path or driveway lighting, evenly spaced poles running the length of a walkway or a drive, and they work fine in either a traditional or a fairly plain contemporary landscape scheme because the pole itself is simple enough not to fight with the planting or the hardscape around it.
The curved arm and oval top variants lean more traditional, closer to what you'd actually see lining a period property's driveway or a formal garden path, and the modern minimal variants strip that ornamentation away entirely for a cleaner contemporary elevation, so picking between them is really a style match to whatever the rest of the site's hardscape, paving, fencing, gates, is doing rather than a functional decision.
The long designer profile and the square head variant both read as slightly more architectural statement pieces, better suited to a single feature location, a main entrance, the head of a driveway, a courtyard corner, rather than repeated at intervals down a long path, since spacing several of those closer together tends to look busier than the design intends.
A useful habit on a mixed site, a front driveway plus a rear garden path say, is picking one profile for the whole site rather than a different one for each zone, since a driveway lined with the modern minimal pole and a garden path lined with the curved traditional one right next to it tends to read as two unrelated design briefs stitched together rather than one coherent landscape scheme.
Height is worth checking against the actual planting plan too, a pole that reads correctly against an empty lawn on the drawing can end up half hidden behind a hedge or a shrub border once the planting matures, so it's worth cross referencing pole height against whatever the landscape plan is specifying nearby, rather than assuming the fixture will always stand clear of the greenery around it the way it does on a bare site plan.
Spacing path and driveway lighting without overdoing it
For pedestrian pathway lighting, most landscape lighting references land somewhere around six to nine meters between poles as a workable starting spacing, close enough that the pools of light along the path overlap slightly so there isn't a dark gap between fixtures, but far enough apart that the path doesn't end up lit like a parking lot.
Driveway spacing generally runs a bit wider than pathway spacing, since a driveway is lit more for orientation and safety at the edges than for even illumination across the whole surface, and the actual number matters less than the principle behind it, walk the path in your head as you're placing blocks and ask whether there's a stretch that reads as noticeably darker than its neighbors, rather than mechanically dividing the total length by a fixed interval.
It's also worth resisting the urge to double up the fixture count just because the client wants the garden to feel dramatic at night, over-spacing looks intentional and considered, ten poles crammed down a forty meter drive reads as either a budget miscalculation or an airport runway, and neither is the effect anyone's actually going for.
Curves and junctions are the other place spacing logic breaks down if you're only working off a straight line interval, a pole placed purely by even distance along a curving path can end up sitting awkwardly inside the curve rather than along its outer edge, so on any path that isn't perfectly straight it's worth adjusting individual fixture positions by eye at each bend rather than trusting a single measured interval to carry all the way around a curve.
A site with both a formal front approach and a more informal rear garden path is a good example of where a single spacing rule genuinely shouldn't apply uniformly, the front approach usually benefits from tighter, more even spacing that reads as deliberate and welcoming, while a rear garden path can afford wider, more irregular spacing that lets planting and shadow play a bigger role in how the space feels at night, and treating both as the same design problem tends to under-serve one of the two.
It's also worth marking on the plan, even just as a note, which fixtures are meant to be on a dusk to dawn sensor versus a manually switched circuit, since path lighting and a feature fixture at the entrance often end up on different control zones in practice, and having that noted next to the spacing layout avoids the coordination gap of an installer wiring the whole run to one circuit by default simply because the drawing didn't specify otherwise.
Gate and fence blocks that already include a fixture
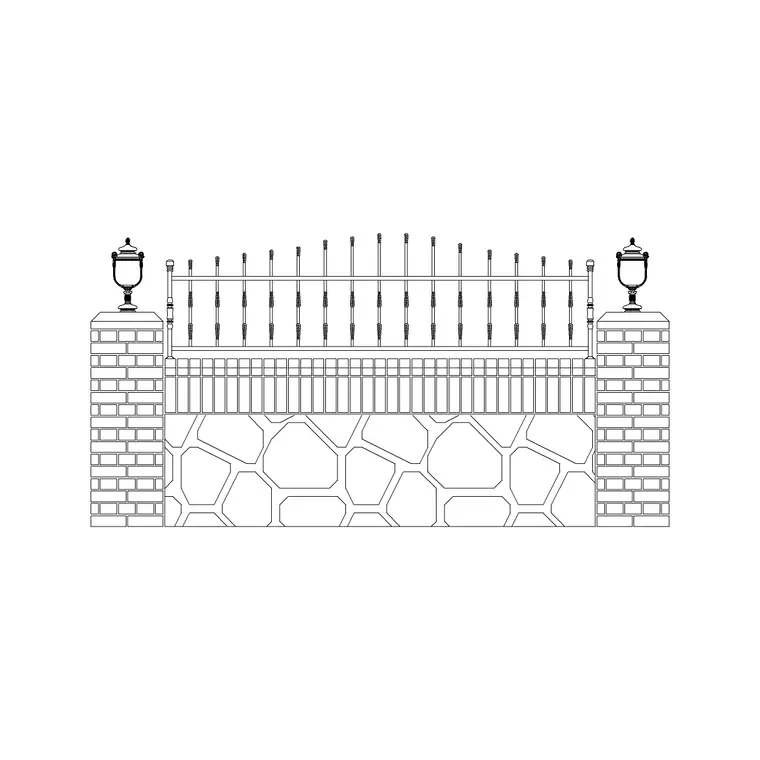
One block worth knowing about specifically is the metal fence with wall and light variant, which is drawn as a boundary wall and metal fence section with a light fixture already built into the same composition, and it's a genuinely useful shortcut for an entrance elevation, since you're not placing a separate street light block next to a separate fence block and hoping the proportions between them look right, the relationship is already resolved in one drawing.
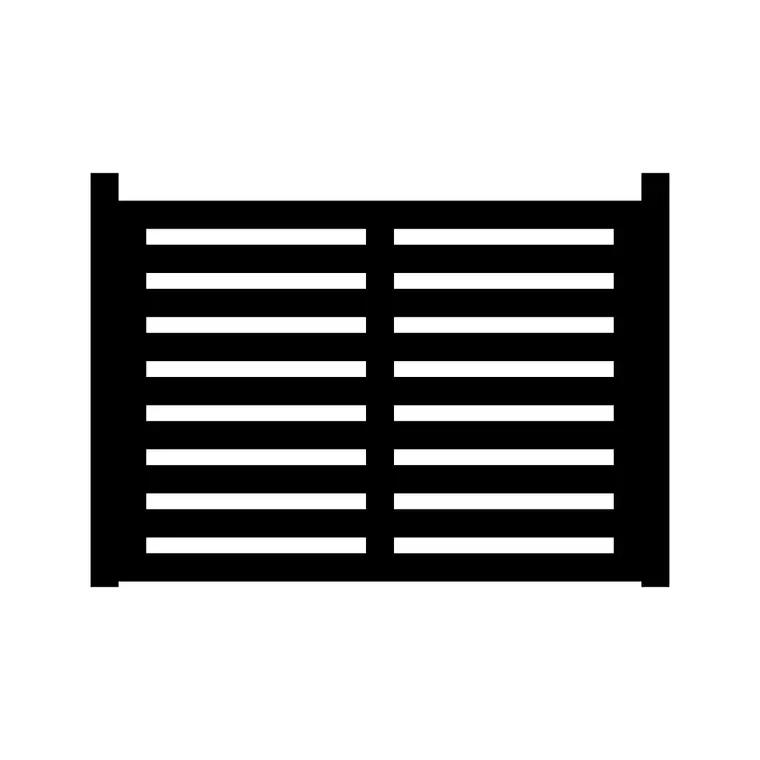
For a main entrance gate without a built-in light, pairing one of the metal gate blocks, single or double swing, with a nearby pole mounted fixture from the street light family works just as well, and this is usually the combination I reach for on a residential entrance, the gate handles the functional boundary and the pole handles the illumination, rather than trying to find a single block that does both unless the design specifically calls for an integrated look.
Either approach needs the same basic check before it goes into a drawing set, make sure the fixture or the gate light sits at a height and position where it'll actually read as useful illumination for someone arriving after dark, not just as a decorative element in a daytime rendered elevation.
On a gated property with a long approach drive, it's worth treating the entrance fixture as its own separate decision from the driveway lighting run rather than just extending the same pole spacing straight through the gate, an entrance genuinely benefits from reading as a slightly brighter, more deliberate moment compared to the more evenly spaced lighting further down the approach.
Coordinating lighting with the hardscape underneath it
A landscape lighting layout that ignores the paving pattern underneath it tends to look disconnected once both are actually built, and our paving block category runs to over eighty variants, so there's usually a close match available for whatever pattern the hardscape plan is already using, and pulling that same paving block into your lighting layout sheet, even just as a background reference, keeps the pole placement honest against the actual walking surface rather than an assumed straight line.
This matters most at path junctions and steps, where a pole placed purely by even spacing might land awkwardly close to a step edge or directly in a turning radius, and catching that requires seeing the paving and the lighting together on one drawing rather than coordinating the two plans purely by written dimension.
It's a small extra step, layering the paving reference under the lighting plan before finalizing pole positions, but it's the difference between a lighting layout that looks considered against the finished hardscape and one that technically satisfies a spacing rule on paper but clashes with the site once it's actually built.
Where the hardscape plan includes raised planters or flower beds close to the path edge, it's worth double checking pole footings against those too, a pole positioned to hit an even spacing interval can occasionally land directly inside a planting bed, which is a fast fix on the drawing but a genuinely awkward one to catch on site after the footing's already been poured.
What still needs to be drafted by hand
Beyond the missing plan view for the street light family, a full landscape lighting package usually still needs a few things this library doesn't provide directly, a legend explaining fixture types and mounting heights, a circuit or zoning diagram if the lighting is being split across multiple switches, and any bollard or step light fixtures, since our current library doesn't carry a dedicated bollard light block distinct from the pole mounted street light family.
None of that is a knock against using the street light and fence blocks as your starting point, it just means the landscape lighting sheet, more than most other lighting drawings, ends up being a mix of downloaded blocks for the fixtures themselves and hand drafted annotation for the parts that are specific to your project's electrical layout rather than generic across every site.
Treating the library as the fixture geometry source and your own drafting as the coordination layer on top of it is really the honest way to use any block library for landscape work, the geometry is the time consuming part to draw from scratch, the annotation is comparatively quick once the fixtures are already placed correctly.
It's worth building a simple legend template once, fixture type, mounting height, and switch zone as three columns, and reusing that same template across every landscape project rather than building it fresh each time, since the fixtures themselves change project to project but the information a legend needs to communicate stays largely the same.
Getting started
Pull a couple of the straight or curved street light elevations to test against your site's overall style, drop in the metal fence with wall and light block at the entrance if a built-in fixture suits the design, layer your existing paving blocks underneath before locking in pole positions, and keep the six to nine meter pathway spacing as a starting point you adjust by eye rather than a rule you follow mechanically to the meter.
On a commercial or multi unit site with a longer path network than a typical residential garden, it's worth drafting one representative stretch of path fully coordinated first, poles, paving, planting all shown together, before repeating the pattern across the rest of the site plan, since catching a spacing or clearance problem on one sample stretch is considerably cheaper than discovering the same issue repeated dozens of times across a full site plan that's already been laid out.
Every block mentioned here comes down as DWG with no account required and is cleared for commercial project use, so there's no reason to leave a landscape lighting plan as a row of generic circles when the actual fixture elevations, gate integrated lights, and matching paving patterns are already sitting in the library ready to compose into a proper site lighting sheet, with the plan symbol and the electrical annotation layered in as the one part of the drawing that's genuinely specific to your site.
Further reading
Questions
Frequently asked
Are the street light CAD blocks available in plan view?+
No, all eleven street light variants in the library are drawn as elevations only. For a site plan symbol you'll need to add a simple top down marker yourself, using the elevation for pole height and fixture reference.
How far apart should path lighting be spaced?+
Roughly six to nine meters between poles is a reasonable starting point for pedestrian paths, close enough for the light pools to overlap slightly without lighting the path like a parking lot. Adjust by eye rather than following the number mechanically.
Is there a bollard light or step light block in the library?+
Not as a distinct product separate from the pole mounted street light family right now. For bollard or step lighting specifically you'd currently need to draft that fixture by hand.
What's the fastest way to get an entrance gate with lighting built in?+
The metal fence with wall and light block already combines a boundary wall, fence section and fixture in one drawing, which is quicker than pairing a separate gate block with a separate street light and matching their proportions manually.
Free downloads from this article
DWGStreet Light Elevation 1
 DWG
DWGStreet Light Elevation Modern 1
 DWG
DWGStreet Light Elevation Long
 DWG
DWGStreet Light Elevation Curve Light
 DWG
DWGStreet Light Elevation Oval Top
 DWG
DWGMetal Fence With Wall And Light
 DWG
DWGFence
 DWG
DWGPaving Block 1
Free CAD block library
Download the blocks from this article — free, no signup


