Matching faucet block placement to plumbing rough-in points
How to place a bathroom faucet CAD block so it actually agrees with the real plumbing rough-in point, not just where it looks centered.
Saumyajit MaityUpdated 22 May 20265 min read
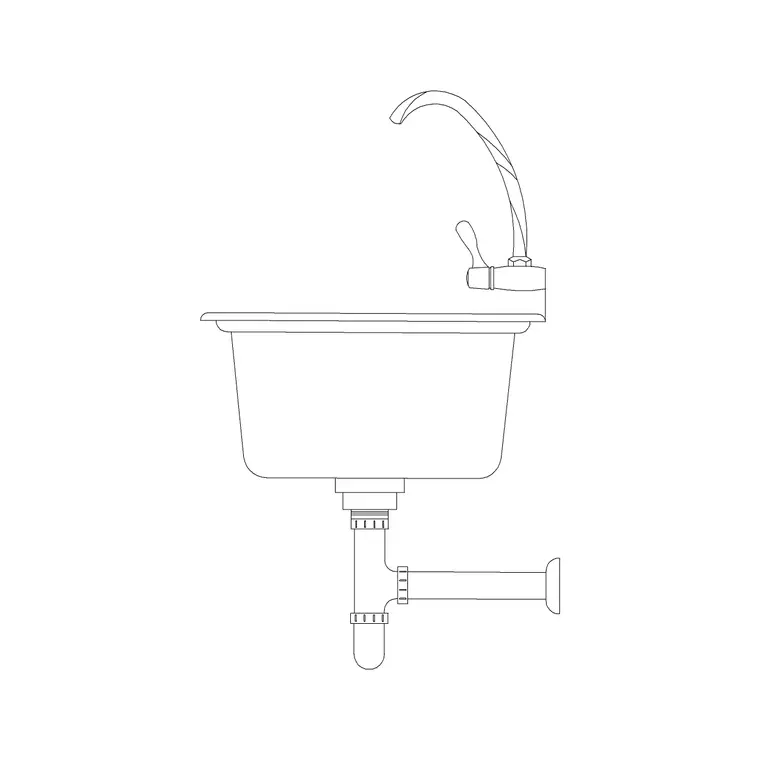
The gap between a clean drawing and a buildable one
A faucet symbol dropped onto a basin block at whatever position looks visually centered is a drawing problem waiting to surface on site, because the actual rough-in point, where the supply lines and drain stub actually come up out of the floor or wall, is a fixed physical location that doesn't care how the symbol looks on screen. I treat faucet placement as a coordination task between the architectural drawing and the plumbing rough-in, not a purely aesthetic choice on the elevation, and that distinction has saved more than one project from an expensive site fix.
I keep a simple habit for this, before issuing any bathroom elevation for construction, I open the mechanical drawing alongside it and manually verify every faucet and fixture rough-in point mentioned on my sheet actually matches a point shown on theirs, it takes a few minutes per bathroom and it catches exactly the kind of quiet drift between drawing sets that otherwise only surfaces once the walls are framed.
Where the rough-in information actually lives
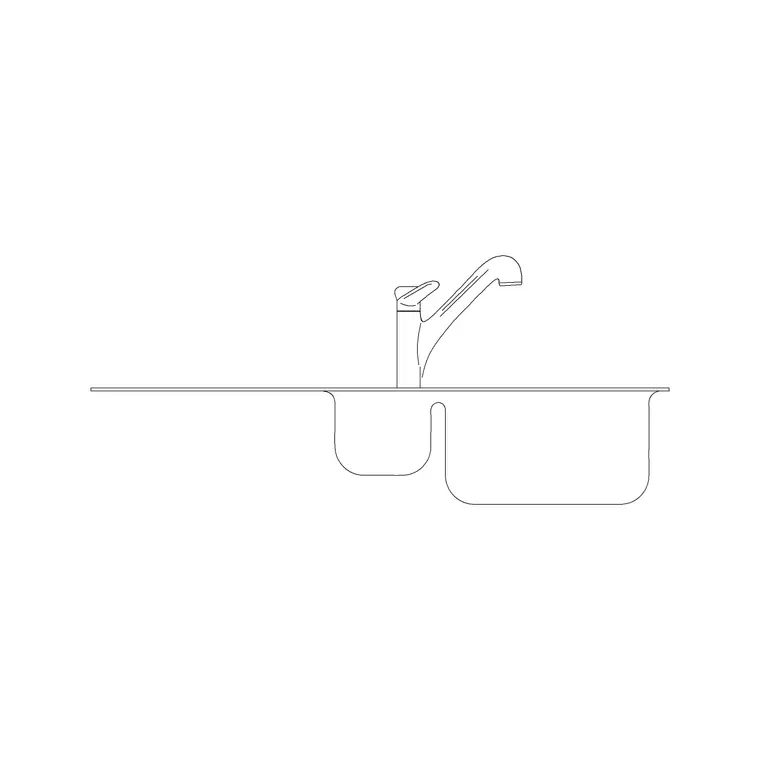
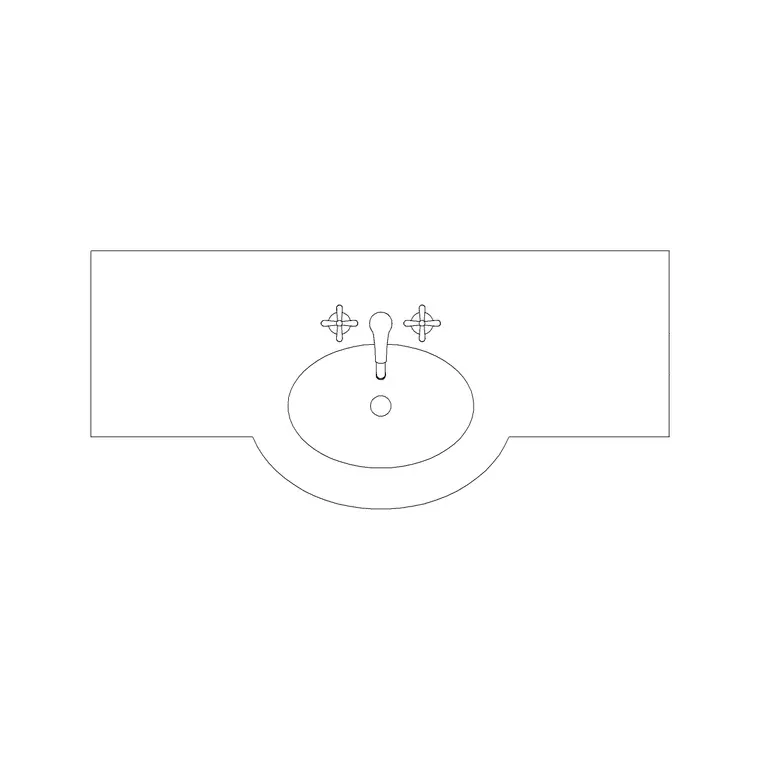
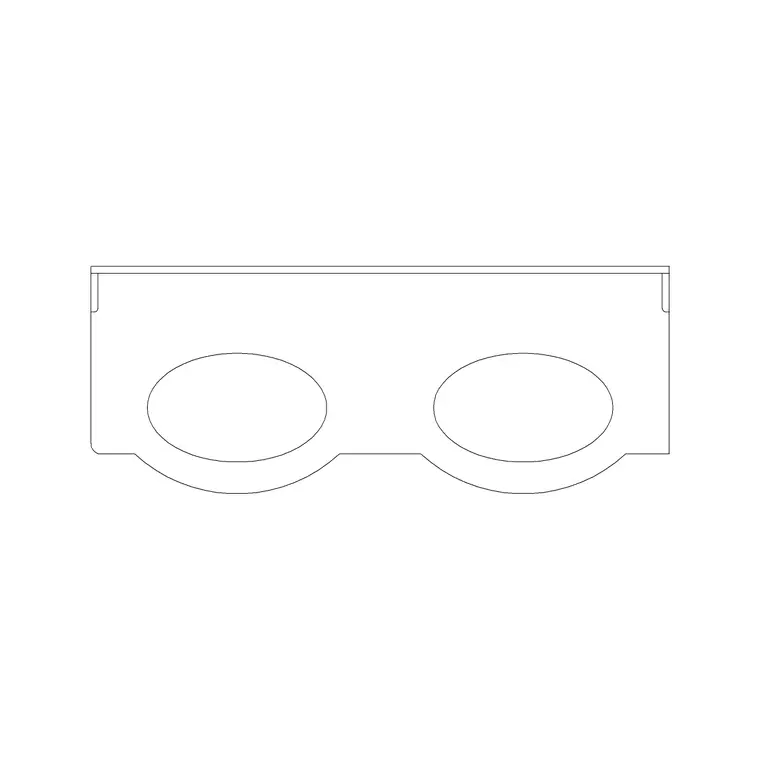
The rough-in point comes from the mechanical or plumbing drawings, not the architectural fixture block, so the faucet symbol you're placing on top of vanity-single-basin-1 or vanity-double-basin-1 needs to be checked against that separate document rather than assumed to be wherever the block's default faucet position happens to sit. If the rough-in is already fixed, existing construction, a prior phase, or an MEP drawing that's already been coordinated, the basin and faucet placement in your architectural plan has to work around that fixed point, not the other way round.
Deck-mounted rough-in and the tolerance you actually have
For a deck-mounted mixer, the rough-in typically comes up through the counter itself, and there's usually a reasonable tolerance, often somewhere in the range of a few centimeters, for exactly where within the basin's back deck the fitting lands, since the supply lines flex slightly under the counter. That tolerance is comfort, not license, don't assume you can shift a faucet symbol dramatically from the coordinated rough-in position just to make the plan look more centered, confirm the acceptable range with whoever coordinated the rough-in before adjusting anything.
On a stone or solid surface counter specifically, that tolerance can actually be tighter than a laminate counter allows, since the cutout in stone is essentially permanent once fabricated, worth flagging to whoever's coordinating if the counter material hasn't been finalized yet, a decision that seems unrelated to faucet placement can quietly reduce how much room there is to adjust later.
Wall-mounted rough-in and why the elevation view is non-negotiable
A wall-mounted mixer's rough-in comes through the wall at a specific height and horizontal position, and this is exactly the situation where an elevation block like 450mm-sink-elevation or 1000mm-sink-elevation-double stops being optional documentation and becomes the drawing that actually prevents a mistake, since height information simply isn't visible in plan. If the wall rough-in has already been set by a rough plumbing crew, that height and position needs to be surveyed and brought into your elevation drawing as a fixed reference, with the faucet block snapped to match it exactly rather than to a generic default height.
If the existing rough-in height reads as unusual compared to a standard range, worth double checking it wasn't set for a different fixture originally, a mixer height that made sense for a deeper vessel basin can sit awkwardly low once paired with a shallower basin during a partial renovation, which is another reason the survey step matters as much here as it does when matching an existing bath footprint.
Coordinating placement when the rough-in isn't fixed yet
On a new build where the rough-in hasn't been set yet, the sequence runs the other way, your architectural elevation with the faucet block correctly placed becomes the reference the plumber works from, which puts more weight on getting the placement right the first time rather than adjusting to something already built. In that case, double check the faucet block's position against both the basin's actual cutout and any code minimum spacing from adjacent fixtures or walls before issuing the drawing, since this version of the drawing is the one that sets the rough-in, not the one that gets corrected against it.
A habit worth building into every bathroom drawing
What I actually do, whether the rough-in is fixed or still being set, is add a small dimension or note tying the faucet symbol's position back to a fixed reference, a wall face, a basin centerline, rather than leaving it floating with no stated relationship to anything measurable. It's a small habit, right, but it's the difference between a plan that communicates an intended location and one that just shows a symbol sitting somewhere near the basin, and on a coordination-heavy drawing like a bathroom, that difference is exactly where mistakes either get caught early or make it all the way to site.
None of this is complicated once it's a habit, it's just easy to skip when a drawing deadline is close and the faucet symbol looks fine sitting where it is, which is precisely when it's worth slowing down for the thirty seconds the check actually takes.
Coordinating the visible trim with the tile setter
There's a final layer of coordination worth building into the drawing, the visible trim at the wall or counter surface, escutcheon plates on a wall mounted mixer, the trim ring where a deck mounted fitting passes through a stone or tile counter. These are small parts, but they're exactly the kind of detail that falls between trades if nobody owns it on the drawing, the plumber sets the rough-in, the tile setter or countertop fabricator cuts the opening, and if the faucet block's exact position wasn't accurately communicated to both, the trim ends up covering a slightly crooked hole rather than sitting cleanly centered.
I've found it worth adding a small note on the elevation calling out the finished trim position explicitly, not just the rough-in point, since a rough-in that's technically within tolerance can still end up with a visibly off center trim plate if the finish trades aren't working from the same reference the plumber used. It's a five minute addition to the drawing and it removes an entire category of finish-stage complaint that otherwise tends to land on whoever coordinated the job.
Further reading
Questions
Frequently asked
Where should faucet rough-in information come from on a drawing?+
From the mechanical or plumbing drawings, not the architectural fixture block's default position. The faucet symbol in plan or elevation should be checked and, if needed, adjusted against that separate coordination document.
How much tolerance is there for a deck-mounted faucet's exact position?+
Usually a small range, often just a few centimeters, since supply lines under the counter can flex slightly. That's comfort tolerance though, not license to shift the symbol significantly without confirming with whoever coordinated the rough-in.
Why does a wall-mounted faucet need an elevation drawing specifically?+
Because the rough-in height and horizontal position on the wall aren't visible in a plan view at all. An elevation block like 450mm-sink-elevation carries that information and is what prevents a mismatch between the drawing and the actual wall rough-in.
Free downloads from this article
Free CAD block library
Download the blocks from this article — free, no signup

