Long suspended chandelier blocks for a double height stairwell
How to size and place a long suspended chandelier block for a genuine double height stairwell, from drop length to headroom.
Saumyajit MaityUpdated 21 May 20265 min read
A five metre void needs a fixture that fills it
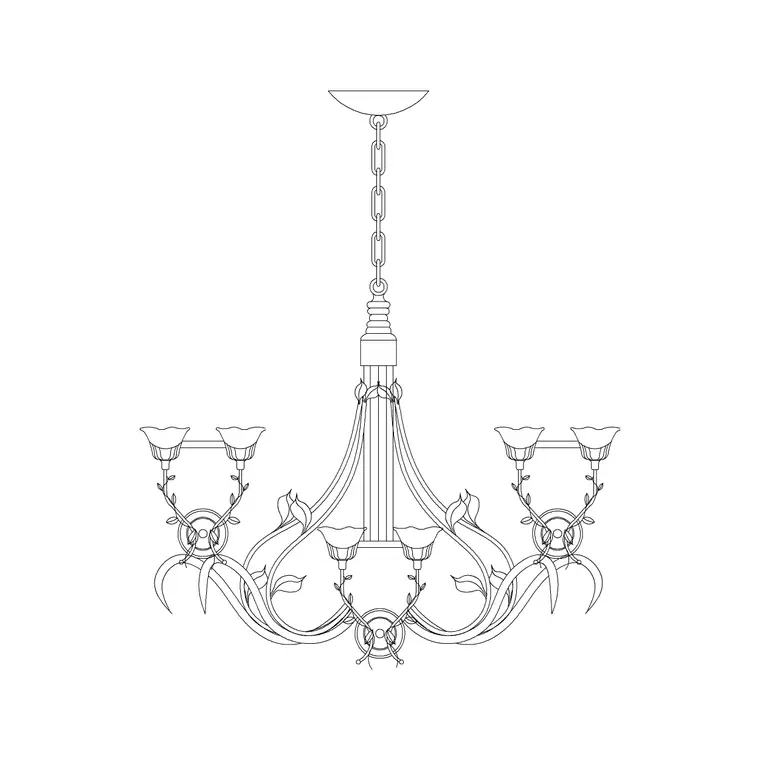
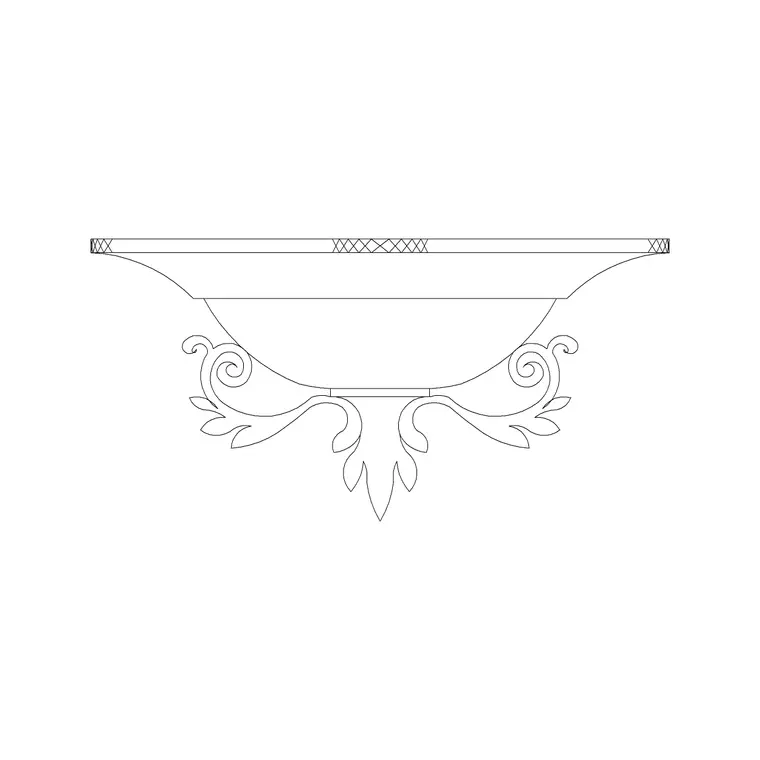
A double height stairwell is one of the few places in a house or a lobby where a genuinely long suspended chandelier earns its keep, because you have got three, four, sometimes six metres of open vertical space running past every half landing, and a small flush fixture up at the top just disappears into that volume. The long suspended chandelier block on cadblockdwg.com, Long Suspended Chandelier Metal Type A, is drawn specifically for this kind of drop, a metal frame fixture strung on a long rod or chain run shown in full elevation, and it is the block I reach for whenever a project has a stair void worth showing off.
Working out how long the drop actually needs to be
The rough rule I use, and it is a rule of thumb rather than a code requirement, is to keep the bottom of the fixture roughly level with the top of the ground floor ceiling line or a touch below it, so the chandelier reads as filling the void rather than hanging awkwardly in the middle of it. In practice that means for a stairwell running two storeys, call it 5 to 6 metres of clear height, the visible drop on the fixture is often somewhere in the 2.5 to 4 metre range once you account for the fixture body itself, leaving clearance above the lowest landing or the stair run so nobody's head is anywhere near it. Building regulations for headroom over a stair vary by jurisdiction, so always check your local clearance requirement before finalising the bottom elevation, this block only gives you the drafting geometry, not the code sign off.
Why the block ships as one long piece, not a stack
The suspension rod in this block is drawn as a continuous run rather than stacked repeating segments, which keeps the DWG light and means you are not managing dozens of nested blocks just to get one chandelier to hang correctly. What I actually do when I bring it into a stairwell section is insert the block at the ceiling datum, then grip stretch just the rod portion down to my calculated drop length while leaving the fixture head geometry untouched, so the proportions of the chandelier itself never distort even though the overall block height changes a lot.
Centring it against the stair, not the wall
The other thing people get wrong is centring the chandelier on the room rather than on the stair void itself, which on an open tread stair or a stair with a gap in the middle usually means offsetting the fixture from the geometric centre of the plan. I typically project the void's centreline up from the floor plan into my elevation or section first, using that as my insertion point, rather than eyeballing where it looks nice, because a chandelier that is slightly off centre against the actual stair opening reads as a mistake to anyone standing at the bottom looking up, even if it is dead centre on the surrounding walls.
Pairing it with wall lighting on the way down
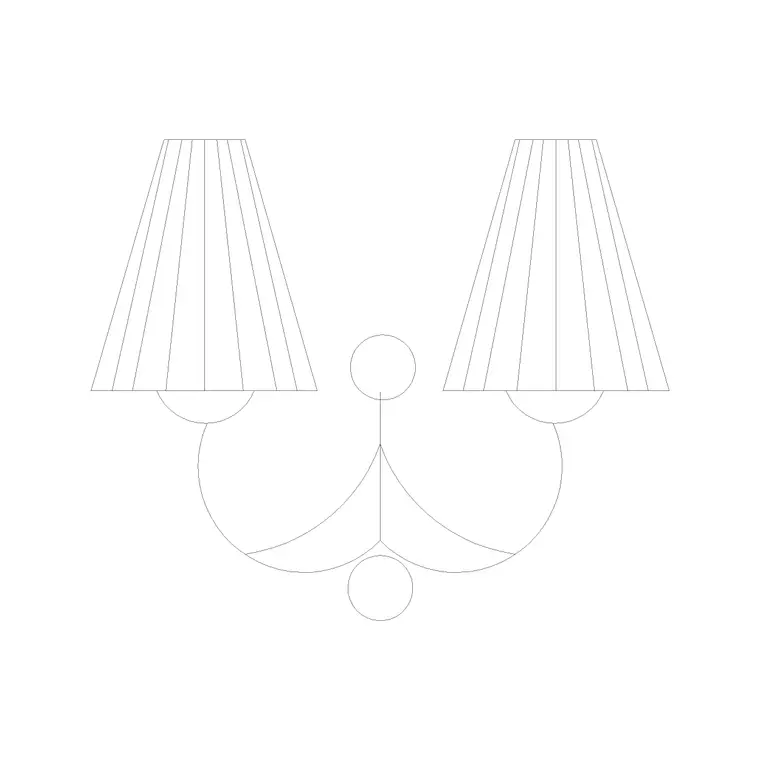
A single long suspended fixture rarely lights an entire stair run well on its own, so on most of these drawings I add wall lamp blocks at each half landing or every second riser, using the Wall Lamp or Wall Lamp Elev block from the same catalog, mounted at a consistent height so the run of fixtures reads as a deliberate rhythm going down the stair rather than a single pendant doing all the work. That combination, one long chandelier as the visual anchor plus wall lights for actual task lighting on the treads, is close to how most real double height stairs get lit, and it gives the elevation a sense of depth a single fixture cannot.
Bringing it in clean
Download the block as DWG, insert with INSERT rather than copy paste so it stays as a named reusable block, and check your drawing units against the block's native units before you scale, following the same base unit discipline any technical drawing depends on. Keep the chandelier on its own lighting layer separate from your wall fixtures so you can isolate the stairwell lighting scheme when you are presenting to a client who only wants to see fixtures, not furniture or finishes.
It is also worth a quick word with whoever is handling the structural design if the fixture is genuinely large, since a long metal chandelier with a multi metre drop and a substantial fixture head is not a trivial point load, and the structure above it may need a specified fixing point rather than a generic ceiling rose, something a structural engineer should confirm rather than assuming. If you are sharing the drawing with a consultant working in different software, hand over the DXF version alongside the DWG, since DXF is the more universal exchange format and avoids any risk of the block's geometry not translating cleanly into an unfamiliar CAD package. It sounds like a small extra step when the drawing is already busy, but a five minute conversation at design stage is a lot cheaper than a site instruction once the ceiling has already been closed up around a fixing that was never actually confirmed.
A quick pitfall list before you finalise the sheet
One thing I always double check on a stairwell chandelier drawing is whether the block has been exploded at any point during editing, because an exploded suspended chandelier loses its status as a single named block and turns into a pile of independent lines, which means resizing it later means selecting dozens of objects instead of one, and any small nudge risks throwing the proportions out. Keep the block intact, use grip edits on the block reference itself rather than exploding first. The second pitfall is forgetting that a stairwell often has more than one sightline worth checking, the chandelier might clear the treads on the way down but catch a maintenance access hatch or a smoke detector mounted on the underside of the floor above, so cross reference your reflected ceiling plan and your mechanical layout before locking the drop dimension. And the third, smaller but common, is leaving the fixture centred on the plan's paper space rather than the model space centreline of the actual void, which only shows up as wrong once you print the sheet at scale and the chandelier looks subtly off in the printed elevation even though it looked fine zoomed in on screen.
Further reading
Questions
Frequently asked
How far should a long suspended chandelier hang above the lowest step?+
There is no universal number since building codes vary, but keeping clear headroom above the stair run consistent with your local minimum stair headroom requirement is essential, treat 2 to 2.1 metres clear as a starting point to check against your local code, not a rule to rely on blindly.
Can I shorten this block for a single storey room instead?+
Yes, grip stretch the rod segment down, but if you are dropping below roughly a 1.5 metre suspension the round chandelier block or the ceiling lamp block will usually look more proportional than a shortened long suspended fixture.
Does the block include the ceiling rose or mounting plate?+
It includes the fixture and drop as drawn geometry; treat the top connection as a simple ceiling fixing point and add your own mounting plate detail if your elevation needs that level of construction detail.
Free downloads from this article


Free CAD block library
Download the blocks from this article — free, no signup