Living Room Lighting Layers: Ceiling, Wall and Floor Fixtures
How to draft ceiling, wall and floor lighting as three coordinated layers in a living room plan, using real DWG blocks for each.
Sumana KumarUpdated 8 May 202611 min read
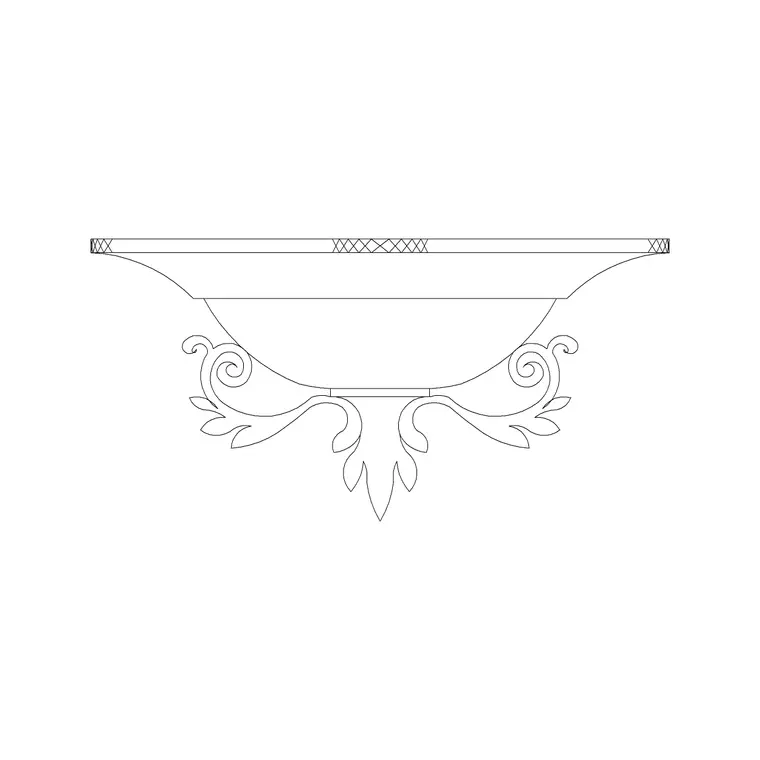
A living room almost never works on one light source
A single ceiling fixture, on its own, tends to flatten a living room into a flat, evenly lit box, which is fine for a hallway but not what most residential clients are actually asking for when they hand you a living room brief that talks about warmth and atmosphere rather than pure illumination. The rooms that read as finished and intentional in a rendering or a walkthrough are almost always working with three separate layers, an ambient ceiling layer, a wall mounted layer, and a floor or table level accent layer, drafted and coordinated together rather than picked one at a time as the drawing progresses.
This is one of those things that's easy to explain and slightly harder to actually draft cleanly, because the three layers live on different views, the ceiling layer belongs on your reflected ceiling plan, the wall layer needs an elevation to check its height, and the floor layer is really a furniture plan item as much as a lighting one. Treating them as three separate but coordinated passes, rather than one lighting layer done all at once, is what keeps the drawing from turning into a mess of overlapping symbols that are hard to isolate later when a client asks for a single layer to be revised.
Layer one, the ceiling, sets the ambient base
The ceiling layer is your ambient base, the light that's on by default and that establishes the general brightness of the room before anything else gets switched on for a specific task or mood. In our catalogue this is covered by blocks like ceiling-lamp and ceiling-light-round, both drawn for a straightforward central or off center ceiling mount, and they're the right choice when the brief calls for simple, even ambient light rather than a statement fixture demanding attention overhead.
If the living room calls for something more decorative at ceiling level instead of a plain fixture, the suspended chandelier family covered in our dining room lighting guide works here too, a smaller suspended-chandelier-type-a style fixture is a reasonable choice for a living room that wants a bit more presence overhead without going as formal as a full dining chandelier would look in a more relaxed seating area. Either way, this layer goes on the reflected ceiling plan first, before you touch the other two, because it's the layer most likely to interact with structural elements like beams or bulkheads that can constrain where a fixture is even physically able to sit.
On a recent small living room I laid out, roughly 3.4 by 4m, a single ceiling-light-round centered over the seating area was genuinely enough as the ambient base once the floor lamp layer was added beside the sofa, and resisting the urge to add a second ceiling fixture just because the room felt slightly under lit on the plan alone turned out to be the right call once the floor lamp was actually switched on in the finished space, since two ambient ceiling points that close together in a small room tend to flatten it right back into the evenly lit box this whole layered approach is trying to avoid in the first place.
Layer two, the walls, add direction and height
Wall mounted fixtures do something ceiling light physically can't, they throw light sideways and upward, which softens shadows on the wall itself and adds a sense of height to the room that a purely overhead source doesn't give you no matter how many downlights get added. This is the layer most designers under use in a living room specifically because it requires an elevation check that a lot of drafters skip when they're focused mainly on the furniture plan and the ceiling grid.
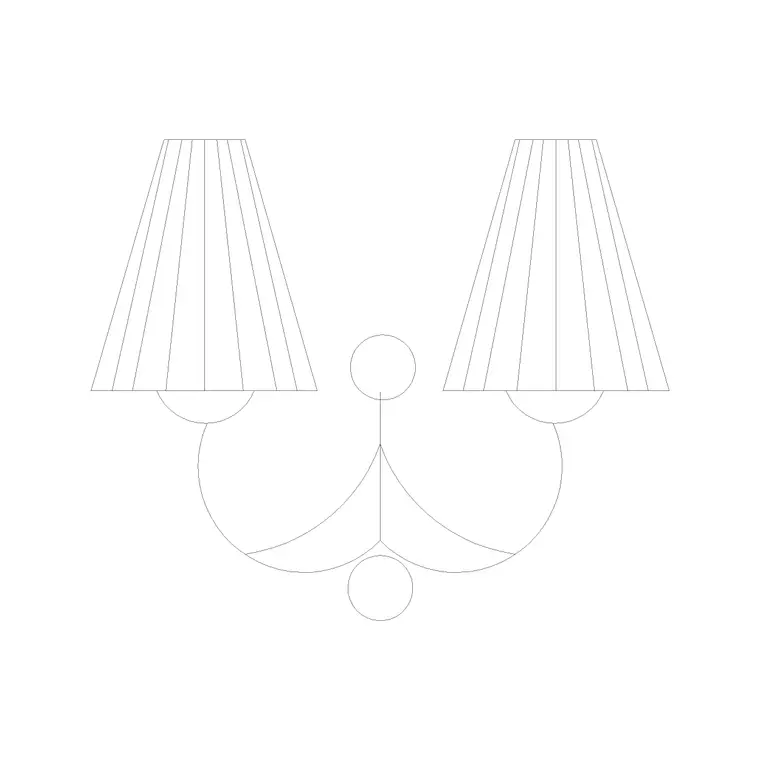
Our wall lighting range covers this well, wall-lamp-elevation-1 is a good general purpose block for this, and wall-lights-designer gives you a more decorative option if the room calls for something with more visual interest, say flanking a fireplace or a media wall where the fixture itself becomes part of the room's composition rather than a purely functional add on. Draft these at a height that clears seated eye level, most living room wall lamps sit somewhere around 1.5m to 1.7m from the finished floor, and always check the elevation against nearby artwork or shelving so the fixture doesn't collide with something already claiming that wall space in the furniture and finishes plan.
Where this actually gets checked is the elevation cut through the media wall or the fireplace wall specifically, since that's usually where a wall lamp is doing its most visible work, and it's worth pulling that one elevation up alongside the furniture plan before committing to a mounting height, because a wall lamp positioned correctly in isolation can still end up sitting awkwardly close to a television bracket or a piece of art that was fixed on the furniture and finishes drawing without anyone cross checking the two sheets against each other.
Layer three, floor and table level, adds the accent
The bottom layer is the one that actually gets used for reading, working, or just softening a room in the evening, and it's drafted as part of the furniture plan rather than the ceiling plan, which is why it's easy to forget when you're thinking in strictly lighting terms rather than furniture terms. A floor lamp next to a reading chair, or a table lamp on a console or side table, does more to make a rendered living room feel lived in than almost anything else you'll place in the whole drawing.
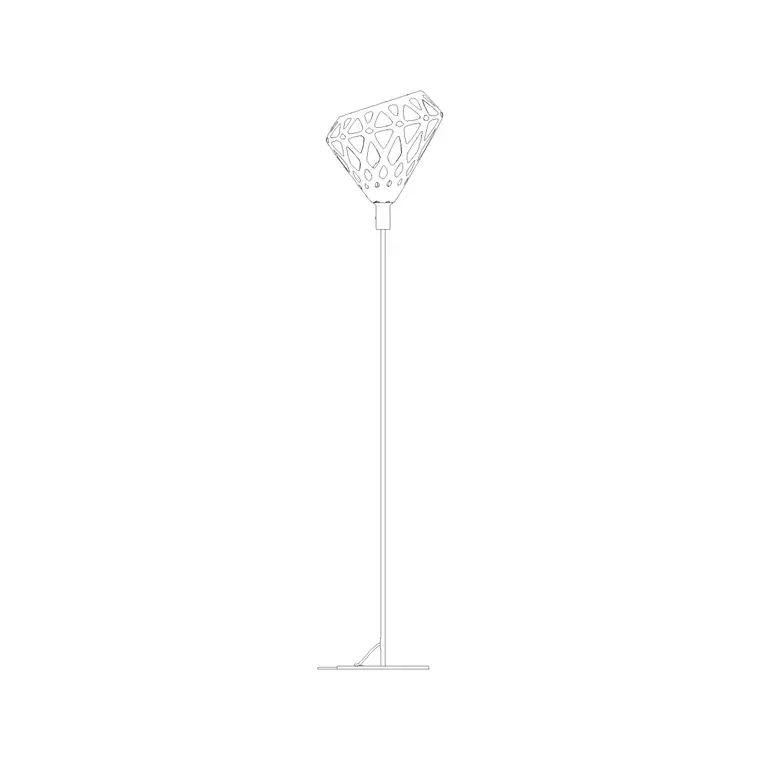
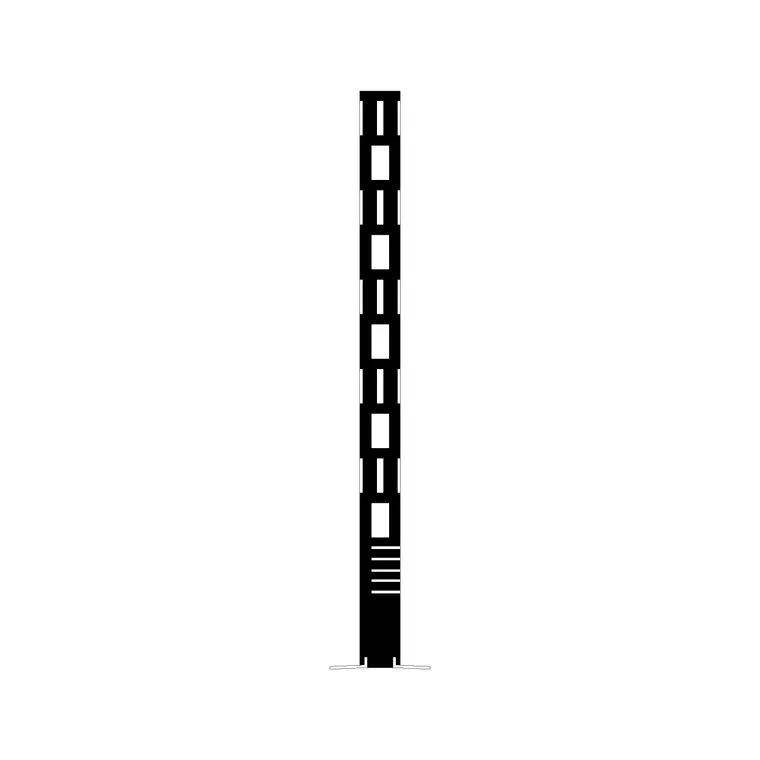
For this layer, floor-lamp-elevation-1 is the block I reach for most often next to an armchair or sofa end, and table-lamp-elevation-1 covers the console or side table scenario well. Both are drawn in elevation, which matters here because floor and table lamps interact directly with furniture height, a lamp shade that sits at the wrong height relative to a nearby sofa arm or side table looks wrong even if the plan position is technically correct and the lamp itself is a perfectly good block on its own terms.
A small worked example makes the height relationship concrete, a sofa arm sitting around 650mm off the floor next to a floor lamp base means the shade bottom wants to clear that arm height comfortably, typically somewhere in the 1m to 1.1m range off the floor for the shade's lower edge, so someone seated on the sofa gets usable reading light without the shade sitting so low it competes visually with the arm of the sofa right beside it.
Reading the room before deciding how many layers it needs
Not every living room genuinely needs all three layers running at full strength, and treating the three layer model as a rigid checklist rather than a design tool can actually work against you on a smaller space. A compact apartment living room, for instance, may read as perfectly finished with just an ambient ceiling fixture and a single well placed floor lamp, and adding a third layer purely to satisfy a formula can tip a small room into feeling over lit rather than considered.
The useful question to ask before committing to all three layers is what each one is actually doing for that specific room, if the wall layer would only be filling a gap between two pieces of furniture rather than genuinely adding height or softening a dark corner, it's worth asking whether that budget and wall space might be better spent elsewhere in the layout, or simply left as clean, unadorned wall.
I ran into exactly this on a one bedroom apartment living room recently, barely 3m by 3.5m, where the brief had specified all three layers out of habit rather than genuine need, and once the furniture plan was actually drawn in, it became clear the wall opposite the sofa was going to be almost entirely taken up by a media unit and shelving, leaving no meaningful run of blank wall for a wall lamp to do anything useful at all. Dropping that layer entirely and putting the saved wall lamp budget into a slightly better floor lamp next to the reading chair instead left the room reading as considered rather than under lit, which is really the whole point of asking the question before defaulting to the full three layer formula.
Coordinating all three without cluttering the drawing
The practical challenge once you've picked blocks for all three layers is keeping the drawing legible, because a living room with a ceiling fixture, two wall lamps, and two floor or table lamps can start to look crowded if everything sits on one layer at one line weight without any separation between fixture types. Put the ceiling layer on its own CAD layer, separate from the furniture plan and separate again from the wall elevation, so you can toggle each one independently when the drawing gets busy or a client wants to review just the ceiling scheme in isolation.
The other coordination point worth checking is that the three layers don't compete for the same wall or the same corner, a floor lamp jammed directly under a wall sconce is redundant and looks like an oversight rather than a design choice once someone actually studies the plan closely. Spread the layers around the room's perimeter and seating zones so each one is doing distinct work rather than doubling up in the same spot and leaving another part of the room comparatively neglected.
A quick working method for a living room lighting pass
In practice I run this in a fixed order, ceiling layer first while I'm still deciding on the furniture plan, because it interacts with structure and is the hardest layer to move once it's committed to. Then the furniture plan itself, sofas, chairs, side tables, which sets the seating zones the other two layers need to respond to. Then the wall layer, checked against elevations for artwork, television placement, and window heights so nothing collides on the finished wall. And only then the floor and table lamp layer, dropped into whatever gaps in the seating arrangement actually need a reading light or an accent glow rather than being placed just because a corner looked empty.
Doing it in that order, rather than placing every fixture as you think of it, keeps you from having to backtrack when a wall lamp turns out to clash with a piece of furniture you added afterward, or a floor lamp ends up fighting a ceiling fixture for the same corner of the room once everything is finally drawn together on one combined sheet. This sequence also happens to match the order a client usually reviews a set of drawings in, ceiling plan first, furniture plan second, so working in that same order keeps the review conversation aligned with the drawing rather than jumping between sheets to explain a decision that was actually made out of order behind the scenes.
One coordination detail worth adding to that working order, each of the three layers usually wants its own switch or dimmer circuit rather than being ganged together onto one switch by the door, since a resident living with the finished room will want the option of running just the floor lamp on a quiet evening without the ceiling fixture also firing up at full brightness, and specifying that at the drawing stage, noting which layer sits on which switch leg, saves a conversation with the electrician later in the project when the ceiling plan and the electrical layout are being reconciled against each other.
Coordinating living room lighting against daylight from the windows
Everything covered so far assumes the room is being lit after dark, but a living room lighting plan is only ever half finished if it ignores how the same space behaves during the day, when window light is usually doing most of the actual work and the three artificial layers are sitting mostly idle. It's worth walking through the room plan and noting where daylight naturally falls strongest, because that's usually where the artificial layers matter least, and where the darker, window shadowed corners of the room sit, because that's where the wall and floor layers earn their keep once the sun goes down.
A living room with a large window wall on one side, for instance, often needs comparatively little artificial ambient light on that side during the day, but the opposite wall, further from the window, is exactly where a wall lamp or floor lamp pulls its weight both in daytime shadow and in the evening once the window stops contributing anything. Thinking through this daylight pattern before finalizing fixture positions tends to produce a more balanced room than simply spacing fixtures evenly around the perimeter without reference to where the windows actually are.
Common mistakes worth flagging before you finish the sheet
The most common one is a living room drawn with only the ceiling layer, which technically satisfies a lighting plan requirement but reads as unfinished the moment anyone renders or walks through the space, since the room ends up flat and shadowless in a way that doesn't match how the space would actually feel lived in. The second is placing wall and floor fixtures without ever pulling up an elevation, which means heights only get caught once a render comes back looking wrong and revisions have to be made after the fact rather than during the drawing pass.
The third, and this one is subtle, is treating every living room the same regardless of size, a small apartment living room genuinely may not need all three layers at full density, sometimes ceiling plus one accent lamp is the honest, proportionate answer, and forcing a third layer in just because the checklist says three layers exist can make a small room look over lit rather than well designed for its actual scale.
Further reading
Questions
Frequently asked
Do I really need three separate lighting layers in a living room?+
Not always at full density, but most living rooms benefit from at least an ambient ceiling source plus one other layer, wall or floor. Very small rooms can work with ceiling plus a single accent lamp rather than forcing all three.
What height should wall lamps sit at in a living room?+
A common range used across residential elevations is roughly 1.5m to 1.7m from finished floor, which generally clears seated eye level while still reading as a wall level, rather than ceiling level, light source.
Which layer should I draft first?+
Ceiling first, since it's most likely to interact with structural elements like beams. Then the furniture plan, then wall fixtures checked against elevations, then floor and table lamps placed into whatever seating gaps remain.
Can I use a chandelier block in a living room instead of a plain ceiling lamp?+
Yes, the suspended chandelier family drafted for dining rooms works in a living room too, particularly a smaller type, when the brief calls for a more decorative overhead fixture rather than a plain ceiling lamp.
Free downloads from this article



Free CAD block library
Download the blocks from this article — free, no signup


