Hallway and Landing Lighting: Wall Light Spacing Along a Corridor
A practical spacing method for wall lights along a hallway or landing, with mounting height guidance and real elevation blocks.
Sumana KumarUpdated 17 April 202611 min read
A corridor is the room nobody plans properly
Most floor plans get their lighting attention spent on the living room and the dining room, and the corridor connecting them gets a couple of ceiling downlights added almost as an afterthought right before the sheet ships out for review. That's a mistake worth avoiding, because a badly lit corridor is one of the first things a person notices walking through a finished space, even if they can't articulate why the hallway feels dim or uneven compared to the rooms sitting on either side of it.
Wall lights, rather than ceiling downlights, are usually the better tool for a corridor or landing specifically, because they throw light along the direction of travel rather than straight down onto the floor, which reads as warmer and generally needs fewer fixtures to cover the same run of wall than an evenly spaced grid of downlights would. Getting the spacing and height right on this one is mostly arithmetic, but it's arithmetic worth doing properly rather than guessing at it and hoping the render looks fine.
What corridor width you're actually working with
Residential corridors typically run somewhere in the range of 900mm to 1200mm wide, which is enough for two people to pass without much trouble, while corridors serving a stair landing or a wider circulation zone can run wider depending on the layout and how much furniture or storage the space is also expected to accommodate along its length. Commercial corridors, especially anything serving as an accessible or public route, are usually governed by local code minimums that go beyond what a residential hallway needs, so always check the applicable code for that project type rather than assuming residential figures transfer directly across into a commercial or public building context.
Width matters for lighting because it affects throw, a narrow residential hallway needs less fixture spacing to feel evenly lit than a wide public corridor would, since the light only has to reach across a smaller gap before the next fixture picks up the slack, and a wider corridor will often need either closer spacing or a brighter fixture to avoid dark patches forming between each light source along the run.
Working through an actual number, a 1050mm wide residential hallway is comfortably within that typical range, and the width itself doesn't change the spacing rule much on its own, what it changes is how confident you can be about even coverage between fixtures, a narrower hallway forgives a slightly wider gap between wall lights than a broad public corridor would, since the light only has to bridge a smaller span before the next fixture's throw picks it up.
A working spacing rule for wall lights
The general guidance used across residential lighting layouts is to space wall fixtures somewhere in the range of two to three meters apart along the corridor's length, adjusted based on the specific fixture's output and the corridor's width. That's a starting point, not a fixed law, a corridor with doorways interrupting the wall every couple of meters will often end up with fixture spacing dictated more by the gaps between doors than by a pure evenly spaced grid drawn without reference to the openings around it.
For a landing specifically, where the corridor opens up around a stair, the useful trick is to center the fixture on the widest run of blank wall rather than trying to force an even grid across a space that isn't actually a uniform width, landings tend to be irregular in shape and a rigid spacing rule applied without adjustment usually looks wrong once it's actually built and lived in rather than just viewed on a flat plan drawing.
Running the numbers on a 9m straight run of hallway makes the trade off concrete, at three fixtures spaced three meters apart you get even, generous coverage with minimal fixture cost, while dropping to two meter spacing on the same run means four or five fixtures instead, more even in theory but a noticeably higher fixture count and a busier looking wall once they're all installed, so on a budget conscious residential project the wider end of that spacing range is usually the more sensible starting point, tightened up only where a section of wall genuinely reads darker once the layout is checked against the corridor's own daylight sources, if it has any.
Mounting height along the wall
Wall lights along a corridor are typically mounted somewhere around 1.5m to 1.8m from finished floor level, a range that generally clears eye level for most adults walking through while still keeping the fixture close enough to the ceiling that it reads as an architectural detail rather than something at furniture height competing with a console table or artwork below it. This is one of those numbers that's genuinely common across residential guidance, not something specific to any one project, so treat it as a solid starting point and adjust only if the ceiling height or the fixture's own proportions call for it.
This height should be checked and dimensioned on an elevation, not assumed from the plan, because a corridor elevation will also show you whether the fixture clashes with a door header, a picture rail, or a switch plate that's already claiming that section of wall before the lighting layer was even considered. It's worth running this elevation check early rather than late, since a mounting height that's fine in isolation can still collide with an element added afterward if the two drawings aren't cross checked against each other.
On a corridor with a run of framed photos or artwork already planned for the same wall, and that's a common enough combination that it's worth flagging specifically, checking the wall light height against the artwork's own hanging height early avoids a fixture that ends up sitting awkwardly close to the top or bottom edge of a frame once both elements are actually installed, since a corridor gallery wall and a lighting run are two things that get specified by different people on a lot of projects and don't always get cross checked against each other before construction.
The real block for this in the library
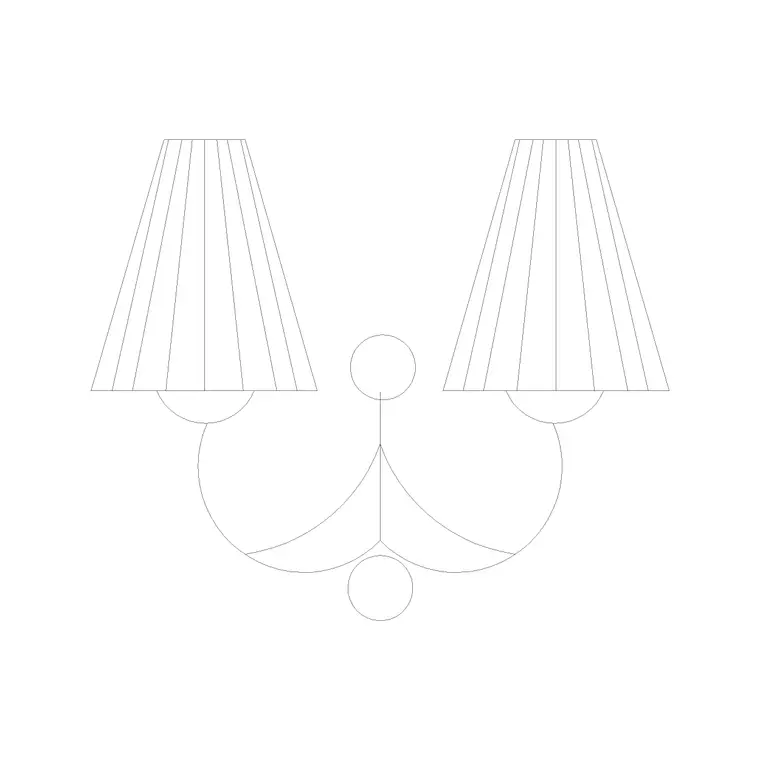
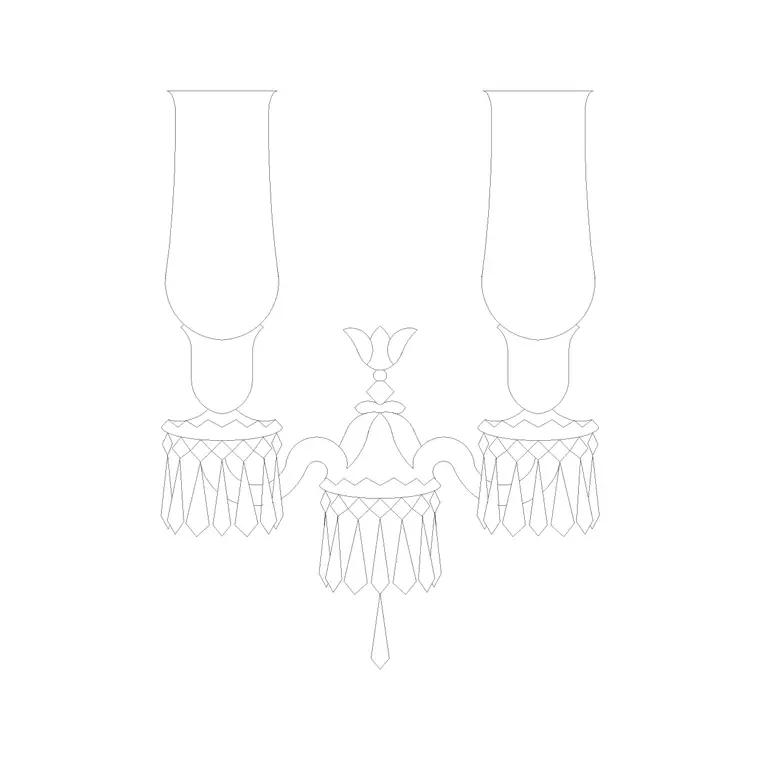
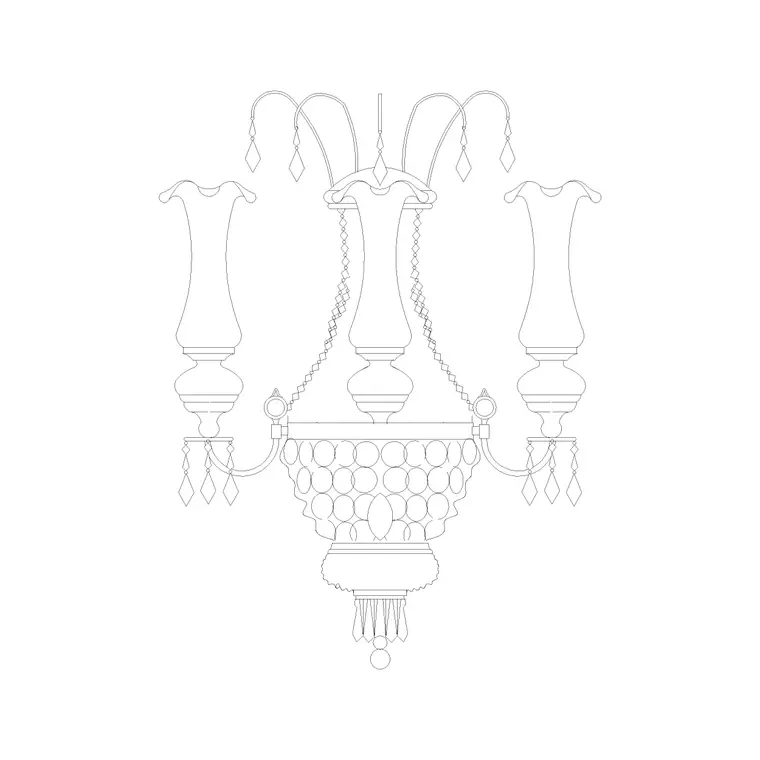
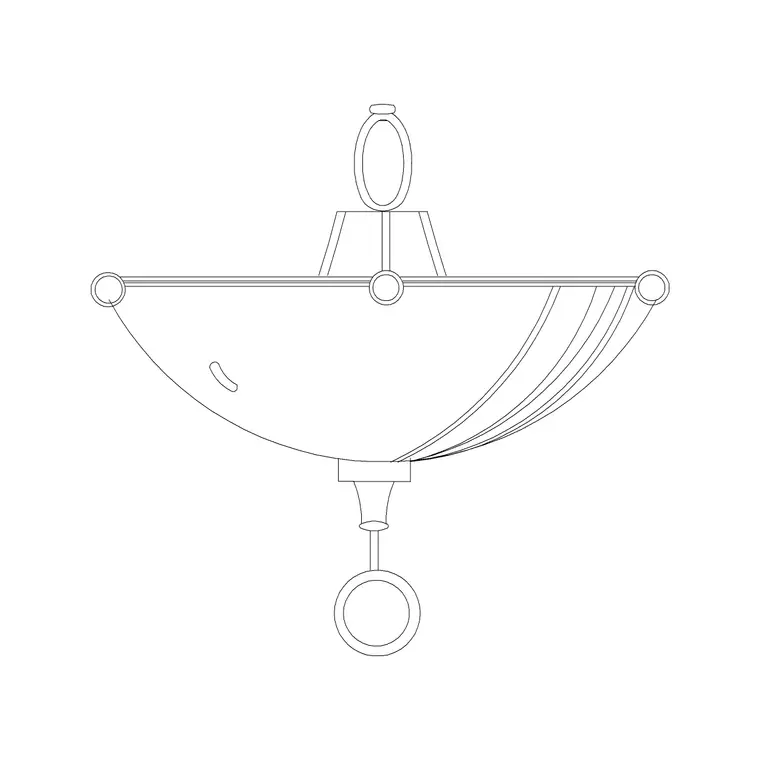
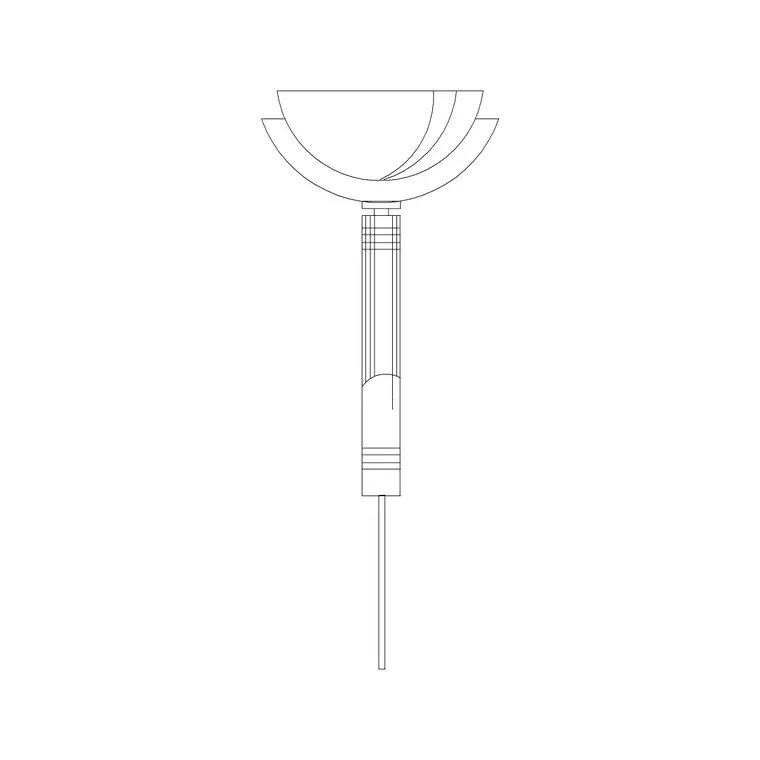
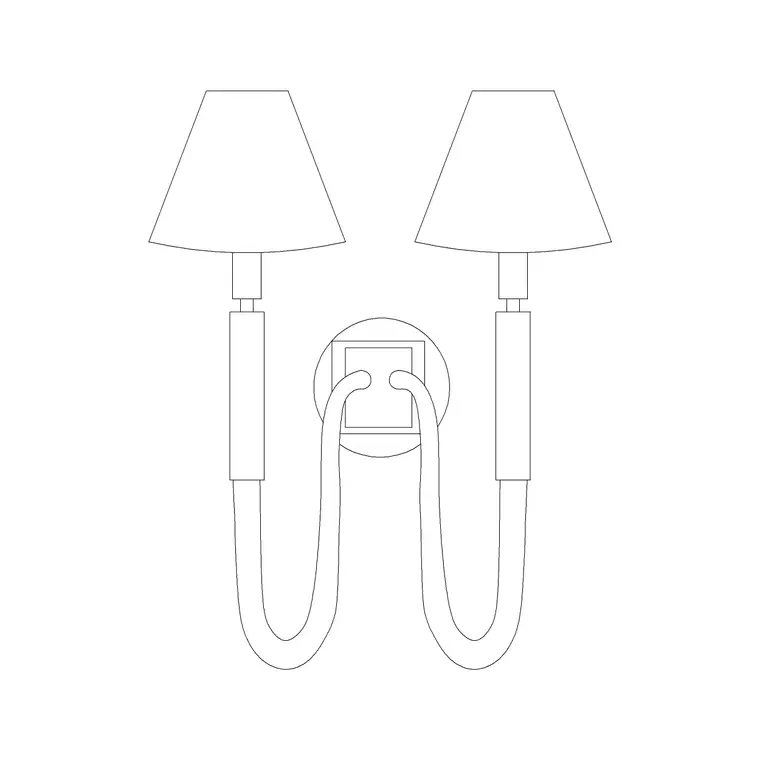
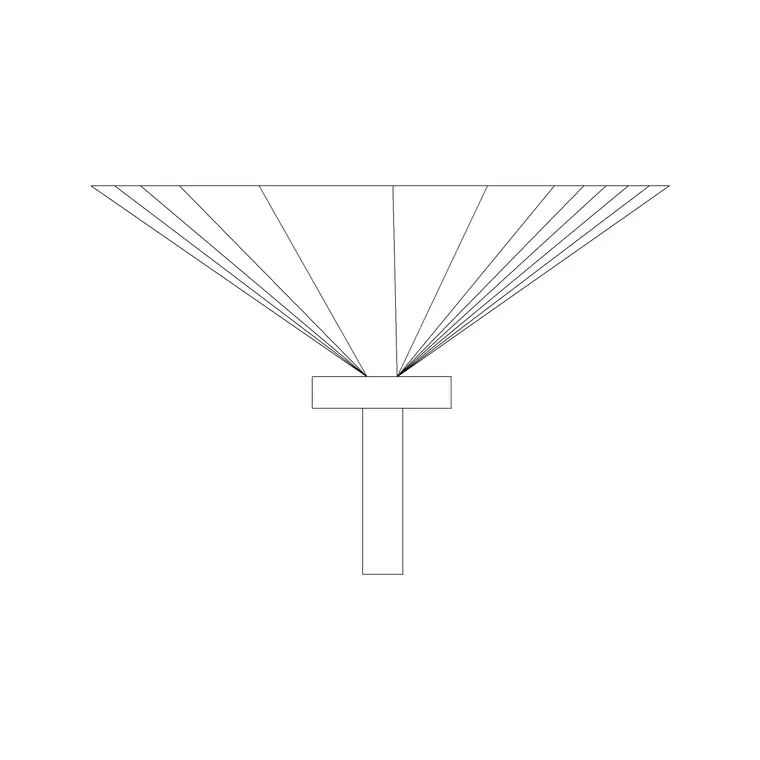
The wall-lamp-elevation-1 block, and its numbered siblings like wall-lamp-elevation-2 and wall-lamp-elevation-3, are drawn specifically for this kind of repeated placement along a wall run, a simple, consistent profile that reads well when it's copied evenly down a corridor rather than a single statement piece meant to stand alone at one focal point. For a plainer, more understated corridor, wall-lights-single covers a minimal single arm fixture well, without adding visual weight to a space that's meant to be transitional rather than a destination in its own right.
If the corridor is part of a more design forward project and needs something with a bit more presence, wall-lights-long is worth checking, it's drawn with a more elongated profile that can work well on a longer, uninterrupted run of wall where a series of small fixtures might otherwise look scattered and disconnected from one another along that same stretch.
Drafting the repeat without redrawing it every time
Once you've picked the fixture and worked out the spacing, this is exactly the kind of situation a block is built for, insert one instance, set your spacing dimension, and array it down the corridor length rather than manually placing and rotating each one individually and risking a small inconsistency creeping in between instances. Because it's a true block reference rather than copied geometry, if the fixture choice changes late in the project you only have to swap the block definition once and every instance down the hallway updates together automatically.
Do this on its own layer too, separate from the door and window layer, so you can isolate the lighting run when you need to check spacing against door openings without the rest of the wall elements cluttering the view and making it harder to judge the spacing purely on its own terms.
Landings deserve a slightly different eye than a straight run
A stair landing is rarely a clean rectangle the way a straight corridor usually is, there's often a balustrade, a change in ceiling height where the stair opens up above, and sometimes a window at the half landing that a straight corridor spacing rule doesn't account for on its own. Treat the landing as its own small design problem rather than an extension of the corridor's spacing pattern, checking sightlines from the bottom and top of the stair run to make sure the fixture placement reads well from both directions of travel, not just from a flat plan view where the change in level isn't visible.
It's also worth checking that a landing fixture doesn't sit at a height that becomes awkward once someone is standing partway up the stair rather than on the flat floor either side of it, since the effective eye level relative to the wall changes continuously along a stair run in a way it never does along a flat corridor. On a return stair with a half landing, it's usually worth placing one fixture at the half landing itself rather than trying to cover that transition entirely from fixtures mounted on the straight runs above and below it, since the change in direction tends to create its own small dark pocket that a purely straight run spacing calculation won't catch on its own.
On a project with a full height window at the half landing specifically, it's worth checking whether that window alone handles daytime lighting well enough that the artificial fixture at that point only really needs to earn its keep after dark, in which case a slightly less prominent fixture at the half landing paired with the two corridor style fixtures on the straight runs above and below is usually enough, rather than matching the half landing fixture's visual weight to the window's own daytime contribution and ending up with more light than the space actually needs once evening light and window light are considered together rather than separately.
How this scales up on a longer commercial corridor
Everything above is framed around a residential hallway, but the same underlying logic, light the walls rather than just the floor, check spacing against openings, verify height on an elevation, carries across to a longer commercial corridor too, even though the actual code minimums and fixture output requirements will be different and should always be checked against whatever regulation applies to that building type and occupancy. A long corridor in an office or a small commercial fit out often benefits from being broken into shorter, felt segments rather than one continuous run, whether that's through a change in wall finish, a change in ceiling height, or simply a slightly tighter fixture spacing at a point that functions as a threshold between two zones.
The wall light blocks discussed here work at that commercial scale too, though a longer run will usually need either a higher output fixture or tighter spacing than the residential range quoted earlier, and it's worth checking manufacturer output data once actual specification moves past the drafting stage and into procurement for a project of that size. One habit worth carrying over from the residential scale regardless of building type is drafting the fixture run as a true array off one block reference rather than copying geometry down the corridor by hand, since a commercial corridor is more likely to go through a late fixture substitution during procurement than a residential hallway, and a proper block reference means that substitution only has to be made once.
Where corridor lighting layouts go wrong
The most common issue is spacing fixtures on a strict even grid without checking against door locations first, which results in a wall light landing awkwardly close to, or directly above, a door swing that wasn't accounted for when the spacing was first calculated. Check door and opening locations before you finalize spacing, not after the fixtures are already placed and the drawing looks finished.
The second common issue, particularly on landings, is applying a straight corridor spacing rule to an irregular shaped space and ending up with fixtures that look randomly placed once the stair and any balustrade are drawn in, landings deserve a quick visual check against the finished layout rather than blind application of the two to three meter rule discussed earlier. And the third is skipping the elevation check on mounting height entirely and only working in plan, which is the same mistake that shows up across almost every lighting layout type, plan alone simply doesn't tell you enough about vertical placement to sign off on a corridor lighting scheme with any real confidence.
A fourth issue worth naming separately is forgetting to check the finished spacing against a printed sheet rather than just the on screen model, a corridor run that looks evenly spaced at full zoom on screen can read quite differently once it's plotted at a smaller architectural scale, so it's worth a final visual check on the plotted or exported sheet before the drawing goes out the door.
A fifth issue, more electrical than purely a lighting design one but worth flagging since it comes up on almost every corridor with more than a couple of doors along it, is failing to specify three way or multi way switching for a longer run, so someone entering from one end of the hallway has no way to turn the lights on without walking the length of the dark corridor first to reach the switch at the other end, which is exactly the kind of practical detail that's easy to miss on a purely visual lighting layout focused on fixture spacing and height rather than on how the switching itself actually gets used day to day.
Further reading
Questions
Frequently asked
How far apart should wall lights be spaced along a hallway?+
A common starting range is two to three meters apart, adjusted for the fixture's own light output and the corridor's width. Door and opening positions along the wall often end up dictating the final spacing more than a strict even grid.
What height should hallway wall lights be mounted at?+
Typically somewhere around 1.5m to 1.8m from finished floor level, a range that generally clears eye level while keeping the fixture close enough to ceiling height to read as architectural rather than furniture level.
Should a stair landing follow the same spacing rule as a straight corridor?+
Not strictly. Landings tend to be irregular in shape, so it usually works better to center the fixture on the widest clear run of wall rather than forcing an evenly spaced grid across a space that isn't a uniform width.
Is there a specific block in the library for corridor wall lights?+
Yes, wall-lamp-elevation-1 and its numbered variants are drawn for this kind of repeated placement, and wall-lights-single or wall-lights-long are worth checking if the corridor calls for a more minimal or more elongated fixture profile.
Free downloads from this article

Free CAD block library
Download the blocks from this article — free, no signup


