Dining Room Lighting: Pendant and Chandelier Placement
How to size, center and hang a chandelier style fixture over a dining table, with real DWG blocks and a repeatable drafting method.
Sumana KumarUpdated 9 July 202611 min read
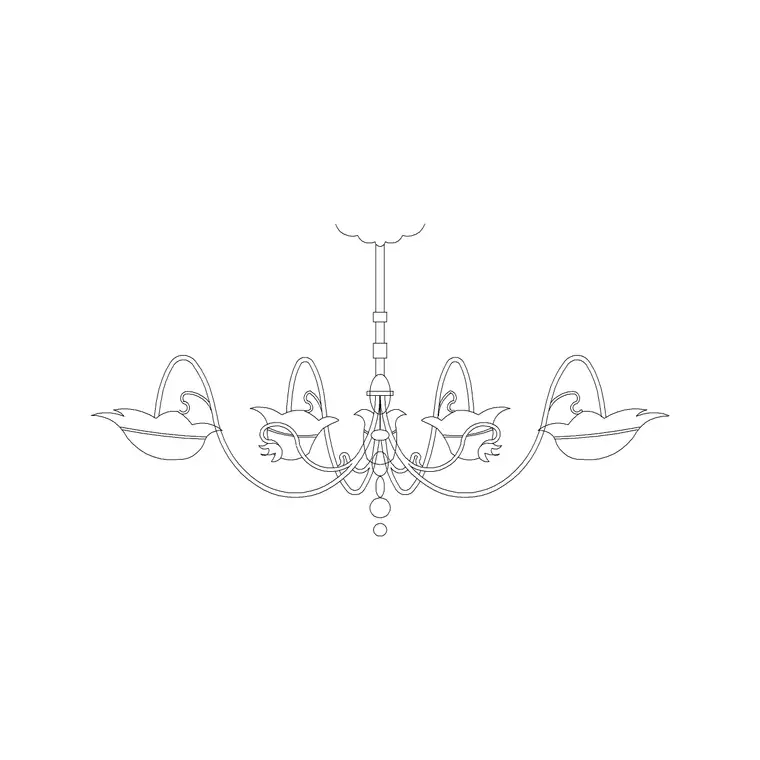
The fixture over the table is doing more work than you think
Walk into a rendered dining room and your eye goes to the table first and the light hanging over it second, almost every time, which is exactly why getting that one fixture right on your reflected ceiling plan matters more than most of the other symbols you'll place that day. I've dropped dozens of these blocks into live dining layouts over the years and the pattern is always the same, the client doesn't comment on the chairs or the sideboard, they comment on whether the light over the table looks centered and proportionate, so it's worth slowing down on this one decision rather than treating it as a quick afterthought once the furniture plan is already locked.
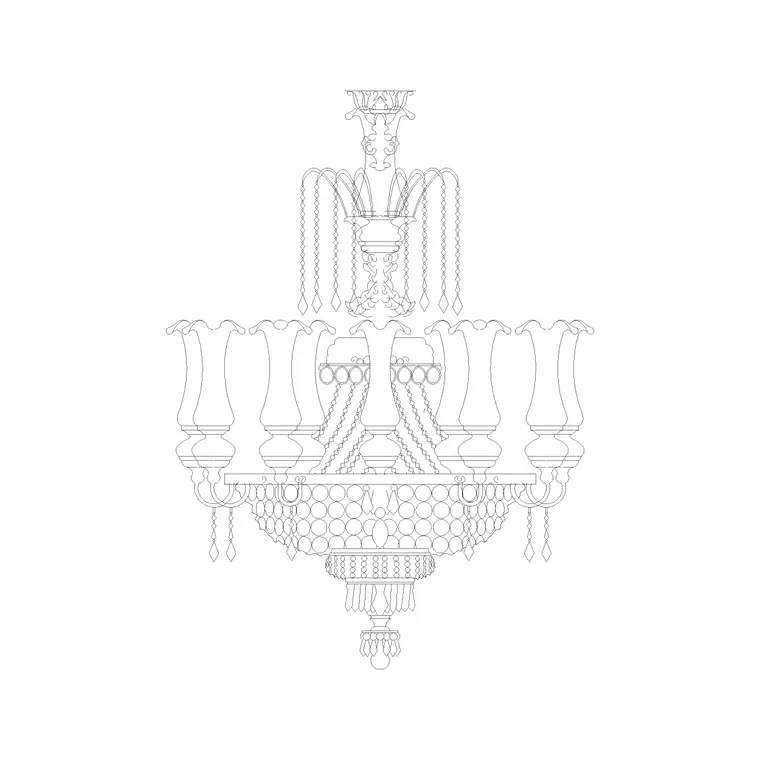
The terms pendant and chandelier get used almost interchangeably in residential drawings, and honestly the distinction is more about branch count and ornamentation than anything structural, a pendant is usually a single drop and a chandelier has multiple arms or tiers, but both hang from the same ceiling point and both get drafted the same way in plan and elevation. What our library actually stocks under this heading is a family of suspended chandelier blocks, drawn in elevation, which cover single drop fixtures right through to multi tier designs, and that range is honestly wide enough to stand in for either term depending on how simple or elaborate the design calls for.
Start with the table, not the ceiling
The mistake I see most often in student drawings, and in a fair number of professional ones too, is picking the chandelier block first and then figuring out where to put it, when the sizing logic should run the other way entirely. Measure the table first, because the fixture's spread is a function of the table's spread, not the room's, and a fixture sized to the room rather than the table almost always ends up either dwarfing a small table or looking undersized above a large one.
The general rule of thumb that most interior lighting references converge on is that the fixture should span roughly one third to one half of the table's shorter dimension, so for a table that's around 900mm wide, you're typically looking at a fixture somewhere in the 300mm to 450mm range across, and for a long rectangular table you'd usually run a linear fixture or a row of pendants rather than trying to stretch one round chandelier the full length. This isn't a fabricated number I'm inventing for this post, it's the same starting ratio lighting designers have used for decades because it keeps the fixture from either disappearing visually or overwhelming the table beneath it, and once you've drafted a few dining rooms you start eyeballing it correctly without doing the math every single time.
Here's how that plays out on an actual table, say a 1000mm round table seating six, running the one third to one half ratio puts the fixture somewhere between 330mm and 500mm across, so a mid sized single tier chandelier in roughly the 400mm range sits comfortably in the middle of that range rather than crowding either extreme, and it's worth actually measuring the fixture's own spec sheet rather than eyeballing a supplier photo, since a chandelier's stated diameter sometimes refers to the metal frame alone and doesn't include shades or drop details that can add another 50 to 100mm of visual width once it's actually hanging in the room.
How high above the table
Height is the second variable, and it's tied to ceiling height more than anything else, so there isn't one fixed number that works everywhere regardless of the room. The common starting point used across residential lighting guidance is somewhere in the range of 750mm to 900mm above the tabletop for a standard 2.4m ceiling, which keeps the fixture clear of sightlines across the table while still reading as intimate rather than floating awkwardly overhead.
If your ceiling runs higher than that 2.4m baseline, the typical adjustment is to add roughly 75mm of drop for every additional 300mm of ceiling height, so a 3m ceiling would usually push the hanging height up a bit further to keep the proportion consistent with the room around it. On your elevation drawing this is the number you'll actually dimension, plan view alone won't tell you if the chandelier clears a ceiling fan or a beam, so always cross check the elevation before you commit to a mounting height in the model, and revisit it again once the actual ceiling construction is confirmed rather than relying on an assumed slab height from early in the design.
Working through the numbers on a specific room helps this stick, a 2.7m ceiling is 300mm taller than the 2.4m baseline, so add roughly 75mm to the standard 750 to 900mm range and you land somewhere around 825mm to 975mm above the tabletop, and on a genuinely tall room, say a 3.3m ceiling, that's 900mm above baseline, so two lots of that 75mm adjustment, pushing the hang height up toward 900mm to 1050mm to keep the fixture from reading as lost in a tall void above the table. It's a small adjustment each time but it compounds over a taller ceiling, and skipping it is exactly how a chandelier that looked right on a standard height room ends up looking stranded and small once it's actually installed under a genuinely high ceiling.
Centering the block in plan, not the room
This sounds obvious written down and yet it's the single most common placement error I've had to fix on a review pass, someone centers the light fixture on the room's geometric center instead of the table's center, and the two are rarely the same point once you account for a bay window, a run of storage, or an off center door swing that pulls the table away from the room's true middle.
The fix is simple in practice, insert the table block first, find its centroid, and snap the chandelier block's insertion point to that same coordinate before you worry about anything else in the room. If the table might move later in the design process, and dining tables do get nudged more than people expect once furniture arrangement gets finalized against a rug or a sideboard, leave yourself a note on the ceiling plan layer so the fixture gets recentered in the same pass rather than being forgotten and discovered off center only once the drawing is nearly finished.
Matching the fixture shape to the table shape
Beyond size and height, shape compatibility is worth a deliberate look rather than an afterthought, because a round chandelier over a long rectangular table tends to leave the table's ends visually under served no matter how bright the bulbs actually are, and a linear fixture centered over a small square table can look stretched and out of proportion in exactly the opposite way. As a general starting rule, round or square tables pair naturally with a round or compact multi arm chandelier, since both share a centered, radial visual logic, while rectangular and oval tables pair better with an elongated or linear fixture, or with a row of smaller pendants spaced along the table's long axis.
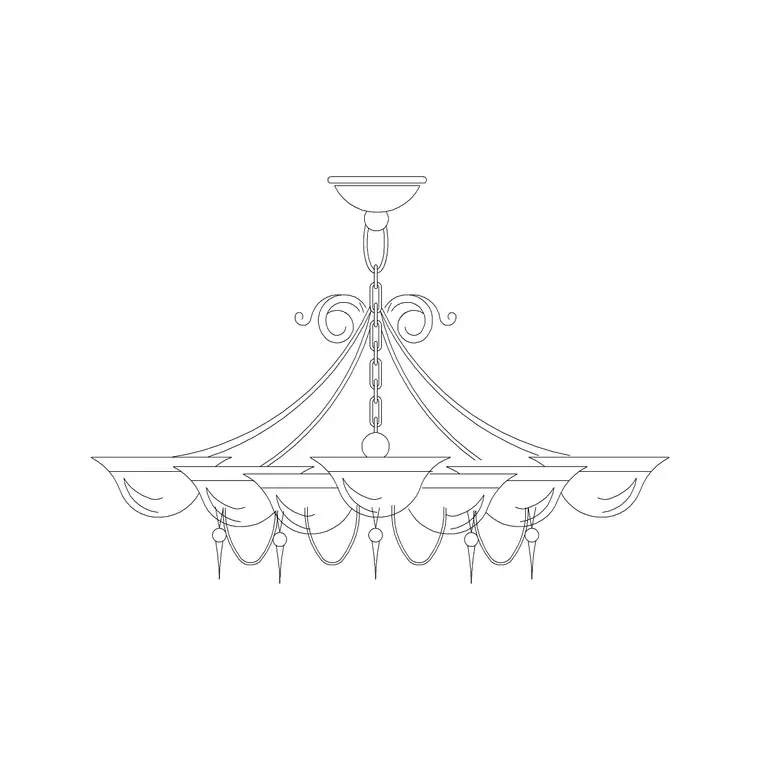
This matching exercise is also where the suspended-chandelier-round-type family earns its keep, since it's drawn specifically for that round table pairing rather than being a compromise shape that technically fits either scenario without doing either one particularly well. Getting this pairing right up front avoids the awkward middle ground where a fixture technically sits over the table but never quite looks like it was chosen for that specific table's proportions.
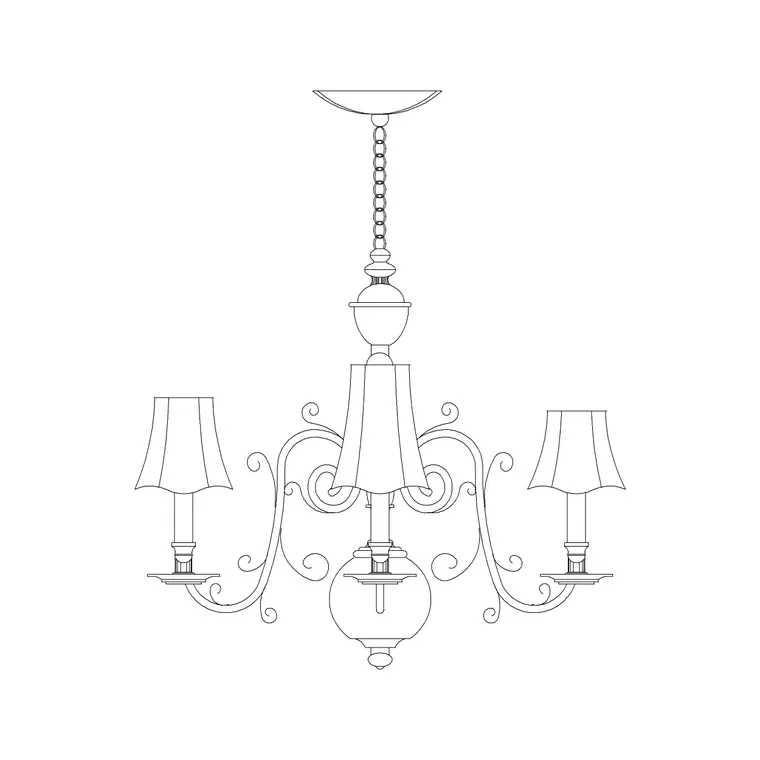
On a recent layout I was checking, a 2.2m long rectangular table seating eight had been paired with a single round chandelier centered on the table's middle, and the moment you looked at the plan next to the ceiling layout it was obvious the two ends of the table, roughly 700mm each beyond the fixture's spread, were going to sit in comparative shadow next to the pool of light in the center. Swapping to the long-suspended-chandelier-metal-type family, or alternatively three smaller pendants spaced evenly along the table's axis, solved it immediately, and it's the kind of fix that's obvious in hindsight but easy to miss if you draft the ceiling plan without holding the table's actual plan shape next to it the whole time.
What the library actually has for this
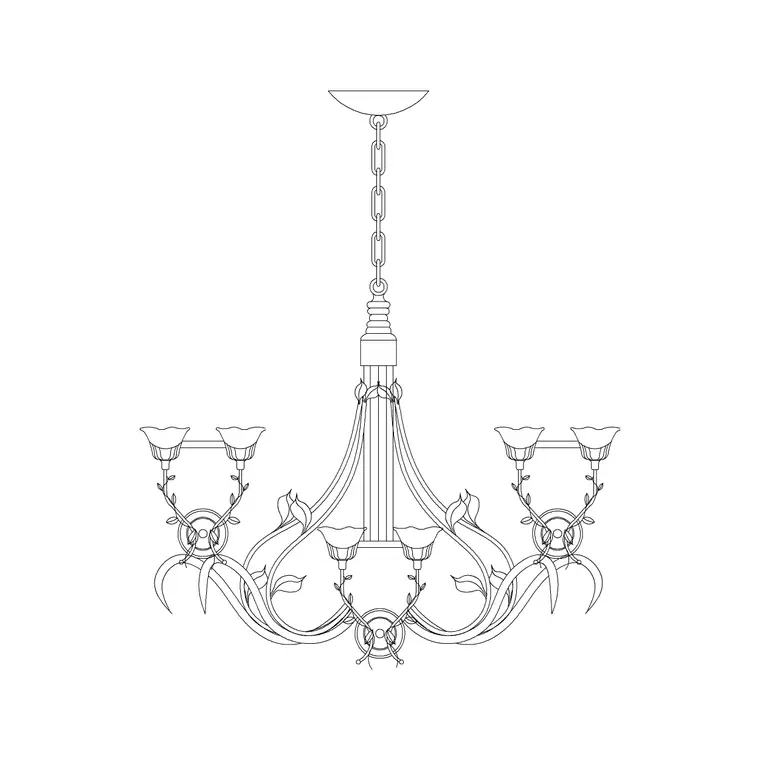
For the dining fixture itself, the block that matches this use case directly is suspended-chandelier-metal-type-a, drawn in elevation, which works as a clean single point drop for a standard four to six seat table. If you need variety across a project, or you're comparing options for a client, the catalogue also carries suspended-chandelier-round-type-a for a rounder silhouette and small-suspended-chandelier-metal-type-a when the room or the table is on the smaller side and a full size chandelier would look out of scale against it.
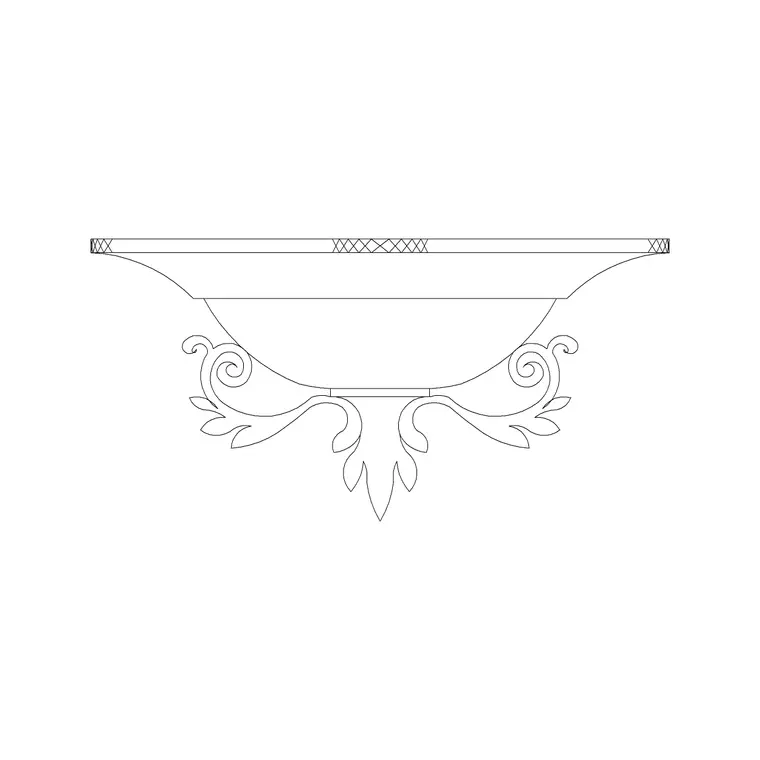
All of these are drawn as elevation blocks, which is exactly the view you need for checking hang height and proportion against the table and the wall behind it, plan symbols alone won't show you whether the fixture actually clears a doorway header or a soffit, so pull the elevation into your section cuts wherever the dining space gets shown in that view, and don't rely on the plan symbol alone to sign off on the fixture's fit within the room.
Long tables need a different placement logic
A single chandelier over a long rectangular table, the kind you'd seat eight or ten at, tends to leave the ends of the table under lit and looks visually lopsided on the reflected ceiling plan besides, since one centered point of light struggles to cover a run of table that might extend well over two meters in either direction from that center point.
Our library carries the long-suspended-chandelier-metal-type family for exactly this scenario, drawn as an elongated fixture rather than a compact drop, and it reads correctly over an eight seat or longer table without needing to fake a linear look by lining up multiple round chandeliers, which tends to look busy on the ceiling plan even when it lights the table adequately well. If you do go the multi pendant route instead, keep the spacing even and centered on the table's midline, an off center row is more noticeable over a long table than over a round one, and it's worth double checking that spacing against the actual chair positions so no single seat ends up sitting directly beneath a gap between fixtures.
Coordinating the dining fixture with the rest of the ceiling plan
The dining chandelier rarely sits alone on a finished reflected ceiling plan, most dining rooms also carry some general ambient lighting nearby, whether that's a simple ceiling-lamp block over an adjoining hallway threshold or an ambient fixture serving an open plan kitchen and dining zone together, and it's worth checking that the decorative dining fixture doesn't compete visually with whatever ambient source sits just outside the dining zone itself.
The practical habit here is to draw the dining fixture first, since it's the fixed point the rest of the layout has to respect, and then bring in any adjoining ambient fixtures afterward, checking sightlines from the main entry into the dining space so the decorative chandelier reads as the room's clear focal point rather than one of several competing light sources at the same visual weight.
Where dining fixture placement goes wrong on real drawings
The most frequent issue, beyond the centering mistake already covered, is scale mismatch, a fixture that reads fine in a rendering or a catalogue thumbnail turns out to be visually massive or comically small once it's actually inserted at true size against an 1800mm table. Always insert at the block's native scale and check it against the table footprint before moving on, rather than trusting how it looked in a reference photo or a supplier's marketing image.
The second common issue is forgetting the elevation check entirely and only working in plan, which means a fixture that looks perfectly centered from above turns out to clash with a ceiling fan, a beam, or a sprinkler head once you finally look at the section. And the third, smaller but still worth flagging, is applying a chandelier block meant for a formal dining room straight into a casual breakfast nook without checking whether the scale and ornamentation actually suit that softer, smaller space, where a lighter, less ornate fixture usually reads as the more considered choice.
A fourth, easy to overlook until a client points it out, is forgetting to check the fixture against the room's traffic path, a chandelier hung low enough to look proportionate against the table can still sit at a height where someone standing to pull out a chair, or a server carrying dishes around the table's perimeter, brushes against the bottom of the shade. Walk the elevation through that circulation path mentally before finalizing the hang height, not just the sightline across the table itself.
A fifth issue, worth mentioning since it comes up on almost every review pass, is speccing the fixture without checking whether the electrical layout even has a dimmer control on that circuit, a decorative chandelier over a dining table is one of the few fixtures in a home that genuinely benefits from being dimmable, since the room needs to shift from bright and functional during a meal prep conversation to soft and low for an evening dinner, and it's worth flagging that requirement to the electrical drawing early rather than discovering after the ceiling plan is finished that the circuit was wired without one.
Further reading
Questions
Frequently asked
How wide should a chandelier be compared to the dining table?+
A common starting ratio is roughly one third to one half of the table's shorter dimension. For a 900mm wide table that typically lands the fixture somewhere around 300mm to 450mm across, adjusted up or down depending on how ornate the fixture is.
How high should the fixture hang above the table?+
For a standard 2.4m ceiling, a common range is 750mm to 900mm above the tabletop. Add roughly 75mm of extra drop for every 300mm the ceiling runs higher than that baseline, and always confirm the number on an elevation view, not just in plan.
Do I use one chandelier or a row of pendants over a long table?+
For tables seating eight or more, a single round chandelier usually leaves the ends of the table under lit. A linear fixture along the table's long axis, or two to three evenly spaced pendants centered on the table's midline, generally reads better on both the ceiling plan and in the room.
Is the pendant and chandelier terminology the same thing in your library?+
In practical drafting terms yes, our catalogue lists this fixture type under the suspended chandelier naming, covering single drop through multi arm designs, and it works for whichever term your project brief happens to use.
Free downloads from this article
DWGSuspended Chandelier Metal Type A
 DWG
DWGSuspended Chandelier Round Type A
 DWG
DWGSmall Suspended Chandelier Metal Type A
 DWG
DWGLong Suspended Chandelier Metal Type A
 DWG
DWGLong Suspended Chandelier Metal Type B
 DWG
DWGChandelier Plan (1)
 DWG
DWGChandelier Ele (10)
 DWG
DWGCeiling Lamp
Free CAD block library
Download the blocks from this article — free, no signup


