Ceiling Fan and Ceiling Lamp Blocks: Reflected Ceiling Plans
What a reflected ceiling plan actually documents, and how to place ceiling fan and flush ceiling lamp CAD blocks without clashing with the furniture below.
Saumyajit MaityUpdated 24 June 202610 min read
An RCP is a plan of the ceiling, drawn as if you're looking up
A reflected ceiling plan is exactly what it sounds like once you say it slowly, it's the ceiling of the room mirrored down onto the same footprint as your floor plan, as though the ceiling were a mirror and you're looking at its reflection rather than looking directly up at it, which is why fixture positions on an RCP line up with the walls and furniture below even though nothing about the drawing is looking at the floor at all.
The practical reason this matters for lighting specifically is that every fixture you place, a ceiling fan, a flush lamp, a chandelier, has to make sense relative to what's actually happening in the room below it, a fan blade sweeping directly over a tall wardrobe or a pendant hanging where a doorway swings open are the kind of clashes that only show up when you overlay the RCP against the furniture plan, and skipping that check is the single most common reason an RCP comes back from review with a fixture that needs to move.
Ceiling fans and ceiling lamps are usually the two most frequent symbols on a residential RCP, and treating them as one combined placement pass rather than two separate afterthoughts is what keeps the drawing coherent, since a room that gets its fan placed first and its ambient lamp squeezed in wherever's left over rarely ends up with the two fixtures sitting in a sensible relationship to each other.
An RCP typically also documents bulkheads, ceiling level changes and sometimes AC diffusers alongside the lighting layer, so it's worth remembering that the fan and lamp blocks discussed here are only part of what the sheet is carrying, and checking fixture placement against any bulkhead or level change shown on the same plan matters just as much as checking it against the furniture below.
The ceiling fan blocks in the library, and being honest about the range
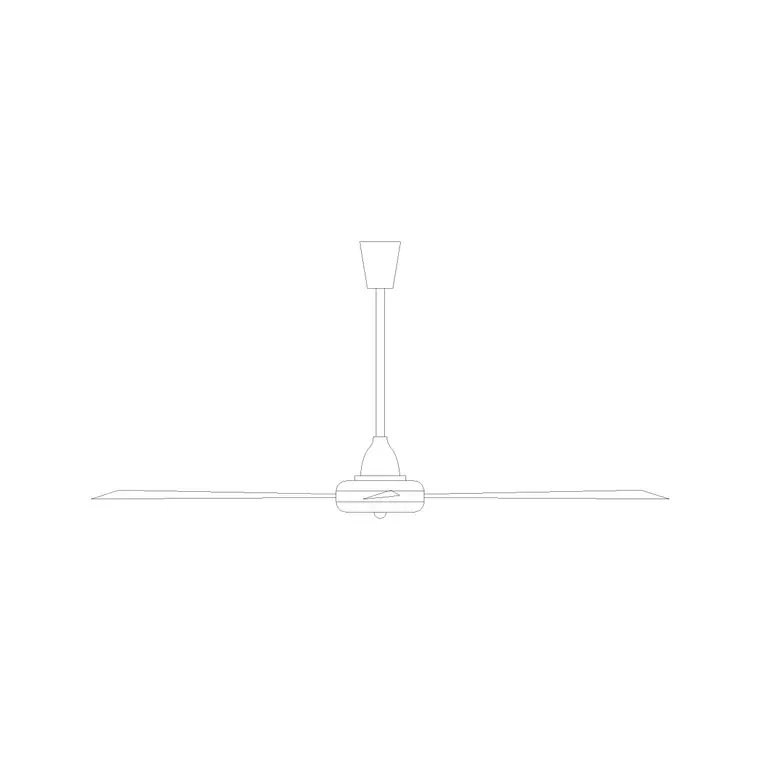
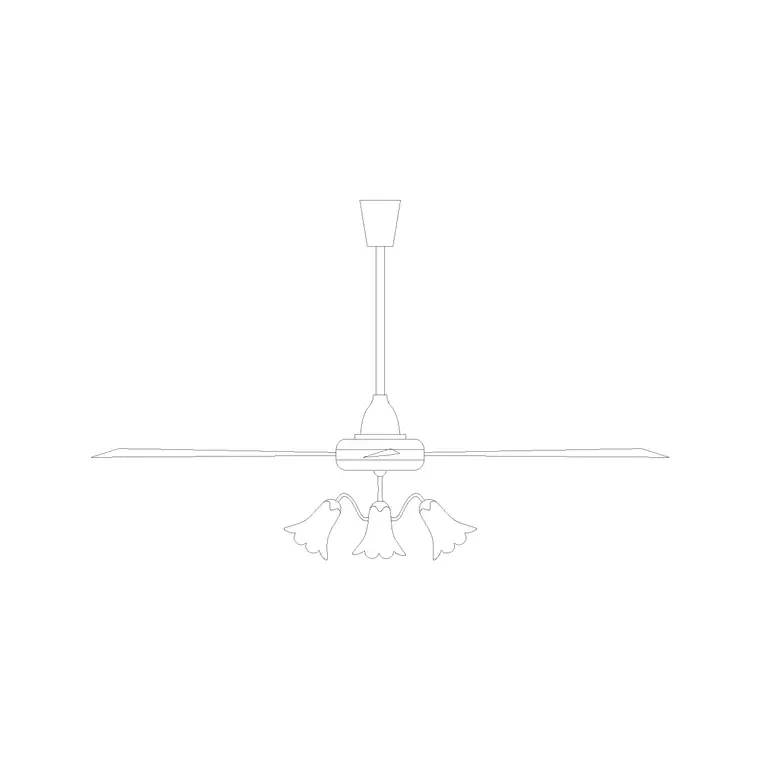
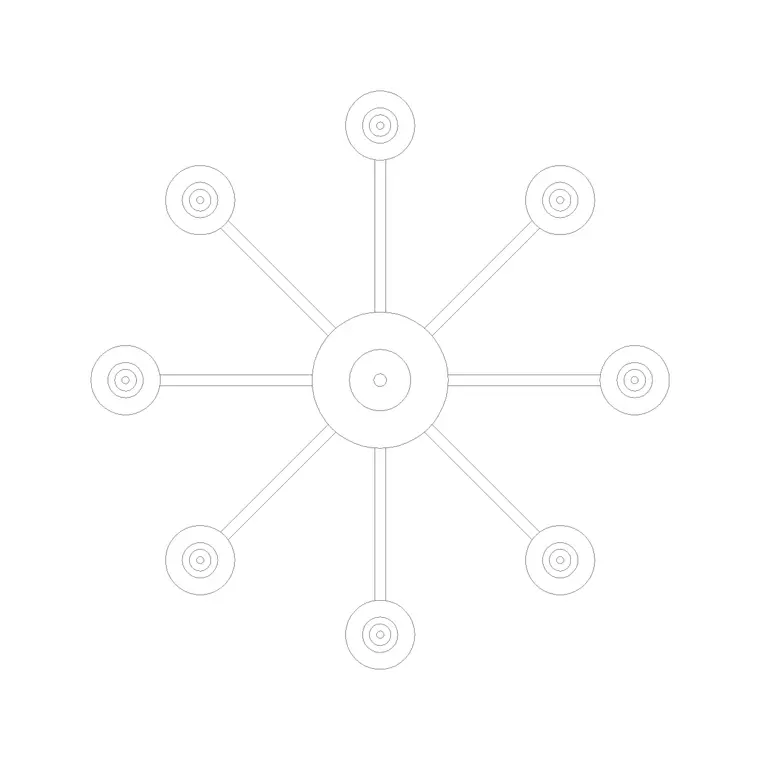
Our library carries two dedicated ceiling fan blocks, both drawn as a suspended fan fixture, and it's worth being straightforward that this is a narrower selection than some of our other categories, there isn't a wide range of blade counts or mount styles to choose from the way there is with, say, table lamps or wall lights, so these two blocks are really meant to represent the fan typology on a plan rather than to match a specific model spec sheet.
For drafting purposes that's usually enough, because a fan symbol on an RCP is doing a coordination job, marking that this location needs a fan rated ceiling box and confirming the blade sweep doesn't clash with anything below it, rather than serving as a rendering accurate product callout, and if a project genuinely needs an exact manufacturer model shown, that's typically supplied separately by whoever's specifying the actual fixture rather than pulled from a generic block library.
What the two variants do let you do is show a fan in two slightly different visual styles, useful if you're drafting more than one fan on the same sheet and want a subtle way to distinguish, say, a bedroom fan from a living room fan without relying purely on a text label.
Worth noting too that neither fan block comes with a matching plan mounted light kit variant drawn as a single combined symbol, so on a project where the fan itself includes an integrated light fixture, you're generally showing that as the fan block plus a note rather than expecting one symbol to capture both functions, which is a small but real limitation worth flagging to whoever's reviewing the RCP against the actual fixture schedule.
Flush and semi flush ceiling lamps for everywhere a fan isn't
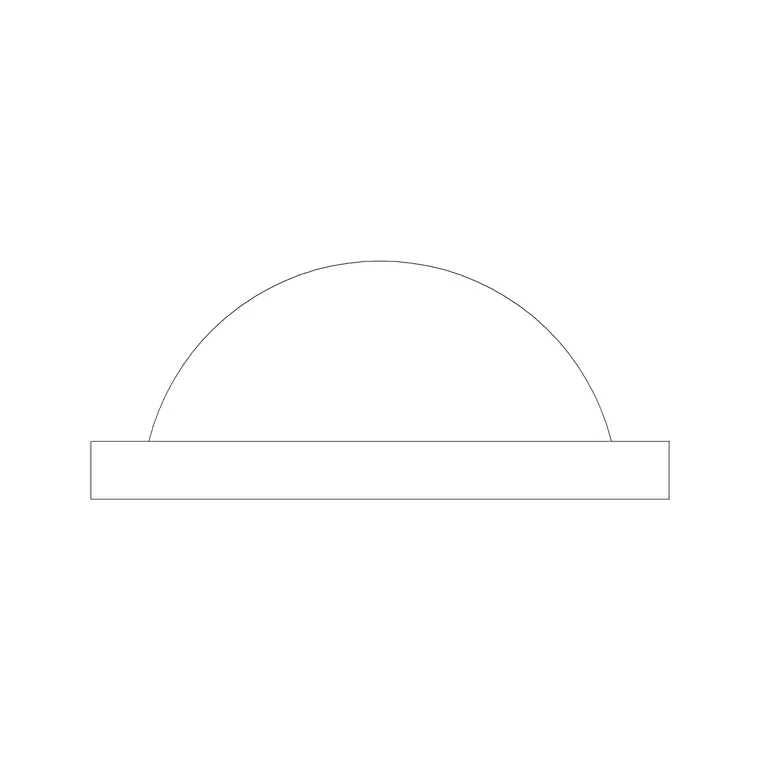
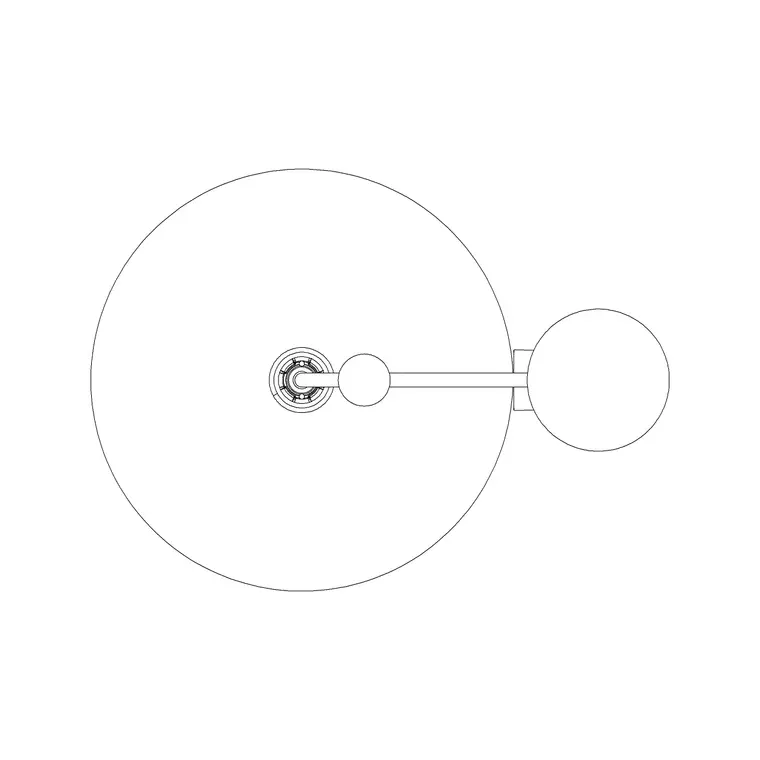
Ceiling-lamp is the block to reach for whenever a room needs a simple overhead fixture that isn't trying to make a design statement, closets, hallways, utility rooms, bathrooms, anywhere a chandelier would be overkill and a bare symbol would look unfinished, and it's drawn simply enough that it doesn't clash visually with whatever else is happening on a busy RCP sheet.
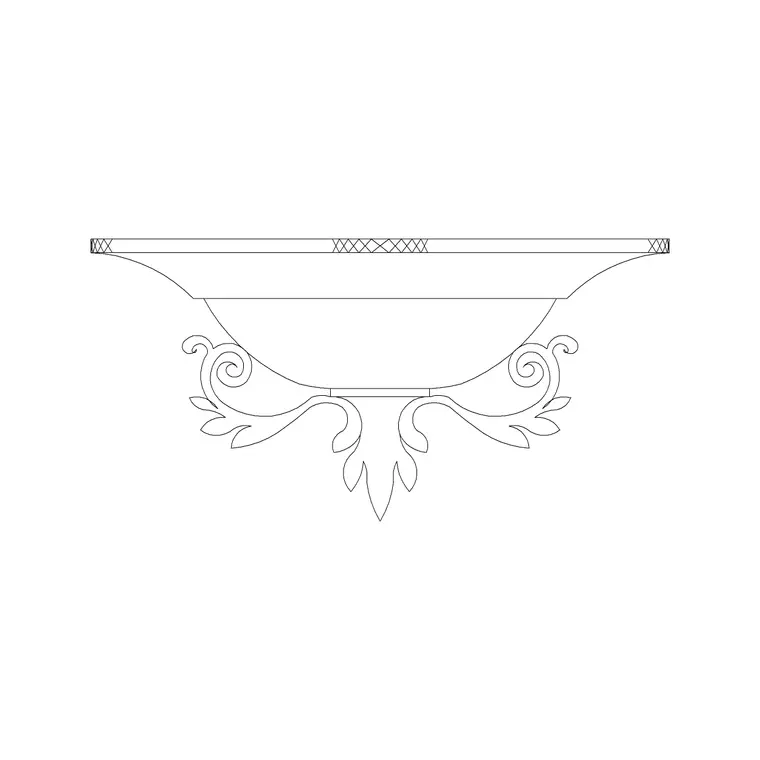
Beyond the basic ceiling-lamp block, the library also carries a run of more designer flush and semi flush fixtures, drawn in both plan and elevation across a range of profiles, some closer to a simple round or drum shade and others more sculptural, and these are worth pulling for spaces where the ceiling fixture is doing more visual work than a closet light, a hallway meant to feel considered rather than purely functional, or a smaller room that isn't getting a chandelier but still wants some personality overhead.
Ceiling-light-round is another straightforward option worth knowing, closer to a simple recessed or surface mounted round fixture, and it slots in well for bathrooms and kitchens where a busier designer profile would look out of place against tile or cabinetry.
For a corridor or hallway with several of these fixtures repeated along its length, it's worth picking one profile and repeating it consistently rather than mixing designer variants along the same run, a corridor with three visually different flush fixtures spaced along it tends to read as unplanned in a way that three identical ones spaced the same distance apart simply doesn't.
A deeper well of flush fixtures for feature ceilings
Beyond ceiling-lamp and ceiling-light-round, the library actually carries a fairly long tail of more sculptural flush and semi flush ceiling fixtures, drawn in both plan and elevation across a range of profiles, some closer to a simple dome or drum, others with a more open, sculptural silhouette that reads as a genuine design statement rather than a purely functional fixture, and this whole group tends to get overlooked because it doesn't sit under the obvious chandelier or ceiling-lamp naming.
These are worth pulling specifically for rooms where the ceiling itself is a feature, a study or a small library nook with a coffered or paneled ceiling, a boutique retail fitting room, a hotel corridor that's meant to feel considered rather than purely functional, since a plain ceiling-lamp in a room that's otherwise been detailed carefully tends to look like an afterthought against everything else on the ceiling plan.
Most of this group ships as matched pairs, an elevation and a plan version, and several also include a front and lateral elevation variant, which is genuinely useful for a fixture with an asymmetric profile since a front view alone doesn't always tell you how deep or how wide the fixture actually sits once it's mounted, and having both angles to check against your section keeps the proportions honest before the drawing goes out.
It's worth resisting the urge to use more than one or two of these more sculptural profiles on a single project, they're distinctive enough that mixing several different ones across different rooms in the same house can read as indecisive rather than eclectic, so picking one or two favorites and repeating them where a feature ceiling fixture is called for tends to hold together better than treating the whole group as a pick and mix.
Checking fan and lamp placement against the furniture below
The clash that actually gets missed most often isn't between two ceiling fixtures, it's between a ceiling fixture and a piece of furniture below it, a fan positioned so its blades sweep directly over a tall wardrobe or a bookshelf looks fine on the RCP alone but reads as an obvious mistake the moment someone overlays the furniture plan on top, and the same goes for a ceiling lamp centered over where a door swings fully open, since the fixture ends up looking off center in every photograph taken from inside the room.
The fix is procedural more than technical, overlay your furniture plan as a reference layer while you're placing RCP fixtures rather than working from the empty room outline alone, and specifically check fan placements against any tall furniture nearby, since a fan needs genuine clearance on all sides of its blade sweep, not just clearance directly beneath the hub.
For bedrooms specifically, the common center point for a ceiling fan is directly over where the bed sits rather than the room's geometric center, since that's the zone the fan is actually meant to cool, and centering purely on the room's four walls without checking against the bed position underneath is a fast way to end up with a fan that's technically centered but functionally useless.
Living rooms carry a version of the same problem with the main seating group rather than a bed, a fan centered on the room's walls in a living room with an off center sofa arrangement ends up cooling the wrong half of the room, so the same furniture-first centering logic that applies to a bedroom fan applies just as much here.
It's worth running this same furniture overlay check on the ceiling lamp layer too, not just the fan, since a flush fixture centered over a tall bookcase or a wardrobe reads as slightly wrong in the same way an off center fan does, even though a flush lamp has no moving blades to physically clear, the visual relationship between the fixture above and the furniture below still needs to look intentional once both are shown on the same coordinated drawing.
Layering fan and lamp when a room genuinely needs both
Some rooms need a fan for air movement and a separate ambient lamp for evening light, and rather than mounting both at the exact same ceiling point, which usually isn't physically possible anyway, the more common real world solution is a fan positioned centrally for airflow with a flush ceiling lamp or a wall lamp pair covering the ambient lighting layer separately.
On an RCP this shows up as two distinct symbols rather than one combined block, and it's worth double checking that the two don't end up crowding each other visually on the plan, if the room is small enough that a centered fan and a centered lamp would overlap or sit uncomfortably close together, that's usually the signal to move the ambient lamp off center slightly, toward a reading corner or over a dresser, rather than forcing both fixtures into the exact geometric middle of the room.
This kind of layering decision is really the same three layer thinking that applies to any room's lighting plan, one fixture handles the functional job, airflow in this case rather than reading light, and a separate fixture handles the ambient layer, and an RCP that shows both clearly is doing its job properly.
Where a room has genuinely limited ceiling area to work with, a small bedroom under a sloped roof for instance, it's worth prioritizing the fan over the ambient ceiling fixture and letting a wall lamp or a floor lamp carry the ambient layer instead, since airflow is usually the harder problem to solve with a wall mounted alternative, whereas ambient lighting has several viable substitutes if the ceiling itself is too constrained for two separate fixtures.
A living room with both a fan and a chandelier or plain suspended pendant over a coffee table is a common enough combination that it's worth planning the two together from the start rather than adding the fan as an afterthought once the pendant position is already locked in, since a fan positioned too close to a pendant on the same ceiling can end up visually competing on the RCP even when the actual blade clearance between the two is technically fine.
A repeatable RCP workflow for fan and lamp placement
Start by marking which rooms need a fan at all, usually bedrooms and living rooms in a residential project, and place the fan block centered over the bed or the main seating group rather than the room's walls, then move to ambient lighting and place ceiling-lamp or one of the designer flush variants in every remaining room that isn't getting a chandelier or pendant treatment covered elsewhere in the drawing set.
Overlay the furniture plan as a check before finalizing anything, specifically looking for fan blade clearance against tall furniture and ceiling lamp centering against doors and windows, and once both fixture types are placed and checked, that RCP sheet is genuinely coordinated rather than just technically populated with the right count of symbols.
Every fan and ceiling lamp block mentioned here downloads as DWG with no account required and is cleared for commercial project use, so building out a full residential RCP with proper fan and lamp coordination is a matter of working through this checklist room by room rather than sourcing or drafting any of the fixture geometry from scratch, and once the workflow is second nature it genuinely does move faster than a plan by plan improvised approach.
Further reading
Questions
Frequently asked
What is a reflected ceiling plan for?+
It documents the ceiling's fixtures, fans, bulkheads and finishes as if the ceiling were mirrored down onto the same footprint as the floor plan, so contractors can coordinate ceiling work against the walls and furniture layout below it.
How many ceiling fan CAD block variants are in the library?+
Two dedicated ceiling fan blocks. It's a narrower range than some other lighting families, meant to represent the fan typology for coordination purposes rather than match a specific manufacturer model.
Where should a bedroom ceiling fan be centered?+
Over the bed itself, not the room's geometric center, since the bed is the zone the fan is actually meant to cool. Centering purely on the walls without checking bed position often produces a fan that looks correct on plan but sits in the wrong place functionally.
What's the difference between ceiling-lamp and the designer flush fixture blocks?+
Ceiling-lamp is a simple, minimal flush fixture for utility spaces like closets and hallways. The designer flush and semi flush variants carry more visual detail and suit rooms where the ceiling fixture is meant to read as a considered design choice rather than a purely functional light.
Free downloads from this article

Free CAD block library
Download the blocks from this article — free, no signup


