Blocks for a lighting layout walkthrough before a final RCP
How to lay out lighting blocks over a furniture plan before you commit to a final reflected ceiling plan, and what to check before you lock it.
Sumana KumarUpdated 13 May 20266 min read

The walkthrough pass before RCP is where mistakes get cheap to fix
I've had a reflected ceiling plan go out for coordination with a pendant sitting directly over a sofa arm instead of the coffee table, and the fix after issue meant a change order, an electrician revisit, and an awkward call to the client. The walkthrough pass I'm describing here happens before that, it's the stage where you overlay a rough lighting layout on top of the furniture plan, look at it honestly, and catch exactly that kind of clash while it's still just a block you can drag two feet to the left.
Doing this properly means treating the lighting blocks as real, scaled objects during the walkthrough, not placeholder dots, because a dot doesn't tell you whether a wall sconce actually clears a doorway.
Bring the furniture plan in first
You can't judge a lighting layout in isolation, so start the walkthrough with your furniture plan already placed, a sofa set plan block and whatever else is furnishing the room, because lighting decisions are almost always relative to something, a pendant centred over a dining table, a reading light beside a chair, a wall lamp flanking a piece of art or a headboard. Without the furniture underneath as reference, you end up placing fixtures on a grid that looks even on paper but ignores where people actually sit and stand.
I keep the furniture layer at a slightly reduced opacity or a lighter colour during this walkthrough stage, visible enough to reference but not so dominant it competes visually with the lighting symbols you're actually trying to evaluate, since the walkthrough works best when your eye can move quickly between 'here's a chair' and 'here's a fixture' without either layer fighting for attention. This is also the point where I'll sanity check ceiling height against fixture type, a pendant that reads fine on a flat plan can be a genuine head clearance problem in a room with a lower ceiling than the drawing initially suggests.
Natural light is worth bringing into this same walkthrough too, not as a block exactly, but as a consideration alongside the fixture blocks, since a lighting layout planned without reference to where daylight actually falls across the room during the day tends to either under light the darker corners or waste fixtures over a zone that's already naturally bright most of the afternoon. I'll sketch a rough daylight zone directly onto the walkthrough sheet, even just a soft shaded area near the windows, so the fixture density I'm placing responds to where artificial light is actually needed rather than treating the whole room as uniformly dim.
Wall mounted fixtures and elevation checks
Wall lamp blocks are worth checking on an elevation view during this walkthrough stage, not just in plan, because mounting height is where a lot of lighting layouts quietly go wrong, a sconce that's technically in the right plan location but sits at the wrong height clashes with a door head or a piece of furniture in a way you'd never catch from directly above. Wall fixtures are typically mounted somewhere in the 1000 to 1500 mm range off finished floor depending on their purpose, ambient versus task, so pull the block onto a quick elevation strip next to the plan and eyeball that relationship before it locks into the RCP.
This is also a good moment to note fixture finish and lamp type directly on the walkthrough sheet, even informally, since a decision made verbally in a walkthrough meeting and never written down has a way of getting lost by the time the electrical set actually gets issued, and a small pencil note now saves a round of clarifying emails later in the project.
Marking direction and throw with simple symbols
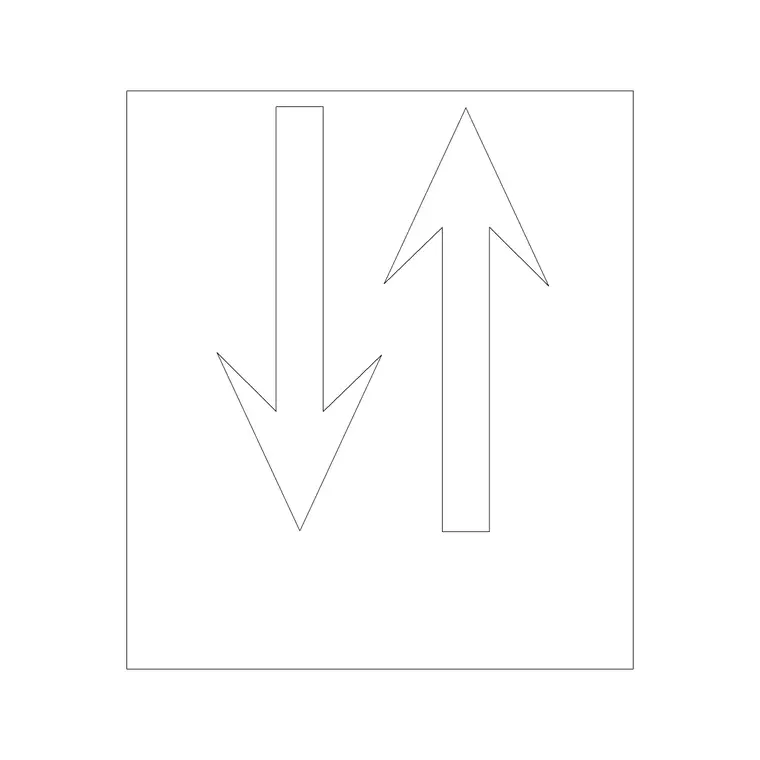
An arrow block is a genuinely useful, low effort way to note light throw direction during a walkthrough, whether that's an adjustable downlight aimed at an art wall or a wall wash you want the electrician to understand isn't just a straight-down fixture. It's a small thing but it saves a coordination meeting's worth of back and forth explaining intent verbally when the arrow can just show it on the sheet.
Circulation and switching logic
While you're walking the layout, check that fixture positions don't conflict with door swings or accessible circulation routes, an accessible clearance symbol placed at doorways during this pass will flag if a wall sconce is about to sit inside a swing zone or a required clear width. This is also the natural point to rough in switch and control zoning, even just informally, because switching logic that gets bolted on after the RCP is finalised tends to produce more three way switches than the project actually needed.
Rough switching zones don't need to be final at this stage, but sketching them even loosely, which fixtures group to which switch, forces you to actually think through how someone moves through the room and reaches for a light, and that thinking tends to surface fixture position problems that a purely visual layout pass misses. A three way switch that only makes sense because a fixture is in a slightly odd spot is a good signal to move the fixture rather than accept the extra switching complexity, and it's a far cheaper fix to make now than after the electrical set is issued.
Dimming and layered lighting worth deciding early
For instance, deciding which fixtures sit on a dimmer versus a straight on off switch is easier to get right during this walkthrough than after the RCP locks, since a pendant over a dining table almost always benefits from dimming while a hallway downlight rarely needs it, and noting that distinction fixture by fixture on the walkthrough sheet means the electrical set inherits the right control type from the start rather than defaulting everything to the same switching just because nobody flagged an exception in time. I also think through layering at this stage, ambient, task, and accent light working together rather than a single ceiling grid doing all the work alone, since a room lit entirely from directly overhead reads flatter and less considered than the same room with even one or two wall mounted or accent fixtures breaking up the light source, and that layering decision is far easier to sketch loosely now than to argue for after a flat, grid only RCP has already been priced and approved.
Locking the layout into a final RCP
Once the walkthrough has caught the obvious clashes, transfer confirmed fixture positions onto your actual reflected ceiling plan layer, keeping lighting blocks on their own named layer separate from the furniture underlay so you can turn the furniture off entirely for the electrical set. Per general orthographic projection convention, an RCP is essentially the ceiling plane mirrored back down onto the floor plan view, so double check any fixture you moved during the walkthrough is still correctly mirrored in position relative to the walls before you issue the final sheet.
Further reading
Questions
Frequently asked
Why do a lighting walkthrough before finalizing the RCP?+
It's the cheapest point to catch clashes between fixtures and furniture, doors or clearances. Fixing a pendant position on a rough overlay takes seconds, fixing it after the RCP has gone to the electrician means a change order.
Should lighting blocks be shown in plan or elevation during this stage?+
Both if you can. Plan view checks fixture position relative to furniture and layout, elevation view, for a wall lamp especially, checks mounting height against doors, windows and furniture height, which plan view alone won't catch.
What layer should lighting blocks go on before the RCP is final?+
Their own dedicated layer, separate from the furniture underlay layer. That way you can freeze furniture for the electrical issue set while keeping it visible during your own internal coordination walkthrough.
Free downloads from this article


Free CAD block library
Download the blocks from this article — free, no signup


