Bedroom Lighting Layout: Bedside, Ambient and Accent Fixtures
A three layer approach to bedroom lighting CAD blocks, from bedside table lamps to ceiling fixtures to the floor lamp in the reading corner.
Sumana KumarUpdated 21 June 202610 min read
A bedroom lit by one ceiling fixture always looks unfinished
I can usually tell within a few seconds of looking at a bedroom reflected ceiling plan whether it was drafted by someone who's actually thought about how the room gets used at ten at night, versus someone who dropped a single ceiling-lamp symbol in the middle of the room and called the lighting layout done, and the giveaway is always the same, a bedroom with only one overhead fixture reads as a hotel room from 1998, not a space someone actually sleeps and reads in.
Real bedroom lighting works in three layers that each solve a different problem, a bedside layer for reading in bed without waking whoever's next to you, an ambient layer that lights the room generally when you're getting dressed or cleaning, and an accent layer, usually a floor lamp in a reading chair or a corner, that does none of the practical work and exists purely so the room doesn't feel flatly lit from directly overhead.
Our lighting category has dedicated blocks for all three layers, more than thirty table lamp variants for the bedside layer alone, over thirty wall lamp elevations for ambient wall coverage, and sixteen floor lamp elevation variants for the accent layer, and treating them as three separate placement decisions rather than one generic lighting pass is really the whole trick to a bedroom plan that reads as considered rather than default.
The order matters too, and it's worth doing the layers in the sequence they're presented here rather than jumping straight to whichever one seems most interesting, because the bedside layer constrains the furniture layout, the ambient layer fills in whatever the bedside layer leaves dark, and the accent layer only really makes sense once you know whether the room even has a distinct zone left over to put it in.
The bedside layer starts with the bed, not the lamp
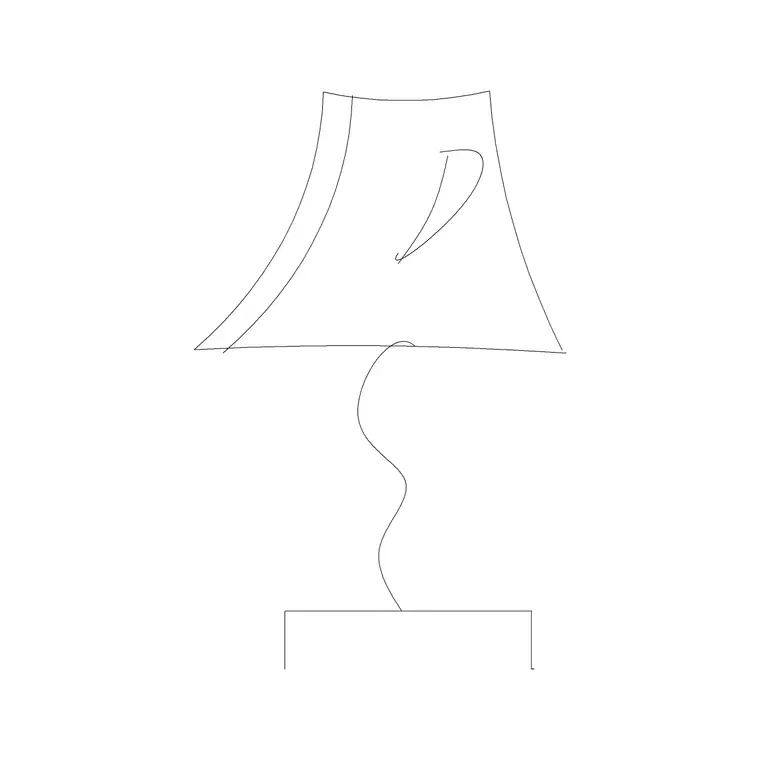
The table lamp series in our library runs well past thirty variants, everything from a simple round shade on a slim stand through to more ornate ceramic base designs, and it's tempting to pick whichever one looks nicest and place two of them symmetrically on either nightstand, which is the right instinct but only half the job, because the lamp also needs to actually fit the nightstand it's sitting on, a tall lamp on a low, narrow nightstand looks precarious even in a flat 2D elevation, and that's exactly the kind of proportion mismatch a client picks up on immediately even if they can't articulate why the drawing feels slightly off.
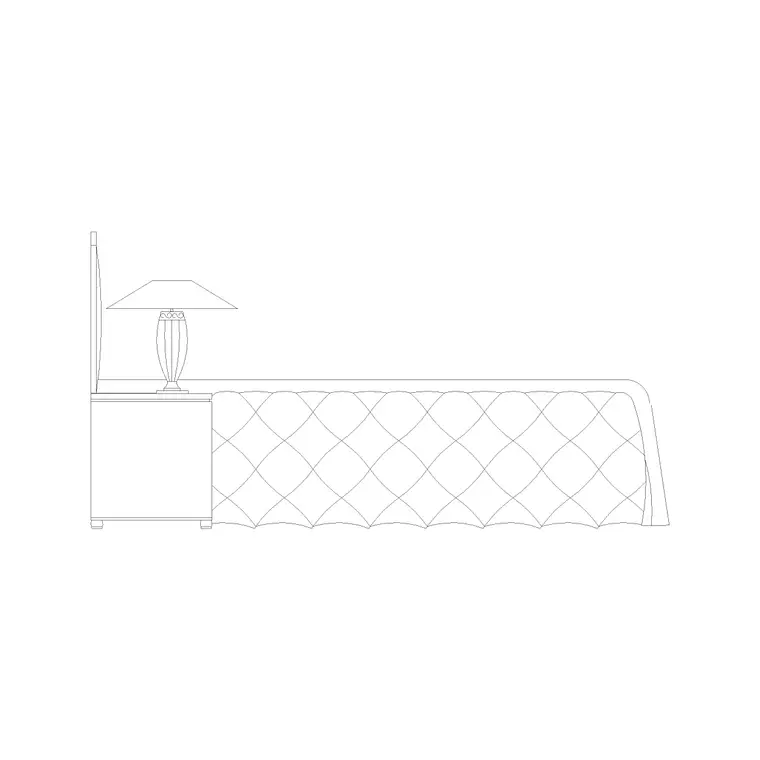
We've also got a bed elevation block that already includes the side table and a lamp built into the same drawing, the version noted as a bed side elevation with side table and lamp, and pulling that composite block first, before you go hunting through the table lamp series separately, saves a step because the proportions between bed height, table height and lamp are already resolved for you in one symbol.
Once the composite gives you the right proportion, you can swap in whichever standalone table lamp block matches the finish the client wants for the rest of the room, ceramic stand, slim metal rod, wooden base, and keep both nightstands using the same lamp block for symmetry, since mismatched bedside lamps are one of those small details that reads as unintentional the moment someone actually notices it.
For a single occupant bedroom, a home office guest room or a child's room with only one bed edge that actually needs a lamp, it's fine to break the symmetry rule entirely and place just one bedside lamp rather than forcing a matching pair where only one side of the bed is ever used, matching pairs are a convention for shared beds specifically, not a rule that applies to every bedroom regardless of who sleeps in it.
Ambient light means both ceiling and wall coverage
The ambient layer is where the ceiling-lamp block does its job, and for most standard bedrooms a single centered flush or semi flush fixture is genuinely enough general light, the mistake isn't using ceiling-lamp, it's stopping there and assuming that one point of light is the whole ambient layer.
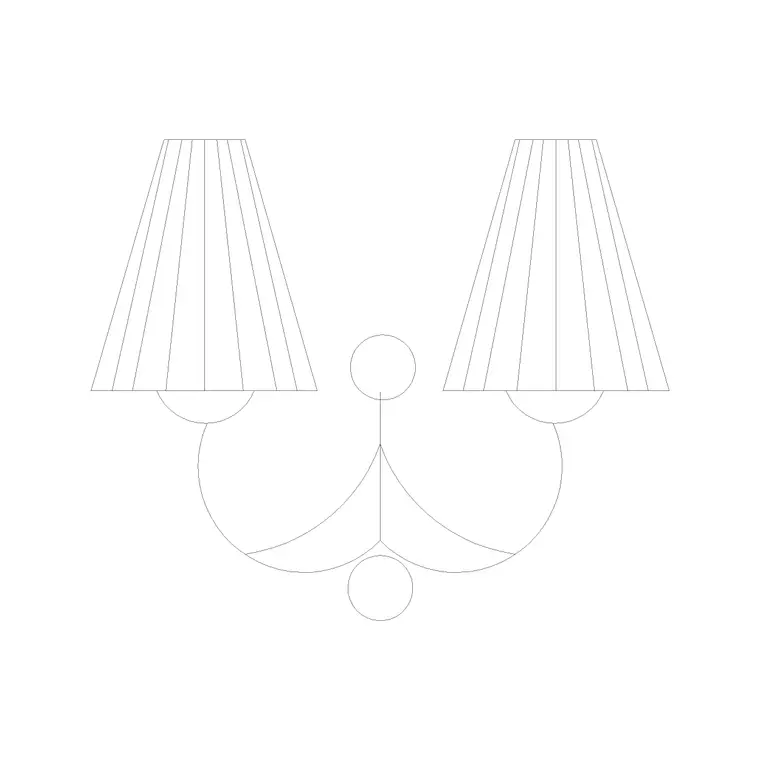
Our wall lamp series runs to more than thirty elevation variants, and this is the block set that actually rounds out ambient coverage in a bedroom, a pair mounted either side of a dresser or a mirror, or flanking the entrance to an ensuite, fills in the vertical surfaces that a single ceiling fixture leaves in shadow, and it reads as a considered lighting plan rather than a single bulb in the middle of the ceiling.
Wall lamps also solve a real functional problem in smaller bedrooms where nightstand space is tight, mounting a wall lamp block directly above where the nightstand sits frees up the table surface entirely while still giving that side of the bed its own dedicated reading light, which is worth suggesting to a client before defaulting to a table lamp purely out of habit.
The pairing decision between a wall lamp and a table lamp on any given nightstand really comes down to how much surface space that nightstand has and what else needs to sit on it, a nightstand also holding a clock, a phone charger and a stack of books doesn't have room to spare for a lamp base, whereas a slim nightstand with almost nothing else on it can comfortably carry either option, and it's worth actually checking the nightstand's footprint before defaulting to whichever fixture is easier to place on the plan.
For a larger master bedroom, it's also worth considering a second ceiling point rather than relying purely on one central fixture, one over the main sleeping zone and a second, smaller one over a dressing or wardrobe area if the room has one, since a single central point in a genuinely large bedroom often leaves the far corners noticeably dimmer than the middle of the room even after the wall lamp layer is added.
The accent layer is the floor lamp nobody asked for but everyone notices
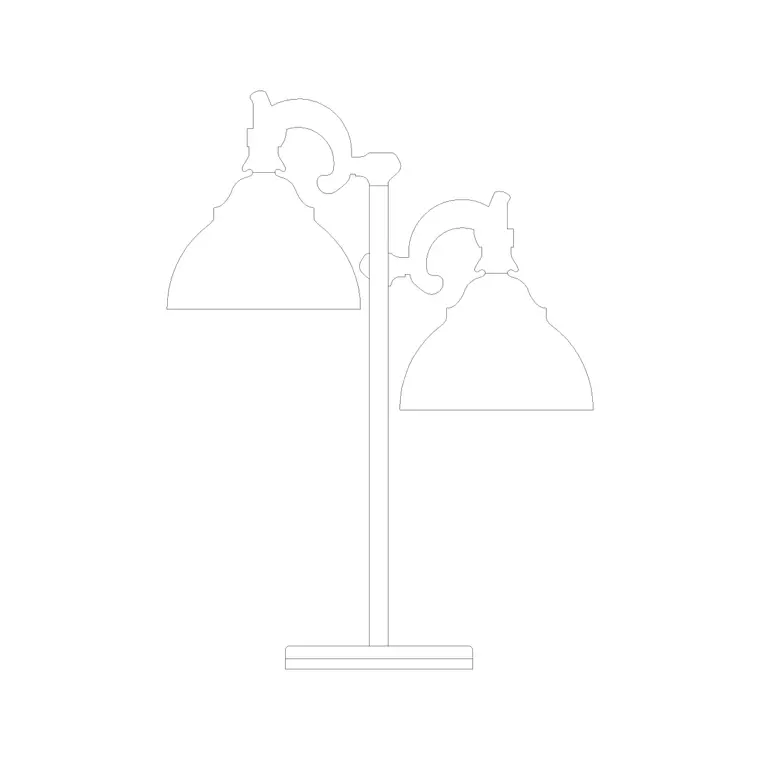
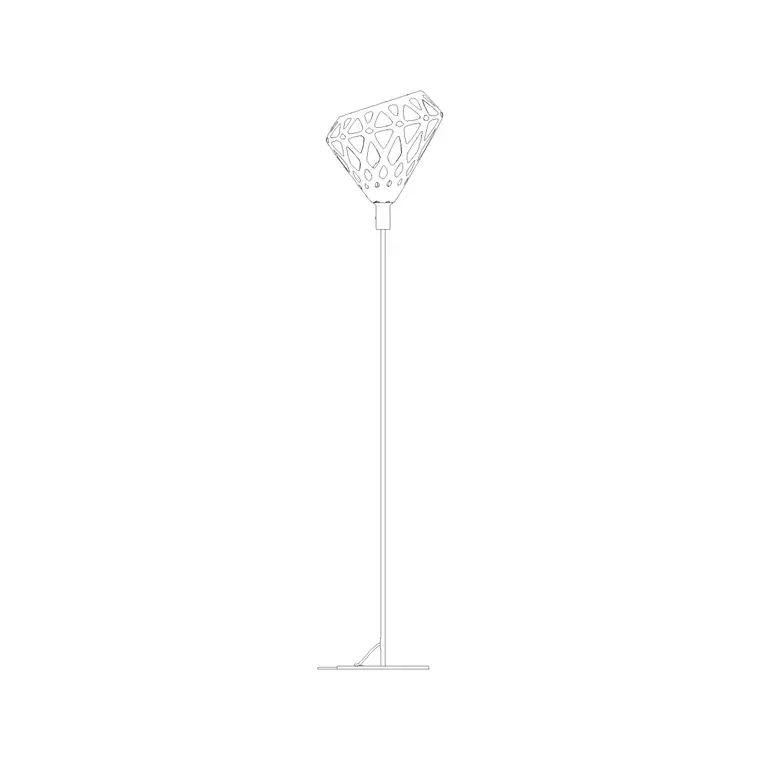
The floor lamp elevation series runs sixteen variants deep plus dedicated plan blocks, and this is the layer that's easiest to skip because nothing about a bedroom strictly requires it, there's no functional gap a floor lamp fills that the bedside and ceiling layers haven't already covered, and that's exactly why it matters, a floor lamp in the corner or beside a reading chair is what stops the room reading as flatly and evenly lit.
I place these almost exclusively near a chair, a small reading nook, or in an otherwise dead corner of the room that the bedside and ceiling layers don't reach well, and it doesn't need to be symmetrical with anything else in the room the way the bedside lamps do, a single floor lamp asymmetrically placed actually reads more natural than one squeezed in purely to match something else in the layout.
On larger bedrooms with a proper seating area separate from the sleeping zone, the floor lamp effectively becomes that zone's version of the bedside lamp, its own dedicated light source that signals the space has a distinct use, and skipping it is usually the reason a large bedroom with a sitting area still photographs like an oversized sleeping room with a chair pushed into the corner.
Where budget or brief genuinely limits the room to a single accent piece, the floor lamp is usually a better use of that one fixture than a second table lamp somewhere else in the room, purely because it's covering a zone nothing else touches, whereas a second table lamp is typically just duplicating light the bedside layer is already providing.
Keep plan and elevation in sync across all three layers
Every layer in this system needs to show up in both plan and elevation for the drawing set to actually communicate anything useful, the table lamp plan block belongs in your furniture plan next to the nightstand, the wall lamp elevation belongs on whichever wall elevation you're producing for the client, and the floor lamp plan block needs a spot marked out in the furniture layout so the electrician or the client can see where the nearest outlet actually needs to sit.
It's easy to draft the elevations first because that's usually what the client is actually looking at during a design review, and then forget to circle back and drop the matching plan symbols in before the drawing set goes to a contractor, and that gap is where site coordination problems start, an outlet gets placed somewhere convenient for the electrician rather than where the lamp was actually meant to go.
The fix is just sequencing, place the plan symbol for a fixture at the same time you place its elevation, not as two separate passes through the drawing, and you avoid the whole category of mismatch, and if you're working across a whole house rather than one bedroom, building this habit into your standard workflow early saves considerably more time than it costs on any single room.
A quick coordination check worth running before a set goes out the door is simply counting fixtures in plan and comparing that count against fixtures shown across your elevation sheets for the same room, if the numbers don't match, something either got placed twice or got missed entirely, and it's a faster check than re-reading every sheet line by line looking for the gap.
What this library doesn't solve, switching and dimming
It's worth being upfront that none of the blocks discussed here include a switch or dimmer symbol as part of the fixture itself, our building symbols category doesn't currently carry a dedicated electrical switch legend either, so the actual switching layout, which lamp is on which circuit, whether the bedside lamps are wired to a switch by the door or left as plug in fixtures the occupant controls at the lamp itself, is annotation you're adding to the drawing yourself rather than something that comes bundled with a table lamp or wall lamp block.
In practice this is less of a gap than it sounds like, because switching decisions vary so much project to project, a plug in bedside lamp on one job might be a hardwired, switched fixture on the next, that a generic block library genuinely couldn't standardize it even if it tried, and most drafters end up handling it the same way, placing the lighting blocks first for the visual and coordination layer, then adding switch locations and circuit notes separately once the electrical layout is being finalized with the client or the contractor.
The one place this is worth flagging specifically to a client early is the wall lamp layer, since a wall mounted fixture is more likely to be hardwired and switched than a table lamp is, and confirming whether the client wants a wall switch by the door, a switch at the fixture itself, or a smart dimmer setup before the wall lamp positions are finalized saves a redraw later if the wiring approach changes where the fixture can sensibly sit.
A layout most bedrooms can follow
For a standard double bedroom, that's typically one ceiling-lamp centered over the room, two matching table lamps or the composite bed side elevation block on each nightstand, one or two wall lamp blocks flanking a dresser or mirror if the room has one, and a single floor lamp near a chair if the room is large enough to have a distinct seating zone at all.
Smaller bedrooms can drop the wall lamp pair and the floor lamp entirely and still read as properly lit as long as the bedside and ceiling layers are both present, the three layer approach isn't about hitting a fixture count, it's about making sure the room has more than one kind of light source doing more than one kind of job, and once you've internalized that, the actual block selection from our library takes a few minutes rather than a design decision you have to agonize over.
On a multi bedroom project it's worth deciding early which rooms get the full three layer treatment and which get the reduced version, a guest room or a secondary bedroom rarely needs the same accent layer investment as the main bedroom, and being deliberate about that scope decision upfront, rather than either over-lighting every room equally or forgetting the accent layer everywhere out of habit, is what makes a whole house lighting package feel intentional room to room rather than uneven.
Further reading
Questions
Frequently asked
What's the minimum lighting a bedroom CAD plan needs?+
At least two layers, a ceiling fixture for general ambient light and a bedside lamp for reading in bed. A single overhead fixture with nothing at bed height reads as under-lit even on a technically complete plan.
Should bedside table lamps always match?+
For a shared bed, yes, matching lamps on both nightstands is the detail people notice most when it's wrong. A single bedside setup, like a daybed or a kid's room, has more freedom to use a single unmatched lamp.
Do I need a floor lamp in every bedroom drawing?+
No, it's an accent layer for rooms with a distinct seating area or reading corner. Smaller bedrooms without that extra zone read as complete with just the ceiling and bedside layers in place.
Where should wall lamps go in a bedroom?+
Most commonly flanking a dresser or mirror, or mounted above a nightstand in smaller rooms where table space is limited, since that frees up the nightstand surface while still lighting that side of the bed directly.
Free downloads from this article



Free CAD block library
Download the blocks from this article — free, no signup


