Blocks for a furniture fitting inspection drawing
The block set for a furniture fitting inspection or site verification drawing, checking what's actually delivered against what was drawn.
Sumana KumarUpdated 2 April 20266 min read

Inspection drawings compare, they don't design
By the time a furniture fitting inspection happens, the design decisions are done, what you're actually drawing at this stage is a comparison document, the approved layout on one side, and whatever the site walkthrough reveals on the other, delivered furniture in the wrong position, a fixture mounted at the wrong height, a clearance that got eaten by a wall that wasn't quite where the drawing said it was. I keep these as a marked up copy of the original layout rather than a fresh drawing, using a different colour or linetype for as built conditions so the deviation from the original design is visually obvious to anyone reviewing it.
I usually walk the space with the marked up drawing on a tablet or a clipboard rather than relying purely on memory and photos taken separately, because cross referencing the drawing in real time, right there in the room, catches small discrepancies that are easy to miss when you're reviewing photos later at a desk without the actual spatial context in front of you. A sofa that looks roughly right in a photo can read as clearly misaligned the moment you're standing next to it with the intended layout in hand.
Furniture position and orientation checks
Overlay a sofa set plan block, or whatever the specified furniture blocks were, directly onto the as built photo or field measurement notes, and check both position and orientation, because I've seen a correctly delivered sofa placed backwards relative to the intended sightline more than once, which reads fine in a quick glance but completely changes the room's flow. Mark any deviation with a clear callout rather than just redrawing the furniture in its wrong position and leaving the reader to spot the difference themselves.
It's worth building a short checklist you run through for every room during the inspection rather than relying on general impression alone, position, orientation, condition, clearance, because a room can feel generally fine on a quick walkthrough while still having one specific furniture piece sitting a few centimetres out of position that only a deliberate, itemised check actually catches. I keep this checklist as a simple list pinned next to the drawing itself so it's impossible to skip a category out of habit.
Finish and colour discrepancies deserve their own line on the inspection checklist too, since a furniture piece can be delivered in the exact right position and orientation while still being the wrong fabric or finish entirely, a substitution that happened somewhere between spec approval and manufacturing without ever getting flagged back to the designer, and this is a mismatch that's easy to miss on a quick walkthrough if you're only checking position against the plan rather than cross referencing the actual finish schedule against what's sitting in the room.
Fixture mounting height verification
Wall mounted fixtures are the single most common thing to come in wrong on site, a wall lamp installed at a height that doesn't match the elevation drawing, usually because an electrician worked off a rough field measurement rather than the actual dimensioned elevation. Pull the original elevation block back up during inspection and compare it directly against a field measured height, wall sconces specified in the 1000 to 1500 mm range off finished floor are common enough that even a 100mm error is easy to miss without the drawing in hand to check against.
Switch and outlet coordination is worth checking in the same pass, since a wall lamp installed at the correct height is still a problem if the switch controlling it ended up on the wrong wall or at a height that doesn't match accessibility requirements for the room, and this is exactly the kind of secondary detail that gets missed when an inspection focuses purely on the fixture itself rather than the fixture's full circuit, from switch to junction box to visible hardware. I walk each fixture with both the elevation and the electrical layout in hand for this reason, checking the fixture against one and its control point against the other, rather than assuming the two were coordinated correctly just because both were shown correctly on separate drawings.
Clearances and accessible routes on the finished space
This is where a lot of furniture fitting inspections earn their keep, checking that the as built furniture placement hasn't quietly eaten into a required clearance or accessible route, delivered furniture is almost always slightly bulkier in person than its CAD block suggested, and it's common for a sofa or console table to land two or three inches deeper than spec. Overlay a wheelchair accessible symbol at any route that runs near new furniture and re-verify the clearance with the furniture's actual as delivered footprint, not the original spec footprint, since those two numbers aren't always the same.
It's also worth re-measuring the room itself during this inspection, not just the furniture within it, since as built wall positions occasionally drift a few centimetres from what the original drawing showed, especially in renovation projects, and a clearance that reads as compliant against the original drawing can be genuinely tight against the real, as built dimensions of the finished space.
Doors, gates, and hardware swings
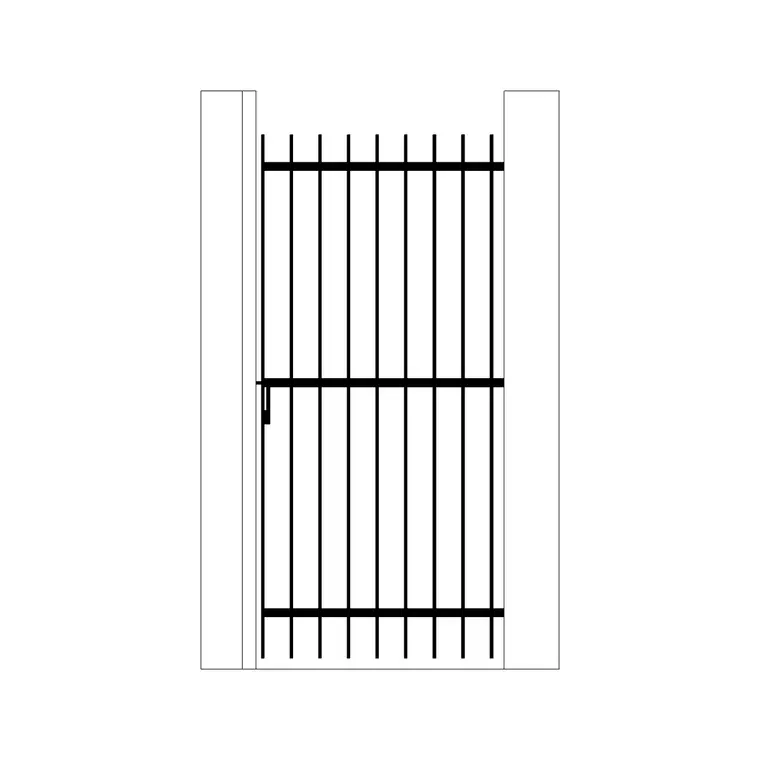
If the inspection scope includes exterior elements, check any gate, an iron gate for instance, actually swings and latches the way the drawing specified, because hardware substitutions happen quietly on site more often than designers realise, a supplier swaps a specified hinge type for something with a different swing clearance and nobody flags it until an inspection catches it.
Documenting the deviation, not just the fact of it
Every discrepancy on an inspection drawing needs a note that explains the deviation clearly enough that whoever fixes it doesn't need to visit the site again to understand the problem, position off by a specific measured amount, height off by a specific amount, clearance now under whatever the required minimum is. A punch item that just says 'wrong' without a measured deviation tends to bounce back and forth between contractor and designer longer than it needs to.
Once the inspection is done, share the marked up drawing the same day if at all possible, while the site conditions and any conversations with the installer are still fresh, since a punch item written up a week later from memory tends to lose the specific measured detail that made it actionable in the first place, and vague follow up notes are exactly what turns a straightforward closeout into a slow back and forth.
Photograph every flagged item from a consistent angle where possible, roughly the same vantage point you'd use for a straight on elevation shot, since a photo taken at an awkward angle to fit the whole room in frame often ends up hiding the specific detail that made the item a punch item in the first place, a slightly crooked mounting or an inch of offset that reads clearly from the right angle and disappears entirely from a wide, angled shot taken in a hurry.
Further reading
Questions
Frequently asked
What's the point of a furniture fitting inspection drawing if the layout is already approved?+
It compares what was actually delivered and installed against the approved design, catching deviations like wrong furniture orientation, incorrect fixture mounting height, or clearances eaten by as-built conditions that differ slightly from the original drawing.
How should deviations be marked on an inspection drawing?+
Use a distinct colour or linetype for as-built conditions overlaid on the original approved layout, with a clear callout noting the measured deviation, not just a vague flag, so whoever addresses the issue understands the exact problem without a repeat site visit.
Should accessible clearances be re-checked during a furniture fitting inspection?+
Yes. Delivered furniture is often slightly bulkier than its CAD block footprint, so any accessible route running near new furniture should be re-verified against the furniture's actual as-delivered dimensions, not just the original spec dimensions.
Free downloads from this article


Free CAD block library
Download the blocks from this article — free, no signup


