Building an office furniture layout from CAD blocks, step by step
A practical, step-by-step method for turning downloaded office CAD blocks into a complete, coordinated furniture layout.
Sumana KumarUpdated 12 April 20265 min read
Downloading blocks is the easy part
Anyone can download a folder full of office DWG blocks in ten minutes, workstations, conference tables, reception desks, all sitting there ready to go, and I've watched people open a blank drawing, start inserting blocks in whatever order the brief mentions them, and end up with a layout that technically has all the right furniture but doesn't actually work as a room. The step that separates a coordinated layout from a pile of correctly downloaded blocks is sequence, what you place first, second, and last matters as much as which blocks you chose in the first place, so here's the order I actually work in.
Step one, lock the architecture before touching furniture
Before a single desk block goes anywhere, get the walls, columns, and door swings accurate and on their own layers, because every furniture decision downstream depends on this being right, and I've had to redo entire layouts because a wall dimension was off by a few hundred millimetres and nobody caught it until the desks were all placed and suddenly didn't fit. Check your drawing units at this stage too, confirm the file is set to millimetres if that's what your blocks are drawn in, since inserting a metric block into an imperial drawing without checking scale first is one of the most common and most avoidable mistakes in this whole process.
Step two, place the fixed anchor furniture first
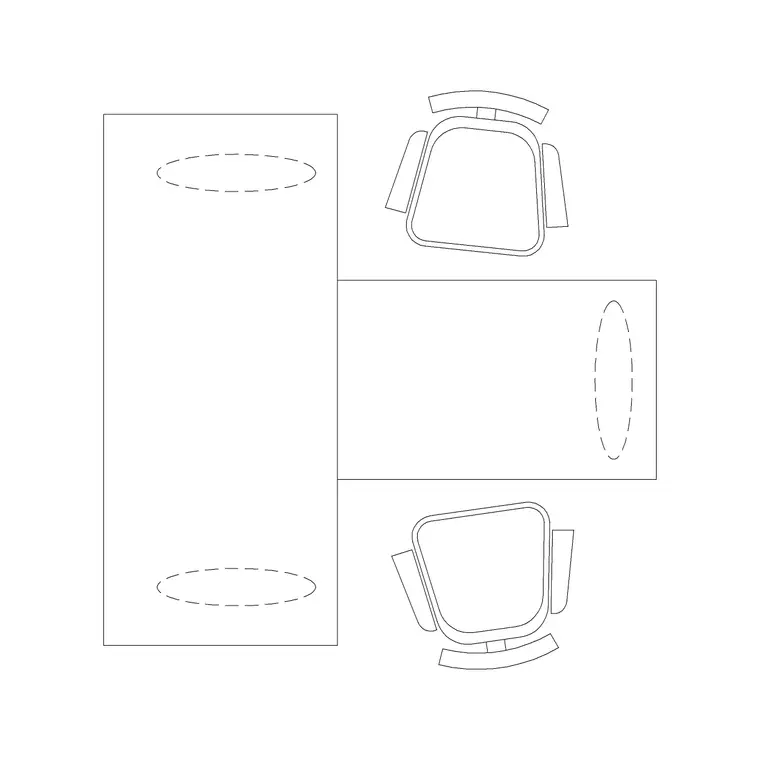
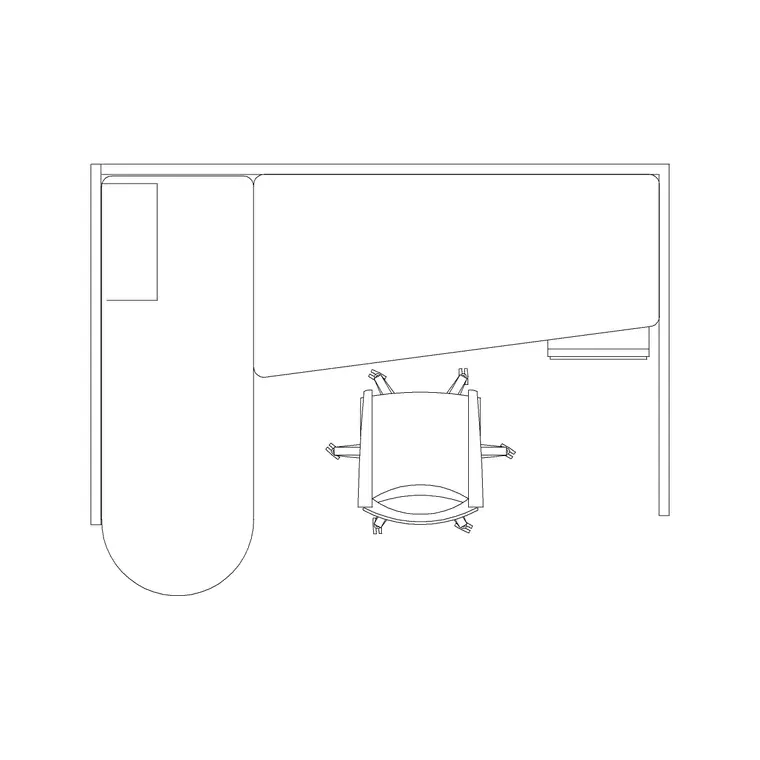
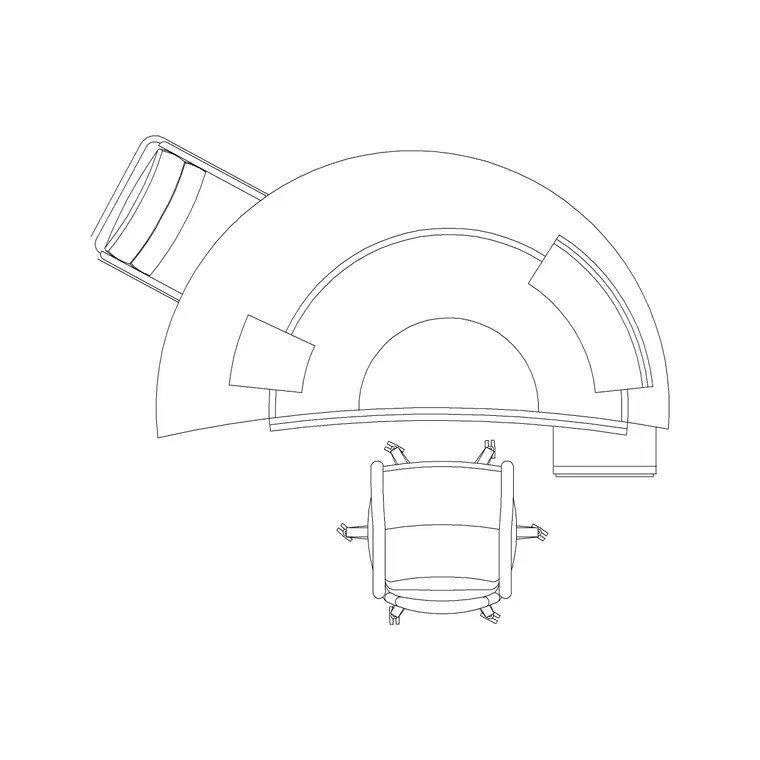
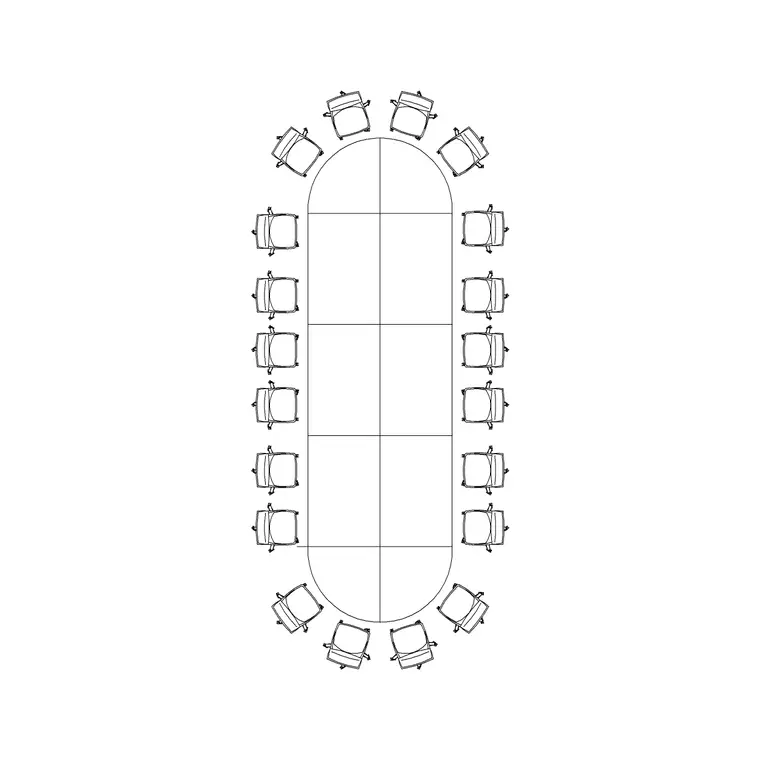
Start with the pieces that have the least flexibility in their position, the reception table near the entry, a manager table 2 in each private office, the 20-seater conference table in the boardroom, since these items are usually tied to a specific room or a specific relationship to the entry door, and placing them first gives you fixed reference points to plan the rest of the floor around. Placing flexible open plan workstations before these anchors tends to produce a layout that looks fine until you try to fit the fixed furniture in afterward and discover there's no longer a sensible spot for it.
Step three, fill the open floor with repeatable modules
With anchors placed, bring in the 2-seater workstation block and repeat it across the open plan zones using AutoCAD's array tools, keeping insertion points consistent so the array spacing stays clean. Where the brief calls for more visual separation between desks, swap in the workstation with partition block instead, and keep the partition height consistent within each zone so the floor doesn't end up with an inconsistent, patchwork feel. This is also the stage to zone in any cabin partitions if the layout is a hybrid mix of open and closed space, blocking those out before finalising exactly how many open desks fit around them.
Step four, layer in circulation and check every aisle
Once furniture is roughly placed, draw the circulation paths as their own construction layer, main aisles, secondary aisles, and the path to every fire exit, and check each one against a reasonable minimum, generally at least 900 mm for a secondary aisle and 1200 to 1500 mm for a main circulation route. This is the step most people skip because it feels like it should be automatic once the furniture is placed, but aisles genuinely need their own dedicated check, since furniture that looks fine individually can still leave an aisle that's technically too narrow once everything's actually placed together.
Check every door swing against the furniture placed near it too while you're on this pass, since it's an easy thing to miss when you're focused on desk rows and aisles specifically, a door that swings into a workstation cluster or blocks a fire exit path because a desk got placed slightly too close is a common enough error that I now treat door swing conflicts as their own specific check, separate from the general aisle width review, rather than assuming it'll get caught along with everything else.
Step five, add services, then step six, review the whole floor
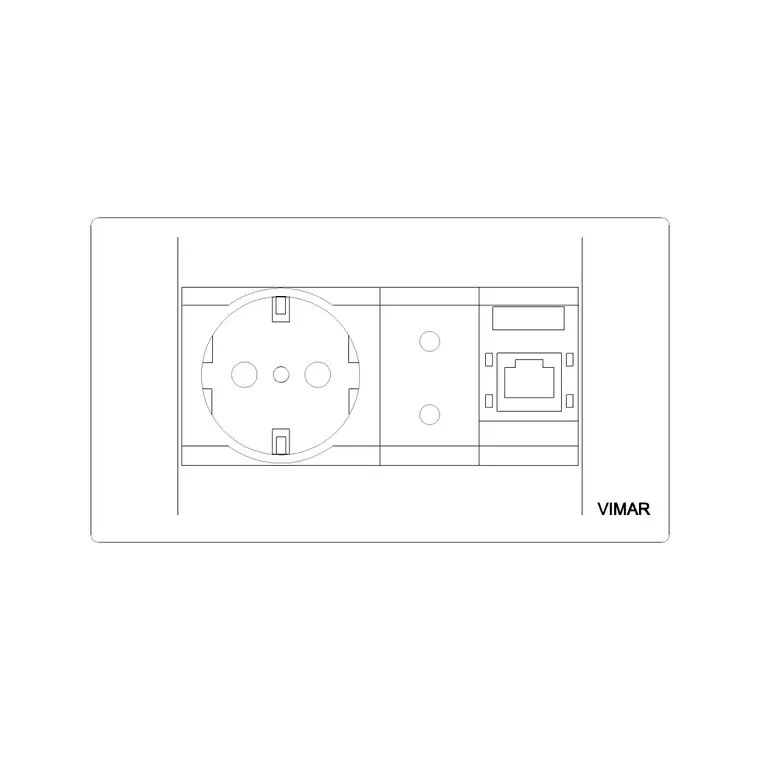
With furniture and circulation settled, bring in the electric socket and switch blocks along every desk run, the reception counter, and any pantry or break room area, keeping electrical on its own layer so it can be toggled independently. Then, and this step matters more than people give it credit for, print or plot the whole floor at actual scale and walk through it on paper, or better, review it at full size on a large screen, because things that look fine zoomed in on a monitor sometimes reveal a clash or a cramped aisle the moment you see the whole floor at the scale it'll actually be built at. I do this review pass on every layout now, no exceptions, since it catches the kind of small spacing issues that are genuinely hard to spot while you're zoomed into one corner of the drawing.
What a finished, coordinated layout actually looks like
By the time all six steps are done, the drawing should read as one coherent floor rather than a collection of correctly downloaded blocks, walls and anchors first, repeatable modules filling the open zones consistently, circulation checked against real minimums, and services coordinated with the furniture rather than bolted on afterward. That sequence is basically the whole method, and it works the same whether you're laying out a twelve desk startup office or a full multi floor corporate fit out, the scale changes but the order of operations really doesn't.
For a bigger layout, especially one with dozens of repeated workstation blocks, it's also worth purging unused block definitions periodically and checking you're not accidentally leaving duplicate versions of the same block under slightly different names, which happens more often than you'd think once a drawing's been through several rounds of copy and paste from different source files. Keep a running block count if the project is large enough that a client will eventually ask for a furniture schedule, since counting instances of each named block is far faster than counting shapes visually on a busy plan, and it gives you a built in accuracy check, if the block count doesn't match the headcount the client gave you at the start, that's worth resolving before the drawing goes out the door.
A short note on revision control across a long project
Office layouts, especially larger ones, rarely get approved in a single pass, there's almost always a headcount change or a department reshuffle partway through, so I keep a simple revision log on the drawing itself, noting what changed and when, rather than relying purely on file naming to track which version is current. It sounds like a small administrative habit rather than a drafting one, but on a project with multiple stakeholders reviewing the same layout over several weeks, a clear revision note on the sheet has saved me from more than one confused conversation where someone was reviewing an outdated printout against the latest digital file without realising the two no longer matched.
Further reading
Questions
Frequently asked
What order should furniture be placed in when building an office layout?+
Lock the architecture first, then place fixed anchor pieces like the reception desk and conference table, then fill the open floor with repeatable workstation modules, then check circulation, then add electrical services last.
Why does drawing unit and scale checking matter before inserting blocks?+
Because most office CAD blocks are drawn in millimetres, and inserting one into a drawing set to a different unit or scale without checking first will size the furniture wrong, sometimes dramatically, without any obvious warning.
Is it necessary to review the whole floor plan at actual scale before finishing?+
Yes, a full scale review, printed or viewed at real size, regularly catches clashes and cramped aisles that are easy to miss while zoomed into one section of the drawing on a monitor.
Free downloads from this article

Free CAD block library
Download the blocks from this article — free, no signup

