Window Schedule Template and Window Tag Blocks for AutoCAD
A practical template for a window schedule in AutoCAD, plus how window tag blocks carry sill height, glazing, and egress notes.
Sumana KumarUpdated 6 May 202610 min read
Twenty seven window products and one small schedule table
Windows get a smaller schedule than doors on most projects, and that's fair, our windows category holds 27 products against 190 for doors, everything from the plain window-plan-1 through window-plan-4 series to the roman window family, roman-window-2-shutter, square-roman-windows, round-side-roman-windows, plus operable types like awing-window, single-shutter-sliding-window, and double-shutter-openable-window-with-glass. Even with a smaller product count, a window schedule earns its place on the sheet for a reason doors don't share quite as strongly, egress. A bedroom window that's too small or mounted too high to serve as a fire escape opening isn't a style choice, it's a code requirement, and a schedule with a sill height column is often the only place on a full drawing set where that gets checked in one glance rather than by scaling every window on every plan by hand.
Like the door schedule guide on this site, this is a template and a workflow, not a single fill-in-the-blanks file, because the actual rows only mean something once they're built from the specific window types you placed on your specific plan. What follows is the column structure, the tag block mechanics, and the honest grouping logic for turning a handful of window types repeated across a dozen openings into a schedule someone can actually build from.
What a window schedule documents that a door schedule doesn't
A window schedule shares some structure with a door schedule, mark, width, height, type, but it carries a few columns that matter specifically to windows and rarely show up on a door table. Sill height is the big one, the distance from finished floor to the bottom of the window opening, because two windows at the same width and height can sit at completely different sill heights depending on the room, a kitchen window over a counter sits noticeably higher than a bedroom window, and that number isn't always obvious from a plan view alone since plan views show width and position but not vertical placement.
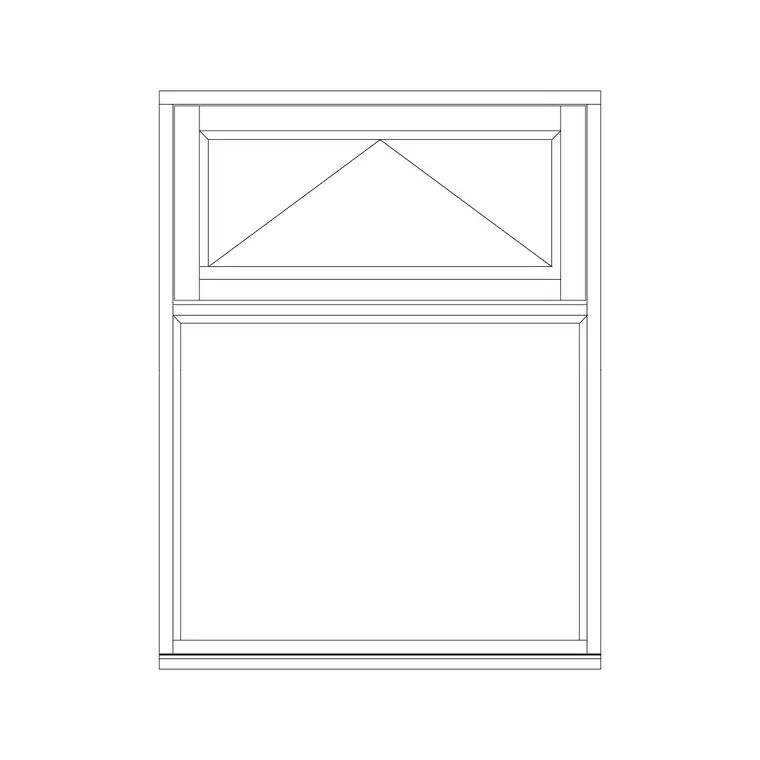
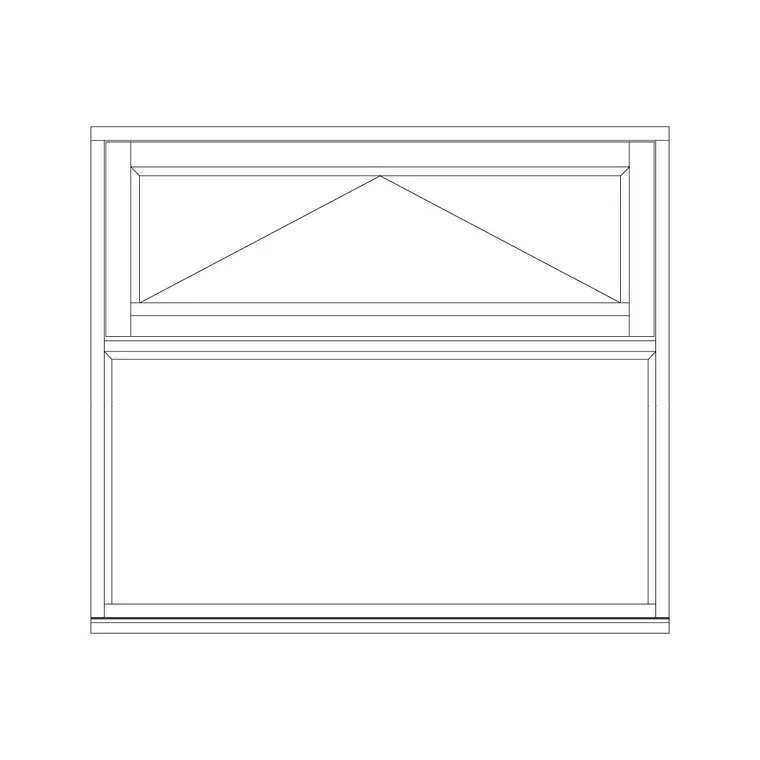
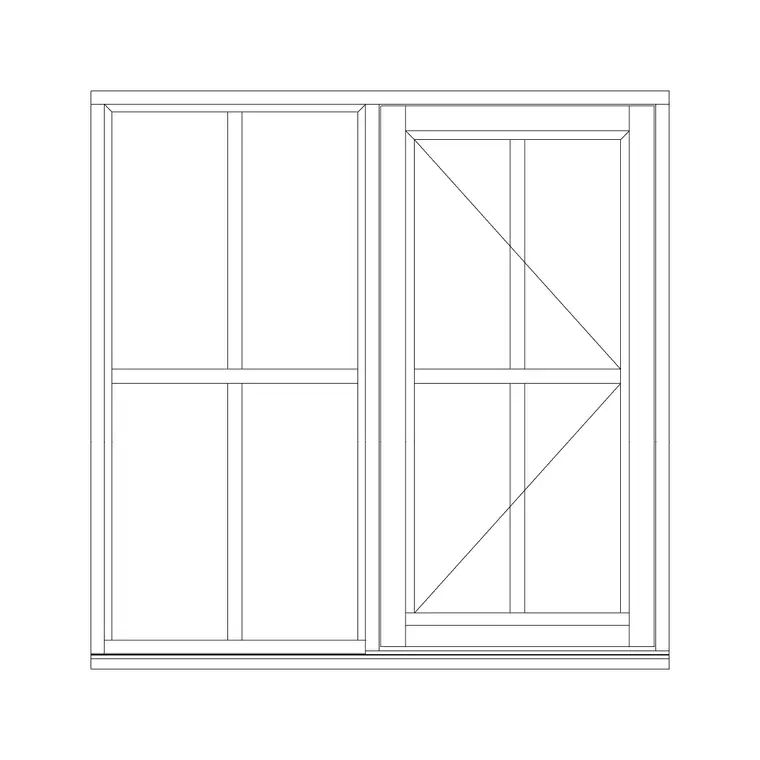
Glazing and operation type is the next column that pulls its weight, whether the window is fixed glass with no opening sash at all, a single shutter openable type like single-shutter-openable-window-with-fix-glass, a sliding type like single-shutter-sliding-window, or an awning style that hinges at the top like awing-window or awning-window-with-fix-glass. That distinction matters for ventilation calculations and for whoever's ordering hardware, since a fixed window and an operable window at an identical rough opening size are not the same line item. Head height, meaning the top of the opening rather than the sill, rounds out the vertical dimensions, and an egress column, a simple yes or no, flags which bedroom windows need to meet a minimum clear opening for emergency escape, which is exactly the kind of requirement that's easy to draw correctly and still document incorrectly if nobody's tracking it row by row.
It's worth being honest that a door schedule and a window schedule are usually two separate sheets or two separate tables rather than one combined document, and that's not just convention for its own sake, the columns genuinely diverge enough, sill height and egress against fire rating and swing direction, that squeezing both into one table means half the columns sit blank for every row depending on which type it is. Keeping them apart also makes it easier to hand the window schedule to a glazing supplier and the door schedule to a hardware supplier without either one wading through rows that don't concern them.
Tag blocks work the same way they do for doors, with one difference
The mechanism connecting a window tag on the plan to its schedule row is the same attributed block approach used for doors, a small tag, often a hexagon or a plain circle, placed at or near the window opening with a mark value stored as an ATTDEF attribute rather than loose text, so the Data Extraction wizard, run from DATAEXTRACTION, can walk the drawing and pull every tag's value straight into a table. If you've already built a door tag block for the same project, the window tag can genuinely reuse the same block definition with a different prefix in the attribute value, W01 instead of D01, rather than building an entirely separate tag family from scratch, since the mechanics of an attributed circle referencing a schedule row don't change based on what kind of opening it's tagging.
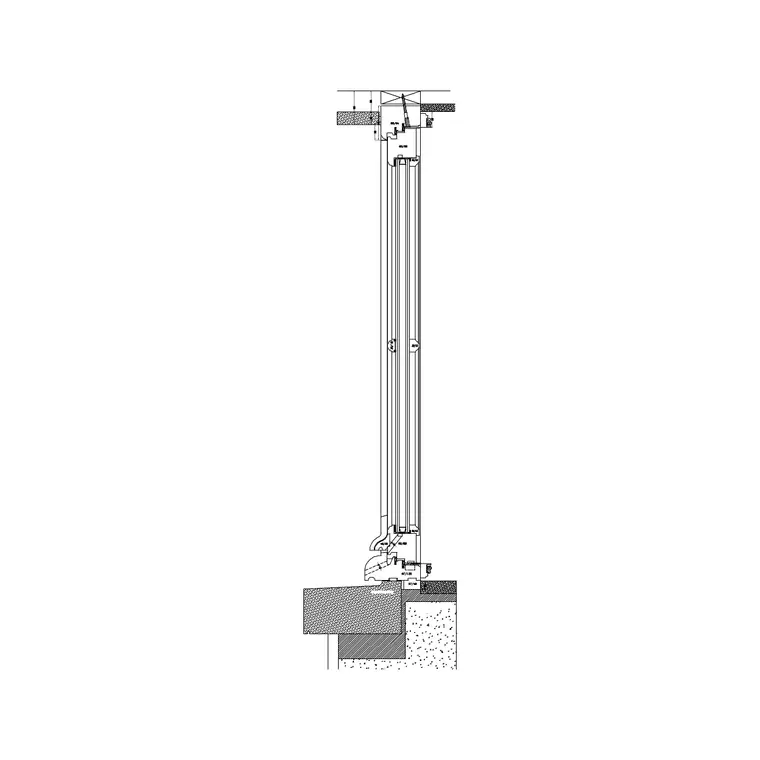
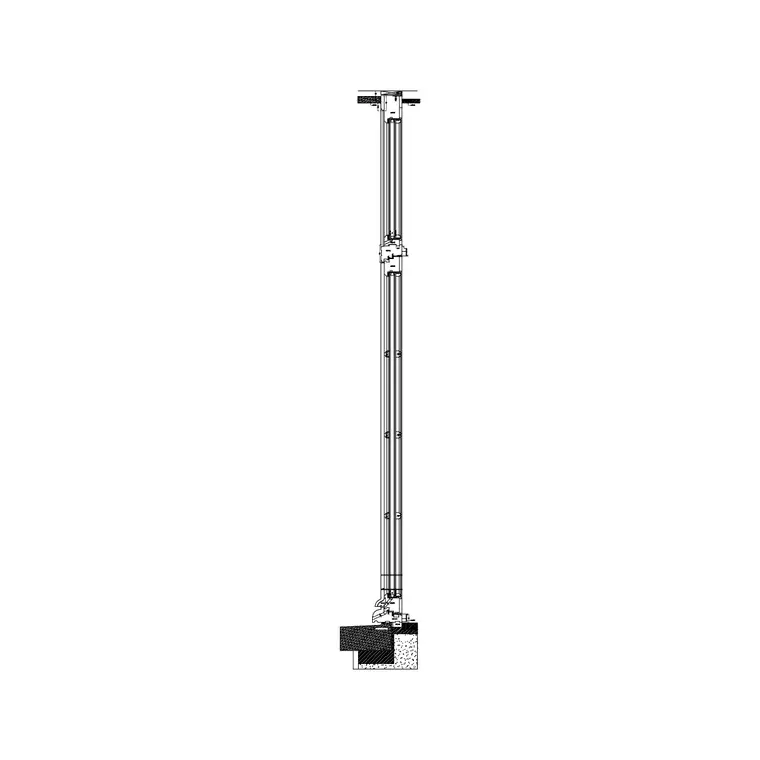
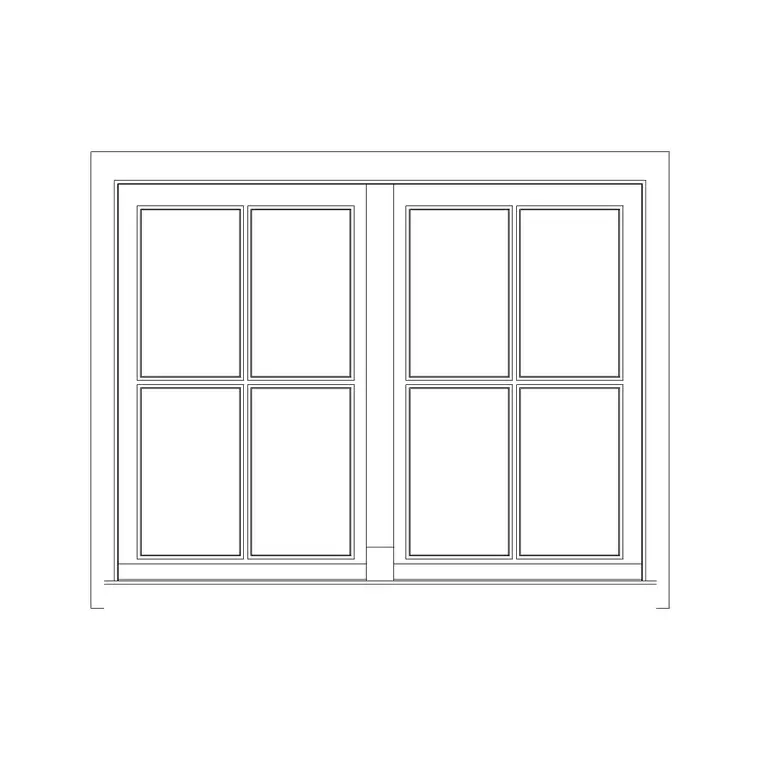
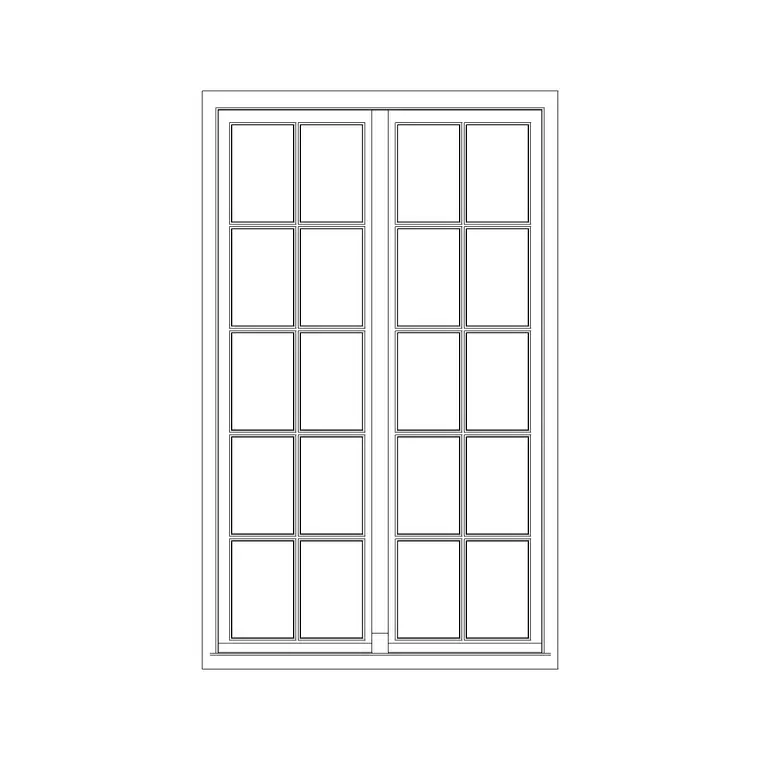
The one real difference with windows is that the tag more often needs to appear on an elevation as well as a plan, because sill height and head height, the two dimensions that matter most for a window schedule, don't read clearly off a plan view at all, a plan only shows the window's width and its position along a wall. Several of our products already carry both views for exactly this reason, roman-window-2-shutter and round-side-roman-windows ship with plan and elevation together, and round-side-roman-windows-2 adds a side view on top of that, which is worth noticing when you're picking which block to place if the schedule depends on sill and head height being verifiable against the drawing rather than typed into a spreadsheet from memory.
Grouping 27 products into four or five schedule types
With a smaller category than doors, grouping is more straightforward, but the same principle holds, a schedule row is a type, not a catalog entry. Most of the roman window products, roman-window-2-shutter, roman-window-2-shutter-openable, roman-window-2-shutter-sliding, and the plain roman-window-2-shutter-2, differ mainly in whether the shutters are fixed, openable, or sliding, and on a single project you'd typically pick one operation style and use it consistently rather than mixing all four across different rooms, so those often collapse to a single schedule row with the operation simply noted rather than four separate rows.
The plain window-plan-1 through window-plan-4 series works the same way, they're general purpose plan and elevation blocks at slightly different proportions, and a project usually settles on one or two of those as its standard window type rather than treating all four as distinct schedule entries. The square and round variants, square-roman-windows and round-side-roman-windows, are worth keeping as separate rows from the plain series though, because the framing for a round side detail is genuinely different work than a straightforward rectangular opening, not just a cosmetic variation. And the patio sliding door blocks, patio-sliding-door-plan and patio-sliding-door-elevation, sit in the windows category in our library but function more like a door in terms of schedule treatment, a wide clear opening, sliding hardware, sometimes egress relevant in its own right, so decide up front which schedule they belong on for your project rather than leaving them off both.
Building the column template
Set up the spreadsheet or title block table with Mark first, a W01 style code, or floor prefixed if the project has multiple levels, matching whatever scheme you used for the door schedule so the two documents read consistently side by side. Width and Height come next as separate numeric fields, then Sill Height and Head Height, both measured from finished floor, since those two numbers are the ones a plan view genuinely cannot show you and an elevation or a section is where you'd actually verify them.
Type and Operation follow, fixed, single shutter openable, sliding, awning, roman two shutter, whatever short code matches the family you grouped in the previous step, and then Glazing, single pane, double pane, or fixed glass with fix noted separately for products like awning-window-with-fix-glass and single-shutter-openable-window-with-fix-glass where part of the assembly doesn't open at all. Egress gets its own yes or no column specifically for bedroom windows, since that's a life safety question, not a preference, and Remarks closes the row for anything else, obscure glazing for a bathroom, a security grille note, or a call out that a particular opening also serves the daylighting calculation for an adjacent room. Once that structure exists, filling in rows from an actual plan is a matter of reading tags off the drawing rather than reconstructing the logic each time you start a new set.
Keep Width and Sill Height as plain numbers rather than combined text strings for the same reason it matters on the door schedule, a spreadsheet that stores 900 as a number instead of "900mm sill" as a sentence can actually be sorted and filtered later, which matters once a set grows past a handful of window types and someone needs to pull every egress capable opening across a multi unit building into one filtered view for a code review.
A worked example across a small house
Take the same small house used in our door schedule example, three bedrooms, a kitchen, a bathroom. The kitchen might use one wider window over the sink, W01, referencing something like window-plan-2 combined with an awning-window-with-fix-glass style operable section, sill height set higher than the bedrooms to clear the counter, no egress requirement since it isn't a bedroom. Each bedroom gets its own row even if they're the same physical window, because the egress column has to be checked room by room rather than assumed, W02 through W04, each referencing single-shutter-sliding-window or a similar operable type, sill height low enough and clear opening wide enough to satisfy an egress requirement, which is exactly the kind of check that's easy to skip on a busy plan but sits right there in a properly filled schedule row.
The bathroom window, W05, is a good candidate for one of the roman shutter types, square-roman-windows for instance, with a remarks note about obscure or frosted glazing since privacy matters more than daylight quality in that room, and no egress requirement since bathrooms typically aren't required to serve as emergency exits the way bedrooms are. That's five rows covering five openings, a shorter list than the door schedule's six rows for seven openings, but the egress column alone, checked for W02 through W04 and confirmed clear for all three, is arguably doing more safety relevant work than anything else on either schedule.
Where window schedules quietly fail
The single most common gap is the egress column getting filled in by assumption rather than by actually checking clear opening dimensions against the block placed, someone marks all three bedroom windows as meeting egress because they look similar to a window that did meet it on a previous project, without confirming the actual width and sill height of what's inserted this time. That's a habit worth breaking specifically because egress is one of the few schedule fields with a real safety consequence if it's wrong, not just a coordination inconvenience.
The second gap is sill height getting left blank or approximated because it doesn't show on the plan view being used as the primary reference, and the fix there is straightforward, cross check every sill height entry against an elevation, not a plan, since a plan view genuinely can't carry that dimension no matter how carefully you look at it. The third, more subtle gap is forgetting to decide where the patio sliding door blocks belong, on the window schedule where our library files them, or the door schedule where their function as a wide entry point arguably fits better, and leaving that undecided means those openings can fall through the cracks of both documents at once, appearing on the plan but on neither schedule at all.
A short checklist before issuing the set
Before a window schedule goes out with a set, run the same kind of check as the door schedule, every mark on the plan has a matching row, every sill height was checked against an elevation rather than guessed, every bedroom window's egress column reflects an actual measurement rather than an assumption carried over from a different project, and anything ambiguous, like a patio sliding door, has been assigned to one schedule deliberately rather than left to chance.
And the same honesty that applies to the door schedule applies here, nothing in our library ships as a single downloadable window schedule file, because a schedule only tells the truth once it's built from the actual window types placed on your actual plan, out of the 27 products in the windows category. The column structure, the tag block method shared with the door schedule workflow, and the grouping logic that turns a handful of roman, sliding, and awning types into four or five clean rows, that's the repeatable part you can carry from project to project. Walking your own plan and making sure the egress column tells the truth is the part that stays yours every single time.
Further reading
Questions
Frequently asked
Is there a downloadable window schedule template file?+
Not as a single ready made file, because a real schedule has to be built from the specific window types you place from the 27 products in our windows category, but the column structure and tag block method here give you the repeatable structure.
Why does a window schedule need a sill height column when doors don't?+
Because sill height, the distance from finished floor to the bottom of the opening, doesn't show on a plan view at all, only on an elevation or section, and it directly affects both egress compliance and how a window reads on the exterior wall.
How do window tag blocks work in AutoCAD?+
The same way door tags do, as an attributed block with an ATTDEF storing the mark value, so AutoCAD's Data Extraction wizard, run from DATAEXTRACTION, can pull every tag instance straight into a schedule table instead of it being typed up separately.
Should patio sliding doors go on the window schedule or the door schedule?+
Either can work, but decide deliberately rather than by default, our library files patio-sliding-door-plan and patio-sliding-door-elevation under windows, but their function as a wide entry opening often fits a door schedule's structure better, so pick one and stick to it.
Free downloads from this article

Free CAD block library
Download the blocks from this article — free, no signup