Door Schedule Template and Door Tag Blocks for AutoCAD
A practical template for a door schedule in AutoCAD, plus how door tag blocks link plan symbols to the schedule table.
Sumana KumarUpdated 7 June 202611 min read
Why a plan full of similar looking doors still needs a schedule
A door schedule sounds like paperwork until you're the person standing at a submittal meeting trying to explain why the drawing shows forty door openings but the hardware supplier only quoted for six door types, and that gap between what's drawn and what's actually different from door to door is exactly what a schedule exists to close. Our doors category alone carries 190 separate DWG products, everything from a plain 800 mm laminated door with frame and lock to a revolving door, a bifold door, a set of garage door elevations, and a dozen numbered "Type" plan blocks that look nearly identical at a glance but represent distinct widths, swings, and hardware requirements. On a real floor plan you might use six or eight of those, repeated across twenty or more openings, and without a schedule tying each opening back to its type, the plan alone can't tell a contractor, a hardware supplier, or an inspector which door goes where, or which one needs a closer and which one doesn't.
This post is a template and a workflow, not a single file you download and fill blanks into, because a schedule that's actually useful has to be built from the specific doors on your specific plan, and no generic download does that job for you. What it can do, and what we've laid out below, is give you the exact column structure, the tag block mechanics that connect a plan symbol to a schedule row, and the grouping logic that turns a plan full of rectangles with a swing arc into a document a supplier could quote directly off.
What a door schedule actually documents
At its simplest, a door schedule is a table with one row per door type, and a fixed set of columns that answer the same questions for every row. The mark or tag number comes first, since that's the value tying the row back to the plan. Then width and height, which matter more than they seem, because a 750 mm right side openable door and an 800 mm wide door look almost identical in a small scale plan view but need different rough openings and different hardware sets entirely. After that comes door type, meaning whether it's single swing, double swing, sliding, pocket, bifold, or a garage door, since a pocket door like sliding-pocket-door and a straightforward single swing door at the same width still get framed completely differently and can't share a row.
Material and finish is next, wooden-door-with-grains versus a laminated door versus a glass-door versus a panel-door-with-vision-panel are not interchangeable rows even at identical widths, and grouping them under one entry loses information a supplier genuinely needs before pricing. Frame type and fire rating usually follow, since anything separating a stair enclosure or a garage from living space often needs a rated assembly, and that's not something anyone can eyeball off a plan drawing. Hardware set gets its own column too, hinges, closer, lockset, panic bar, because two visually identical doors in different parts of a building often carry completely different hardware specs. Finally a remarks column catches anything unusual, a double-acting-door in a kitchen pass through, or an exterior-door-with-sill needing weatherstripping called out separately from the main hardware note.
The tag block: how the number on the plan finds its schedule row
The mechanism that actually connects a schedule table to a plan is the tag block, sometimes called a door bubble, a small circle or hexagon placed right at or just outside each door opening with a number or letter inside it. That tag is what a contractor looks at on site, cross references against the schedule sheet, and reads off the width, hardware set, and fire rating for that specific opening, so the tag is doing more practical work day to day than the door symbol itself.
In AutoCAD the clean way to build this is as an attributed block, meaning the tag isn't just floating text sitting near the door, it's a block definition with an ATTDEF attribute built into it, so when you insert the tag AutoCAD prompts you for the mark value right there, and that value lives as an editable attribute rather than a separate text object you have to track by hand. If you need to renumber later, DDATTE or the modern EATTEDIT command lets you double click the tag and change the value without touching the block geometry at all, which matters once you've placed forty of these across a floor plan and a room gets renumbered midway through a project.
The real payoff of building tags this way is that AutoCAD's Data Extraction wizard, run from the DATAEXTRACTION command, can walk the entire drawing, find every instance of your tag block, and pull the attribute value plus the block's insertion point straight into a table. That table is your schedule, generated from the actual tags placed on the plan rather than typed up separately and hoped to match, and it regenerates the moment you rerun the extraction after a plan change, right when it matters most.
Grouping 190 door products into a workable type list
The instinct when you first open a library with 190 door products is to treat every single one as its own schedule row, and that's the wrong instinct, because a schedule row should represent a door type, a repeatable design used at one or more openings, not a catalog entry. Most projects, even fairly large ones, end up using somewhere between six and twelve distinct door types once you group by width, swing, and material, even though the plan itself might show thirty or forty individual openings.
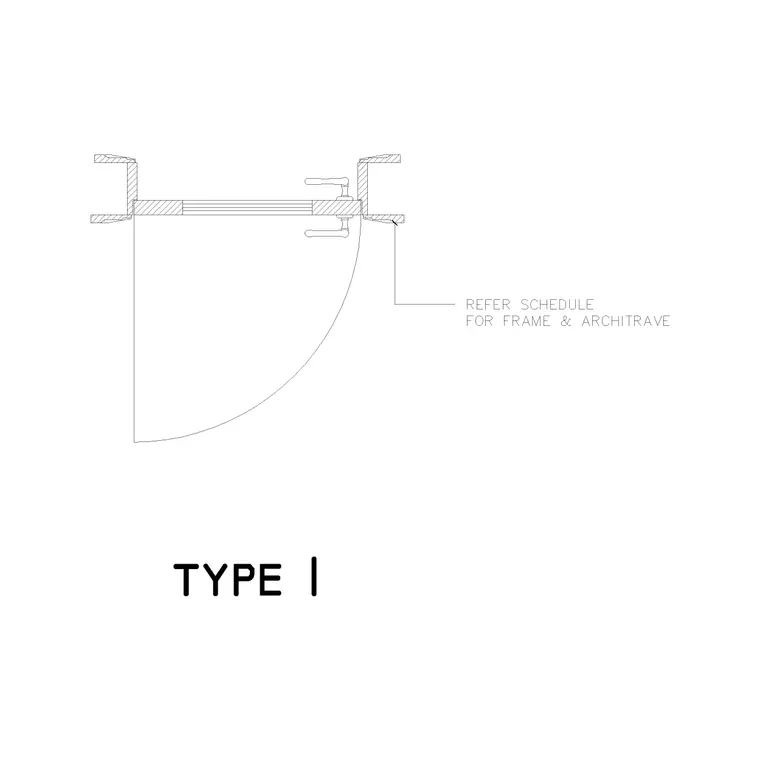
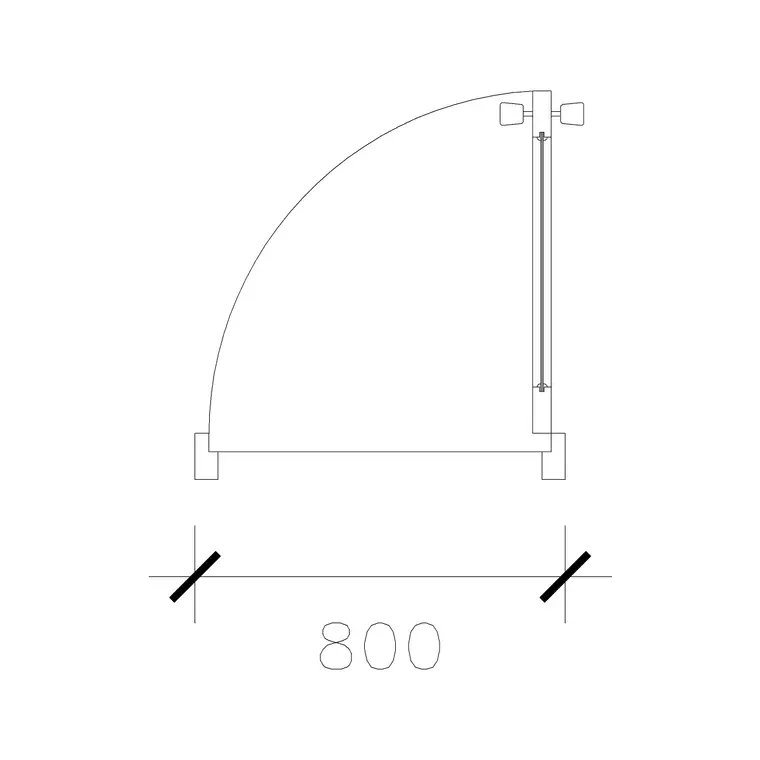
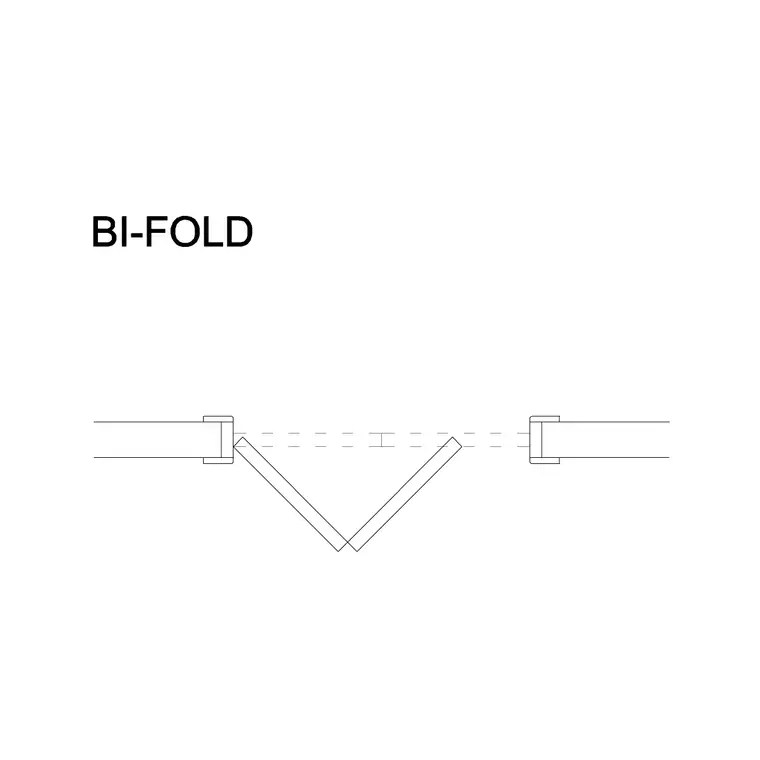
Look at how the doors category is actually organized and this grouping becomes obvious. The numbered plan series, type-1-door-plan through roughly type-20-door-plan, are mostly variations on a basic single swing door at different widths, and on a real project you'd typically only need two or three of those widths, say a 750 mm and a 900 mm, rather than treating all twenty as separate schedule entries. Separately there's the laminated series, 800-mm-laminated-door-with-frame-lock, 900-mm-laminated-door-with-frame-lock, and similar, which usually get grouped as one type family with width as a sub column rather than a dozen separate rows. Then there are the genuinely distinct families that do deserve their own row regardless of width, a pocket door like sliding-pocket-door, a bifold-door, an accordion-door, french-double-door, revolving-door, and the garage door elevations, because those are structurally different assemblies, not just a wider or narrower version of the same swing door.
Working this way, your schedule ends up compact enough to actually read, maybe eight to fourteen rows for a house or a small commercial fit out, each one referencing a type key, a width range, and a count of how many openings on the plan use it.
Building the template, column by column, in one sitting
You can build a usable door schedule template in a spreadsheet in under an hour, and it's worth doing before you tag a single door on the plan, because the column structure decides what information you'll be forced to collect as you go. Start with Mark, a short alphanumeric code like D01, or a floor prefixed code like 2-D01 if the project has multiple levels, since continuous numbering across a whole building gets unreadable past about thirty doors. Add Width and Height as separate numeric columns rather than one combined dimension string, because a spreadsheet formula or a later filter can't easily split a text field back into numbers if you need to sort by width down the line.
Next comes Type, a short code you invent, SW for single swing, DA for double acting, POC for pocket, BF for bifold, GAR for garage, matching the families you actually grouped in the previous step. Material and Finish get their own column, laminated, wooden, glass, panel, and Frame gets one too, since a metal frame and a wooden frame on the same door leaf are genuinely different line items for whoever's ordering. Fire Rating is worth including even on a residential project where most rows will just say none, because it's far easier to have the column and leave it blank than to add it retroactively once one door near a garage or a mechanical room turns out to need a rating. Hardware Set and Remarks close out the row, and remarks is where you note anything a supplier would otherwise have to ask about, closer required, panic hardware, sidelight glazing, a sill detail for an exterior-door-with-sill.
Once that structure exists as a spreadsheet or as a table style tied to your CAD title block, filling it in from the plan is mechanical rather than creative, which is exactly what you want from a document this important.
A worked example across one small floor
To make this concrete, imagine a small single story house with an entry, three bedrooms, a bathroom, and a garage. The entry gets a distinct row, D01, a laminated door with frame and lock at 900 mm, exterior grade, weatherstripped, referencing 900-mm-laminated-door-with-frame-lock. The three bedroom doors might all share one type row if they're the same width and material, D02 through D04, each 800 mm wide with a standard swing, referencing 800-mm-wide-door, with the mark column doing the work of showing there are three instances of one type rather than three separate rows describing the same door three times over.
The bathroom door is its own row even at a similar width, because privacy hardware, a passage set versus a privacy set, is a real difference a schedule needs to carry, say D05 at 750 mm referencing 750-mm-wide-door with a remarks note calling out the privacy lockset. The garage gets two rows of its own, the vehicle door itself, referencing something like garage-door-plan-with-sqaure-panel, and the service door from the garage into the house, which is very often a rated door even in residential work because it separates living space from a space where a car with a full tank sits parked. That's six rows total, D01 through D06, covering roughly seven physical openings once you count all three bedrooms under D02, and every one of those six rows is something a hardware supplier could quote directly off without a follow up question.
Where schedules go wrong, and how to catch it before issue
The most common failure mode isn't a missing column, it's numbering drift, where a schedule gets built early, the plan changes twice during design, and nobody goes back to renumber the tags, so by the time the set gets issued for construction, D07 on the schedule refers to a door that's now D09 on the plan because a closet got added between reviews. The fix isn't complicated, it's discipline, rerun the data extraction or do a manual side by side pass, plan on one screen and schedule on the other, every single time a door gets added, removed, or moved between rooms, not just once at the end of the project.
The second common gap is treating every door as if it needs the same level of detail, when in reality interior doors between two ordinary rooms rarely need a fire rating column filled in at all, while anything opening onto a stair enclosure, a garage, or a mechanical room almost always does, and skipping that distinction because "it's just a door schedule" is how a rated assembly requirement gets missed until an inspector catches it on site. The third gap, and this one is specific to working from a large block library like ours, is grabbing a door block purely for how it looks in plan without checking whether the physical door it represents, a pocket door for instance, needs wall thickness or a cavity that a straightforward swing door doesn't, and a schedule is actually a good place to flag that kind of framing dependency in the remarks column before it becomes a framing problem on site.
A short checklist before you issue the schedule
Before any set goes out the door, and this applies whether you're on your fifth project or your first, run a straightforward checklist, does every mark on the plan have a matching row on the schedule, does every row's width match what's actually inserted at that opening rather than a guess from when the plan was rougher, does anything backing onto a garage, a mechanical space, or a stair carry a fire rating note, and does the hardware column distinguish privacy sets from passage sets from exterior grade hardware. None of that is complicated on its own, but skipping the check is exactly how a schedule that looked complete in the office turns into three phone calls from a contractor during framing.
It's also worth saying plainly that nothing in our library ships as a single ready made "door schedule" file, because a real schedule only means something once it's built from the specific doors you actually placed on your specific plan, out of the 190 products in the doors category. What we've laid out here, the column structure, the tag block mechanics through DATAEXTRACTION, and the grouping logic that turns forty openings into eight or ten types, is the repeatable part. The part that has to be yours, every time, is walking your own plan and making sure the schedule tells the truth about what's actually drawn there.
Further reading
Questions
Frequently asked
Is there a downloadable door schedule template file for AutoCAD?+
Not as a single fill-in-the-blanks file, because a useful schedule has to be built from the actual door types you place from the 190 products in our doors category, but the column structure and tag block method in this guide give you the repeatable part.
What is a door tag block and how is it different from a text label?+
A tag block is an attributed block, built with an ATTDEF, placed near each door opening, so the mark number is an editable attribute rather than loose text, which lets AutoCAD's Data Extraction wizard pull every tag straight into a schedule table automatically.
How many rows should a typical door schedule have?+
Usually far fewer than the number of physical door openings, since most projects group doors by type, width, material, and swing rather than listing every single opening separately, so a small house might land at six to ten rows for twenty or more openings.
Do interior doors need a fire rating column filled in?+
Not usually, most interior doors between ordinary rooms are unrated, but anything opening onto a garage, a stair enclosure, or a mechanical room typically does, so it's worth keeping the column on every row rather than adding it retroactively later.
Free downloads from this article


Free CAD block library
Download the blocks from this article — free, no signup