Wheelchair-accessible seating clearances and matching CAD blocks
Drawing wheelchair-accessible seating correctly, the clearance ranges to plan around, and how the accessible CAD block fits into a floor plan.
Saumyajit MaityUpdated 30 May 20265 min read

Why this deserves its own careful pass in a drawing
Of everything covered in this seating series, wheelchair-accessible seating is the one category where I'd tell any drafter to slow down and treat it with real care, not because the CAD block is complicated, it isn't, but because getting the clearance wrong doesn't just look bad, it can genuinely mean a real person can't use the space the way it was intended. This is one of the areas of universal design where the drawing has direct, practical consequences for someone's actual day, not just aesthetics.
With that said, let's go through what the block on CADBlockDWG actually shows you and how the clearance planning around it typically works.
What the wheelchair accessible block on the site shows
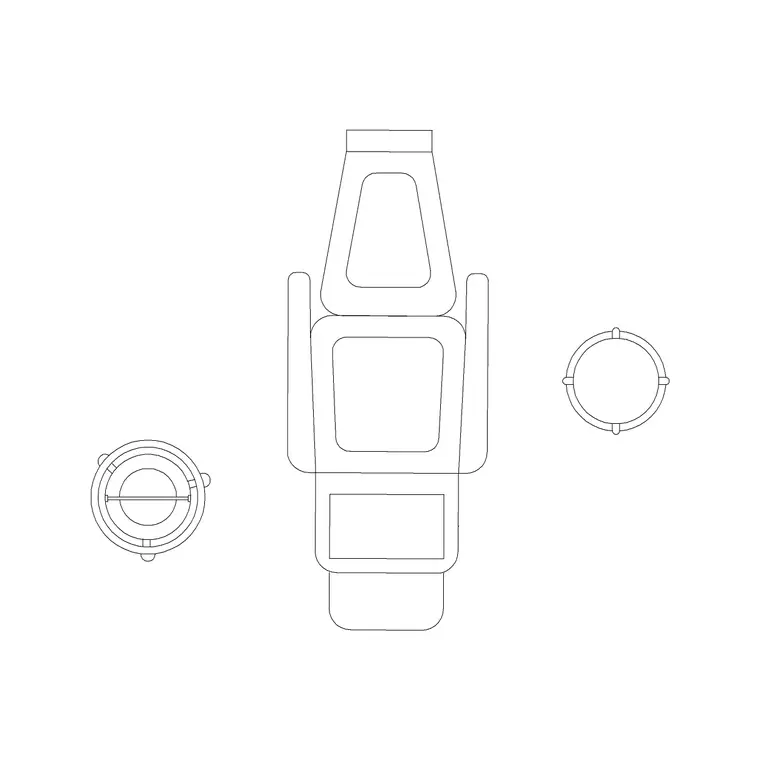
The wheelchair accessible block is filed under the building symbols category rather than furniture, which is a useful signal in itself, this is being used less as a furniture item to furnish a room with and more as a planning symbol, showing a wheelchair and occupant footprint that architects and drafters place into a floor plan to represent and verify an accessible seating position or a circulation path. It's available as DWG and DXF, drops straight into a plan, and gives you a real scale reference for how much floor area a wheelchair user's position actually occupies, which is different from, and generally larger than, a standard seated chair footprint.
This matters because it's tempting to just leave a gap in a seating row and assume it's fine for accessible seating, when the reality is that the footprint, the turning space, and the approach clearance all need to be deliberately checked against the specific figure, not eyeballed.
Footprint versus turning space, two different numbers
A wheelchair's static footprint, the space it occupies just sitting in place, typically runs somewhere in the range of 700 to 800 millimetres wide by 1200 to 1300 millimetres long, but that's not the number that actually governs your layout. The number that matters far more is turning space, the clear floor area needed for someone to manoeuvre in and out of a position, commonly planned around a clear circle in the range of 1500 millimetres diameter as a general guideline, though the exact required dimension depends on the specific accessibility code and building type that applies to your project, and that's genuinely not something to guess at from a generic reference like this post.
So the practical takeaway is, use the block to represent the occupied footprint accurately, and then separately verify your turning and approach clearances against the actual code that governs the jurisdiction and building type you're working in, since those requirements are legally binding in a way that a typical furniture clearance guideline isn't.
Placing accessible seating within a wider layout
In a mixed seating layout, whether that's a restaurant, a theatre, a lecture hall, or a waiting room, accessible positions are typically distributed rather than clustered in one corner, so that a wheelchair user has the same range of choice in the room, near a window, near the front, near an exit, that any other guest would have. Each accessible position also generally needs an unobstructed path back to the main circulation route, not just clearance around the seat itself, which is a detail that's easy to miss if you're only checking the seat's immediate footprint and not the full path back out of the space.
When I'm placing these positions on a plan, I insert the block early, before the rest of the seating layout gets locked in, specifically because it's much easier to plan generous clearance and a clean path around an accessible position from the start than to retrofit it into a seating grid that's already been spaced tight.
Common mistakes worth flagging
The mistake I see most often is treating accessible seating as an afterthought, squeezed into whatever gap is left once the rest of the room is laid out, which almost always results in a position that's technically present but poorly located, next to a service door, blocking a fire exit sightline, or with an approach path that weaves through other furniture. Another common one is using the seated footprint number as if it were the full clearance requirement, forgetting the turning space entirely, which is the number that actually determines whether the position is functionally usable rather than just present on paper.
A third, smaller mistake, but one worth mentioning, is forgetting that an accessible seating position needs a companion seat nearby in a lot of assembly and dining contexts, so plan the adjacent standard seat as part of the same clearance zone rather than as a separate decision made later.
Where to go from the CAD block to a compliant drawing
Use the wheelchair accessible block on the site to represent the position accurately and to communicate the intent clearly to anyone reviewing the drawing, and treat the specific clearance, turning space, and quantity requirements as a code compliance question that belongs with whoever's responsible for accessibility compliance on the project, an architect of record, a code consultant, or the relevant local guidance depending on where the project sits. The block gets you a clean, accurate starting point, but the actual numbers that make a layout genuinely compliant need to be pulled from the code that applies to your specific project, not assumed from any general reference, this one included.
Companion seating and matching the surrounding furniture
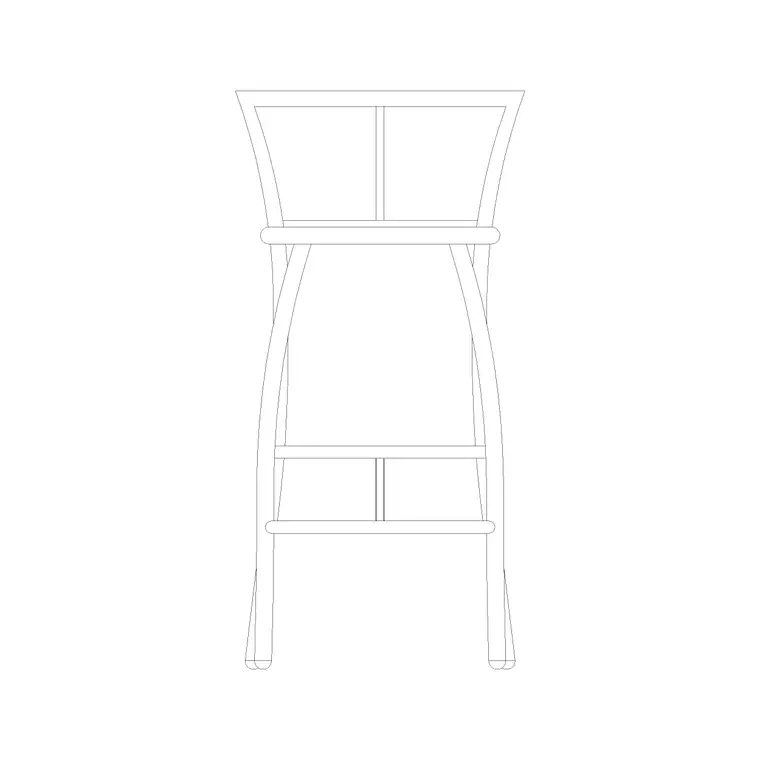
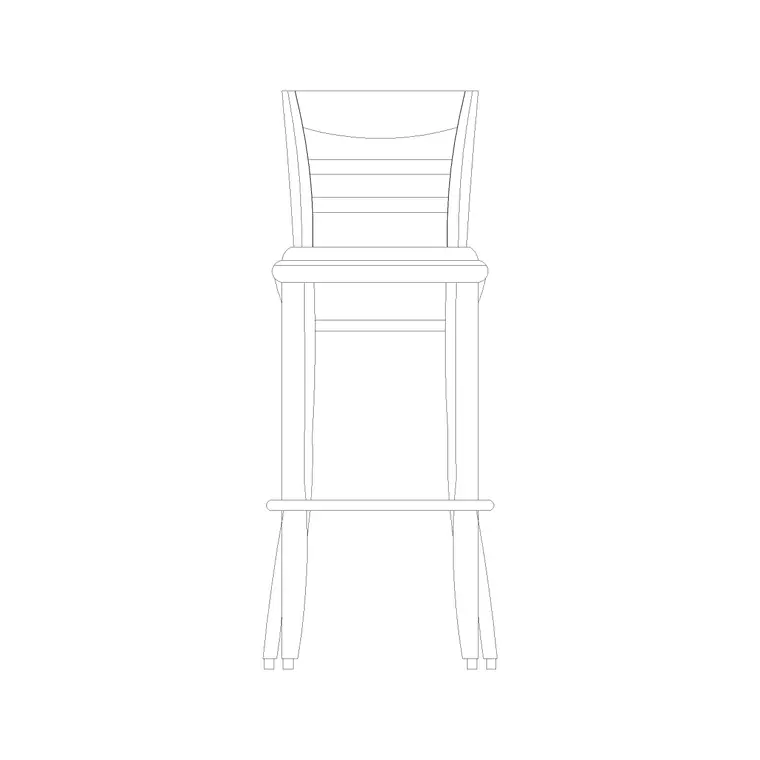
A lot of accessible seating positions, particularly in a restaurant, theatre, or lecture context, need a companion seat immediately adjacent, and it's worth choosing that companion chair or stool with the same care as the accessible position itself, since the two get read and used together. In a restaurant setting, a back elevation stool or a similar standard chair block works fine as the companion seat as long as its own seat height and footprint stay consistent with the rest of the room's furniture, there's no reason the companion seat needs to be a specialised product, it just needs to sit correctly within the clearance zone you've already reserved for the accessible position.
If the accessible position sits at a counter or bar height surface rather than a standard table, check the counter height guidance covered elsewhere on this site, generally 900 to 920 millimetres for standard counter and 1050 to 1100 millimetres for bar height, since an accessible seating position at a raised counter has its own knee clearance and reach requirements that differ from a standard table height position, and those numbers should come from the accessibility code governing the project rather than a general furniture height guideline.
Further reading
Questions
Frequently asked
What category is the wheelchair accessible CAD block filed under?+
It's in the building symbols category on CADBlockDWG rather than furniture, reflecting its role as a planning and compliance symbol for representing an accessible seating position or circulation path in a floor plan.
What's the difference between a wheelchair's footprint and its turning space?+
Footprint is the static occupied area, typically around 700 to 800 by 1200 to 1300 millimetres, while turning space is the larger clear floor area needed to manoeuvre, often planned around a 1500 millimetre clear circle as a general guideline, though exact figures depend on the applicable code.
Should accessible seating be grouped in one area of a room?+
Generally no. Best practice distributes accessible positions throughout a seating layout so wheelchair users have a similar range of location choice as other guests, always confirmed against the specific accessibility code for the project.
Free downloads from this article
Free CAD block library
Download the blocks from this article — free, no signup